manuals.online logo
Brands
  1. Home
  2. •
  3. Brands
  4. •
  5. Steelcase
  6. •
  7. Indoor Furnishing
  8. •
  9. Steelcase Currency User manual

Steelcase Currency User manual

1
NOTE: These instructions are for attachment to
conventional stud and wallboard structures only,
using self drive screws #8 x 2-1/2” and Toggle
Bolts Anchors supplied in the hardware package.
IMPORTANT: Refer to the chart below for the
minimum number of bolts and the minimum
number of wall stud anchorages required to
support each size of overhead.
Page 1 of 3
939500049 Rev G
Wall Mount
Overhead
Currency™- Wall Mount Overheads
Approx 10-1/2"
when installed
Vertical mounting surface
(shown as 5/8" wallboard
for reference only).
2
5/16 & 1/2 DIA
DRILL BIT
2. Establish the desired cabinet location
and the lower mounting cleat location on
the wall as shown. Level and mark with
a line on the wall.
1. Remove lower mounting cleat from
the rear of the overhead. Retain screws
for later use.
If you have a problem, question, or request, call
your local dealer, or Steelcase Line 1at
888.STEELCASE(888.783.3522)
for immediate action by people who want to help you.
(Outside the U.S.A., Canada, Mexico, Puerto Rico,
and the U.S. Virgin Islands, call: 1.616.247.2500)
Or visit our website: www.steelcase.com
©2012 Steelcase Inc.
Grand Rapids, MI 49501
U.S.A.
Printed in U.S.A.
®
2
1
3
HARDWARE KIT
TOGGLE BOLT
ANCHOR
TOGGLE BOLT
#8 x 2-1/2”
SELF DRIVE
SCREW
300 360 420 480 540 600 660 720
Overhead Width
55557777
30" 36" 42" 48" 54" 60" 66" 72"
Part # Description: Kit #12 Kit #13
Provided in Hardware Kit:
40240286 Toggle Bolt Anchor
50530074 Toggle Bolt
50550043 #8 x 2-1/2” Screw
Min. to be used for Installation:
40240286 Toggle Bolt Anchor
50530074 Toggle Bolt
50550043 #8 x 2-1/2” Screw
44446666
44446666
44445566
44445566
44445555
Allowable Load (maximum-lbs)
1
2
3
1
2
3
Page 2 of 3
939500049 Rev G
®
3
#8 x 2-1/2” sef-drive screw
3. Locate and mark with short vertical lines all
centerlines of wall studs that will intersect the
cleat line.
4. Position the cleat on the wall, aligned with the
horizontal line. Secure it in this position using (2)
#8 x 2-1/2” self-dry screws that will penetrate through
the cleat and wall structure studs.
Use a 5/16” drill bit to drill through the cleat holes,
into the wall, minimum (2) Toggle Bolts Anchors
pilot holes between each two studs.
The total number of holes should not be lower
than the minimum number of Toggle Bolt
Anchors required by the chart for that unit size.
5. Temporarily remove the cleat and enlarge the
5/16” holes to ½” holes.
WALL STUDS
4
Page 3 of 3
939500049 Rev G
6. Push one toggle bolt anchor into each ½” diameter hole
and secure as per the manufacturer’s instructions 6a, 6b, 6c,
and 6d on the right side of this page.
7. Reattach the lower mounting cleat to the wall, screwing in the
same location of the #8 x 2-1/2” self dry screws. Consolidate it by
screwing the requested number of #8 x 2-1/2” self dry screws
through the wall studs and the enclosed mounting bolts screwed
into the Toggle Bolts Anchors from the wall.
8. Position the overhead on the wall, ensuring complete engagement
of the upper mounting cleat (attached to the back of the unit) and onto
the lower mounting cleat (attached to the wall).
Secure the overhead unit into position by screwing through the
predrilled holes on the back panel of the overhead unit and into the
lower mounting cleat, using the screws that were removed on step 1.
(2) Screws reused
as Retaining Screws
(2) holes predrilled in back of
Overhead for Retaining Screws
Enlarge the 5/16" diameter holes in
the wall to 1/2" diameter holes. Hold
the metal channel flat alongside the
plastic straps and slide the channel
through the hole. Minimum
clearancebehind the wall: 1-7/8".
Hold the ends of the strap between the
thumb and the forefinger and pull
toward you until the channel rests flush
behind wall. Slide the plastic cap along
the straps with the other hand until the
flange of the cap is flush with the wall.
NOTE: DO NOT STRESS OR PULL
LEGS AT AN ANGLE TO AVOID
PREMATURE BREAKOFF.
Snap the straps at the wall by
pushing side to side, snapping
off the strapslevel with the flange
of the cap.
Place the lower mounting cleat back on the
wall using the self drive screw that was
previously removed. Be sure to use a
minimum of 1 drive screw per wall stud
that aligns with lower cleat.
Insert the toggle bolts through the lower
mounting cleat holes and toggle anchors
inserted into the wall. Tighten until flush
into the cleat countersunk holes.
6a 6b
6c 6d
Instructions for installing the toggle bolt anchors
8
7
®

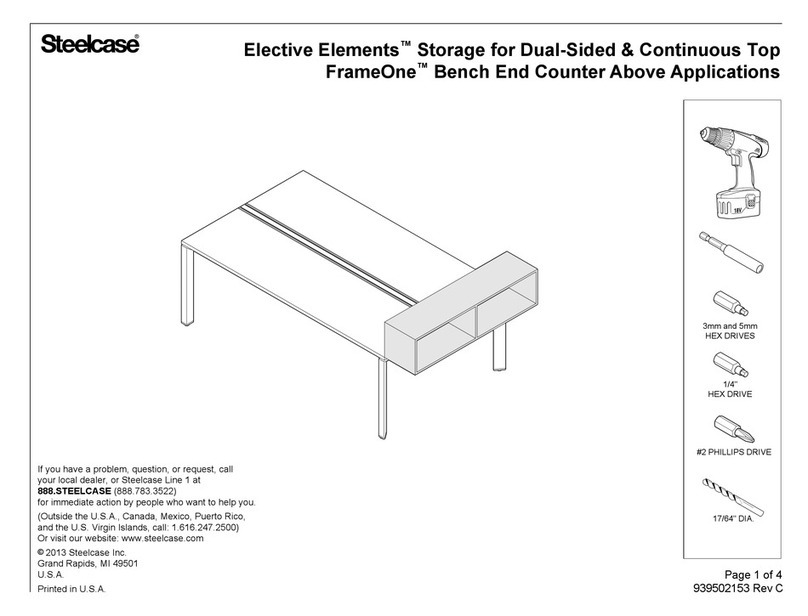
Other Steelcase Indoor Furnishing manuals
Steelcase Touch Down Telescopic User manual

Steelcase

Steelcase Touch Down Telescopic User manual

Steelcase Migration SE User manual

Steelcase

Steelcase Migration SE User manual

Steelcase 462 Leap V2 Use and care manual

Steelcase

Steelcase 462 Leap V2 Use and care manual

Steelcase Lares Desk User manual

Steelcase

Steelcase Lares Desk User manual

Steelcase Amia 482 Series User manual

Steelcase

Steelcase Amia 482 Series User manual

Steelcase Ellipse Parts list manual

Steelcase

Steelcase Ellipse Parts list manual

Steelcase Turnstone TS321 User manual

Steelcase

Steelcase Turnstone TS321 User manual

Steelcase Slim Leg User manual

Steelcase

Steelcase Slim Leg User manual

Steelcase Flex Active Frame User manual

Steelcase

Steelcase Flex Active Frame User manual

Steelcase Amia User manual

Steelcase

Steelcase Amia User manual

Steelcase Solo Sit-to-Stand Desk User manual

Steelcase

Steelcase Solo Sit-to-Stand Desk User manual

Steelcase FRAMEONE FE-3 User manual

Steelcase

Steelcase FRAMEONE FE-3 User manual

Steelcase Arbor Return Unit Firmware update

Steelcase

Steelcase Arbor Return Unit Firmware update

Steelcase Mineral User manual

Steelcase

Steelcase Mineral User manual

Steelcase QiVi User manual

Steelcase

Steelcase QiVi User manual

Steelcase Monarch Firmware update

Steelcase

Steelcase Monarch Firmware update

Steelcase c:scape User manual

Steelcase

Steelcase c:scape User manual

Steelcase migration User manual

Steelcase

Steelcase migration User manual

Steelcase Migration SE Installation instructions

Steelcase

Steelcase Migration SE Installation instructions

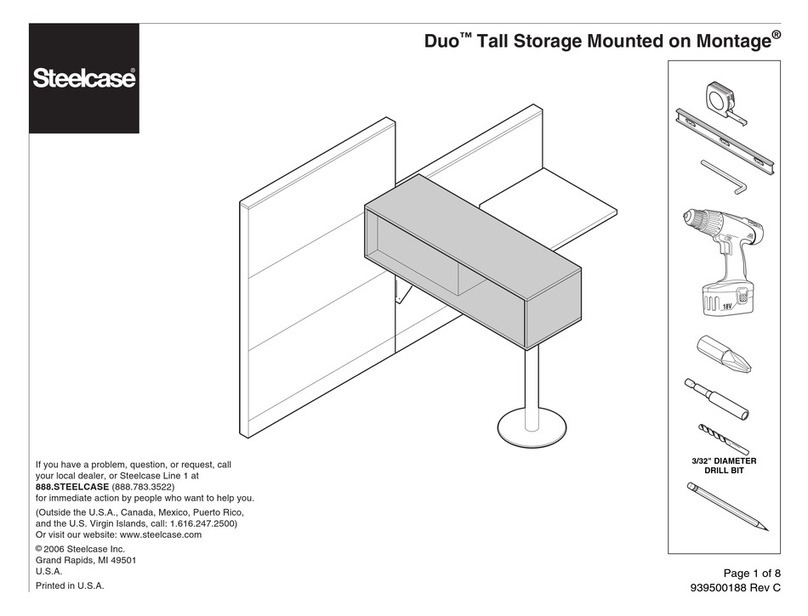
Steelcase Duo Tall Storage Mounted on Montage User manual
Steelcase

Steelcase Duo Tall Storage Mounted on Montage User manual

Steelcase Convene Firmware update

Steelcase

Steelcase Convene Firmware update
Steelcase 9000 Series Firmware update

Steelcase

Steelcase 9000 Series Firmware update

Steelcase Elective Elements Leg Base Tower User manual

Steelcase

Steelcase Elective Elements Leg Base Tower User manual

Steelcase 3200 Series User manual

Steelcase

Steelcase 3200 Series User manual

Popular Indoor Furnishing manuals by other brands

Caribou Streamline OV1020 Series manual

Caribou

Caribou Streamline OV1020 Series manual

Jensen AQTIVE II Assembly and instructions for use

Jensen

Jensen AQTIVE II Assembly and instructions for use

Acme Furniture Malai 81705 Assembly instructions

Acme Furniture

Acme Furniture Malai 81705 Assembly instructions

KROKWOOD Alice A Assembly instructions

KROKWOOD

KROKWOOD Alice A Assembly instructions

Rauch M2625 Assembly instructions

Rauch

Rauch M2625 Assembly instructions

DHP 4370429N manual

DHP

DHP 4370429N manual

Next 651823 Assembly instructions

Next

Next 651823 Assembly instructions

Union Home LVR00631 manual

Union Home

Union Home LVR00631 manual

Forte SPRB01 Assembling Instruction

Forte

Forte SPRB01 Assembling Instruction

Friant MY-HITE quick start guide

Friant

Friant MY-HITE quick start guide

Suncast MTL6804 owner's manual

Suncast

Suncast MTL6804 owner's manual

Ballard Designs WS994 quick start guide

Ballard Designs

Ballard Designs WS994 quick start guide

Naterial ORIS 2021R09P07-0422 Assemby - Use - Maintenance Manual

Naterial

Naterial ORIS 2021R09P07-0422 Assemby - Use - Maintenance Manual

Argos Adult Malibu 532/8038 Assembly instructions

Argos

Argos Adult Malibu 532/8038 Assembly instructions

aidapt VM938 Usage and maintenance instructions

aidapt

aidapt VM938 Usage and maintenance instructions

Coaster 115158 Assembly instructions

Coaster

Coaster 115158 Assembly instructions

Style selections 36BV90194-PW07 Assebly instructions

Style selections

Style selections 36BV90194-PW07 Assebly instructions

HoMedics WRF-COL Instruction manual and warranty

HoMedics

HoMedics WRF-COL Instruction manual and warranty

manuals.online logo
manuals.online logoBrands
  • About & Mission
  • Contact us
  • Privacy Policy
  • Terms and Conditions

Copyright 2025 Manuals.Online. All Rights Reserved.