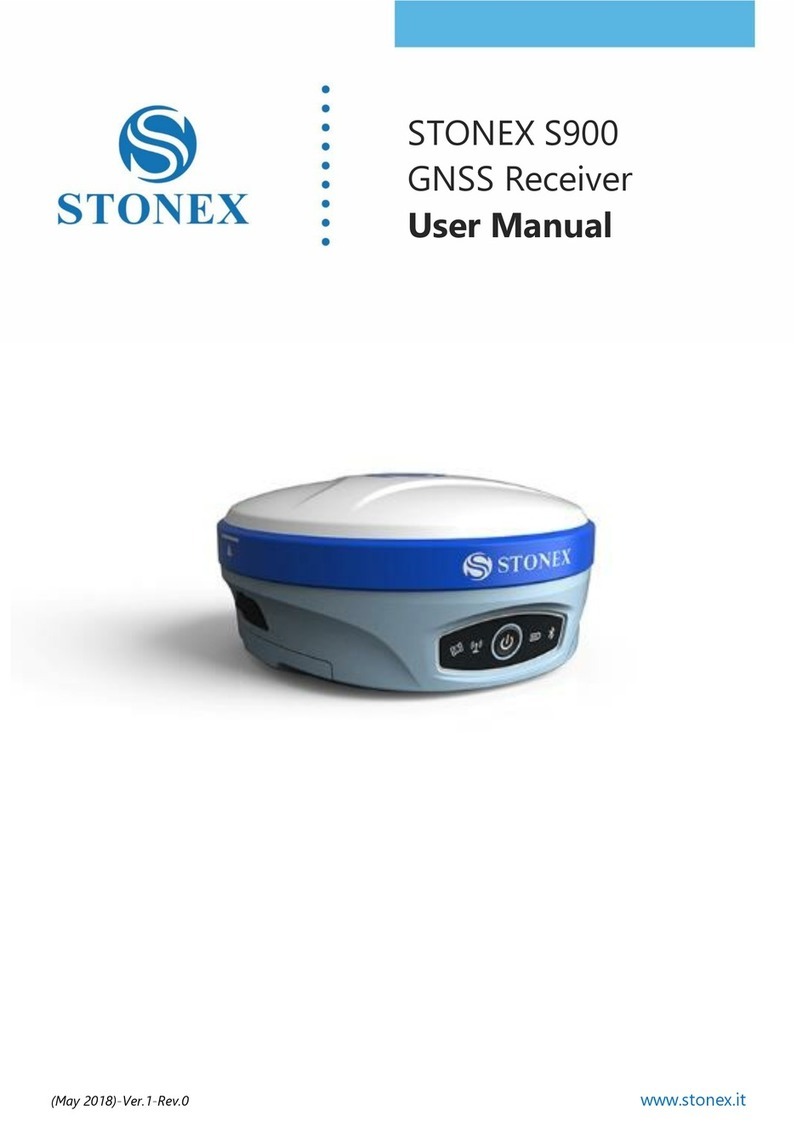
STONEX S900T User manual

STONEX S900T
GNSS Receiver
User Manual
(May 2018)-Ver.1-Rev.0
www.stonex.it

Stonex S900T GNSS Receiver –User Manual 1
Contents
Introduction .................................................................................................................... 2
1.1 Receiver appearance .............................................................................................................. 2
1.2 Interfaces.................................................................................................................................... 3
1.3 Control panel ............................................................................................................................ 3
2 Web User Interface...................................................................................................... 4
2.1 Status........................................................................................................................................... 6
2.2 Settings....................................................................................................................................... 7
2.3 Download................................................................................................................................... 8
2.4 Management............................................................................................................................. 9
2.4.1 Install new firmware ..........................................................................................................10
2.4.2 Device register ....................................................................................................................10
3 Basic operation ..........................................................................................................11
3.1 Model view and switch........................................................................................................11
3.2 Receiver self-check................................................................................................................11
3.3 Install TF card and SIM card...............................................................................................12
3.4 Power off the receiver..........................................................................................................13
4 Accessories .................................................................................................................14
4.1 Transport container ..............................................................................................................14
4.2 Battery and adapter..............................................................................................................15
4.3 UHF antenna ...........................................................................................................................16
4.4 7-pin serial cable....................................................................................................................16
5 Technical specification..............................................................................................17
Appendix 1 Default radio configuration....................................................................19
Appendix 2: Copyrights, warranty and environmental recycling ...........................20
Copyrights and trademarks.......................................................................................................20
Release Notice...............................................................................................................................20
Standard Limited Warranty .......................................................................................................20
Shipping policy..............................................................................................................................21
Return policy Dead On Arrival instruments. ........................................................................22
Firmware/Software warranty.....................................................................................................22
Over Warranty repair(s) policy. ................................................................................................23
Disclaimer and Limitation of Remedy....................................................................................23
Instruments.....................................................................................................................................24
Accessories .....................................................................................................................................24
Service Procedure.........................................................................................................................24
Environmental recycling.............................................................................................................25
For countries in the European union (EU) ............................................................................25
For countries outside European union (EU).........................................................................26
Appendix 4: Safety Recommendations......................................................................26

Stonex S900T GNSS Receiver –User Manual 2
Introduction
This document is user guide for S900, S900A, and S900T GNSS receiver,
which are diverse in the internal configuration and appearance color. It is
intended to introduce how to use the receivers correctly.
1.1 Receiver appearance
The S900 series receiver is cylindrical with a diameter of 156mm, a height of
76mm and a weight of 1.2kg. The front side of the receiver is control panel,
which consists of a power button and four indicators. The bottom are
interfaces of UHF antenna and cables. PUSH buttons on both sides of the
receiver are used to open the bottom battery cover.
Figure 1.1.1 S900 series receiver

Stonex S900T GNSS Receiver –User Manual 3
1.2 Interfaces
The bottom interface of the instrument is shown below, and the protective
plug covered on it is used for the dustproof and waterproof of the external
interface. The TNC connector is used to connect to the built-in radio
antenna. The five-pin LEMO connector is used to connect external power
supply or external radio. The seven-pin LEMO connector is used for data
communication (data communication between the receiver and the
computer and the handbook).
Figure 1.2.1 UHF interface Figure 1.2.2 5pin LEMO interface
Figure 1.2.3 7pin LEMO interface
1.3 Control panel
The control panel is showed in Figure 1.3.1.
Figure 1.3.1 control panel

Stonex S900T GNSS Receiver –User Manual 4
The function of power button and the LED indicators are shown in Table 1.
Table 1 Function description
Indicators/Button
Color
Description
Satellite led
Red and
green
Off:No receiving satellites;
red flash: receiving satellites but no
solution status.
Green flash: having a solution status
but no fix.
green: fix.
Red and green flashes alternately:
GNSS mainboard abnormal.
Data link led
Green and
blue
green: datalink set up completely.
green flash: data transmission
normally.
Blue flash: under the static mode, the
blue led flash according to the
sampling intervals.
Bluetooth led
Blue
Off:no Bluetooth connection to
device.
Blue: Bluetooth connection to device.
Power led
Red and
green
Green: power between 30% -100%;
Green flash: power between 10%-
%30%;
Red: power below 10%.
2 Web User Interface
S900T receiver has Web UI functionality. By getting access to its internal
hotspot, you can easily manage it on the Web UI. As long as you have a
smart phone, PC or handheld with WIFI functionality, you can easily connect

Stonex S900T GNSS Receiver –User Manual 5
to the S900T receiver to view status, download data and configure the
receiver.
S900T receiver is default to open WIFI automatically when it’s powered on.
Use smart phone/PC/handheld to search the receiver hotspot, whose name is
its serial number, and connect it. (Receiver WIFI only supports getting access
to Web UI to check status and set up mode, not for Internet connection.)
After connecting to the S900T receiver WIFI, open the browser and enter
“192.168.10.1” in IP address. A window pops up and asks for user name and
password. The default user name and password are: admin; password.
And then you can login the Web UI of S900T receiver.

Stonex S900T GNSS Receiver –User Manual 6
2.1 Status
The status page displays the current state of S900T receiver, including
position information, data link status, satellite charts, and instrumentation
information. Click on a module to display its details, as shown in figure 2.1.1.
Figure 2.1.1 position status page

Stonex S900T GNSS Receiver –User Manual 7
2.2 Settings
The Settings page includes working mode, satellite Settings, device
configuration, NMEA messages, view logs, and configuration sets. You can
set the host mode, satellite system, system parameters, and NMEA message.
And you can view and download the logs as well. Also you could upload,
download, delete and apply the related configuration. Click on a module to
display its details, as shown in figure 2.2.1.
Figure 2.2.1 setting page

Stonex S900T GNSS Receiver –User Manual 8
2.3 Download
The download page provides downloads of raw data and backup data. Click
on a module to display its details, as shown in figure 2.3.1.
Figure 2.3.1 download page

Stonex S900T GNSS Receiver –User Manual 9
2.4 Management
In this page, the user can upgrade the firmware, register the device, modify
the login password, format the instrument disk, self-check, restore the
factory Settings, restart equipment and other operations, as shown in figure
2.4.1.
Figure 2.4.1 management page

Stonex S900T GNSS Receiver –User Manual 10
2.4.1 Install new firmware
In the management of the WEB UI page, you can see that “online update”,
click “browse”, select the required to upgrade the firmware, click the “upload
document”, system will restart to upgrade. After the upgrade, you can view
the current “firmware version” on the “instrument information” page.
2.4.2 Device register
The register code consists of 32 digits and letters. You can register the device
via WEB UI. The detailed steps are shown as followed:
In management page, you can see “registration”. Input register code and
click submit, and then registration is done. After registration, you can check
the expiration time of current registration in the page.
You can also register device via controller. Open Cube-a software on the
handheld and connect the receiver. Click “About” - “Register instrument”,
then input code and registration is done.

Stonex S900T GNSS Receiver –User Manual 11
3 Basic operation
3.1 Model view and switch
a. Model view
When receiver is powered on, short press the power button and then it will
voice broadcast the current working mode and data link.
b. Model switch
When the receiver is powered on, connect it with handheld or other
instruments so as to set up and switch the working mode of receiver. See
detailed operation procedures in Cube-a Software(V3.0) User Manual.
3.2 Receiver self-check
Self-check functionality is to check whether every module works normally.
When S900T receiver has indicators off or module doesn’t work normally,
you can use self-check to inspect the receiver. S900T self-check consists of
six parts, namely GPS, radio, network, WIFI, Bluetooth, and sensor. The self-
check results will be voice broadcasted in the process. Self-check operation
and result broadcast are as followed:
a) When receiver is powered on, press power button and hold it until the
receiver voice broadcasts “power off”. Press it again until the receiver
sounds a beep and voice broadcasts “self-check”, which means the
receiver starts to operate self-check. (New receiver is recommended to
operate self-check at least once.)
b) In the process of self-check, each module inspection is followed by its
inspection result. If the module inspection passes, it will voice broadcast
“OK” and module led keeps on until the whole self-check finishes. If the
module inspection fails, it will voice broadcast current module
inspection fail, keep module led flashing and buzzer sounding until you

Stonex S900T GNSS Receiver –User Manual 12
restart the receiver. Self-check lasts for about 1 minute. If there is self-
check failure, please contact local dealer.
c) If every module indicator is lit with no flashing, and voice broadcast
says every module work normally (such as “GPS self-check. OK.”), it
means all the modules work normally. Receiver starts to work after the
whole self-check finishes.
3.3 Install TF card and SIM card
The bottom of receiver is left and right battery slot, which are marked by
arrow A and arrow B respectively. Both the TF card and the SIM card slot are
inside the battery slot pointed by arrow A.
Replace procedure of TF card and SIM card:
(1) Push the bottom slide lock in the direction of arrow A. Press the
corresponding direction PUSH key on the side of the receiver, and open the
battery cover.
(2) Remove the battery and you will see the SIM card and TF card slot at the
bottom of the battery slot.
(3) Push the upper cover of the card slot outward in the direction of the
arrow above the card slot to open the card slot, put the SIM card or TF card
into the card slot (the same direction as the icon), cover the card slot cover.
Open the upper cover in the arrow direction , then install or uninstall the TF
or SIM card(card shape is same as the above mark).
Figure 3.3.1 TF/ SIM card slot

Stonex S900T GNSS Receiver –User Manual 13
3.4 Power off the receiver
When the receiver is powered on, press power button and hold it until the
receiver voice broadcast “power off”, short press the power button again,
then the receiver is powered off.

Stonex S900T GNSS Receiver –User Manual 14
4 Accessories
4.1 Transport container
There is no difference between the base and the rover container. The internal
layout of the container is showed as figure 4.1.1.
Figure 4.1.1 internal layout of container
The external appearance of the container is shown as figure 4.1.2.
Figure 4.1.2 external appearance of container

Stonex S900T GNSS Receiver –User Manual 15
4.2 Battery and adapter
S900T series receiver use detachable dual battery to charge. You can gently
press the bottom button to know the current battery power according to the
four lights (power between 75%-100% with all four lights lit; power below
25% with only one light lit). Charging for lithium-ion battery lasts for 4 hours.
Using charger can simultaneously charge two batteries. The charger indicator
is lit red when charging, and turns green after charging completes.
Figure 4.2.1 BP-5S battery Figure 4.2.2 CH-04 charger
Figure 4.2.3 DSA-40CA-12 adapter

Stonex S900T GNSS Receiver –User Manual 16
4.3 UHF antenna
When receiver is in internal radio mode, UHF antenna (as illustrated in Figure
4.3.1) is in need.
Figure 4.3.1 QT440A UHF antenna
4.4 7-pin serial cable
One end of the 7-pin serial cable, the 7-pin serial port, is to connect the
receiver, and the other end of the cable, the USB and the D89 interface are
for data communication respectively with PC and handheld as illustrated in
Figure 4.4.1.
Figure 4.4.1 7-pin serial cable

Stonex S900T GNSS Receiver –User Manual 17
5 Technical Specification
RECEIVER
Satellite Tracked
GPS: L1 C/A, L2C, L2E, L5
GLONASS: L1 C/A, L2C, L3
BEIDOU: B1, B2, B3
GALILEO: E1, E5a, E5b, E5 AltBOC, E6
QZSS: L1 C/A, L1C, L2C, L5
IRNSS: L5
SBAS: L1, L5
Channels
336
Position Rate
50 Hz
Signal Reacquisition
< 1 sec
RTK Signal Initialization
Typically < 10 sec
Hot Start
Typically < 15 sec
Initialization Reliability
> 99.9 %
Internal Memory
8 GB
Micro SD Card
Expansion slot up to 32 GB
POSITIONING1
HIGH PRECISION STATIC SURVEYING
Horizontal
2.5 mm + 0.1 ppm RMS
Vertical
3.5 mm + 0.4 ppm RMS
CODE DIFFERENTIAL POSITIONING
Horizontal
0.25 m RMS
Vertical
0.45 m RMS
SBAS POSITIONING2
Horizontal
0.30 m RMS
Vertical
0.60 m RMS
REAL TIME KINEMATIC (< 30 Km) –NETWORK SURVEYING3
Fixed RTK Horizontal
8 mm + 1 ppm RMS
Fixed RTK Vertical
15 mm + 1 ppm RMS
INTEGRATED GNSS ANTENNA
High accuracy four constellation micro-strip antenna, zero phase center,
with internal multipath suppressive board
INTERNAL RADIO
Type
Tx - Rx
Frequency Range
410 - 470 MHz
Channel Spacing
12.5 KHz / 25 KHz
Maximum Range
3-4 Km in urban environment
Up to 10 Km with optimal conditions4

Stonex S900T GNSS Receiver –User Manual 18
Specifications are subject to change without notice.
INTERNAL MODEM
Band
GSM/GPRS/EDGE
LTE/UMTS/WCDMA
COMMUNICATION
I/O Connectors
7-pins Lemo and 5-pins Lemo interfaces.
Multifunction cable with USB interface for
PC connection
Bluetooth
2.1 + EDR, V4.0
Wi-Fi
802.11 b/g/n
Web UI
To upgrade the software, manage the
status and settings, data download, etc.
via smart phone, tablet or other internet
enabled electronic device
Reference outputs
RTCM 2.1, 2.3, 3.0, 3.1, 3.2, 3.3
CMR, CMR+, RTCA
Navigation outputs
GGA, ZDA, GSA, GSV, GST, VTG, RMC, GLL
POWER SUPPLY
Battery
2 rechargeable and replaceable
7.2 V –3400 mAh
Intelligent lithium batteries
Voltage
9 to 22 V DC external power input with
over-voltage protection (5 pins
Lemo)
Working Time
Up to 12 hours (2 batteries hot swap)
Charge Time
Typically 4 hours
PHYSICAL SPECIFICATION
Dimensions
ɸ157 mm x 76 mm
Weight
1.19 Kg (with one battery)
1.30 Kg (with two batteries)
Operating Temperature
-30°C to 65°C (-22°F to 149°F)
-40°C to 65°C (-40°F to 149°F)5
Storage Temperature
-40°C to 80°C (-40°F to 176°F)
Waterproof/Dustproof
IP67
Shock Resistance
Designed to endure to a 2 m pole drop on
concrete floor with no damage
Vibration
Vibration resistant

Stonex S900T GNSS Receiver –User Manual 19
Appendix 1: Default radio configuration
Internal radio frequency coverage range of 410MHz-470MHz, users can
choose radio channel and radio protocol through the handbook software or
WEB interface. The frequency of each channel is as follows.
Table 2 Default frequency of internal radio
Channel
Frequency
1
438.125 MHz
2
440.125 MHz
3
441.125 MHz
4
442.125 MHz
5
443.125 MHz
6
444.125 MHz
7
446.125 MHz
8
447.125 MHz
This manual suits for next models
2
Table of contents
Other STONEX Receiver manuals

STONEX
STONEX S9III GNSS User manual
STONEX
STONEX S10A User manual
STONEX
STONEX S980A User manual
STONEX
STONEX S9i User manual
STONEX
STONEX S9III Plus User manual
STONEX
STONEX S900+ User manual
STONEX
STONEX S850A User manual
STONEX
STONEX SC2000 User manual
STONEX
STONEX S700A User manual
STONEX
STONEX SC400A User manual
