manuals.online logo
Brands
  1. Home
  2. •
  3. Brands
  4. •
  5. SVC GROUP
  6. •
  7. Automobile Accessories
  8. •
  9. SVC GROUP VTZ 001-415 User manual

SVC GROUP VTZ 001-415 User manual

EHK 55 & e94/20
Classe A50-X
=R
=S
Kg
Kg
GEBREMST
Bržděný
BRAKED
FREINÉE
2 00090
11,01 kN
CZ-Montážní návod
Fitting instructionGB-
DE-Montageanleitung
FR-Notice de montage
RU-Инструкция по монтжу
Pevnost 8,8 10,9 12,9
M6 1 ,9,7 4 3 16,1
M8 24,5 35,9 42,0
M10 4 , ,08 4 71,0 83
M12 8 ,0 ,04 123 144,0
M14 13 ,0 1 ,03 96 229,0
M16 ,0137 307,0 359,0
Nm
0 km
1000 km
1000 km
www.svcgroup.cz
INFO !
E27 55R 01-0329
CERTIFIKÁT
EU
D
D
GB
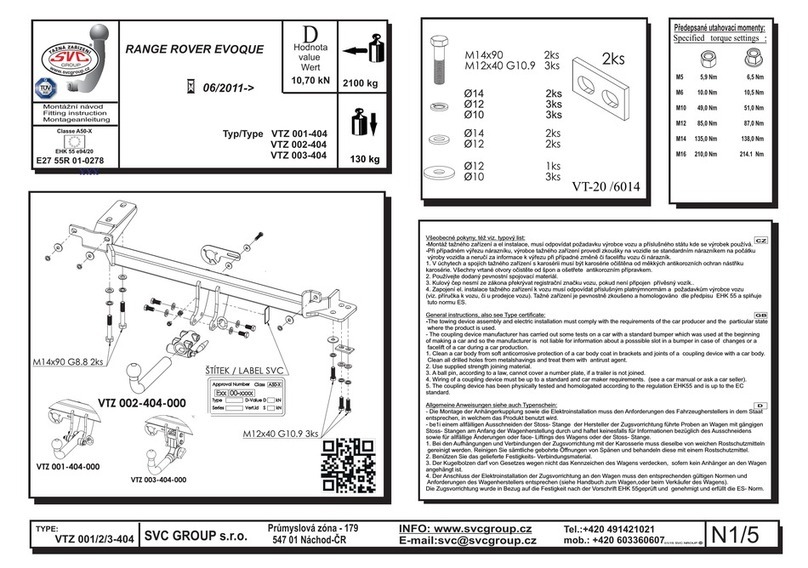
Všeobecné pokyny, též viz. typový list:
-Montáž tažného zařízení a el instalace, musí odpovídat požadavku výrobce vozu a příslušného státu kde se výrobek používá.
-Při případném výřezu nárazníku, výrobce tažného zařízení provedl zkoušky na vozidle se standardním nárazníkem na počátku
výroby vozidla a neručí za informace k výřezu při případné změně či faceliftu vozu či nárazník.
1. V úchytech a spojích tažného zařízení s karosérii musí být karosérie očištěna od měkkých antikorozních ochran nástřiku
karosérie. Všechny vrtané otvory očistěte od špon a ošetřete antikorozním přípravkem.
2. Používejte dodaný pevnostní spojovací materiál.
3. Kulový čep nesmí ze zákona překrývat registrační značku vozu, pokud není připojen přívěsný vozík..
4. Zapojení el. instalace tažného zařízení k vozu musí odpovídat příslušným platnýmnormám a požadavkům výrobce vozu
(viz. příručka k vozu, či u prodejce vozu). Tažné zařízení je pevnostně zkoušeno a homologováno dle předpisu a splňujeEHK 55
tuto normu ES.
General instructions, also see Type certificate:
-The towing device assembly and electric installation must comply with the requirements of the car producer and the particular state
where the product is used.
- The coupling device manufacturer has carried out some tests on a car with a standard bumper which was used at the beginning
of making a car and so the manufacturer is not liable for information about a posssible slot in a bumper in case of changes or a
facelift of a car during a car production.
1. Clean a car body from soft anticorrosive protection of a car body coat in brackets and joints of a coupling device with a car body.
Clean all drilled holes from metalshavings and treat them with antirust agent.
2. Use supplied strength joining material.
3. A ball pin, according to a law, cannot cover a number plate, if a trailer is not joined.
4. Wiring of a coupling device must be up to a standard and car maker requirements. (see a car manual or ask a car seller).
5. The coupling device has been physically tested and homologated according to the regulation E and is up to the ECHK55
standard.
Allgemeine Anweisungen siehe auch Typenschein:
- Die Montage der Anhängerkupplung sowie die Elektroinstallation muss den Anforderungen des Fahrzeugherstellers in dem Staat
entsprechen, in welchem das Produkt benutzt wird.
- be1i einem allfälligen Ausschneiden der Stoss- Stange der Hersteller der Zugsvorrichtung führte Proben an Wagen mit gängigen
Stoss- Stangen am Anfang der Wagenherstellung durch und haftet keinesfalls für Informationen bezüglich des Ausschneidens
sowie für allfällige Änderungen oder face- Liftings des Wagens oder der Stoss- Stange.
1. Bei den Aufhängungen und Verbindungen der Zugsvorrichtung mit der Karosserie muss dieselbe von weichen Rostschutzmitteln
gereinigt werden. Reinigen Sie sämtliche gebohrte Öffnungen von Spänen und behandeln diese mit einem Rostschutzmittel.
2. Benützen Sie das gelieferte Festigkeits- Verbindungsmaterial.
3. Der Kugelbolzen darf von Gesetzes wegen nicht das Kennzeichen des Wagens verdecken, sofern kein Anhänger an den Wagen
angehängt ist.
4. Der Anschluss der Elektroinstallation der Zugsvorrichtung an den Wagen muss den entsprechenden gültigen Normen und
Anforderungen des Wagenherstellers entsprechen (siehe Handbuch zum Wagen,oder beim Verkäufer des Wagens).
Die Zugsvorrichtung wurde in Bezug auf die Festigkeit nach der Vorschrift E geprüft und genehmigt und erfüllt die ES- Norm.HK 55
CZ
N- /31
INFO , +420 491421022Tel.:+420 491421021
mob.: +420 603360607
www.svc .czgroup
-mail: svc@svc .cze group
Průmyslová zóna - 179
547 01 Náchod-ČR
SVC GROUP s.r.o.
TYPE:
VTZ 001/2/3-415
2h
NE/NO
NENÍ VIDĚT
JE VIDĚT
VT 20/6018
SKL-SKLOPNÉ DLOUHÉ El- Cam-Bus.
SKL
DLOUHÉ
01/2016->
FORD EDGE
VTZ 001-415
VTZ 002-415
VTZ 003-415
09 16 GROUP/SVC
N-2/3
INFO , +420 491421022Tel.:+420 491421021
mob.: +420 603360607
www.svc .czgroup
-mail: svc@svc .cze group
Průmyslová zóna - 179
547 01 Náchod-ČR
SVC GROUP s.r.o.
TYPE:
VTZ 001/2/3-415
CZ - Montážní návod Ford Edge
1. Odmontujte zadní světla , zadní nárazník a jeho výztuhu (toto nebude již zapotřebí).(Při demontáži pozor na
elektrickou instalaci nárazníku).!
2. Hlavní nosník tažného zařízení vsuňte od zadu do nosníků vozidla a přichyťte 6 šrouby M 14x45 přes
velkoplošné podložky. Poté tažné zařízení vyrovnejte a dotáhněte dle utahovacích momentů.
3. Zhotovte výřez nárazníku (pouze u typu 001,-002) a namontujte zpět všechny díly odmontované v bodě č.1.
DE - Montageanleitung Ford Edge
1. Die Hecklichter, die Heckstoßstange und deren Strebe (diese wird nicht mehr benötigt) ausbauen. (Bei der
Demontage die elektrische Installation der Stoßstange beachten!).
2. Den Hauptträger der Zugeinrichtung von hinten in die Träger des Fahrzeugs einschieben und mit 6 Schrauben M
14x45 mit großflächigen U-Scheiben befestigen. Anschließend die Zugeinrichtung ausrichten und entsprechend
den Anzugsmomenten festziehen.
3. In der Stoßstange einen Ausschnitt herstellen (nur beim Typ 001,-002) und alle im Punkt Nr. 1 ausgebauten Teile
erneut montieren.
EN - Installation instructions - Ford Edge
1. Remove rear lights, rear bumper and its stiffener (it is no longer needed). (During the removal be careful not to
damage wiring in the bumper).!
2. Insert the main beam of the tow bar into vehicle beams from behind and fix it with 6 pieces of M 14x45 screws
with large-area washers. Then, align the whole tow bar and tighten as per prescribed tightening moments.
3. Make a cut-out in the bumper (only for -001,-002 types) and reinstall all the parts removed within the step 1.
FR - Notice de montage Ford Edge
1. Démonter les feux arrière, le pare-chocs arrière et son renfort (vous n’en aurez plus besoin). (Lors du
démontage, faire attention à l’installation électriq ue du pare-chocs) !
2. Par l’arrière, insérer la traverse principale du dispositif d’attelage dans les traverses du véhicule et la fixer à
l’aide de 6 vis M 14x45 en utilisant des rondelles extra-larges. Aligner ensuite le dispositif d’attelage et serrer
toutes les vis aux couples de serrage prescrits.
3. Effectuer une découpe dans le pare-chocs (uniquement sur les types 001,-002) et remettre en place toutes les
pièces ayant été démontées au point n° 1.
IT - Istruzioni di montaggio per la Ford Edge
1. Smontare i fanali posteriori, il paraurti posteriore e il suo rinforzo (non sarà più necessario). (Allo smontaggio
fare attenzione all’allacciamento elettrico del paraurti)!
2. Inserire da dietro il supporto principale del dispositivo di traino nei supporti del veicolo fissandolo con le 6 viti
M14x45 e le rondelle di grandi dimensioni. Poi allinea re il d ispositivo di traino e serrare con le coppie di
serraggio prescritte.
3. Fare un intaglio nel paraurti (solo dal modello 001, -002) e rimontare tutte le parti smontate nel punto 1.
RU - Инструкция по монтажу Ford Edge
1. Снимите задние фонари,задний бампер и его усилитель (он больше не потребуется). (При демонтаже
будьт е осторожны с электропроводк ой бампера)!
2. Главную балку фаркопа вставьте сзади в балки автомобиля и закрепите 6болтами M14x45с
использованием увели енных шайб.После этого выровняйте фаркоп и затяните в соот ветствии с
предписанными моментами затяжки.
3. Изготовьте вырез в бампере (только для типа 001,-002) и установите обратно все асти,
демонтированные согласно п.1.
FI - Asennusohje Ford Edge
1. Irrota takavalot, takapuskuri ja sen jäykiste (sitä ei enää tarvita). (Varo, etteivät puskurin sähköasennukset
vahingoitu irrotuksen yhteydessä)!
2. Työnnä vetolaitteen pääpalkki takaapäin auton palkkeihin ja kiinnitä se 6 ruuvilla M 14x45 suurten aluslevyjen
avulla. Suorista sitten vetolaite ja kiristä kiristysmomenttien mukaan.
3. Tee puskuriin leikkaus (vain tyypissä 001,-002) ja asenna kaikki kohdassa 1 irrotetut osat takaisin.
BG - Упътване за монтаж Форд Едж
1. Демонтирайте задните фарове,задната броня и уплътнението (ве енямадаенеобходимо). (При
демонтажа внимавайте за електри еската инсталация на бронята)!
2. Главната носеща конструкция на теглещото устройство се пъха отзад в носещите конструкции на
автомобила и фиксирайте с 6винта M14x45върху подложките с голяма площ.След това изравнете
теглещото устройство и затегнете според моментите на затягане.
3. Нап р аве те ра зр е з в бро нят а (само при тип 001,-002) и монтирайте обратно вси ки асти,
демонтирани съгласно то ка 1.
ES - Manual de montaje de Ford Edge
1. Desmonte los focos traseros, el parachoques trasero y su reforzamiento (no hará falta más). (¡Durante el
desmontaje tenga cuidado con la instalación eléctrica del parachoques!)
2. Introduzca el soporte principal del equipo de tiro desde atrás en los soportes del vehículo fijándolo con 6
tornillos M 14x45 a través de arandelas grandes. Después enderece el equipo de tiro y apriete según los
pares de apriete.
3. Haga un recorte en el parachoques (solamente en el tipo 001,-002) y vuelta a montar todas las piezas
desmontadas en el punto No .1.
N-3/3
INFO , +420 491421022Tel.:+420 491421021
mob.: +420 603360607
www.svc .czgroup
-mail: svc@svc .cze group
Průmyslová zóna - 179
547 01 Náchod-ČR
SVC GROUP s.r.o.
TYPE:
VTZ 001/2/3-415
1:1

This manual suits for next models

2

Other SVC GROUP Automobile Accessories manuals

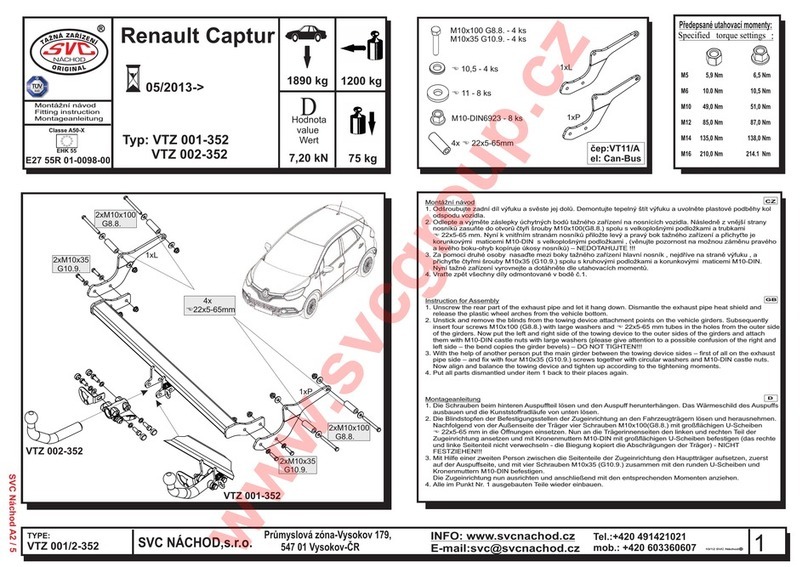
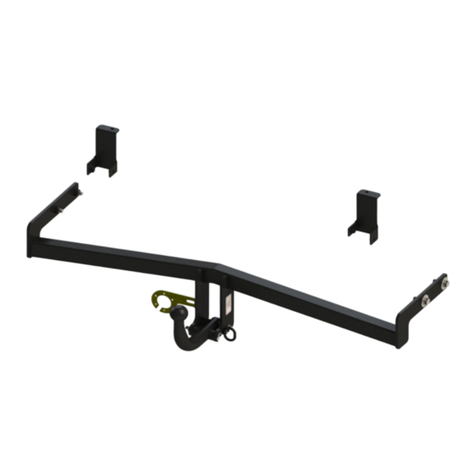
SVC GROUP VTZ 001-352 Install guide

SVC GROUP

SVC GROUP VTZ 001-352 Install guide

SVC GROUP VTZ 002-465 User manual

SVC GROUP

SVC GROUP VTZ 002-465 User manual

SVC GROUP VTZ 001-471 User manual

SVC GROUP

SVC GROUP VTZ 001-471 User manual

SVC GROUP VTZ 001-139 User manual

SVC GROUP

SVC GROUP VTZ 001-139 User manual

SVC GROUP VTZ 001-404 User manual

SVC GROUP

SVC GROUP VTZ 001-404 User manual

SVC GROUP VTZ 001-497 User manual

SVC GROUP

SVC GROUP VTZ 001-497 User manual

SVC GROUP CAR 3 RACE User manual

SVC GROUP

SVC GROUP CAR 3 RACE User manual

SVC GROUP VTZ 011-112 User manual

SVC GROUP

SVC GROUP VTZ 011-112 User manual

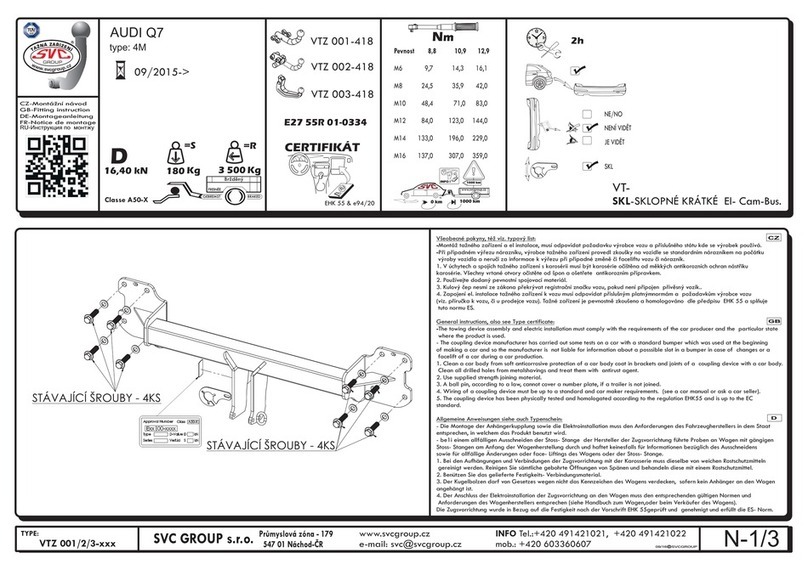
SVC GROUP VTZ 001-418 Install guide

SVC GROUP

SVC GROUP VTZ 001-418 Install guide

SVC GROUP VTZ 001-408 User manual

SVC GROUP

SVC GROUP VTZ 001-408 User manual

SVC GROUP VTZ 001-142 User manual

SVC GROUP

SVC GROUP VTZ 001-142 User manual

SVC GROUP VTZ 001-414 Install guide

SVC GROUP

SVC GROUP VTZ 001-414 Install guide

SVC GROUP VTZ 001-405 Install guide

SVC GROUP

SVC GROUP VTZ 001-405 Install guide

SVC GROUP VTZ 001-433 User guide

SVC GROUP

SVC GROUP VTZ 001-433 User guide

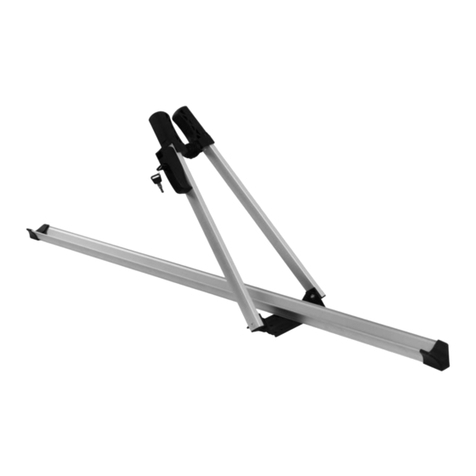
SVC GROUP CAR RACE-2 User manual

SVC GROUP

SVC GROUP CAR RACE-2 User manual

SVC GROUP TREK A-1 User manual

SVC GROUP

SVC GROUP TREK A-1 User manual

Popular Automobile Accessories manuals by other brands

Calix AB M18 Assembly instructions

Calix AB

Calix AB M18 Assembly instructions

Compass TRIPLE 02 112 Assembly and use instructions

Compass

Compass TRIPLE 02 112 Assembly and use instructions

Curt Manufacturing RockerBall 40047 installation manual

Curt Manufacturing

Curt Manufacturing RockerBall 40047 installation manual

Tessera4x4 SOT-1306 ROLL instruction manual

Tessera4x4

Tessera4x4 SOT-1306 ROLL instruction manual

DEFA 413865 Fitting instructions

DEFA

DEFA 413865 Fitting instructions

travall TDG 1199 FITTING INSTRUCTION

travall

travall TDG 1199 FITTING INSTRUCTION

ipf H4 installation manual

ipf

ipf H4 installation manual

Volvo 31664710 user guide

Volvo

Volvo 31664710 user guide

Pandora DWM-210 User & installation manual

Pandora

Pandora DWM-210 User & installation manual

Thule EuroWay G2 instructions

Thule

Thule EuroWay G2 instructions

EUFAB 13459 operating instructions

EUFAB

EUFAB 13459 operating instructions

X-tail X102 user manual

X-tail

X-tail X102 user manual

Parrot CK3100 Series installation manual

Parrot

Parrot CK3100 Series installation manual

Desay SV Automotive VA40-66CHX product manual

Desay SV Automotive

Desay SV Automotive VA40-66CHX product manual

Spike 77-2800-R-T installation instructions

Spike

Spike 77-2800-R-T installation instructions

Flash Cover MN006 installation manual

Flash Cover

Flash Cover MN006 installation manual

UnderCover 1010 installation guide

UnderCover

UnderCover 1010 installation guide

True 10RStager Installation and operational manual

True

True 10RStager Installation and operational manual

manuals.online logo
manuals.online logoBrands
  • About & Mission
  • Contact us
  • Privacy Policy
  • Terms and Conditions

Copyright 2025 Manuals.Online. All Rights Reserved.