manuals.online logo
Brands
  1. Home
  2. •
  3. Brands
  4. •
  5. Target
  6. •
  7. Indoor Furnishing
  8. •
  9. Target windham 249-16-0731 User manual

Target windham 249-16-0731 User manual

>>
© 2019 Target. The Bullseye Design is a trademark of Target Brands, Inc. All rights reserved.
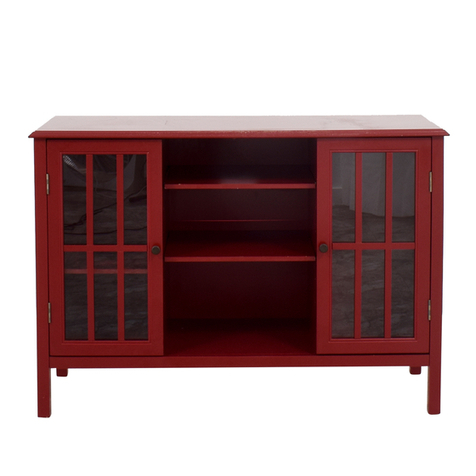
windham
one door accent cabinet
assembly instructions
style # WNCBNT1DBL (teal)
dpci # 249-16-0731
tcin # 14484166
style # WNCBNT1DRD (red)
dpci # 249-16-0730
tcin # 14484167
style # WNCBNT1DBK (black)
dpci # 249-16-0734
tcin # 14484139
style # WNCBNT1DGY (gray)
dpci # 249-16-0735
tcin # 14483887
style # WNCBNT1DWH (shell)
dpci # 249-16-0733
tcin # 14484164
style # WNCBNT1DPK (blush)
dpci # 249-17-0828
tcin # 53546442
style # WNCBNT1DSG (green)
dpci # 249-17-0829
tcin # 53546447
style # WNCBNT1DWB (blue)
dpci # 249-17-0830
tcin # 53546448
style # WNCBNT1DOV (overcast)
dpci # 249-16-4304
tcin # 50077027
2
Congratulations on your latest Target purchase.
Now what? Don’t start sweating over this box of parts. This will be easy. We did the hard work for you.
All you need to do is follow our simple instructions and you’ll be on your way to transforming your
room in no time. Good luck—though we’re condent you won’t need it.
before you begin
1. Check for damaged or missing parts. Call 1-855-MYTGTHOME (855-698-4846) to order missing supplies.
2. Use the carton as a working surface to prevent product damage during assembly.
3. Read through and review assembly steps.
4. Gather all tools prior to assembly.
tools needed
3
table of contents
introduction 2
hardware 4
parts list 5
how to use the cam lock system 6
assembly 7-14
QUESTIONS? Just call 1-855-MYTGTHOME (855-698-4846) for parts and service. For faster service, have the style number and dpci number ready when calling.
4
hardware
(H1) x 8
wooden dowel
(H2) x 4
cam bolt
(H3) x 4
cam
(H4) x 15
short pan-head screw
(H5) x 4
short at-head screw
(H6) x 4
shelf support
(H7) x 1
knob
(H8) x 1
knob bolt
(H9) x 4
allen head bolt
(H10) x 1
magnet
(H11) x 1
wall screw
(H12) x 1
wall anchor
(H13) x 1
wall strap
(H14) x 1
long pan-head screw
(H15) x 4
lock washer
(H16) x 6
washer
(H17) x 1
allen wrench
5
exploded diagram
ITEM DESCRIPTION QUANTITY
1 top panel 1
2 left side frame 1
3 right side frame 1
4 bottom panel 1
5 shelf panel 1
6 door 1
7 back panel 1
how to use the cam lock system
1.
Screw cam bolt into panel
2.
Align cam bolt(s) with cam(s)
and insert all the way into
cross-bored hole(s)
3.
Push cam into panel - arrow feature
on cam top points to panel edge
4.
Rotate cam(s) clockwise 180° to
lock panels together
5.
Panels should be tight against each
other and connection should be rigid
6
1. 2. 3.
4. 5.
7
step 1: attach right side frame to bottom panel
(H1) x 2
wooden dowel
(H2) x 2
cam bolt
(H3) x 2
cam
1.1. Carefully tap small wooden dowels into place. Leave 1/2” of the dowels sticking out.
1.2. Screw-In cam bolts must be screwed down ush.
1.3. Refer to page 6 for instructions on how to use the cam lock system.
8
step 2: attach left side frame
(H1) x 2
wooden dowel
(H2) x 2
cam bolt
(H3) x 2
cam
2.1. Carefully tap small wooden dowels into place. Leave 1/2” of the dowels sticking out.
2.2. Screw-In cam bolts must be screwed down ush.
2.3. Refer to page 6 for instructions on how to use the cam lock system.
step 3: attach magnet then attach top panel
If planning to install the door
opening to the right, use right side
pre-drilled holes for magnet.
If planning to install the door,
opening to the left, use left
side pre-drilled holes for magnet.
(H1) x 4
wooden dowel
(H4) x 2
short pan-head
screw
(H9) x 4
allen bolt
(H10) x 1
magnet
(H15) x 4
lock washer
(H16) x 4
washer
(H17) x 1
allen wrench
3.1. Carefully tap small wooden dowels into place. Leave 1/2” of the dowels sticking out.
3.2. Align bolts with pre-drilled holes.
3.3. Do not over tighten bolts or screws.
9
door opens to the right
door opens to the left
step 4: attach back panel
**FAILURE TO FOLLOW ALL DIRECTIONS ON THIS PAGE MAY RESULT IN UNEVEN DOOR ALIGNMENT**
Begin by installing all of the screws along one
edge of the back panel. Next, using a square
or tape measure, make sure that the cabinet is
square. (If using a tape measure, the distance
from one corner, diagonally to the other corner
should be the same in both directions.) If not,
apply gentle pressure to the diagonally opposite
corners to shift case into alignment. Re-measure
to ensure equal distances. Install the remaining
screws, starting with the corners.
(H4) x 13
short pan-head screw
4.1. Make sure the screws go through the pre-drilled holes properly.
4.2. Do not over tighten screws.
10
hole for anti-tip strap
pre-drilled holes
11
step 5: attach knob to door
(H7) x 1
knob
(H8) x 1
knob bolt
5.1. Align bolt with pre-drilled hole.
5.2. Do not over tighten bolt.
12
step 6: attach door
If planning to install the door
opening to the right, use right
side pre-drilled holes for hinges.
If planning to install the door,
opening to the left, use left
side pre-drilled holes for hinges.
(H5) x 4
short at-head screw
6.1. Align screws with pre-drilled holes.
6.2. Do not over tighten screws.
13
step 7: install shelf panel
(H6) x 4
shelf support
7.1. Insert shelf supports into desired hole. Di󰀨erent holes accomodate di󰀨erent shelf heights.
7.2. Angle shelves to t between the rails and set on top of shelf supports.
step 8: install anti-tip kit
(H14) x 1
long pan head screw
(H13) x 1
wall strap
(H16) x 2
washer
(H12) x 1
wall anchor
(H11) x 1
wall screw
Position against wall
Mark position of strap hole on
wall
Drill 1/4’’ hole
Tap in wall anchor
Fasten anti-tip strap
with at-head screw provided
14
(H14)
(H13)
(H16)
(H11) (H16)
(H12)
WARNING
Serious or fatal crushing injuries can occur
from furniture tip-over. To help prevent
tip-over:
• Install tip-over restraint provided.
• Place heaviest items
in
the lowest drawers.
• Do not set TV's or other heavy objects
on
top
of
this product, unless the product is
specifically designed to accommodate them.
• Never allow children to climb or hang
on
drawers,
doors, or shelves.
• Never open more than one drawer at a time.
(OR)
• Do not defeat or remove the drawer interlock
system .
Use of tip-over restraints may only reduce,
but not eliminate, the risk of tip-over.
This is a permanent label. Do not remove.
1. This unit has been designed for the weight shown. Exceeding this recommended weight could result in
excessive “sagging” of the top. Extreme overloading can cause failure of the top and possible injury.
2. Furniture Care Instructions: Dust with a clean, lint-free cloth. Use a spray furniture polish as needed.
15
QUESTIONS? Just call 1-855-MYTGTHOME (855-698-4846) for parts and service. For faster service, have the style number and DPCI number ready when calling.
inner shelf weight limit is 25 lbs.
50 lbs.
Install tip-over restraint provided.
• Place heaviest items
in
the lowest drawers.
• Do not set TV's or other heavy objects
on
top
of
this product, unless the product is
specifically designed to accommodate them.
•
or fatal crushing injuries can occur
from furniture tip-over. To help prevent
tip-over:
© 2019 Target. The Bullseye Design is a trademark of Target Brands, Inc. All rights reserved.

This manual suits for next models

17

Other Target Indoor Furnishing manuals
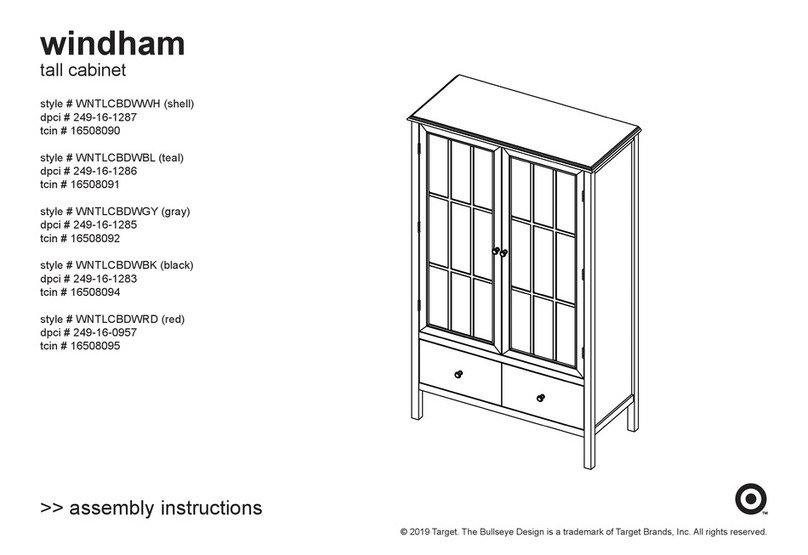
Target Halsted FRS80921B User manual

Target

Target Halsted FRS80921B User manual

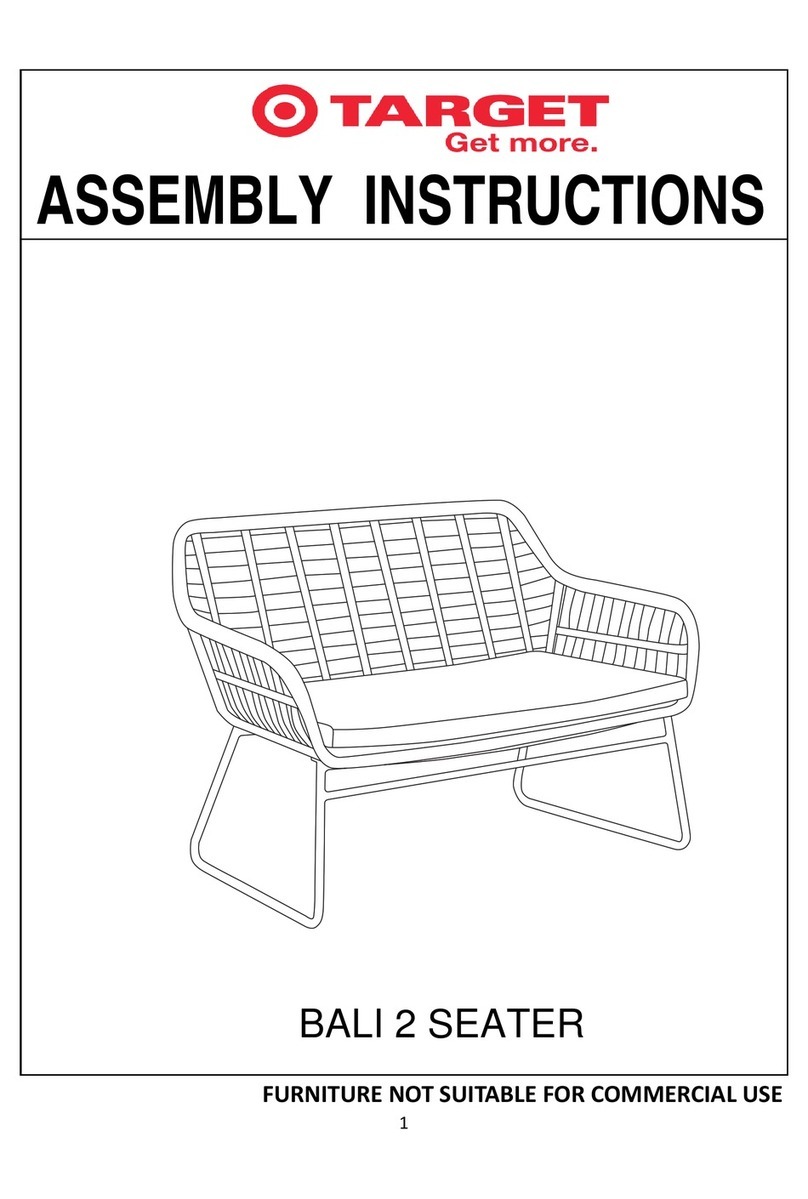
Target BALI SINGLE SEATER User manual

Target

Target BALI SINGLE SEATER User manual

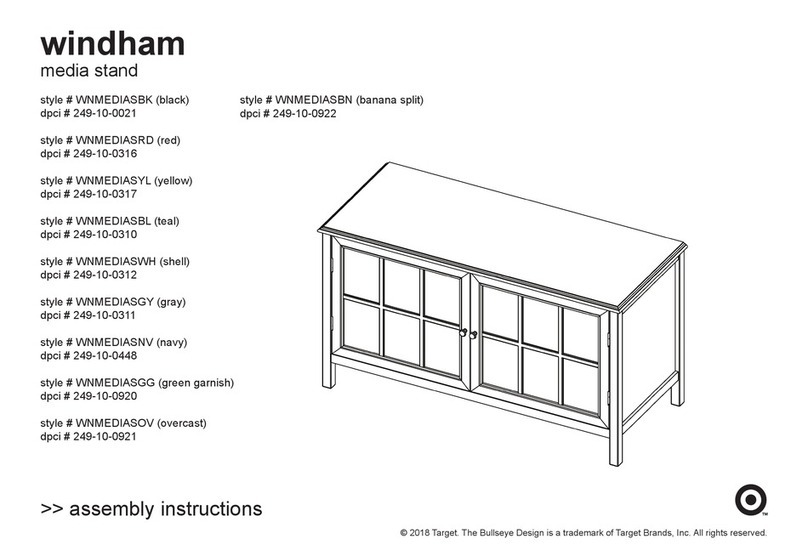
Target SVEIN SIDE TABLE WITH SHELF User manual
Target

Target SVEIN SIDE TABLE WITH SHELF User manual

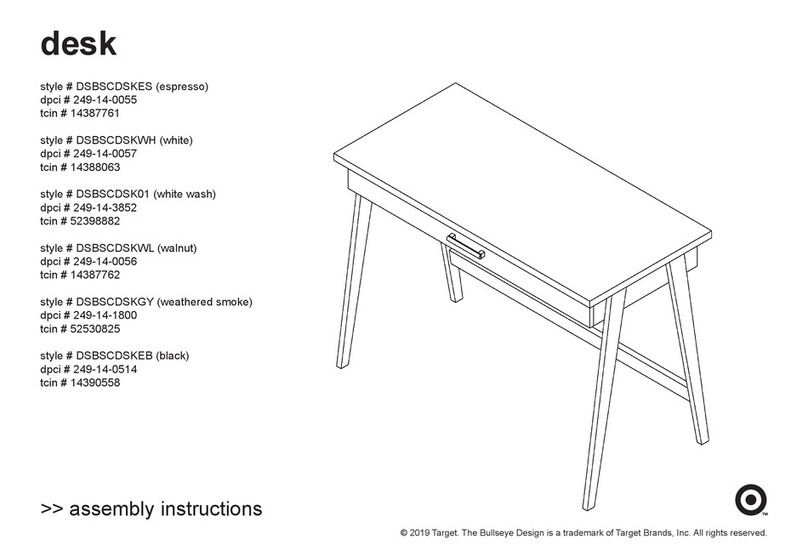
Target DSBSCDSKES User manual

Target

Target DSBSCDSKES User manual

Target paulo User manual

Target

Target paulo User manual

Target windham WNMEDIASBK User manual

Target

Target windham WNMEDIASBK User manual
Target Bullseye Design 249-01-5337 User manual
Target

Target Bullseye Design 249-01-5337 User manual

Target Warwick FKWWCB2DBR User manual

Target

Target Warwick FKWWCB2DBR User manual

Target BK5SHLFXEB User manual

Target

Target BK5SHLFXEB User manual

Target AKIRA User manual

Target

Target AKIRA User manual

Target VENUS BISTRO TABLE User manual

Target

Target VENUS BISTRO TABLE User manual

Target Threshold 25" Roll Back Tufted Counter stool User manual

Target

Target Threshold 25" Roll Back Tufted Counter stool User manual

Target Windham WNCBDW2DBK User manual

Target

Target Windham WNCBDW2DBK User manual

Target 249-14-0040 User manual

Target

Target 249-14-0040 User manual

Target Narrow bookcase canarrbkes User manual

Target

Target Narrow bookcase canarrbkes User manual

Target MYKONOS 1900 User manual

Target

Target MYKONOS 1900 User manual

Target MYKONOS User manual

Target

Target MYKONOS User manual

Target WINDHAM WNBENCHXBK User manual

Target

Target WINDHAM WNBENCHXBK User manual

Target wiley TGZLMEDXWH User manual

Target

Target wiley TGZLMEDXWH User manual

Target Halsted FRS80712GST4 User manual

Target

Target Halsted FRS80712GST4 User manual

Target Wiley TGZLCB2DWH User manual

Target

Target Wiley TGZLCB2DWH User manual

Target Terrace Installation guide

Target

Target Terrace Installation guide

Target fairglen TGFGCFTBWH User manual

Target

Target fairglen TGFGCFTBWH User manual

Target Halsted FRS80921 User manual

Target

Target Halsted FRS80921 User manual

Popular Indoor Furnishing manuals by other brands

velda 3i instructions

velda

velda 3i instructions

Sauder Adept 418085 Instruction booklet

Sauder

Sauder Adept 418085 Instruction booklet

smirthwaite IndiGO user manual

smirthwaite

smirthwaite IndiGO user manual

Next MALVERN CLASSIC CREAM Assembly instructions

Next

Next MALVERN CLASSIC CREAM Assembly instructions

IDdesign Fly Assembly instruction

IDdesign

IDdesign Fly Assembly instruction

Room to Grow Jubilee JUB118C Assembly instructions

Room to Grow

Room to Grow Jubilee JUB118C Assembly instructions

Whalen Bayside Furnishings CUS78BK-1 manual

Whalen

Whalen Bayside Furnishings CUS78BK-1 manual

Walker Edison D51X29 Assembly instructions

Walker Edison

Walker Edison D51X29 Assembly instructions

Dimensions Furniture 628 Assembly instructions

Dimensions Furniture

Dimensions Furniture 628 Assembly instructions

Furinno 10003 Assembly instruction

Furinno

Furinno 10003 Assembly instruction

HENN I11-10 Assembly instructions

HENN

HENN I11-10 Assembly instructions

Furniture of America CM3795SC-2PK Assembly instructions

Furniture of America

Furniture of America CM3795SC-2PK Assembly instructions

Demeyere 117104 - 02 Assembly instructions

Demeyere

Demeyere 117104 - 02 Assembly instructions

Stellar Works SL-SF110 Assembly instructions

Stellar Works

Stellar Works SL-SF110 Assembly instructions

binger EFIS 4 operating instructions

binger

binger EFIS 4 operating instructions

Bortoluzzi sliderS20 Assembly and adjustments

Bortoluzzi

Bortoluzzi sliderS20 Assembly and adjustments

Vivo DESK-TOP60C instruction manual

Vivo

Vivo DESK-TOP60C instruction manual

Leuwico imove user manual

Leuwico

Leuwico imove user manual

manuals.online logo
manuals.online logoBrands
  • About & Mission
  • Contact us
  • Privacy Policy
  • Terms and Conditions

Copyright 2025 Manuals.Online. All Rights Reserved.