manuals.online logo
Brands
  1. Home
  2. •
  3. Brands
  4. •
  5. Teknion
  6. •
  7. Indoor Furnishing
  8. •
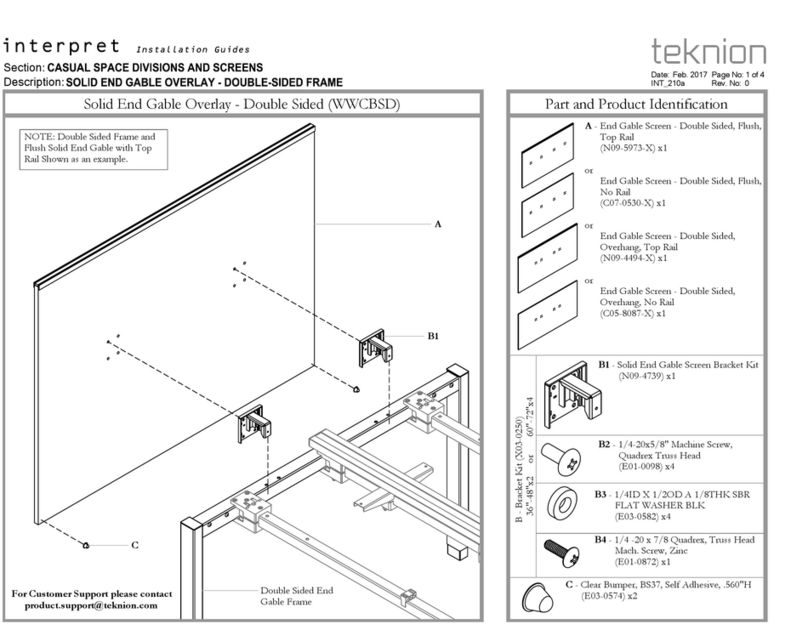
  9. Teknion Custom wood CWCT Series Operating and maintenance instructions

Teknion Custom wood CWCT Series Operating and maintenance instructions

custom wood
INDEX
By Section
Product Name
Product
Code
Guide
No.
Last
Updated
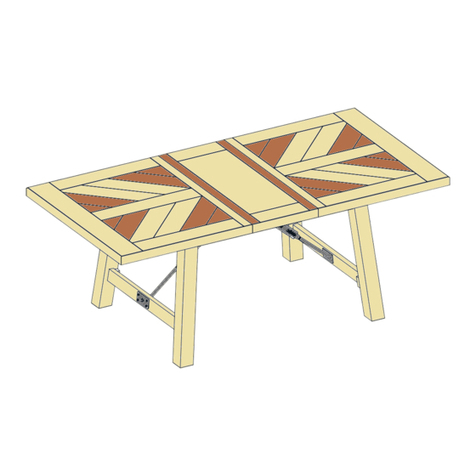
Single Section Community Table CWCT 101a Sept. 2017
Two Section Community Table CWCT 101b Sept. 2017
Three Section Community Table CWCT 101c Sept. 2017
C+D Conference Table, Flat Edge CWTF TCW_101 Sept. 2019
C+D Conference Table, Knife Edge CWTK
C+D Conference Table, Flat Wood-Metal, Edge USB CWTM
C+D Conference Table, Extended Knife, Edge Power CWTP
Credenza 0.5 Top, Closed Cabinet CWSC TCW_201 Sept. 2019
Credenza 0.5 Top, Drawer and Closed Cabinet CWSD
COMMUNITY TABLE
*Click on the desired Installation Guide to jump to the Guide
page.
CONFERENCE TABLE
STORAGE (C+D)
Sept 2019 PAGE 1 OF 1
Single Section Community Table 72"-96" (CWCT) Part and Product Identification
A - Single Section
Community Table
(CWCT) x 1
Section:
Description: Page No:
Date:
Rev. No: 0
SINGLE SECTION COMMUNITY TABLE
COMMUNITY TABLES
Sept 2017 1 of 6
COT_101a
custom wood
Installation Guides
B - Power Module
(B56-0058)
72" x 1
84-96" x 2
STEP 2: Loosen the two(2) screws from the bottom of the Power Module to allow the brackets
to move freely.
STEP 1: Remove thumb screws from Power Module to prepare it for installation.
Section:
Description: Page No:
Date:
REMOVE THUMB SCREWS LOOSEN SCREWS
COT_101a
2 of 6
Sept 2017
SINGLE SECTION COMMUNITY TABLE
COMMUNITY TABLES
custom wood
Installation Guides
B
STEP 4: Route power cable through the grommet hole in the worksurface.STEP 3: Slide brackets inwards to allow for the Power Module to slide into worksurface.
Section:
Description: Page No:
Date:
SLIDE TABS INWARD ROUTE POWER CABLE
COT_101a
3 of 6
Sept 2017
SINGLE SECTION COMMUNITY TABLE
COMMUNITY TABLES
custom wood
Installation Guides
Section:
Description: Page No:
Date:
REMOVE CENTER SUPPORT PANEL
Sept 2017 4 of 6
COT_101a
SINGLE SECTION COMMUNITY TABLE
COMMUNITY TABLES
custom wood
Installation Guides
STEP 5: Remove the center support access cover by pulling the cover.
STEP 7: Slide bracket outwards to secure the Power Module in place.STEP 6: Route the power cables for the Power Modules through the cut outs in the
worksurface. Be careful while routing the cables through the center support or side legs to
avoid kinks.
Section:
Description: Page No:
Date:
ROUTE CABLE THROUGH TABLE SLIDE BRACKET OUTWARDS
COT_101a
5 of 6
Sept 2017
SINGLE SECTION COMMUNITY TABLE
COMMUNITY TABLES
custom wood
Installation Guides
Detail View
Detail view
NOTE: These are the all the
possible cable routing options
shown.
STEP 9: Insert thumb screws that were removed in STEP 1 back into the Power Module.STEP 8: Tighten loosened screws from STEP 2 to secure the brackets in place.
Section:
Description: Page No:
Date:
TIGHTEN SCREWS ATTACH AND TIGHTEN THUMB SCREWS
COT_101a
6 of 6
Sept 2017
SINGLE SECTION COMMUNITY TABLE
COMMUNITY TABLES
custom wood
Installation Guides
Two Section Community Table 114"-144" (CWCT) Part and Product Identification
Section:
Description: Page No:
Date:
Rev. No: 0
TWO SECTION COMMUNITY TABLE
COMMUNITY TABLES
Sept 2017 1 of 16
COT_101b
custom wood
Installation Guides
H - Power Module
(B56-0058)
114" & 120" x 2
144" x 3
C - Center Support x1
B - End Piece x 2
A - Metal Frame
Sections
D - Bottom Cover Panel x4
E - Wire management
Channels x 2
F - L- Braket
(D56-0004) x qty. varies
G - Screw #8x5/8"
Panhead
(E57-0002) x qty. varies
I - Hex Grade
5 Bolt
5"x5/16" x 4
K - 5/16" Washer x12
J - 5/16" Nut x12
A1 A2
A1
A2
B
D
E
C
H
L - Screw #6x1"
Flathead x qty. varies
M - Wood Screw 1"
Section:
Description: Page No:
Date:
REMOVE NUT AND WASHER
Sept 2017 2 of 16
COT_101b
TWO SECTION COMMUNITY TABLE
COMMUNITY TABLES
custom wood
Installation Guides
STEP 1: Remove nut and washer from End Piece.
K
J
B
K
J
STEP 3: Place nut and washer onto the bolt and secure them in place.STEP 2: Slide Metal Frame into the End Piece, aligning the bolts with the holes in the Metal
Frame.
Section:
Description: Page No:
Date:
ALIGN METAL FRAME SECURE METAL FRAME
COT_101b
3 of 16
Sept 2017
TWO SECTION COMMUNITY TABLE
COMMUNITY TABLES
custom wood
Installation Guides
K
J
B
A1
K
J
STEP 5: Slide Metal Frame into the End Piece, aligning the bolts with the holes in the Metal
Frame.
STEP 4: Remove nut and washer from the End Piece.
Section:
Description: Page No:
Date:
REMOVE NUT AND WASHER ALIGN METAL FRAME
COT_101b
4 of 16
Sept 2017
TWO SECTION COMMUNITY TABLE
COMMUNITY TABLES
custom wood
Installation Guides
K
J
B
B
A2
K
J
STEP 7: Remove Nut, Bolt and Washer from the Metal Frame.STEP 6: Place nut and washer onto the bolt and secure them in place.
Section:
Description: Page No:
Date:
SECURE THE METAL FRAME REMOVE NUTS,BOLTS AND WASHERS
COT_101b
5 of 16
Sept 2017
TWO SECTION COMMUNITY TABLE
COMMUNITY TABLES
custom wood
Installation Guides
G
J
K
K
J
J
K
Section:
Description: Page No:
Date:
ALIGN METAL FRAMES
Sept 2017 6 of 16
COT_101b
TWO SECTION COMMUNITY TABLE
COMMUNITY TABLES
custom wood
Installation Guides
STEP 8: Align the Metal Frames with each other.
STEP 10: Remove the center support access cover by pulling the cover.STEP 9: Secure the Metal frames to each other using nuts, bolts and washers.
Section:
Description: Page No:
Date:
SECURE METAL FRAME REMOVE CENTER SUPPORT PANEL
COT_101b
7 of 16
Sept 2017
TWO SECTION COMMUNITY TABLE
COMMUNITY TABLES
custom wood
Installation Guides
G
J
K
C
K
G
J
Section:
Description: Page No:
Date:
CENTER SUPPORT INSTALLATION
Sept 2017 8 of 16
COT_101b
TWO SECTION COMMUNITY TABLE
COMMUNITY TABLES
custom wood
Installation Guides
STEP 11: Place Center Support underneath the worksurface aligning it with the drilled holes in the metal frame. Secure the Center Support in place.
C
L
STEP 13: Align Wire Management Channel to fit between the installed L-Brackets, lining up
the holes in the bracket with the pilot holes in the Wire Management Channel.
STEP 12: Attach L-Brackets in place by aligning the holes in the brackets with the pilot holes in
the worksurface and securing it in place.
Section:
Description: Page No:
Date:
ATTACH AND SECURE L-BRACKET ATTACH WIRE MANAGEMENT CHANNEL
COT_101b
9 of 16
Sept 2017
TWO SECTION COMMUNITY TABLE
COMMUNITY TABLES
custom wood
Installation Guides
G
F
E
STEP 15: Attach the Bottom Cover Panel, aligning the edge of the Bottom Cover to slide into
the Wire Management Channel and rotating it upwards towards the worsurface.
STEP 14: Secure Wire Management Channel by attaching it to the L-Brackets installed in STEP
13.
Section:
Description: Page No:
Date:
SECURE WIRE MANAGEMENT CHANNEL ATTACH BOTTOM COVER PANEL
COT_101b
10 of 16
Sept 2017
TWO SECTION COMMUNITY TABLE
COMMUNITY TABLES
custom wood
Installation Guides
G
F
Section:
Description: Page No:
Date:
SECURE BOTTOM COVER PANEL
Sept 2017 11 of 16
COT_101b
TWO SECTION COMMUNITY TABLE
COMMUNITY TABLES
custom wood
Installation Guides
STEP 16: Secure the Bottom Cover Panel using six(6) screws on all four(4) of the Bottom Cover Panels.
M
M
STEP 19: Loosen the two(2) screws from the bottom of the Power Module to allow the
brackets to move freely.
STEP 18: Remove thumb screws from Power Module to prepare it for installation.
Section:
Description: Page No:
Date:
REMOVE THUMB SCREWS LOOSEN SCREWS
COT_101b
12 of 16
Sept 2017
TWO SECTION COMMUNITY TABLE
COMMUNITY TABLES
custom wood
Installation Guides
H
STEP 21: Route power cable through the grommet hole in the worksurface.STEP 20: Slide brackets inwards to allow for the Power Module to slide into worksurface.
Section:
Description: Page No:
Date:
SLIDE TABS INWARD ROUTE POWER CABLE
COT_101b
13 of 16
Sept 2017
TWO SECTION COMMUNITY TABLE
COMMUNITY TABLES
custom wood
Installation Guides

This manual suits for next models

8

Other Teknion Indoor Furnishing manuals
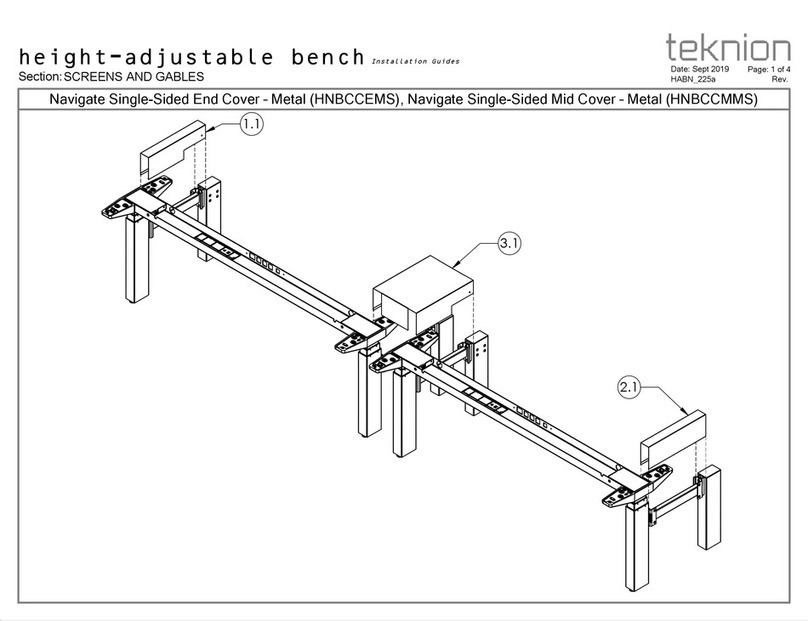
Teknion Dossier Operating and maintenance instructions

Teknion

Teknion Dossier Operating and maintenance instructions
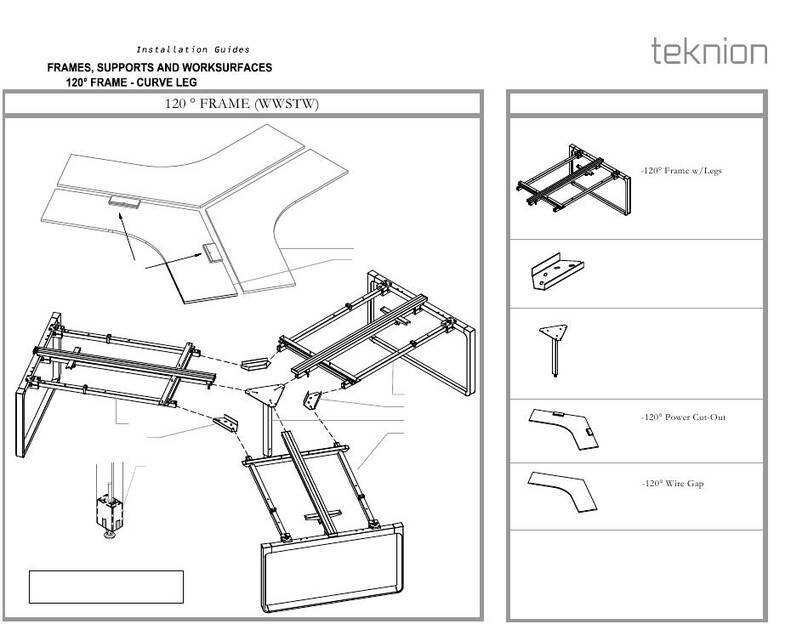
Teknion hiSpace User manual

Teknion

Teknion hiSpace User manual

Teknion interpret CHICAGO POWER MODULE DOUBLE SIDED... User manual

Teknion

Teknion interpret CHICAGO POWER MODULE DOUBLE SIDED... User manual

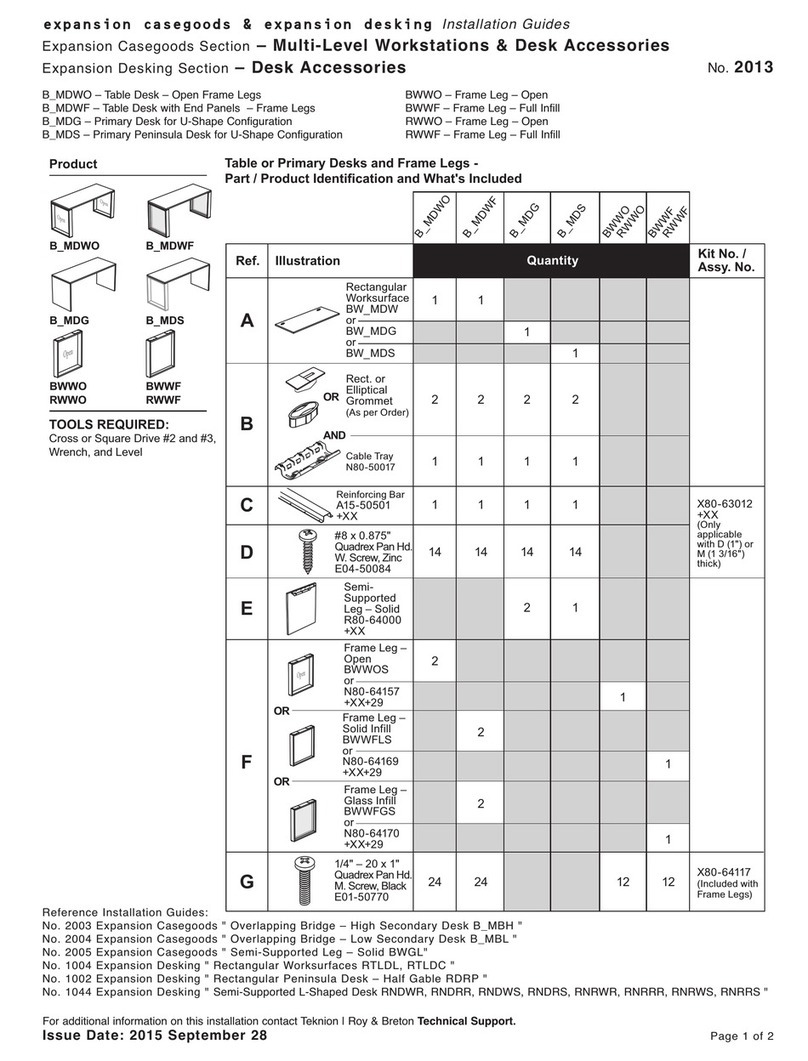
Teknion B_MDWO Operating and maintenance instructions

Teknion

Teknion B_MDWO Operating and maintenance instructions
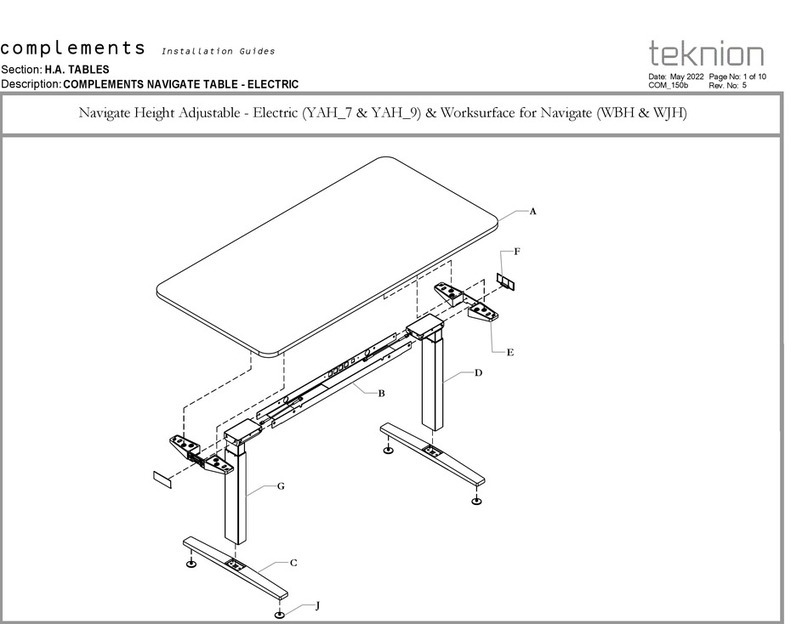
Teknion District Series User manual

Teknion

Teknion District Series User manual

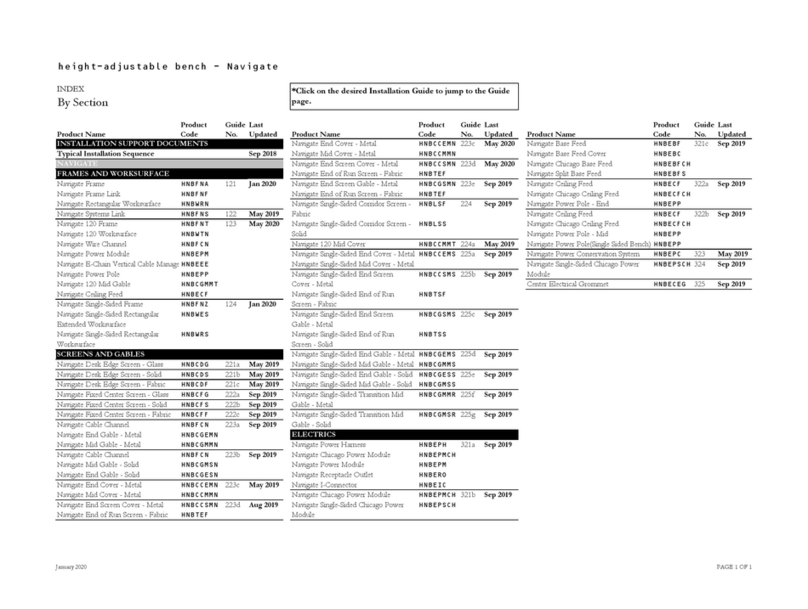
Teknion Navigate HNBFNZ Operating and maintenance instructions
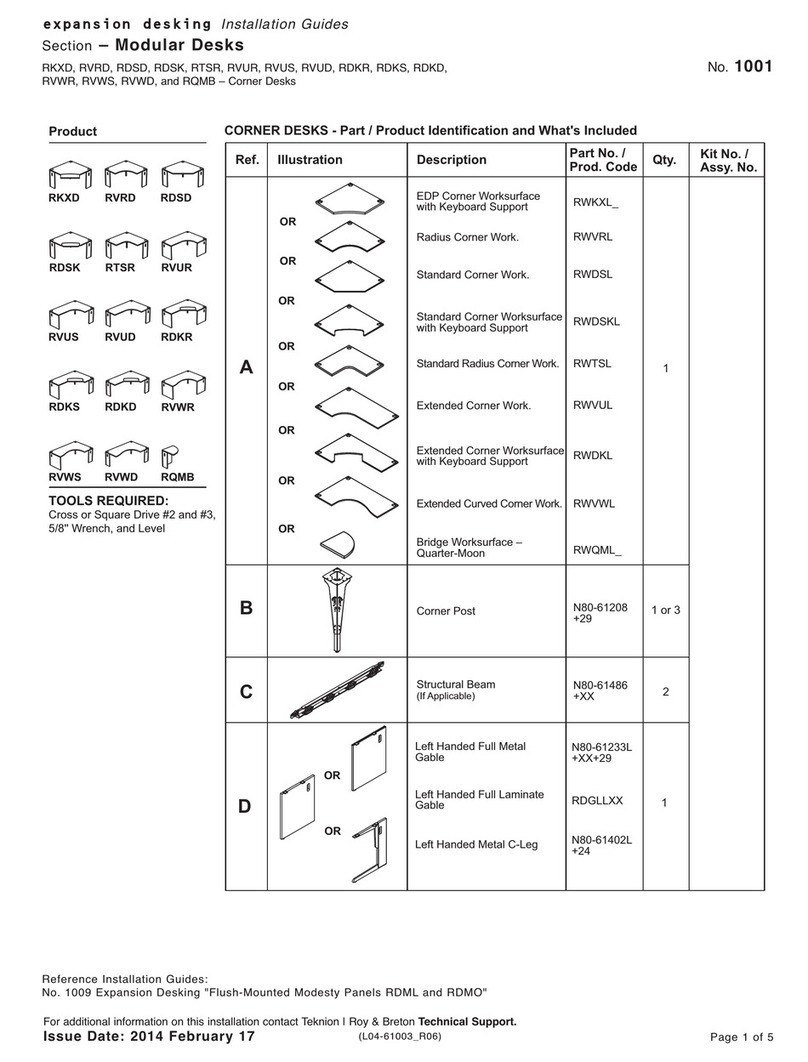
Teknion

Teknion Navigate HNBFNZ Operating and maintenance instructions
Teknion Complements User manual

Teknion

Teknion Complements User manual

Teknion BGATHB User manual

Teknion

Teknion BGATHB User manual

Teknion Dossier ZJRP Operating and maintenance instructions
Teknion

Teknion Dossier ZJRP Operating and maintenance instructions
Teknion Interpret User manual

Teknion

Teknion Interpret User manual

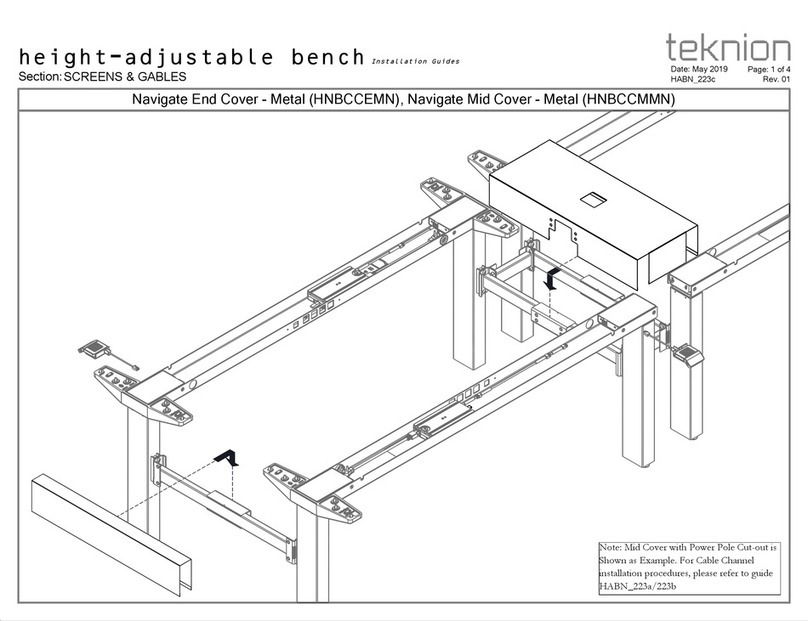
Teknion Navigate End Cover-Metal Operating and maintenance instructions

Teknion

Teknion Navigate End Cover-Metal Operating and maintenance instructions

Teknion Livello User manual

Teknion

Teknion Livello User manual

Teknion Interpret User manual

Teknion

Teknion Interpret User manual

Teknion Interpret User manual

Teknion

Teknion Interpret User manual

Teknion HTNB User manual

Teknion

Teknion HTNB User manual

Teknion NUOVA CONTESSA Owner's manual

Teknion

Teknion NUOVA CONTESSA Owner's manual

Teknion nuova contessa Owner's manual

Teknion

Teknion nuova contessa Owner's manual

Teknion Emote User manual

Teknion

Teknion Emote User manual

Teknion Sidewise SWDBA User manual

Teknion

Teknion Sidewise SWDBA User manual

Teknion hiSpace Technical manual

Teknion

Teknion hiSpace Technical manual

Teknion Interpret WWSSB Operating and maintenance instructions
Teknion

Teknion Interpret WWSSB Operating and maintenance instructions

Teknion Upstage User manual

Teknion

Teknion Upstage User manual

Teknion HWBWBT Operating and maintenance instructions

Teknion

Teknion HWBWBT Operating and maintenance instructions

Teknion Navigate Mid Gable-Solid Operating and maintenance instructions

Teknion

Teknion Navigate Mid Gable-Solid Operating and maintenance instructions
Popular Indoor Furnishing manuals by other brands

Profijt Meubel RODENT13T Assembly instruction

Profijt Meubel

Profijt Meubel RODENT13T Assembly instruction

Courtyard Creations KUS530Q Assembly instructions

Courtyard Creations

Courtyard Creations KUS530Q Assembly instructions

Jamall EPICA SL-15 Assembly instructions

Jamall

Jamall EPICA SL-15 Assembly instructions
Teknik Hudson 5427871 Assembly instructions
Teknik

Teknik Hudson 5427871 Assembly instructions
Kvik MU820 quick start guide

Kvik

Kvik MU820 quick start guide

Rodler Venecia Assembly instructions
Rodler

Rodler Venecia Assembly instructions

Reflexion Boost 2.0 owner's manual

Reflexion

Reflexion Boost 2.0 owner's manual

Core Products BK925 manual

Core Products

Core Products BK925 manual

Naterial ODYSSEA II 3276007268065 Assemby - Use - Maintenance Manual

Naterial

Naterial ODYSSEA II 3276007268065 Assemby - Use - Maintenance Manual

Allen + Roth Hartford WSL48VSJ manual

Allen + Roth

Allen + Roth Hartford WSL48VSJ manual

HOMCOM 700-124V91 manual

HOMCOM

HOMCOM 700-124V91 manual

Matt Blatt MBCESC2DCNA user guide

Matt Blatt

Matt Blatt MBCESC2DCNA user guide

Kvik MH969-060 manual

Kvik

Kvik MH969-060 manual

Nomad Furniture Full Moon Assembly instructions
Nomad Furniture

Nomad Furniture Full Moon Assembly instructions

Moveis Bechara TOPAZIO Product Guide and Assembly Instructions
Moveis Bechara

Moveis Bechara TOPAZIO Product Guide and Assembly Instructions
Bestar 29420-1 manual

Bestar

Bestar 29420-1 manual

Forte LKDT221R Assembling Instruction

Forte

Forte LKDT221R Assembling Instruction

Anmytek H0013 Assembly and Care Guide

Anmytek

Anmytek H0013 Assembly and Care Guide

manuals.online logo
manuals.online logoBrands
  • About & Mission
  • Contact us
  • Privacy Policy
  • Terms and Conditions

Copyright 2025 Manuals.Online. All Rights Reserved.