manuals.online logo
Brands
  1. Home
  2. •
  3. Brands
  4. •
  5. Tennsco
  6. •
  7. Indoor Furnishing
  8. •
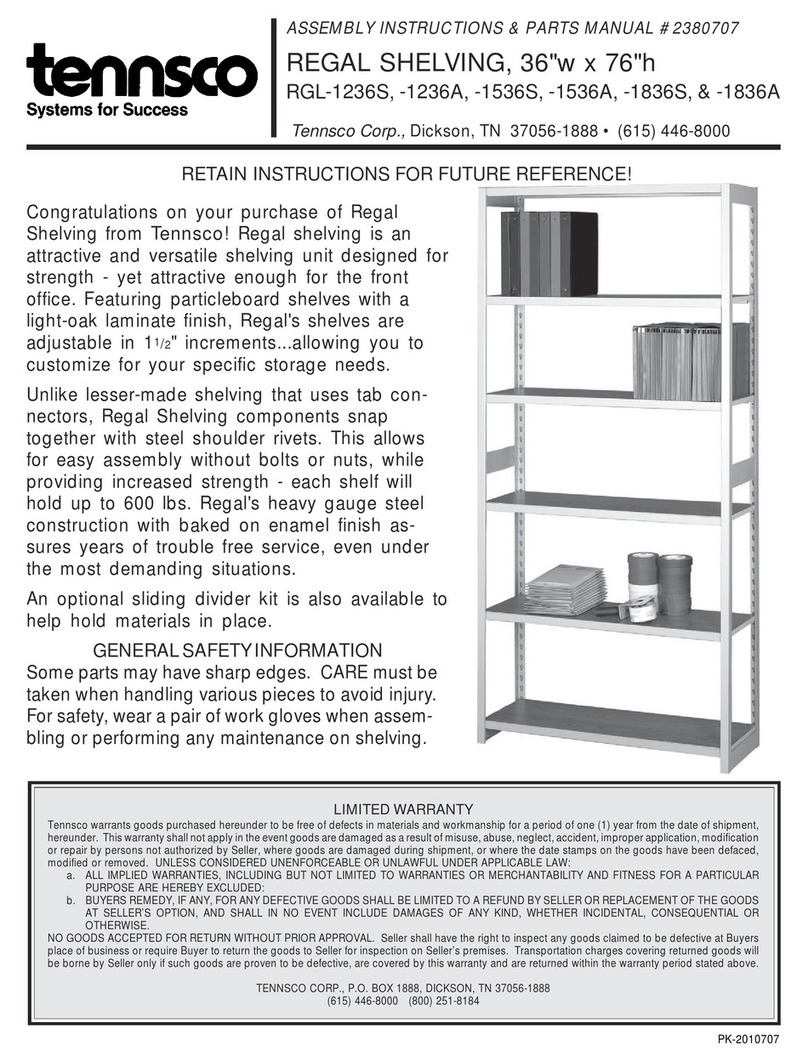
  9. Tennsco RGL-1236S Instruction Manual

Tennsco RGL-1236S Instruction Manual

Tennsco LLC., Dickson, TN 37056-1888 • (866) 446-8686
ASSEMBLY INSTRUCTIONS & PARTS MANUAL
RETAIN INSTRUCTIONS FOR FUTURE REFERENCE
GENERAL SAFETY INFORMATION
Some parts may have sharp edges. CARE must be taken when handling various pieces to avoid injury.
For safety, wear a pair of work gloves when assembling or performing any maintenance on the units.
LIMITED WARRANTY
Tennsco warrants goods purchased hereunder to be free of defects in materials and workmanship for a period of one (1) year from the date of shipment, hereunder. This warranty shall not apply in
the event goods are damaged as a result of misuse, abuse, neglect, accident, improper application, modication or repair by persons not authorized by Seller, where goods are damaged during
shipment, or where the date stamps on the goods have been defaced, modied or removed. UNLESS CONSIDERED UNENFORCEABLE OR UNLAWFUL UNDER APPLICABLE LAW:
a. ALL IMPLIED WARRANTIES, INCLUDING BUT NOT LIMITED TO WARRANTIES OR MERCHANTABILITY AND FITNESS FOR A PARTICULAR PURPOSE ARE HEREBY EXCLUDED:
b. BUYERS REMEDY, IF ANY, FOR ANY DEFECTIVE GOODS SHALL BE LIMITED TO A REFUND BY SELLER OR REPLACEMENT OF THE GOODS AT SELLER’S OPTION, AND SHALL IN NO
EVENT INCLUDE DAMAGES OF ANY KIND, WHETHER INCIDENTAL, CONSEQUENTIAL OR OTHERWISE.
NO GOODS ACCEPTED FOR RETURN WITHOUT PRIOR APPROVAL. Seller shall have the right to inspect any goods claimed to be defective at Buyers place of business or require Buyer to return the
goods to Seller for inspection on Seller’s premises. Transportation charges covering returned goods will be borne by Seller only if such goods are proven to be defective, are covered by this warranty
and are returned within the warranty period stated above.
PK-2380319
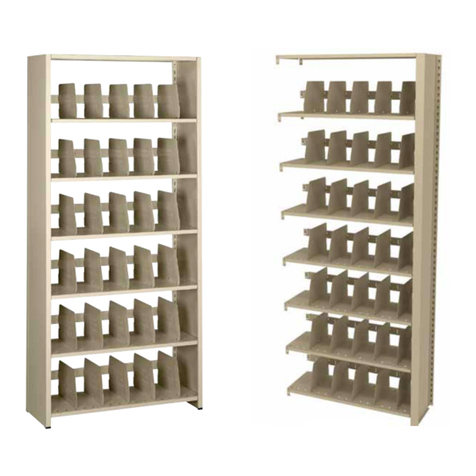
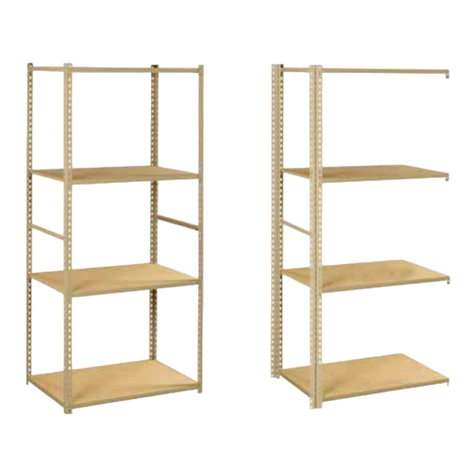
Regal Shelving System
Model Series: RGL-1236S, RGL-1236A, RGL-1536S,
RGL-1536A, RGL-1836S, & RGL-1836A
Starter Unit Add-On Unit
ASSEMBLY OF REGAL SHELVING UNIT
Two people are recommended for assembly. Approximate assembly time: 30-40 minutes.
The reference numbers used throughout this sheet refer to the illustration on the back cover.
This is to help you to identify the various parts as they are mentioned.
1. Determine whether you will be assembling a single unit, or multiple
units joined together. For a single unit, use two “L” uprights (Ref.
No. 1). For multiple units, use one “L” upright and one “T” upright
(Ref. No. 2).
NOTE: Supports are not fully seated unless you can see
an open space through the hole in the shelf support as
shown above.
Tool Required: Rubber Mallet
2. Examine the slots on the two uprights you have
selected. When an upright is standing up on end,
the narrow part of the keyhole slots should be
toward the oor, while the wide part should be
toward the top.
3. After determining which end of the upright is the bottom, attach a
plastic foot (Ref. No. 5 or 6) to the bottom of each upright by
pressing it into place. Note the differences at right between a foot
for an “L” upright and a foot for a “T” upright.
4. Lean one “L” upright against
a wall, and temporarily place
one shelf support (Ref. No. 3)
at approximately eye
level to properly space the
uprights. Make sure both
rivets on the shelf support are
fully inserted into the keyhole
slots, and are rmly seated
at the bottom of the keyhole
as shown in step 5.
5. To rmly seat shelf supports and backstops, make sure both
rivets are fully inserted in the keyhole slots, and rmly seated in
the bottom of the slot. A rubber mallet can be helpful in
accomplishing this.
6. Hold a second “L” upright
(or a “T” upright if you
are assembling multiple
units) approximately 36”
away. Pull the rst
upright away from the
wall using the shelf support
you attached in step 4, and
insert the other end of the
shelf support into the
second upright.
NOTE: Take care not to
let the uprights fall,
as they are not
stable until step 7
is completed.
7. Place a shelf support at the rear of the unit in the bottom keyhole
slots, in the same way you placed the shelf support in steps 4
through 6. Then, place a second shelf support at bottom front of
unit.
Open “L” Upright Open “T” Upright
12
Up
Down
“L” Upright “T” Upright


Properly Seated Not Seated
8. Place a shelf (Ref. No. 4) on
the unit by inserting it so it
nests into the shelf supports.
A properly placed shelf will
t ush with the shelf
supports as shown below.
11. If you are assembling only a single unit, assembly is now complete
(shown below left). If you are assembling multiple units joined
together, your starter unit should have been assembled with a “T”
upright (shown below right), as described in step 1. Continue with
step 12.
12. Repeat steps 6 through 10, adding the shelf supports to the “T”
upright already in place on the unit and nishing with an “L”
upright to complete the add-on unit..
9. Continue the assembly by
placing supports and
shelves as described in
steps 7 and 8. The
recommended spacing
between the shelves is
fteen inches, (eight open
keyhole slots between the
supports).
10. The top shelf supports and top shelf should be installed ush with
the upright top.

Completed Single Unit Completed Unit Ready for Add-on

REPLACEMENT PARTS
Tennsco makes every effort to ensure that all units ship complete with all parts and arrive undamaged.
However, should your unit contain missing or damaged parts, please contact your purchase location.
DESCRIPTION
36W x 24D x 76H
PART NO.
5 Openings
QUANTITY
1
2
3
4
5
6
49B238
Starter Add-On
RGL-1236S RGL-1236A
Open “L” Upright OR
Open “L” Upright OR
Open “L” Upright
Closed “T” Upright OR
Closed “T” Upright
Shelf Support
Shelf OR
Shelf OR
Shelf
Plastic “L” Foot
Plastic “T” Foot
1276LO
1576LO
1876LO
1276TO
1576TO
1876TO
HS-3614
PBLS-3612
PBLS-3615
PBLS-3618
LTNF-L
LTNF-T
2
--
--
--
--
--
12
6
--
--
4
--
--
2
--
--
--
--
12
--
6
--
4
--
--
--
2
--
--
--
12
--
--
6
4
--
--
--
--
--
--
1
12
--
--
6
--
2
Plain Shelf
(Ref No. 4)
Shelf Support
(Ref No. 3)

Plastic Foot
for “L” Upright
(Ref No. 5) Plastic Foot
for “T” Upright
(Ref No. 6)

Open “T”
Upright
(Ref No. 2)
Open “L”
Upright
(Ref No. 1)
REF.
NO.
36W x 18D x 76H
5 Openings
QUANTITY
Starter Add-On
RGL-1836S RGL-1836A
36W x 18D x 76H
5 Openings
QUANTITY
Starter Add-On
RGL-1536S RGL-1536A
--
--
--
1
--
--
12
6
--
--
--
2
--
--
--
--
1
--
12
--
6
--
--
2
Optional Sliding Divider Kit (RSKD-12) is available for purchase from your previous purchase location.


This manual suits for next models

5

Other Tennsco Indoor Furnishing manuals
Tennsco Jumbo Storage Cabinet J2478SU Instruction Manual

Tennsco

Tennsco Jumbo Storage Cabinet J2478SU Instruction Manual

Tennsco SR-59 Instruction Manual

Tennsco

Tennsco SR-59 Instruction Manual

Tennsco SINGLE TIER Instruction Manual

Tennsco

Tennsco SINGLE TIER Instruction Manual

Tennsco JUMBO Instructions for use

Tennsco

Tennsco JUMBO Instructions for use

Tennsco zt7 Series User manual

Tennsco

Tennsco zt7 Series User manual

Tennsco APT-3672S Instruction Manual

Tennsco

Tennsco APT-3672S Instruction Manual

Tennsco BCD18-72 Instruction Manual

Tennsco

Tennsco BCD18-72 Instruction Manual

Tennsco B-8400 User manual

Tennsco

Tennsco B-8400 User manual

Tennsco EB-12 Instruction Manual

Tennsco

Tennsco EB-12 Instruction Manual

Tennsco ZA7-4824S-4D Instruction Manual

Tennsco

Tennsco ZA7-4824S-4D Instruction Manual

Tennsco 7114 Instruction Manual

Tennsco

Tennsco 7114 Instruction Manual

Tennsco J2478A-N-W Instruction Manual

Tennsco

Tennsco J2478A-N-W Instruction Manual

Tennsco 1276 Series Instruction Manual
Tennsco

Tennsco 1276 Series Instruction Manual

Tennsco RGL-1236S User manual

Tennsco

Tennsco RGL-1236S User manual

Tennsco Standard Combination Cabinet 7220 Instruction Manual

Tennsco

Tennsco Standard Combination Cabinet 7220 Instruction Manual

Tennsco LSS-361872 Instruction Manual

Tennsco

Tennsco LSS-361872 Instruction Manual

Tennsco 1436 Instruction Manual

Tennsco

Tennsco 1436 Instruction Manual

Tennsco J1842A-N Instruction Manual

Tennsco

Tennsco J1842A-N Instruction Manual

Tennsco 7818 Instruction Manual

Tennsco

Tennsco 7818 Instruction Manual

Tennsco 1470 Instruction Manual

Tennsco

Tennsco 1470 Instruction Manual

Tennsco CINCO NIVELES Instruction Manual

Tennsco

Tennsco CINCO NIVELES Instruction Manual

Tennsco B-6000 Instruction Manual

Tennsco

Tennsco B-6000 Instruction Manual

Tennsco J2478A-N Instruction Manual

Tennsco

Tennsco J2478A-N Instruction Manual

Tennsco J2478C Instruction Manual

Tennsco

Tennsco J2478C Instruction Manual

Popular Indoor Furnishing manuals by other brands

Regency LWMS3015 Assembly instructions

Regency

Regency LWMS3015 Assembly instructions

Furniture of America CM7751C Assembly instructions

Furniture of America

Furniture of America CM7751C Assembly instructions

Safavieh Furniture Estella CNS5731 manual

Safavieh Furniture

Safavieh Furniture Estella CNS5731 manual

PLACES OF STYLE Ovalfuss Assembly instruction

PLACES OF STYLE

PLACES OF STYLE Ovalfuss Assembly instruction

Trasman 1138 Bo1 Assembly manual

Trasman

Trasman 1138 Bo1 Assembly manual

Costway JV10856 manual

Costway

Costway JV10856 manual

moss DESIGN Caisson Credenza Assembly instructions

moss DESIGN

moss DESIGN Caisson Credenza Assembly instructions

Aquaglide FULL DECK 15.0 owner's manual

Aquaglide

Aquaglide FULL DECK 15.0 owner's manual

AREBOS AR-HE-SW30 user manual

AREBOS

AREBOS AR-HE-SW30 user manual

Till-Hilft Fulda 87005.330 Assembly instructions

Till-Hilft

Till-Hilft Fulda 87005.330 Assembly instructions

Twoey Outside 2010 quick start guide

Twoey Outside

Twoey Outside 2010 quick start guide

Hettich Easys 200 operating instructions

Hettich

Hettich Easys 200 operating instructions

The bedboss RELAX 404 Series owner's manual

The bedboss

The bedboss RELAX 404 Series owner's manual

Oeseder Möbelindustrie Bern 991 720 Assembly instructions

Oeseder Möbelindustrie

Oeseder Möbelindustrie Bern 991 720 Assembly instructions

Costway HW68469 user manual

Costway

Costway HW68469 user manual

Next ALIX A27743 Assembly instructions

Next

Next ALIX A27743 Assembly instructions

BROSA Hans Assembly guide

BROSA

BROSA Hans Assembly guide

Prodigg MINIKA PBA015T-FUR installation manual

Prodigg

Prodigg MINIKA PBA015T-FUR installation manual

manuals.online logo
manuals.online logoBrands
  • About & Mission
  • Contact us
  • Privacy Policy
  • Terms and Conditions

Copyright 2025 Manuals.Online. All Rights Reserved.