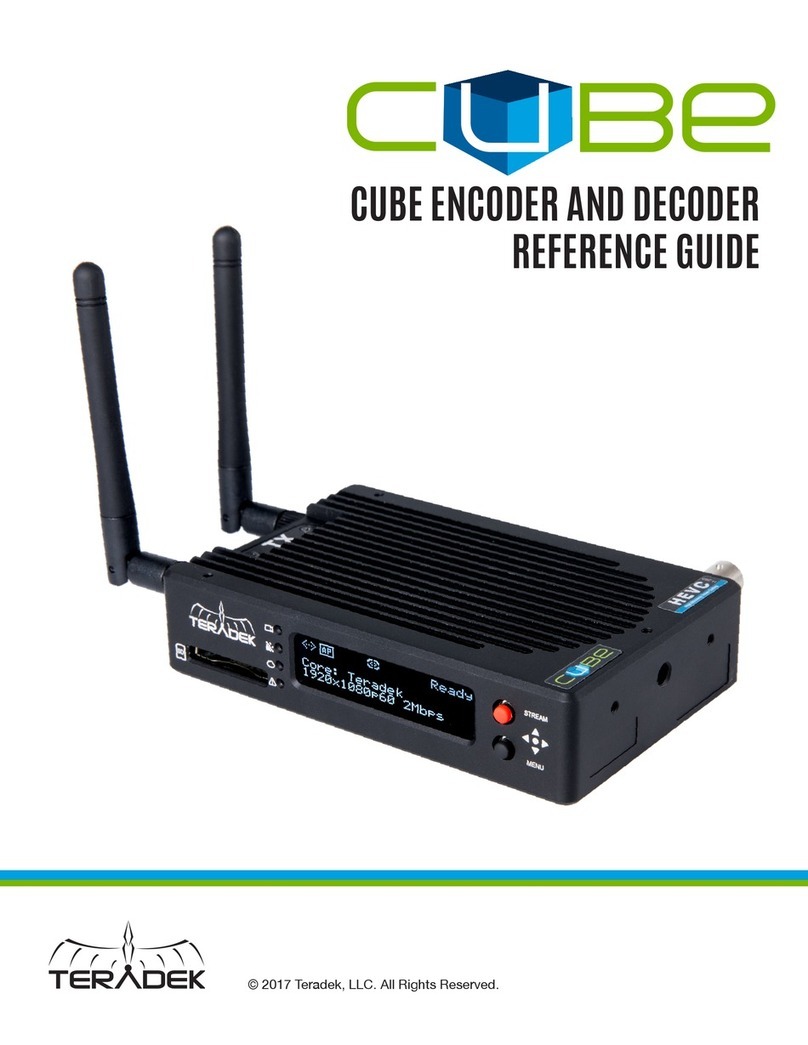
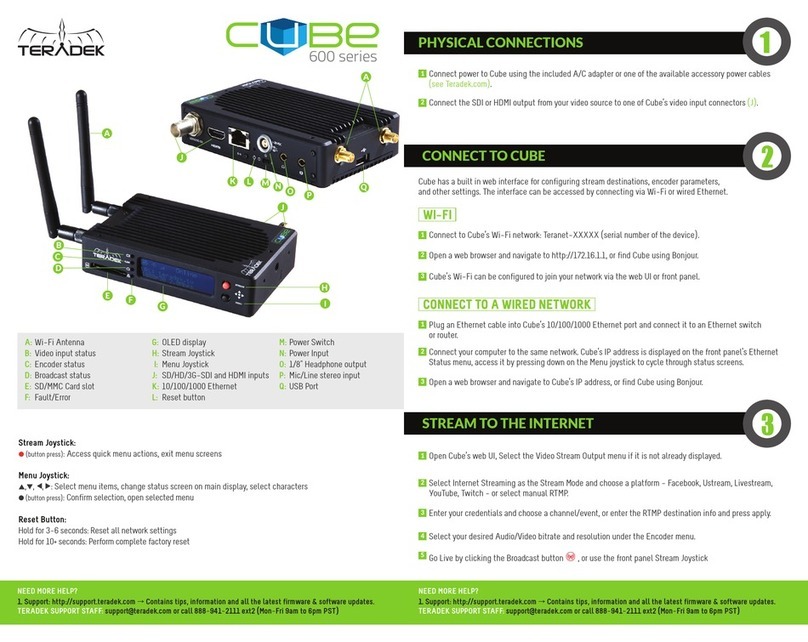
Teradek CUBE Series User manual


Table of Contents
...................................................................................................................Introduction!4
................................................................................................................Video Manual!5
.........................................................................................................Mounting Options!6
.........................................................................................................Power Connection!7
.............................................................................................Encoder & Decoder LEDs!8
......................................................................................Audio & Antenna Connections!8
.......................................................................................Encoder to Software Decoder!9
....................................................................................................Encoder to Decoder!10
....................................................................................................Encoder to Decoder!11
.....................................................................................................Encoder to Internet!12
...........................................................................................................Encoder to iOS !12
.................................................................................Using TeraCentral to View Video!13
.................................................................................Using TeraCentral to View Video!14
........................................................................................................Configuring Cube!15
.............................................................................TeraCentral’s Video Options Menu!15
...................................................................................Entering Cube’s Menu System!16
..............................................................................................................Logon Screen!16
...........................................................................................Menu System Dashboard!17
............................................................................................Recommended Bit Rates!18
.......................................................................................System - Firmware Upgrade!19
.................................................................................Video Setup - Encoder Settings!20
.....................................................................................Encoder Settings (Continued)!21
...................................................................................Video Setup - Stream Settings!22
..........................................................................................................Cube to Internet!23
.................................................................................................Red Proxy Recording !24

...............................................................................................Configure Cube to iOS!25
........................................................................................................Button Functions!26
...........................................................................................Reset to Factory Defaults!27
..................................................................................Factory Configured Cube Pairs!27
..............................................Create Ad Hoc Network Between Encoder & Decoder!28
......................................Network Your Cube Encoder & Decoders Via Infrastructure!29
................................Pairing Your Cube Encoder & Decoder Using the Reset Button!30
.....................................Pairing Your Cube Encoder & Decoder in the Menu System!31
3

Introduction
The Cube family is the world’s first camera-top streaming HD video solution.
The family includes six encoders and six decoders. The Cube Encoder streams
HD video over any IP network. The WiFi equipped Cube Encoder creates its
own wireless (ad hoc) network, and streams HD video directly to a Cube
Decoder, a computer or laptop, a server, or a mobile device with no other
networking equipment required. To extended your broadcast range, Cube
Encoder can join an infrastructure network by using a wireless router and
stream over a LAN or WAN. Cube also streams video over the USB port to 4G
modems. Cube features native integration with Livestream.com for turn-key live
Internet streaming and content distribution.
Cube Decoders
Cube Decoders are designed for placement on small handheld monitors or
large HD displays and feature either HDMI or HD-SDI output. Cube Encoders
and Decoders can be purchased in pairs that factory default to a direct
connection.
Support Forum
A support forum is located at http://forum.teamvideocube.com/
Check the support forum often for the latest firmware updates and updated
documentation.

Video Manual
Online Screencasts
Teradek’s website features how-to screencasts to assist with set-up and
configuration of Cube. Go to http://cube.teradek.com/training.html
Screencast tutorials are also available on www.vimeo.com/teradek/albums
Example of Screencasts
•TeraCentral
•RED Proxy Recording
•Cube Encoder to Decoder Ad Hoc Networking, plus Pairing
•Cube Encoder to Decoder Infrastructure Networking, plus pairing
•Adjusting Latency in VLC
•Cube network discovery on OSX using Bonjour in Safari
•View Live Streaming Video Using VLC on OSX
•Cube Discovery, OSX, BonjourFoxy in Firefox
•Firmware Upgrade Instructions
•Networking Basics for Cube
5

Mounting Options
Hotshoe MountUnder-camera Mount
Accessory Top Mount Decoder to Monitor

Power Connection
Male 0B.304
LEMO on Cable
Female 0B.304
LEMO in Cube
4.
3.
1.
2.
1.
2.
4.
3.
Cube features a 4 pin LEMO connector for power. An AC Power adapter is
provided with Cube. Teradek offers accessory cables for a variety of popular
connections including PowerTap, XLR, RED ONE specific. Accessories are
available at www.teradek.com/cube or from your local Teradek dealer.
LEMO Pin Configuration:
1. DC +
2. GP Input (future)
3. GP Output (future)
4. DC -
7

Encoder & Decoder LEDs
Standard Operation
Audio & Antenna Connections
Audio Input/Output
Cube Encoder accepts audio input over HDMI and HD-SDI. Cube Encoder also
includes a 1/8-inch stereo line-level TRS input. Choose the audio input in
Cube’s Web Interface under Video Setup - Device Settings - Audio Input.
Cube Decoder features a 1/8-inch stereo line-level TRS output and embedded
out.
Antenna
Connect the included antenna if you are using Cube’s WiFi functionality. Note:
Cube is compatible with RP-SMA antennas.
8
PWR WiFI
ENC VID
Off: WiFi disabled
Red: WiFi disconnected
Orange: WiFi is connecting
Green: WiFi connected
Off: No video sync
Red: Resolution not supported
Orange: Mismatch resolution
Green: Video sync
Red: Codec is restarting or error
Orange: Codec initializing or vidloss.
Blinking during firmware update.
Green: Encoding/Decoding
Power: Green is on

Encoder to Software Decoder
Ad Hoc Networking
Cube Encoder creates the network, the computer joins Cube’s network. VLC
on the computer decodes the video for playback.
Infrastructure Networking
The router creates the network, and both Cube and the computer join that
network. VLC on the computer decodes the video for playback.

Encoder to Decoder
Ad Hoc Network
In this example, the Cube Encoder (on the left) creates a wireless network, and
the Cube Decoder (on the right) joins that network. After joining the network,
the devices are paired and video streams from the Encoder to the Decoder.
WiFi range is limited in Ad Hoc mode, and Cube streams to a single device.
Infrastructure mode (through a router) is the preferable network configuration.
Ad Hoc mode is for operating in remote locations where a router is unavailable.
A screencast describing Encoder to Decoder Ad Hoc Networking is located at:
http://vimeo.com/18132088
A screencast describing networking basics is located at:
http://vimeo.com/14644326
10

Encoder to Decoder
Infrastructure Network
In this example, the wireless router creates a wireless network, and both the
Cube Encoder (on the left) and Cube Decoder (on the right) join that network.
After the devices are paired, video streams from the Encoder to the Decoder
through the wireless router.
Streaming through a router provides both longer WiFi distances and high
bitrates, and allows security options.
A screencast describing Encoder to Decoder Infrastructure Networking is
located at http://vimeo.com/18132179
11

Encoder to Internet
Livestream or Custom CDN
Internet
Join a network that has broadband Internet connectivity and use either
Livestream.com’s turn-key content distribution service, or develop your own
custom content distribution system.
Encoder to iOS
When streaming to an iOS device, the same ad hoc and infrastructure network
configuration rules apply. This example shows Encoder to iPad Ad Hoc.
12

Using TeraCentral to View Video
Ad Hoc Networking
1. Connect video and power to your Cube Encoder.
2. On your computer, open your wireless networking utility.
3. Choose your Cube from the list of WiFi devices in your area.
4. Launch TeraCentral from the included USB stick, or install TeraCentral on
your computer and launch it.
5. In TeraCentral, click the Launch button of the desired video stream. The
video will begin playing.
TeraCentral Screencast: http://vimeo.com/19053415
Connecting to Cube

Using TeraCentral to View Video
Infrastructure Networking
1. Power-up your router.
2. Connect Cube (Encoder) to video, computer (via Ethernet), and power.
3. Launch TeraCentral from the included USB stick, or install TeraCentral on
your computer and launch it.
4. In TeraCentral, click the Configure Settings button for your Cube. Cube’s
menu system appears.
5. Open Cube’s Startup Wizard, click Next.
6. Click Configure Wireless Network, then Infrastructure Mode
7. Choose the desired network (i.e. your router), click OK.
8. Click Apply Network Settings then click Next. Cube has joined your
wireless network.
9. Confirm Video input then click Next.
10. Configure Streaming Video
•Choose Wireless
•Choose Software Decoder such as VLC (RTSP)
11. Click OK, then click Next and then complete the Wizard.
12. Physically disconnect Cube’s wired Ethernet connection.
13. Scan wireless networks, choose the same network that Cube just joined.
14. Close and relaunch TeraCentral. Your Cube will appear.
15. In TeraCentral, click Launch Video.
14

Configuring Cube
There are three ways to configure Cube:
•TeraCentral’s Video Options menu
•Using Cube’s Setup Wizard
•In Cube’s Menu System
TeraCentral’s Video Options Menu
When launching video from TeraCentral, VLC’s video options are pre-configured
and optimized automatically from the settings in the Video Options menu.
Adjusting Latency
The primary functionality of
the Video Options menu is to
adjust the latency. Enter a
value (in milliseconds) in the
Caching menu to achieve the
desired latency. Lower latency
settings (e.g. 100ms) result in
occasional digital artifacts
appearing in the video, high
settings (e.g. 500ms) result in
smoother video playback at
the cost of a longer delay.
300ms is the default setting.
15

Entering Cube’s Menu System
TeraCentral allows you to use Cube without entering the menu system. For
customized configuration, access to Cube’s menu system is required. The
following steps assume that you’ve connected to Cube’s network.
1. Launch TeraCentral from the included USB stick, or install TeraCentral on
your computer and launch it.
2. In TeraCentral, click the Configure Settings button for your Cube. Cube’s
Start-up Wizard or Logon Screen will appear.
3. If Cube’s Logon Screen appears, enter your Username & Password and
click Login.
Note: Cube’s Start-up Wizard appears the first time Cube is configured. The
Start-up Wizard allows for basic configuration of network, video, and stream
settings. Skipping the Wizard takes you to Cube’s main login screen.
Logon Screen
1. Enter the Username and Password*
2. Click Logon. The Dashboard appears.
*The default Username and Password is
admin. Change the password in the System
- Password Change menu.
16

Menu System Dashboard
Dashboard is the landing page after logging on. Clicking the Play button next
to the stream downloads a VLC shortcut. Clicking the shortcut in your
downloads folder launches the video stream in VLC*.
*Note: VLC must be installed on your machine to launch video from the
shortcut. When launching from TeraCentral, VLC is imbedded in TeraCentral, so
there is no need to download it.
17
The video
thumbnail, video
input mode, and
video output
settings are
displayed here.
Choose your
decoder, then use
the slider bar for
quick video
encoder
configuration
Network settings
are displayed here.
Click the arrow to
download a VLC
shortcut used to
launch video.
Use this area to
customize your
stream settings.

Recommended Bit Rates
For Streaming Video
System
480p
720p
1080i
iPad - Ad Hoc < 100’
1
2
N.A.
iPad - Ad Hoc > 100’
0.5
1
N.A.
iPad - Infrastructure < 100’ to Access Point
2
2.5
N.A.
iPad - Infrastructure > 100’ to Access Point
1
1.5
N.A.
Laptop - Ad Hoc < 100’
2
3
5
Laptop - Ad Hoc > 100’
1
1.5
3
Laptop - Infrastructure < 100’ to Access Point
2
3
5
Laptop - Infrastructure > 100’ to Access Point
2
3
5
Wired Ethernet
3
5
8
Recommended Bit Rates are based on outdoor testing without obstructions
between Cube’s antenna and the receiver. Adjust bit rates in the Setup Wizard
or the Video Setup - Encoder Settings menu.
18

System - Firmware Upgrade
To Update Cube with the Latest Firmware
1. Go to forum.teamvideocube.com - Customer Care - Announcements to
get the latest software.
2. Disconnect your HDMI (if applicable) before updating the firmware.
3. Logon to Cube’s web interface.
4. Click System - Firmware Upgrade.
5. Click Choose File. Select the firmware update file.
6. Follow the onscreen directions.
Note: Do not unplug Cube during firmware upgrade and reboot process! The
Codec LED blinks during the upgrade.
Screencast: http://vimeo.com/14655522
19

Video Setup - Encoder Settings
Encoder Settings
•Compression Profile: High profile provides the highest quality per bit.
•Caching: Set the caching value in the decoder to be equal to, or greater than
this value. The recommended setting in normal mode is 300ms, and 70ms in
Intra Refresh mode.
•Intra Refresh mode: Intra Refresh mode allows lower latency settings when
used with a Cube Decoder. First, enable Intra Refresh mode, then lower the
caching value from 300ms to 70ms. Then power-cycle Cube to enable
settings.
20
Other manuals for CUBE Series
1
Table of contents
Other Teradek Media Converter manuals

Teradek
Teradek CUBE Series User manual
Teradek
Teradek Slice User manual

Teradek
Teradek VidiU User manual

Teradek
Teradek VidiU User manual

Teradek
Teradek CUBE User manual

Teradek
Teradek beam User manual
Teradek
Teradek VidiU mini User manual

Teradek
Teradek Vidiu X User manual
Teradek
Teradek Brik User manual
Teradek
Teradek Slice User manual
Popular Media Converter manuals by other brands
DEVA
DEVA SmartGen 6.0 Maintenance and operation instruction manual
AMX
AMX MAX-CSE Dimensional drawing
MicroE Systems
MicroE Systems Mercury 1000 Installation manual and reference guide
OTS
OTS FT010AB Series Installation and operation manual

TR-Electronic
TR-Electronic LMRI-46-755 SSI manual
ADF Web
ADF Web HD67C52-2-B2 user manual

