Texi Catenaccio – Operation manual 2019
[2] Safety Precautions
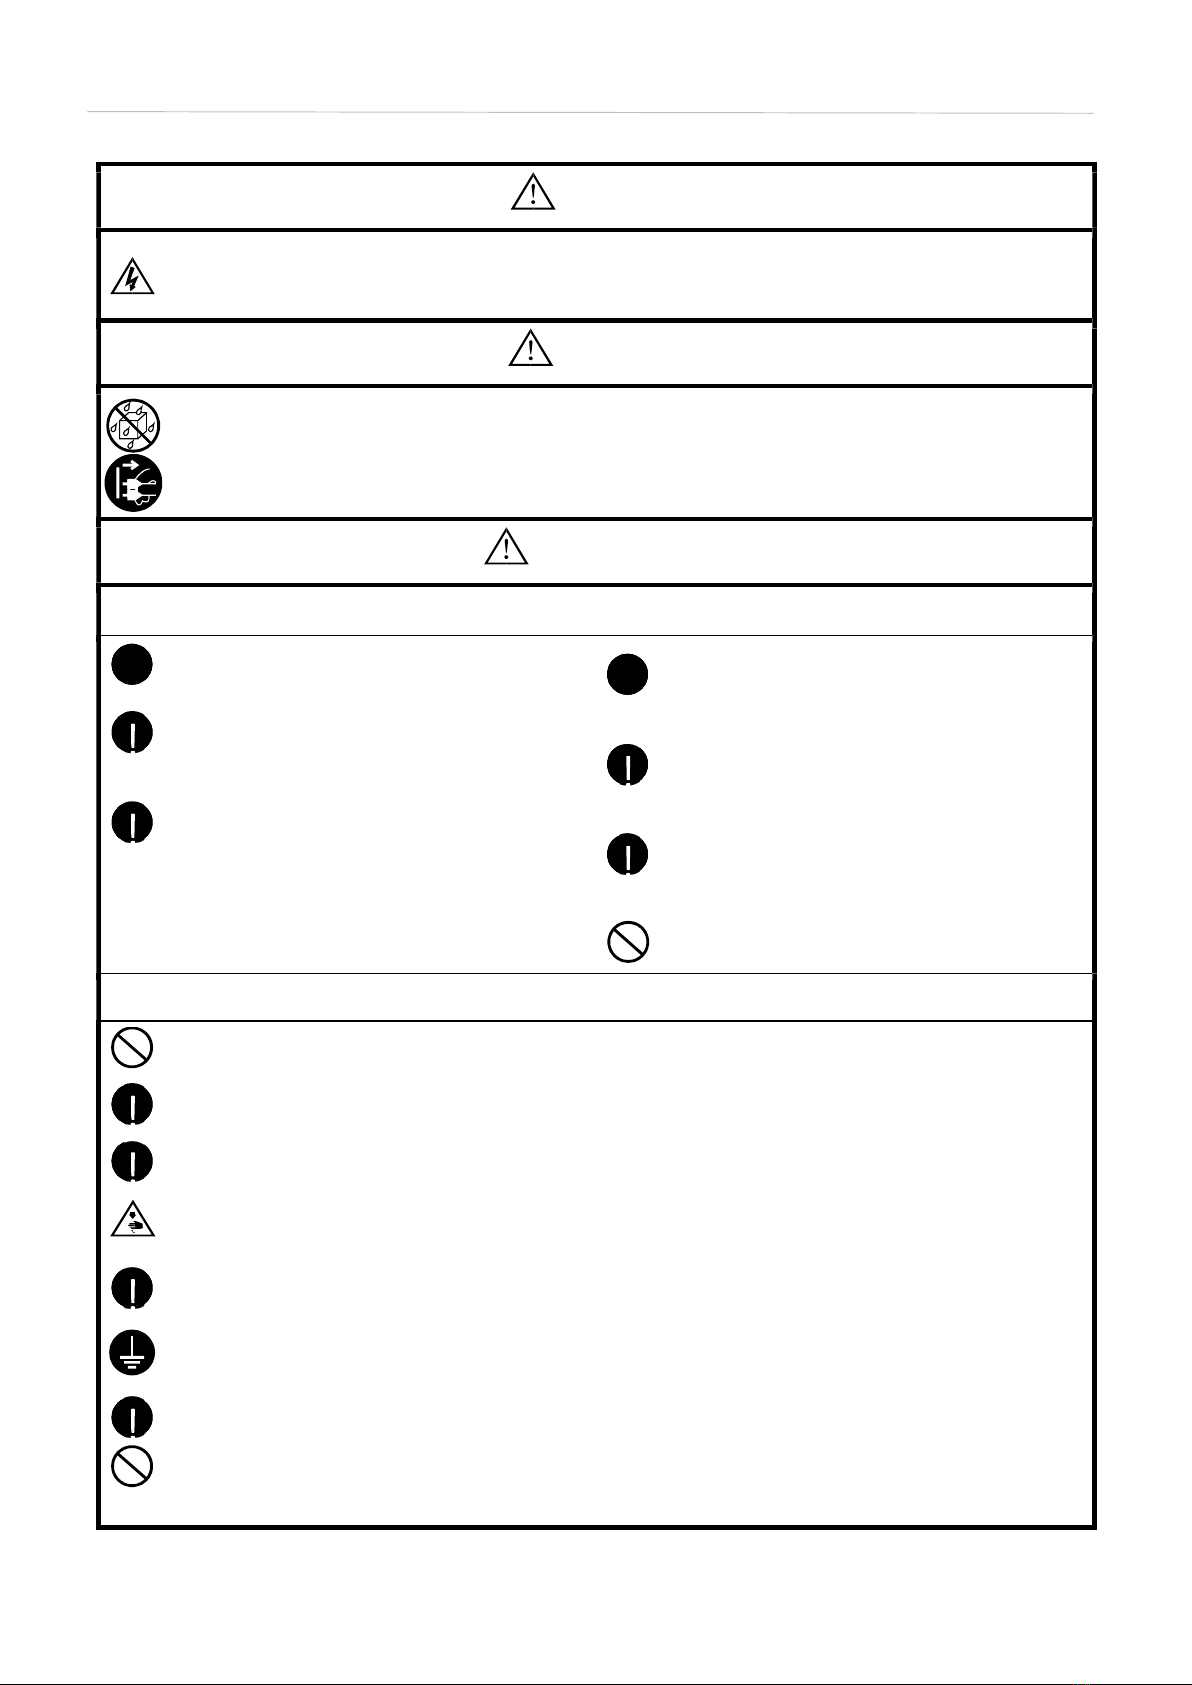
Danger
After closing the power switch and unplugging the power plug from the socket, wait for at least 5
minutes before opening the control box cover. Touching areas with high voltage can cause casualties.
Warning
No liquid is allowed to enter the sewing machine, otherwise it will cause fire, electric shock and
operation failure.
If any liquid enters the sewing machine (head or control box), turn off the power supply immediately,
pull the plug out of the socket, and contact the vendor or senior technicians.
Be Careful
Use Environment
!
Please don't use in the environment with strong electrical
interference sources such as power line interference and
electrostatic interference.
Strong electrical interference sources may affect the correct
operation of sewing machines.
The fluctuation of power supply voltage should be used in
the environment of rated voltage less than ±10%.
The large fluctuation of voltage will affect the correct
operation of sewing machine.
The power supply capacity should be greater than the
power consumption of the sewing machine. Insufficient
power supply capacity will affect the correct operation of
sewing machine.
The ambient temperature should be used in the range of
535 degrees Celsius.
Low or high temperature will affect the correct operation of
sewing machine.
Relative humidity should be in the range of 45% - 85%, and
the equipment will not form condensation environment. Dry
or wet environment and dew will affect the correct operation
of sewing machine.
In case of thunderstorm, turn off the power switch and pull
the power plug off the socket. Lightning may affect the
correct operation of sewing machine.
Do not connect devices other than USB memory to USB
connection ports. Otherwise, it may lead to failure.
Install
Ask trained technicians to install sewing machines.
Please commission the purchase shop or electrical
professionals for electrical wiring.
The sewing machine weighs about 35Kg. Installation must be
completed by more than two people.
Please do not connect the power supply before the installation
is completed. If you step on the pedal by mistake, the se -wing
machine will cause injury.
Please unplug the plug after cutting off the power supply.
Otherwise, it will easily become the cause of the failure of the
control box.
It must be grounded.
Insufficient ground connection is the cause of electric shock
or mis-operation.
When fixing the cable, do not bend the cable excessively or
fix it too tightly with clamps, which may cause fire or electric
shock.
If a worktable with casters is used, the casters should be
fixe -d so that they cannot move.
When the head of the sewing machine falls down, please
make sure that the worktable is fixed and not moved at will.
Accidents such as foot clamping have occurred in the
movement of worktable, which is the cause of personal
accidents.
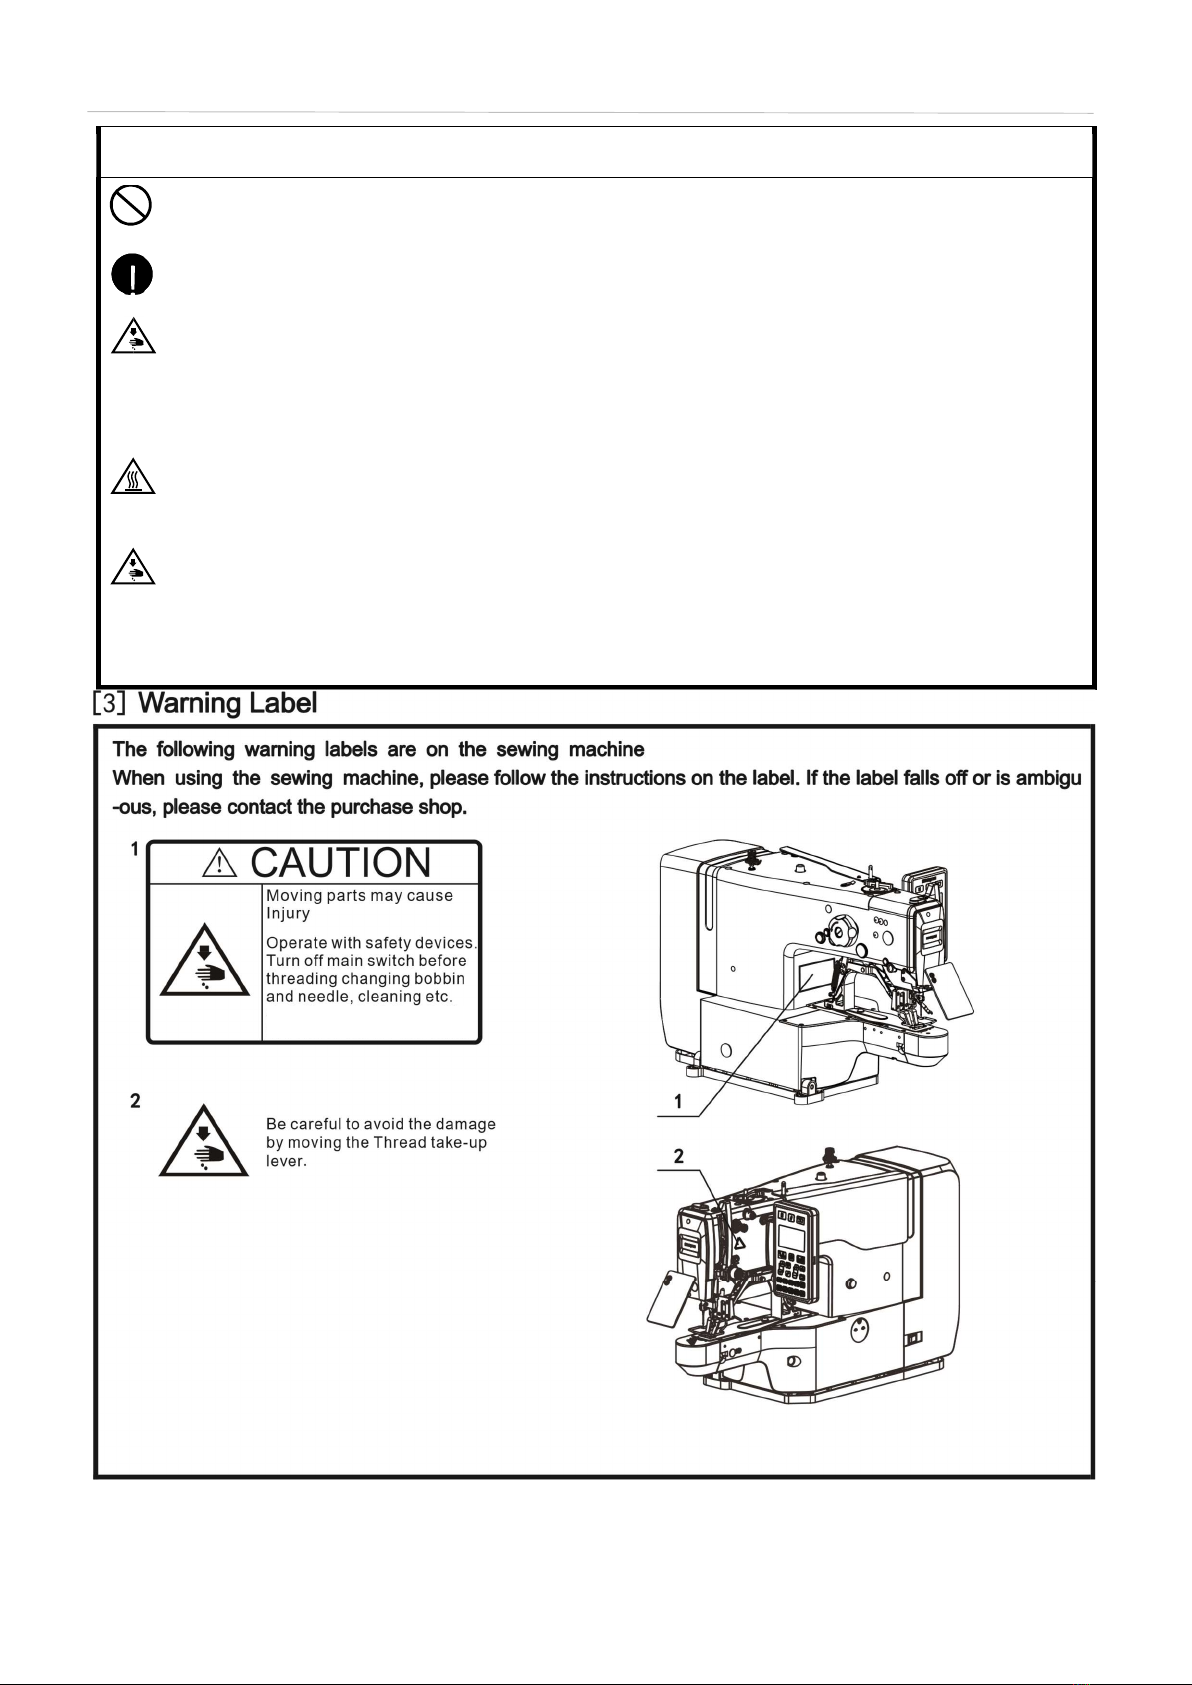
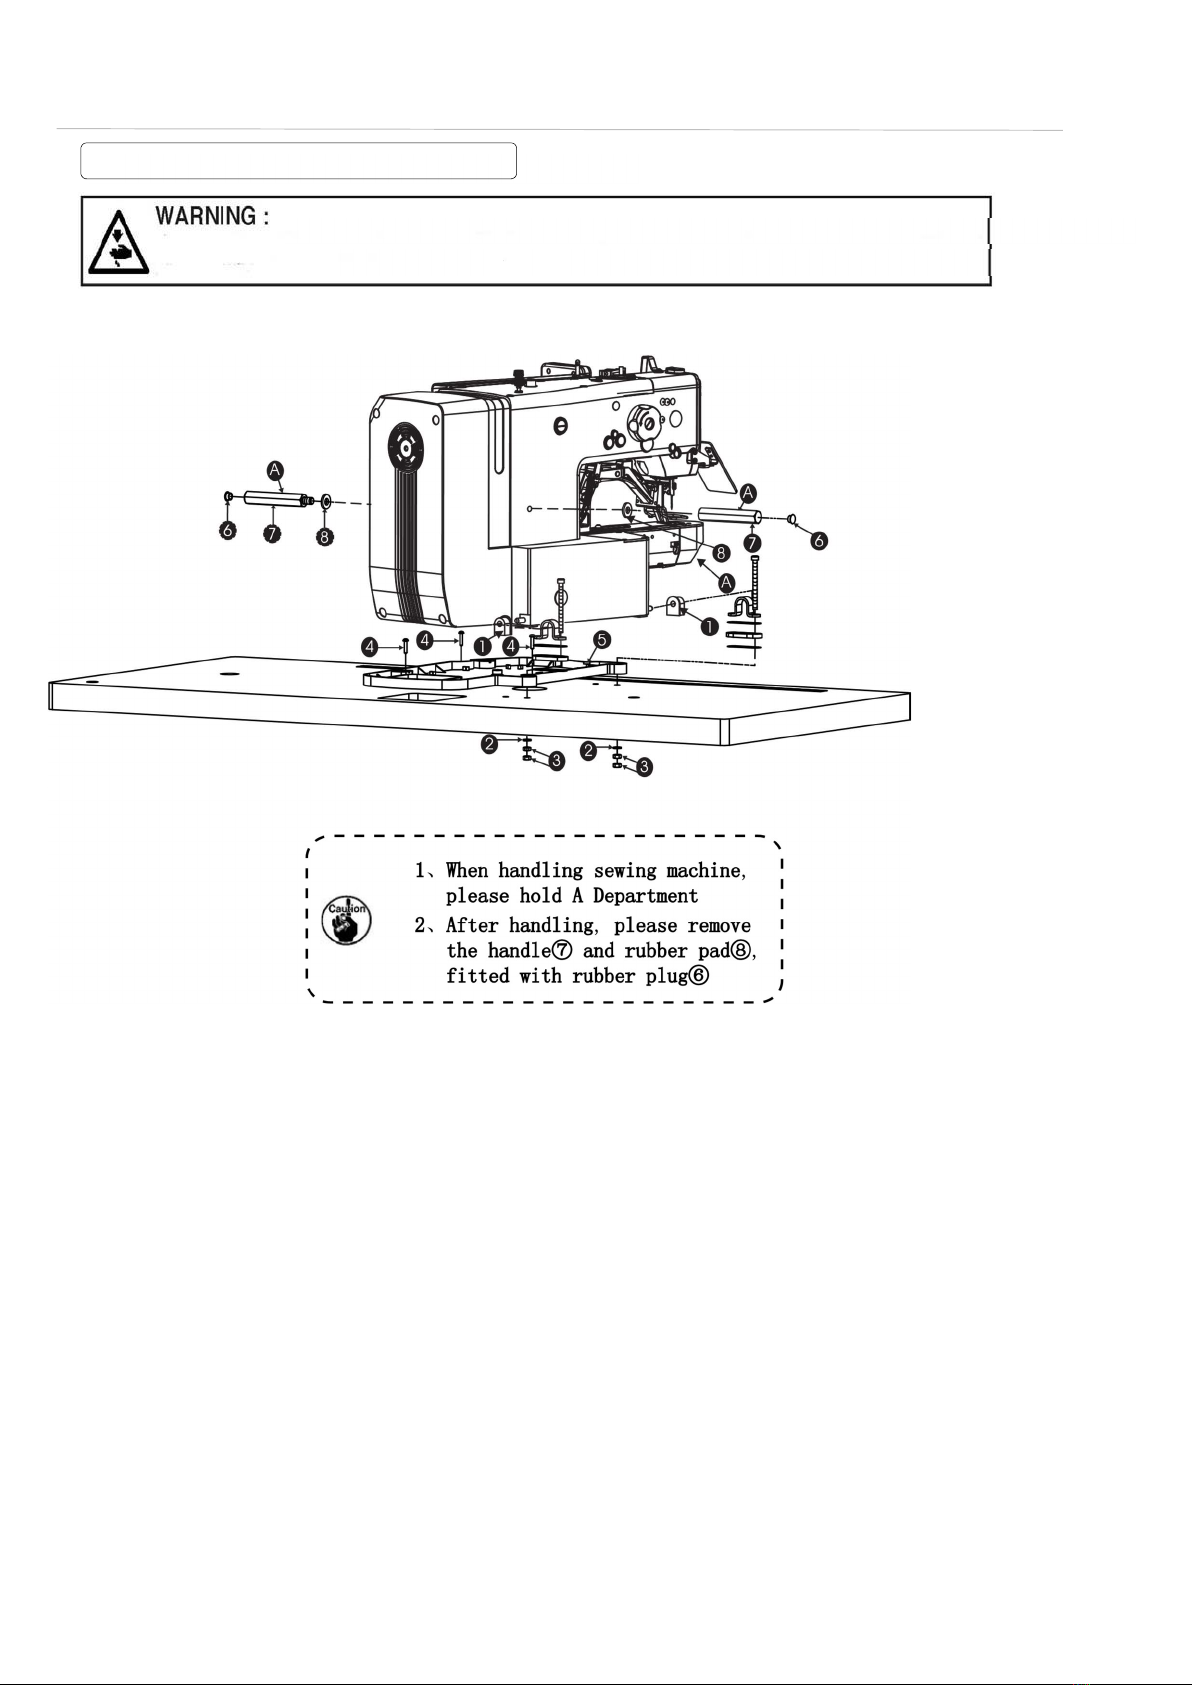
When the sewing machine head falls down or stands up,
please operate with both hands.
One-handed operation can easily cause injury if the weight
of the sewing machine slips.
When lubricating oil and butter are used, it is necessary to
otective glasses and gloves to prevent lubricating oil
from falling into serious or sticking to the skin, which is the
cause of inflammation.
In addition, lubricants or butter should not be drunk,
otherwise vomiting and diarrhea will occur.
Keep oil out of reach of children