Thermo Scientific invitrogen EVOS XL Core User manual
Other Thermo Scientific Laboratory Equipment manuals

Thermo Scientific
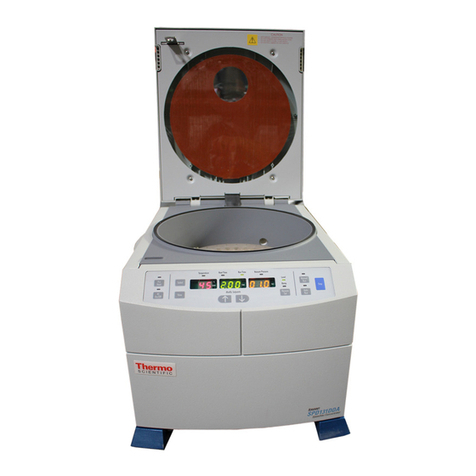
Thermo Scientific Sorvall RC-4 User manual

Thermo Scientific
Thermo Scientific MaxQ 2000 User manual

Thermo Scientific
Thermo Scientific KingFisher Presto User manual
Thermo Scientific
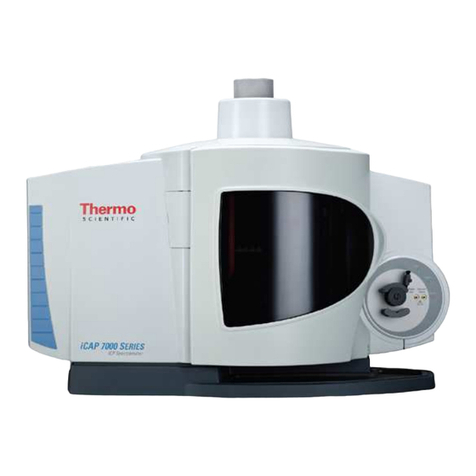
Thermo Scientific iCAP 7000 Series User manual
Thermo Scientific
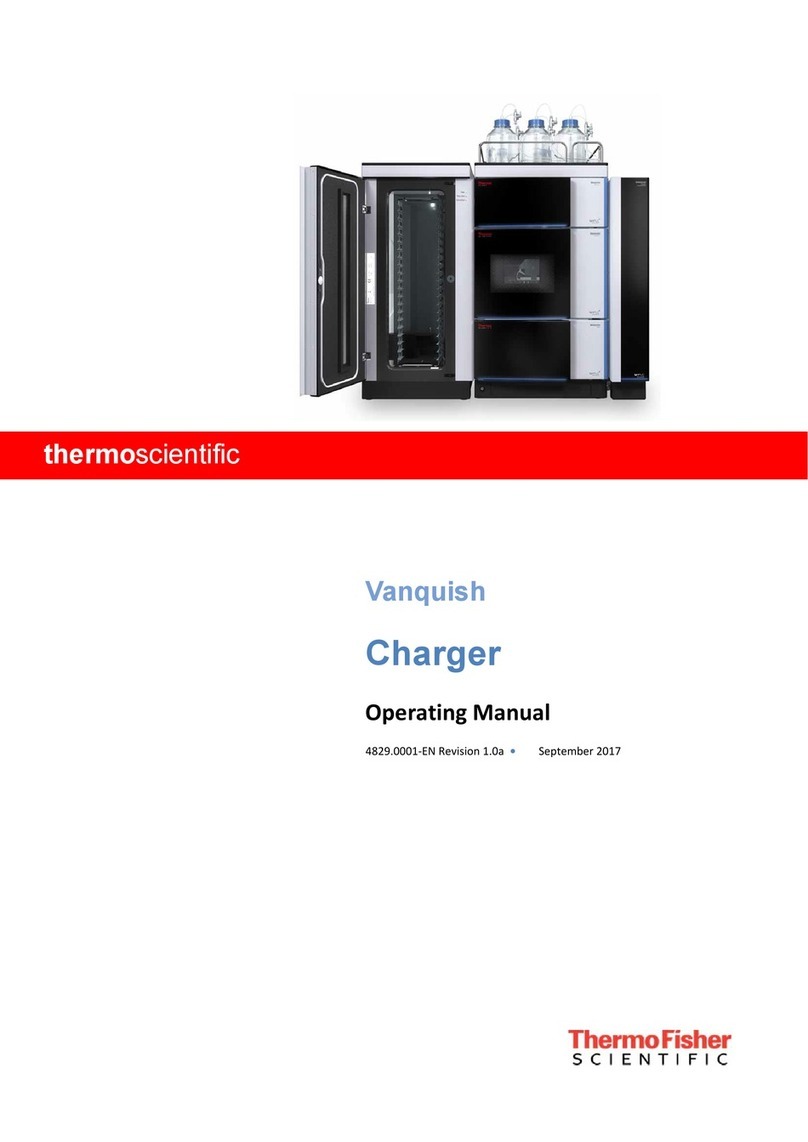
Thermo Scientific Vanquish Charger User manual
Thermo Scientific
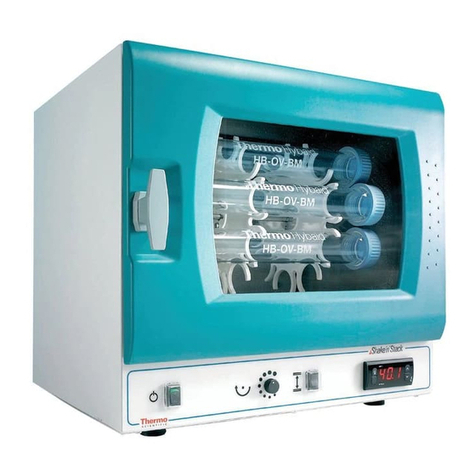
Thermo Scientific Shake n Stack 6240 Operating instructions
Thermo Scientific
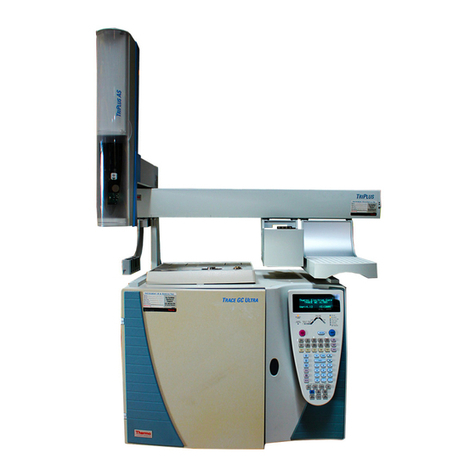
Thermo Scientific TRACE GC Ultra Programming manual
Thermo Scientific
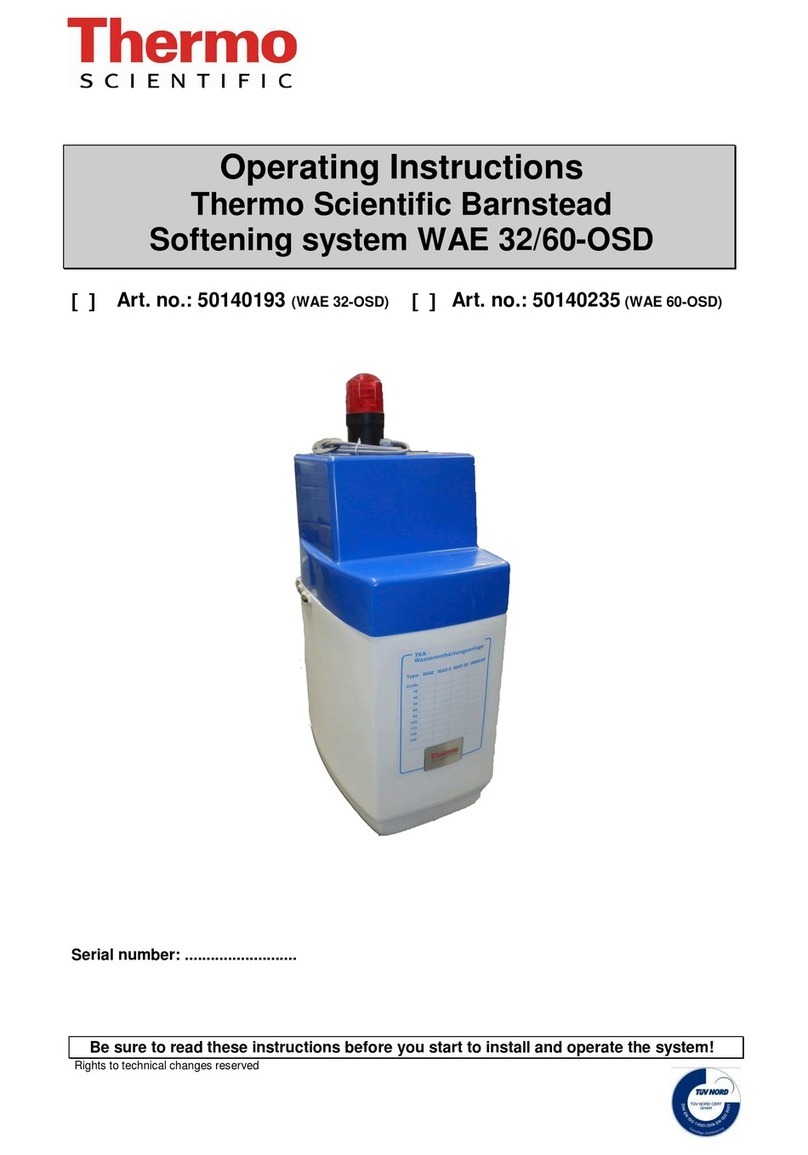
Thermo Scientific WAE 32-OSD User manual
Thermo Scientific
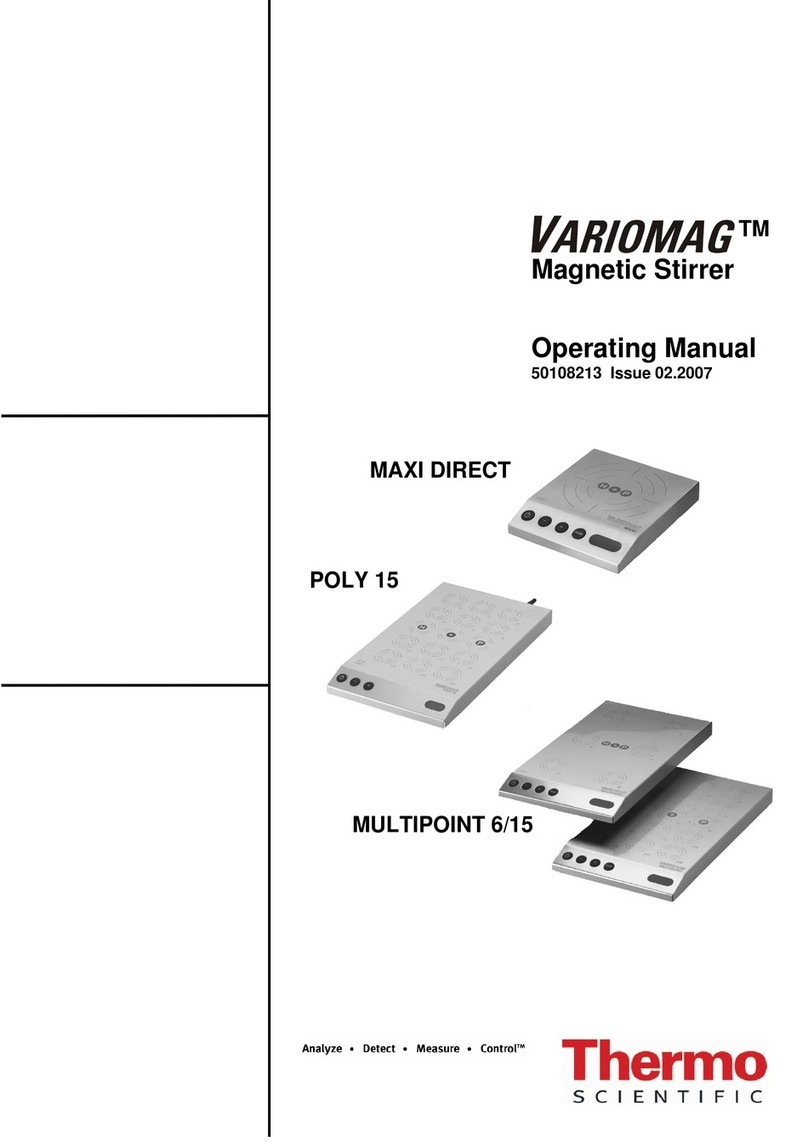
Thermo Scientific Variomag MAXI DIRECT User manual
Thermo Scientific
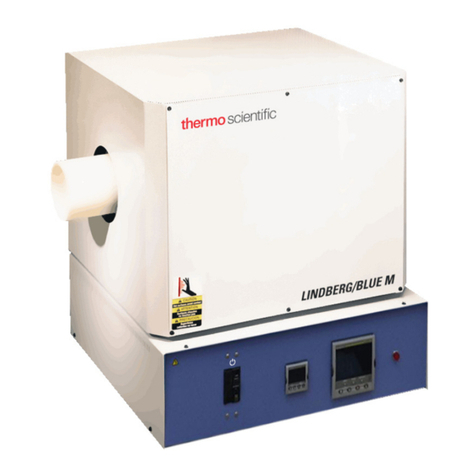
Thermo Scientific STF55433 User manual

Thermo Scientific
Thermo Scientific Accela Pump User manual
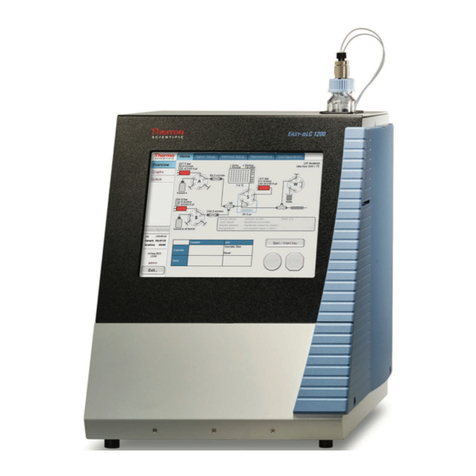
Thermo Scientific
Thermo Scientific EASY-nLC 1200 Operating manual

Thermo Scientific
Thermo Scientific Finnpipette Novus User manual
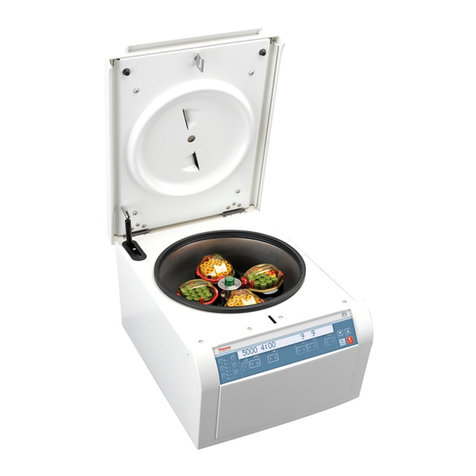
Thermo Scientific
Thermo Scientific Sorvall ST 16 User manual

Thermo Scientific
Thermo Scientific 1300 Series User manual

Thermo Scientific
Thermo Scientific 3920 Operating instructions

Thermo Scientific
Thermo Scientific Vanquish VH-D10 User manual

Thermo Scientific
Thermo Scientific 1300 Series User manual

Thermo Scientific
Thermo Scientific mDrop User manual

Thermo Scientific
Thermo Scientific EASY-Spray Series User manual
Popular Laboratory Equipment manuals by other brands

Agilent Technologies
Agilent Technologies 5800 ICP-OES user guide

Endress+Hauser
Endress+Hauser Cleanfit CPA875 operating instructions

NI
NI PXI-5422 CALIBRATION PROCEDURE

Collomix
Collomix Aqix operating instructions

SPEX SamplePrep
SPEX SamplePrep 6875 Freezer/Mill Series operating manual

Ocean Insight
Ocean Insight FLAME-NIR+ Installation and operation manual

Parker
Parker ALIGN-MG-NA Installation, operation and maintenance manual

BD
BD 644787 user guide

DENTAURUM
DENTAURUM Compact Megaplus Instructions for use

Biuged Laboratory Instruments
Biuged Laboratory Instruments BGD 626 instruction manual

VWR
VWR SAS Super IAQ instruction manual

illumina
illumina MiSeqDx reference guide


