manuals.online logo
Brands
  1. Home
  2. •
  3. Brands
  4. •
  5. three h
  6. •
  7. Indoor Furnishing
  8. •
  9. three h Hook Up Community Table User manual

three h Hook Up Community Table User manual

Hook Up
Community Table
Hook Up | Community Table 2
Parts & Hardware
1
6. Table Legs
1. Main Surface
(bottom shown)
M6x10mm
3. Frame
(short side)
4. Stretcher Assembly
(x4 ends / x1 center)
5. Stretcher Connector
(bottom shown)
Trough
(optional)
2. Frame
(long side)
5
4
6
2
3#8 x 7/8" Panhead
#8 x 3/4" Panhead
(for optional Trough Assembly)
Hook Up | Community Table 3
Instructions
Slide both Table Legs onto the Short
Frame.
Fasten the legs to the frame using the
provided M6x10mm flathead screws.
Do not fully tighten, only enough to
keep together.
Repeat for opposite side.
Slide the Long Frames into the Leg
brackets on one side only.
Fasten the frame to the legs using the
provided M6x10mm flathead screws.
Do not fully tighten, only enough to
keep together.
Leave the second piece from Step 1
unattached.
1
2
Allen Key
Allen Key
M6x10mm
M6x10mm
Qty: 16
Qty: 16
Hook Up | Community Table 4
Instructions
Lay the pieces out for the Stretcher.
Slide the arms onto the 3-way
connectors and fasten with the
provided M6x10mm flathead screws.
Tighten the screws equal amounts
around the Stretcher until fully tight.
A) With 2 people, install the Stretcher
in place on one end using the pre-
installed Leg Brackets.
Fasten with the provided M6x10mm
flathead screws.
B) Slide the opposite leg/frame onto
the long frame so the stretcher can rest
in place on the leg brackets.
3
4A
B
Allen Key
Allen Key
M6x10mm
M6x10mm
Qty: 6
Qty: 2
Hook Up | Community Table 5
Instructions
A) Start by fastening the Stretcher to
the Legs using 2 M6x10mm screws.
B) Finish by fastening the Leg set up to
the Long Frames using 8 of the provided
m6x10mm screws.
5
Allen KeyM6x10mm
Qty: 10
6
Place the Leg & Frame structure on the
worksurface. Use caution to not scratch
the surface.
Center the frame on the worksurface
and fasten the surface to the Leg
Brackets using the provided
#8 x 7/8” Panhead screws.
It is recommended to insert one screw
on each corner leg to start. Verify all leg
tubes are equal distance from surface
edges - then apply and tighten all
remaining screws.
Qty: 20
#8 x 7/8" Panhead
A
B
Hook Up | Community Table 6
Instructions
7
#8 x 7/8" Panhead
Continue to fasten the worksurface to
the frame using the small L brackets
and provided 7/8” Panhead screws.
The quantity of screws will depend on
the length and depth.
Use a power drill as there are no
pre-drilled holes for this step.
The Community Table Trough is an
optional addition, your table may not
include one.
Center the trough in the middle of the
table. Insert 4 screws in the 4 corners
to mark the position and then remove
the Trough. Assuming your table has
Power, you will want to install the
modules before fastening the trough
in place. Once installed, you can fully
fasten the Trough with the provided #8
x 3/4” Panhead screws.
Ensure you have the correct screws,
anything longer than 3/4" will damage
the top.
#8 x 3/4" Panhead
8
Three H Furniture Systems Limited
156462 Clover Valley Rd.
New Liskeard, ON
Canada P0J 1P0
T. 1.800.767.5374
F. 1.888.484.5786
customer.service@three-h.com
www.three-h.com © 2022 Three H Furniture Systems Limited. All rights reserved.
Revision 5 · 06/14/2022

Other three h Indoor Furnishing manuals
three h UNITE + CENTER PEDESTAL User manual
three h

three h UNITE + CENTER PEDESTAL User manual

three h Hubub Table User manual

three h

three h Hubub Table User manual

three h Hook Up User manual

three h

three h Hook Up User manual

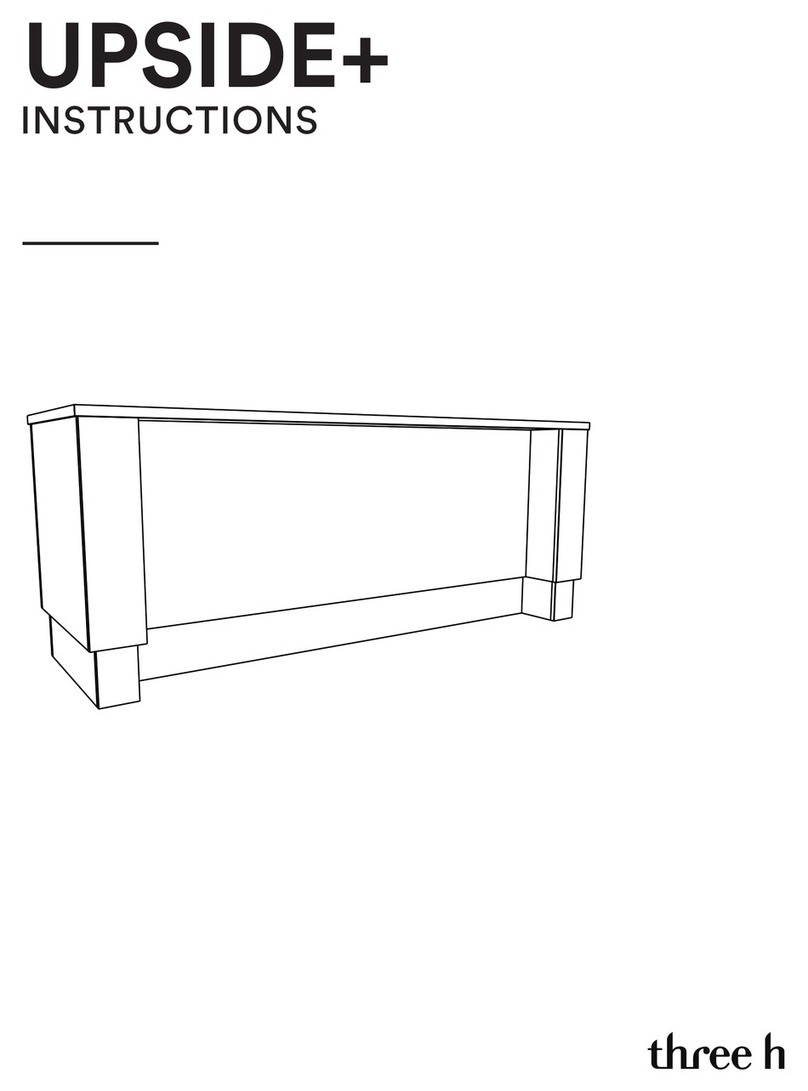
three h UPSIDE+ User manual

three h

three h UPSIDE+ User manual

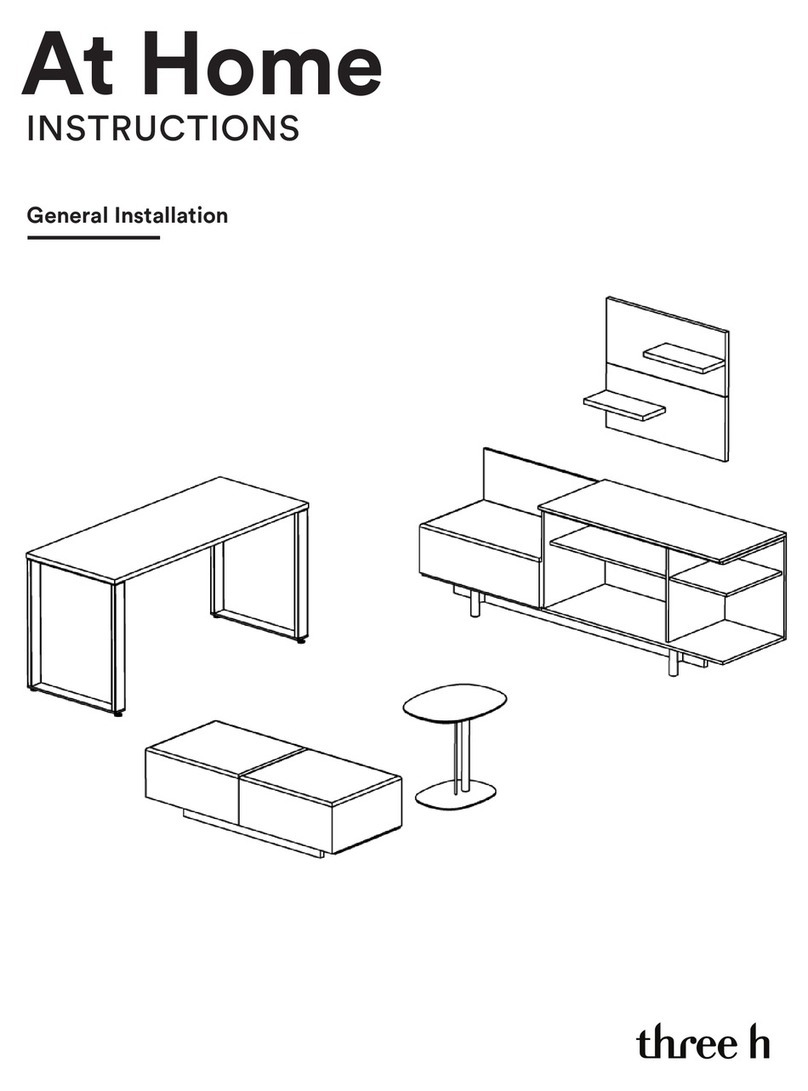
three h At Home User manual

three h

three h At Home User manual

three h Rescape User manual

three h

three h Rescape User manual

three h UNITE CONFERENCE User manual

three h

three h UNITE CONFERENCE User manual

three h Woodstock User manual

three h

three h Woodstock User manual
three h UPSIDE User manual

three h

three h UPSIDE User manual
three h Rescape Lite User manual

three h

three h Rescape Lite User manual

three h WORKSHELF User manual

three h

three h WORKSHELF User manual

three h UPSIDE User manual

three h

three h UPSIDE User manual

three h GREET User manual

three h

three h GREET User manual
Popular Indoor Furnishing manuals by other brands
Sauder 413327 Assembly instructions

Sauder

Sauder 413327 Assembly instructions

HOMCOM A2-0055 Assembly instructions

HOMCOM

HOMCOM A2-0055 Assembly instructions

Hettich Easys 100 Operation instructions

Hettich

Hettich Easys 100 Operation instructions

NewTechWood Child Assembly instructions

NewTechWood

NewTechWood Child Assembly instructions

EefaCo.Store 88 5537 131 quick start guide

EefaCo.Store

EefaCo.Store 88 5537 131 quick start guide

Sauder 415465 manual

Sauder

Sauder 415465 manual

TUHOME Furniture LYON Assembly instructions

TUHOME Furniture

TUHOME Furniture LYON Assembly instructions

Next PARIS 189316 Assembly instructions

Next

Next PARIS 189316 Assembly instructions

SAFAVIEH COUTURE Doris SFV4763 manual

SAFAVIEH COUTURE

SAFAVIEH COUTURE Doris SFV4763 manual

Sunjoy A216000801 Assembly instruction

Sunjoy

Sunjoy A216000801 Assembly instruction

Cooper Lighting Shaper 210-D Specification sheet

Cooper Lighting

Cooper Lighting Shaper 210-D Specification sheet

fantastic furniture Geo Utility Table quick start guide

fantastic furniture

fantastic furniture Geo Utility Table quick start guide

AURAFINA V6021D Assembly guide

AURAFINA

AURAFINA V6021D Assembly guide

VIBO GCFTMR Assembling instructions

VIBO

VIBO GCFTMR Assembling instructions

Riverside Furniture Castlewood 33538 Assembly instruction

Riverside Furniture

Riverside Furniture Castlewood 33538 Assembly instruction

Argos New Sywell 427/1237 Assembly instructions

Argos

Argos New Sywell 427/1237 Assembly instructions

CALICO DESIGNS EASTBOURNE METAL FILE CABINET 55135 Assembly instructions

CALICO DESIGNS

CALICO DESIGNS EASTBOURNE METAL FILE CABINET 55135 Assembly instructions

Häfele AES 64 NR Instructions for installation and use

Häfele

Häfele AES 64 NR Instructions for installation and use

manuals.online logo
manuals.online logoBrands
  • About & Mission
  • Contact us
  • Privacy Policy
  • Terms and Conditions

Copyright 2025 Manuals.Online. All Rights Reserved.