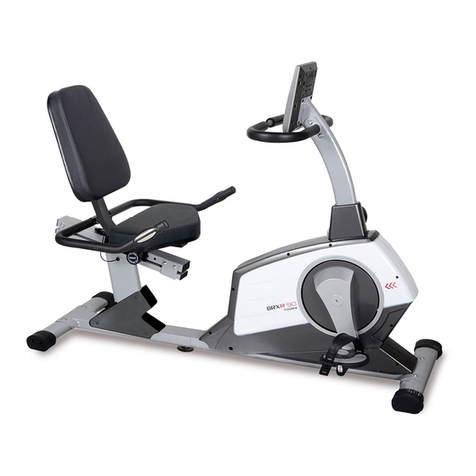
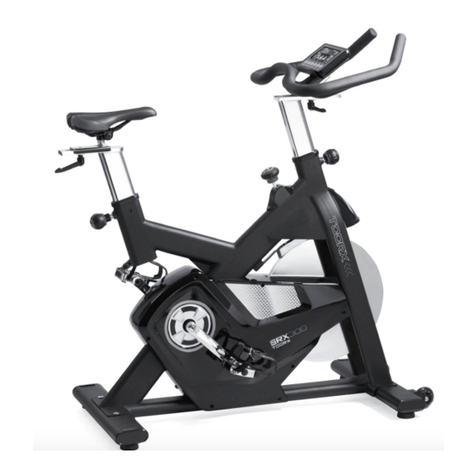
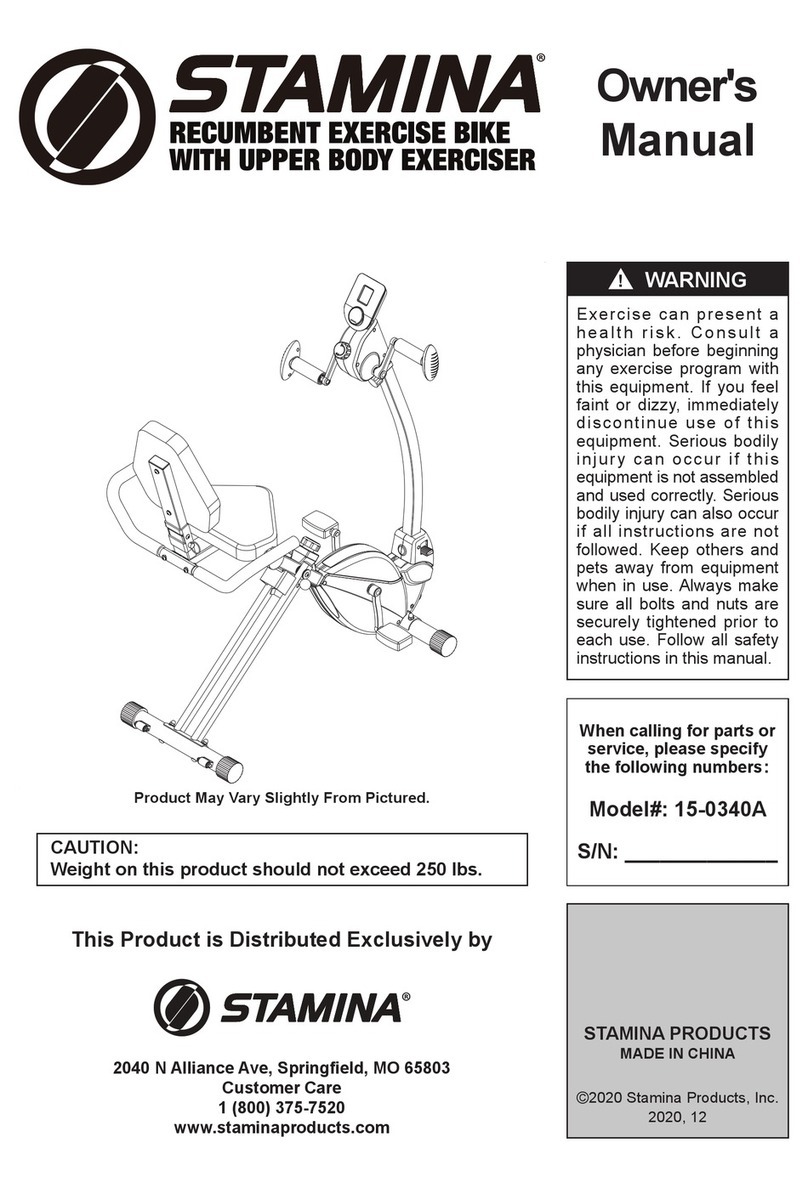
TOORX BRX90 User manual

Ed : 02/17
INSTRUCTION
Rev : 0000

All data displayed are approximate guidance and cannot e used in any medical application.
3

ASSEMBLY INSTRUCTIONS
Step 1
Assem ly the rear and front sta ilizer (N&M)
with 4 olts (M-1).
Step 2
Assem le the left hand pedal (K-L) and the
right hand pedal (K-R) to the crank.
Step 3
Pass through the handle ar post (C) from
the plastic cover (I-1).
Connect the computer ca le up and down
(C-5 & E-4). Fix the handle ar post to the
main frame after the a ove two steps.
Fasten those screws (E-2) and washers
(E-3&E-8) to fix the handle ar post, move
the plastic cover to right position.
4

ASSEMBLY INSTRUCTIONS
Step 4
Attach the handle ar (B) to the handle ar
post etween the steel covers, secure the
steel cover assem ly using one flat washer
(C-1), one spring washer (C-2), one ushing
(C-3) and one kno (C-4).
Step 5
Plug in the ca les (A-1&B-2) etween the
computer and the handle ar post, plug in
the motor ca le (A-2&C-5) etween
computer and handle ar post.
Fix the computer onto the handle ar post
with four screws (A-3).
5

ASSEMBLY INSTRUCTIONS
Step 6
Insert the seat post (D) into the main frame
through the plastic sleeve. Select the ideal
hole position on the seat post. Insert the kno
(E-6) into the hole. Tighten fully the kno .
Step 7
Connect the saddle (D-6) and the slider (D-
5) s.
Attach the slider onto the top of the seat
post and the secure using the horizontal
adjusting kno (D-1) and one flat washer (D-
2).
6

Step 8
Put the handle ar plastic cover left & right
(C-11&C-6) onto the handle ar, secure it with
screws (C-8&C-9) as left drawing.
Step 9
Assem le the slider cover left & right (D-
8&D-7) onto the slider set, fix it with screws
(C-8&D-9).
7

PARTS LIST
Item Description Q’ty Item Description Q’ty
A Computer 1 F-7 C-circle 1
A-1 Pulse ca le (upper) 1 G Idle 1
A-2 Motor ca le 1 G-1 Nylon nut M8 5
A-3 Screw M5*10 4 G-2 Bushing Φ10*Φ14*6L 2
B Handle ar 1 G-3 Idle wheel 1
B-1 Screw M4*20 2 G-4 Flat washer 2
B-2 Pulse ca le (lower) 2 G-5 Screw M8*20L 1
B-3 End cap 2 G-6 Spring 1
B-4 Foam grip 2 H Flywheel 1
B-5 Hand pulse 2 H-1 Screw 3/8″-26 5
C Handle ar post 1 H-2 Bearing 6000 1
C-1 Flat washer 1 H-3 Bearing 6300 1
C-2 Spring washer 1 H-4 One way earing 1
C-3 Bushing 1 H-5 Bearing 6203 1
C-4 Kno 1 H-6 Small elt pulley 1
C-5 Motor ca le (upper) 1 H-7 Bearing 6003 1
C-6 Handle ar cover (right) 1 H-8 Mandril of flywheel 1
C-7 Screw 4 I-L Chain cover (left) 1
C-8 Screw 2 I-R Chain cover (right) 1
C-9 Handle ar cover (left) 1 I-1 Handle ar post cover 1
D Seat post 1 I-2 Screw M4*20 5
D-1 Seat kno 1 I-3 Screw 12
D-2 Flat washer 1 I-4 Rear tu e cover 1
D-3 Cap 20*40 2 J-L Crank (left) 1
D-4 Slider fixed screw 1 J-R Crank (right) 1
D-5 Slider 1 J-1 Screw M8 2
D-6 Saddle 1 J-2 Cover for crank 2
D-7 Slider cover (right) 1 K-L Pedal (left) 1
D-8 Slider cover (left) 1 K-R Pedal (right) 1
D-9 Screw 2 L Magnetic set 1
E Main frame 1 L-1 Screw M6 2
E-1 Bearing 6203 2 L-2 Spring 1
E-2 Screw M8*16L 5 L-3 Magnetic 10
E-3 Flat washer 4 L-4 Bushing 1
E-4 Motor ca le (lower) 1 L-5 Wave washer 2
E-5 Plastic sleeve 1 L-6 C circle 2
8

E-6 Seat post kno M16 1 L-7 Spring washer 2
E-7 Screw 1 L-8 Flat washer 2
E-8 Semicircle washer 1 M Front sta ilizer 1
E-9 Motor 1 M-L Front end cap (left) 1
F Plastic pulley 1 M-R Front end cap (right) 1
F-1 Bushing Φ17*5T 1 M-1 Screw M8*60L 4
F-2 Axle assem ly 1 N Rear sta ilizer 1
F-3 Screw M8*10L 3 N-L Rear end cap (left) 1
F-4 Belt 1 N-R Rear end cap(right) 1
F-5 Wave washer 1 O Inner hex. wrench 1
F-6 Flat washer 1 P Harpoon wrench 1
9

COMPLETE BIKE ASSEMBLY
10

Computer Operation
I. To operate the monitor
A-0. Plug in the AC Adapter to power supply. You will see this first screen followed by the next one.
A-
1. You may select different training mode of MANUAL, PROGRAM, USER or TARGET H.R. by pressing UP, DOWN buttons (a1).
Press MODE button to confirm. Or, you may press ST/STOP button to start training directly in MANUAL mode.
A-
2. In a fresh monitor, if you start the selected mode, all function data start counting up from zero once the training st
arts (a2).
If you choose t
o preset any function target data (optional), then, the function display will count down from your preset target
value once the training starts.
A-
3. During training, you may adjust resistance by pressing UP, DOWN buttons (a3). Please note each bar represe
nts TWO
resistance levels. The bar will change up or down every two levels. During adjustment, you will see the display changes
when you press UP or DOWN button twice. There is a number (1 to 16) on the screen to show the exact resistance level.
A-4. To reset, press and hold the RESET button for 2 seconds.
(a1)
(a2)
(a3)
B. Training in MANUAL mode - press UP button until MANUAL shows up on the upper line, press MODE to confirm(b1).
(b1)
(b2)
(b3)
(b4)
B-1 You may press ST/STOP button to start t
raining directly(b2), or you may press UP, DOWN buttons to adjust resistance
level (b3). During adjustment, you will see the display
changes when you press UP or DOWN buttons twice.
You may also adjust training resistance during training.
B-2 After adjustment of the training resistance, you may press
ST/STOP to start training or, optionally, set each function
(b5)
(b6)
data target by pressing MODE button to select the desired function you want to set target data. Then, use the UP, DOWN
buttons to set the v
alue. Press MODE button to advanced to the next desired function area. The functions available for
preset are: Time, Distance, Calories, and Pulse in MANUAL mode.(b4)
B-3 After all settings are done, press ST/STOP button to start training. You will see each preset function data counts down from
target as soon as training starts. (b5)
B-4
Once each function target data is achieved (counts down to zero), the monitor will stop all functions (P appears on the
left-upper corner) and beep for 8 times to remind you. (b6)
B-5
You may press ST/STOP button to start training again. The function which has achieved to zero will start from previous set
data counting down, and other set function data will keep counting up or down from previous records.

Computer Operation
B-6 During all training period, you may press ST/STOP to stop monitor counting at anytime.
C. Training in PROGRAM mode - press UP button until PROGRAM shows up on the upper line, press MODE to confirm.
(c1)
(c2
)
(c3
)
(c4)
C-1 The initial set program profile is P1 (c1 & c2). There are 12 training program profiles (P1-P12) available. You may press
UP/DOWN button to select the desired training profile. Press MODE button to confirm.
C-2 You may press ST/STOP button to start training directly(c3), or you may press UP, DOWN buttons to adjust resistance
level (c4). During adjustment, you will see the display changes when you press UP or DOWN button twice.
C-3
After adjustment of the training resistance, you may press ST/STOP to start training or, Optionally, set each function
data
target by following the same procedure as stated in B-2 above. The functions available for preset are: Time, Distance,
Calories, and Pulse in PROGRAM mode.(c5)
(c5)
(c6)
(c7)
C-4 After all settings are done, press ST/STOP button to start training
. You will see each preset function data counts down from
target as soon as training starts.(c6)
C-5
Once each function target data is achieved (counts down to zero), the monitor will stop all functions (P appears on the
left-upper corner) and beep for 8 times to remind you. (c7)
C-6
You may press ST/STOP button to start training again. The function which has achieved to zero will start from previous set
data counting down, and other set function data will keep counting up or down from previous records.
C-7 During all training period, you may press ST/STOP to stop monitor counting at anytime.
D. Training in USER mode -
press UP button until USER shows up on the upper line, press MODE to confirm(d1). In USER mode,
you can set your own desired training program.
(d1)
(d2)
(d3)
(d4)
D-1
There are 16 profile units that you can set the desired resistance level for each unit to create your own training program.
Press UP, DOWN buttons to adjust resistance level of the first
profile unit. During adjustment, you will see the display
changes when you press UP or DOWN buttons twice (d3).
Press MODE button to move to the next profile unit. Then,
use UP, DOWN buttons again to set the desired resistance
(d5)
(d6)
level until you've completed all 16 profile units. You may also adjust resistance during training.
D-2
After completing your own training program setting, you may press ST/STOP to start training or, optionally, set each functi
on
data target by following the same procedure as stated in B-2 above. The functions available for preset are: Time, Distance,
Calories, and Pulse in USER mode. (d4)
D-3
After all settings are done, press ST/STOP button to start training. You will see each preset function data counts down from
target as soon as training starts. (d5)
D-4 O
nce each function target data is achieved (counts down to zero), the monitor will stop all functions (P appears on the

Computer Operation
left-upper corner) and beep for 8 times to remind you.(d6)
D-5 You may press ST/STOP button to start training again. The function which has achieved to zero will start from previous set
data counting down, and other set function data will keep counting up or down from previous records.
D-6 During all training period, you may press ST/STOP to stop monitor counting at anytime.
E. Training in TARGET H.R. mode -
press UP button until TARGET H.R. shows up on the upper line, press MODE to confirm.
(The monitor will first display initial set AGE 20(e1). Please input your age by pressing UP, DOWN, and MODE button to co
nfirm.
The monitor will then
display initial target heart rate percentage 55% (e2). You may press UP button to select 75%, 90% or
THR
for further selection. The right-lower field of the display will show a target heart rate figure which is calculated according to your
age and selected
heart rate percentage. You may follow this target heart rate figure to track your heart rate status duri
ng
training. If you select THR, the initial monitor set target heart rate figure is 100 shown on the right-lower field of the display.
You may press MO
DE button and use UP, DOWN buttons to set your desired target heart rate value, the setting range could
be from 30 to 240 bpm.
(e1)
(e2)
(e3)
(e4)
E-1 You may press ST/STOP button to start training directly
(e3). Or, optionally, you may set each function data target
by following the same procedure as stated in B-2 above.
The functions available for preset are: Time, Distance, and
Calories in TARGET H.R. mode.(e4)
(e5)
(e6)
E-2 After all settings are done, press ST/STOP button to start training. You w
ill see each preset function data counts down from
target as soon as training starts(e5). Once you are training in TARGET H.R. mode, the training resistance will be adjusted
automatically depends on your current heart beat. If your heart beat is very high compare to the preset target, the training
resistance will decrease immediately one level, and keep decreasing one level every 15 seconds by monitoring your
current heart beat change. If the training resistance has dropped to level one but your heart beat is still high, the monitor will
stop all functions automatically as a protective action. If your heart beat is very low compare to the preset target, the tra
ining
resistance will increase one level every 30 seconds till level 16. You will NOT be able to adjust training resistance by
yourself when you are training in Target H.R. mode.
E-3
Once each function target data is achieved (counts down to zero), the monitor will stop all functions (P appears on the
left-upper corner) and beep for 8 times to remind you.(e6)
E-4
You may press ST/STOP button to start training again. The function which has achieved to zero will start from previous set
data counting down, and other set function data will keep counting up or down from previous records.
E-5 During all training period, you may press ST/STOP to stop monitor counting at anytime.
II. Button Functions
UP
To make upward adjustment to each function data or increase training resistance or select personal data setting.
DOWN
To make backward adjustment to each function data or decrease training resistance or select personal data setting.
MODE
To confirm function selection or data input.
RECOVERY
To activate/deactivate the Heart Rate Recovery function.
RESET
Press the RESET button for 2 seconds to reset current settings and switch the monitor to initial training mode.
START/STOP
To start or stop training.
III. Functions
SCAN
When training starts, RPM and SPEED data will alternate on display. Same thing with the Watt and Calories data.
SPEED
Displays current training SPEED from 0.0 to maximum 99.9 Km.

Computer Operation
RPM
Displays current training rotations per minute.
TIME
Count up -
If NO preset target, Time will count up from 00:00 to maximum 99:59 with each increment of 1 second.
Count down - If training with preset Time, Time wi
ll count down from preset value to 00:00.Each preset increment
or decrement of 1 minute between 1:00 to 99:00.
DISTANCE
Count up -
If NO preset target, Distance will count up from 0.00 to maximum 99.90 with each increment 0.1 Mile.
Count down - If training
with preset target, Distance will count down from preset value to 0.00. Each preset
increment or decrement is 0.1 Mile between 0.00 to 99.90.
CALORIES
Count up -
If NO preset target, Calories will count up from 0 to maximum 999 with each increment of 1 ca
l.
Count down -
If training with preset target, Calories will count down from preset value to 0. Each preset increment
or decrement is 10 cal from 0 to 990 cal.
PULSE
To display your current heart beat figures as soon as the pulse sensors are touched. The monitor will
detect your heart beat through handgrip sensors once you hold on the sensors with both hands. If you have
preset pulse target when training in Manual, Program, or User mode, the monitor will beep when your current
heart rate reaches the preset target. To select Target Heart Rate training mode for training, please refer
to the above "Training in Target Heart Rate mode". To ensure the heart rate readout is stable, please hold
the handgrip sensors with both hands during training.
RECOVERY
After ex
ercising for a period of time, keep holding on handgrips and press "RECOVERY" button. All function
display will stop except "Time" will start counting down from 00:60 - 00:59 - 00:58 - to 00:00. Please keep on
holding the handgrips until "Time" reaches 00:
00. As soon as 00:00 is reached, the bottom area of display will
show your heart rate recovery status with the grade F1, F2,… F6. F1 is the best, and F6 is the worst. You may
keep on exercising to improve the heart rate recovery status day by day from F6 to F1.
** Press the RECOVERY button again to return back to the main display.
WATT
Display current training watt figures.
IV. Note
1. The monitor will shut off automatically if you stop the training or button operation for 4 - 5 minutes. All training data will be kept
and reappeared again when you press any button.
2. The monitor is powered through an AC adaptor (DC 8V, 500mA). Please plug in power supply before using the monitor.

GARLANDO SPA
Via Regione Piemonte, 32 - Zona Industriale D1
15068 - Pozzolo Formigaro (AL) - Italy
www.toorx.it - info@toorx.it
Table of contents
Other TOORX Exercise Bike manuals

TOORX
TOORX BRX 300 User manual

TOORX
TOORX BRX COMFORT User manual

TOORX
TOORX BRX EASY User manual

TOORX
TOORX SRX700 User manual

TOORX
TOORX BRX60 User manual

TOORX
TOORX SRX40S User manual

TOORX
TOORX BRX Compact MultiFit User manual

TOORX
TOORX BRXR COMFORT User manual

TOORX
TOORX BRX45 User manual

TOORX
TOORX SRX75 User manual