www.udirc.com
Brief Introduction for Button Functions
Transmitter Battery installation
Open the battery cover on the back side of the transmitter and put 3
alkaline batteries (AAA, not included) into the box in accordance with
electrode instructions, as below picture shown.
3X1.5V
Alkaline Batteries
Battery Cover
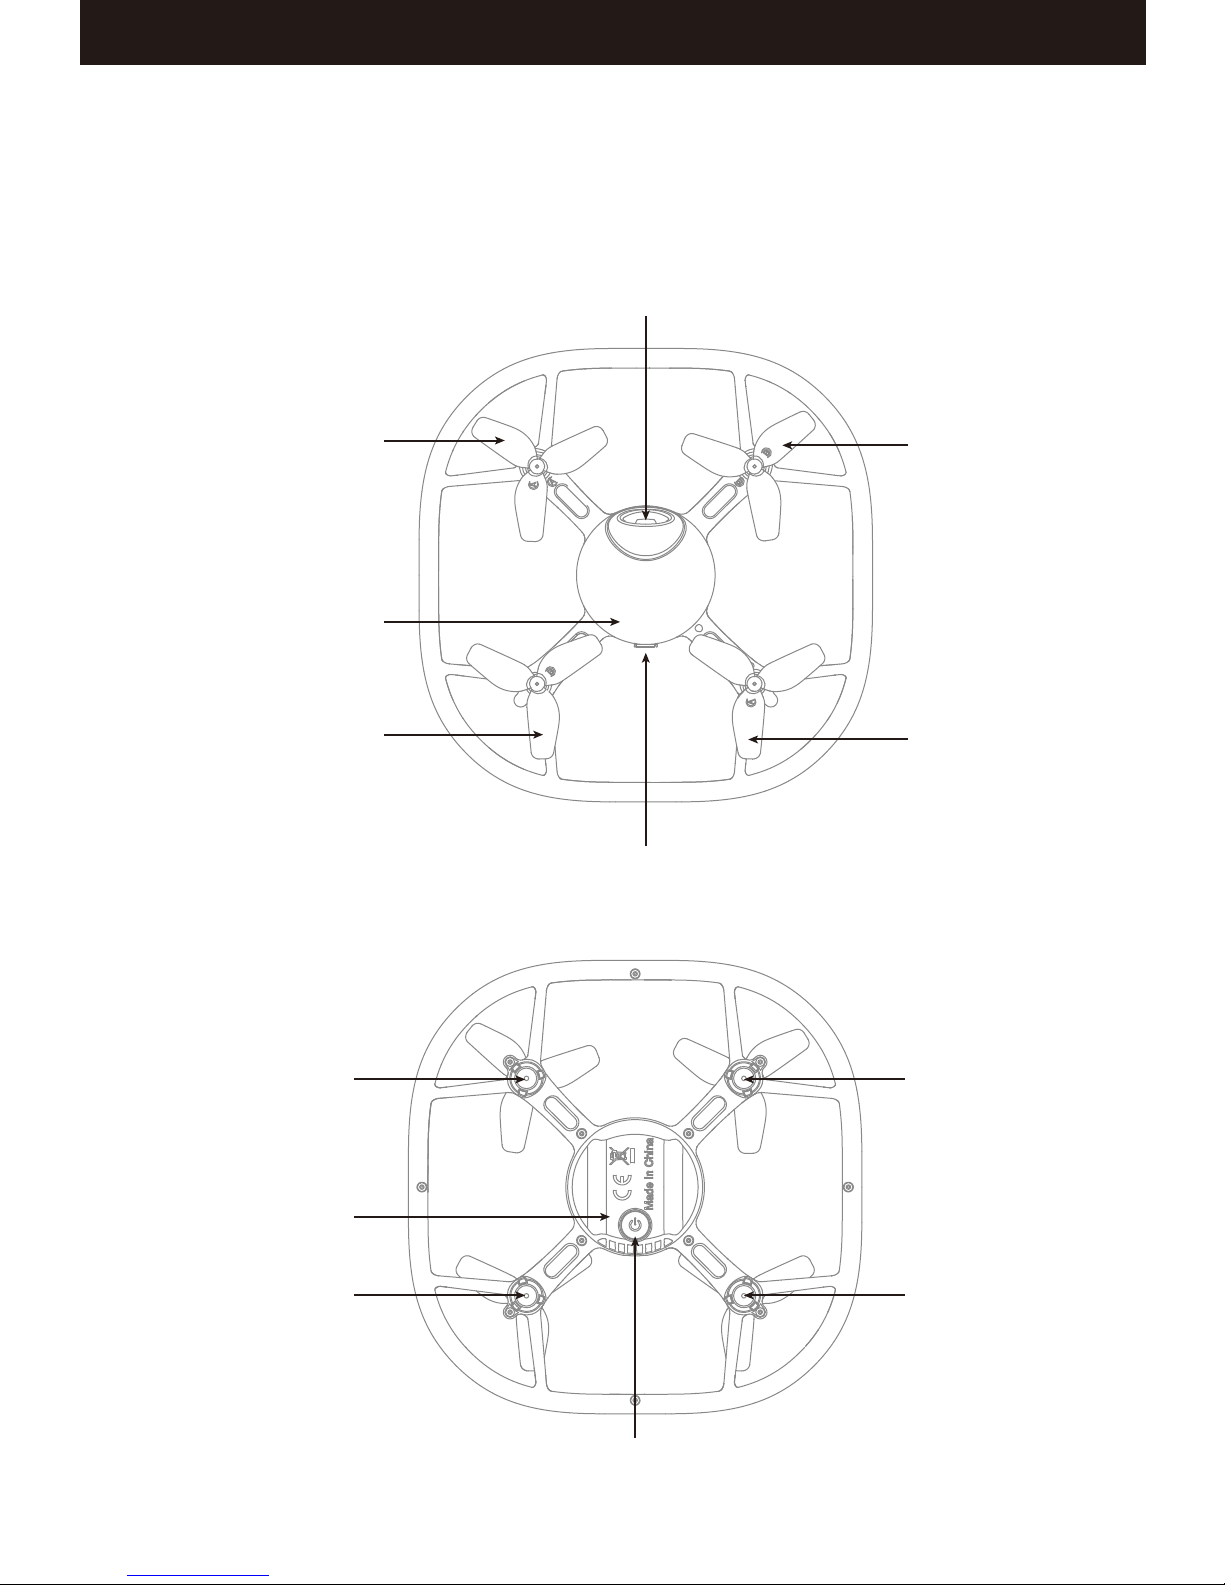
High / Medium/
Low Speed Button
Left Stick
Right Stick
Power Switch
Press down this button to switch between High /Medium/ Low Speeds
Move the Stick to forward / backward / left / right to fly the drone to up /
down / turn left / turn right.
Move the Stick to forward / backward / left / right to fly the drone to forward /
backward / left / right.
Push up the power switch to turn on the transmitter, and pull down to turn off.
Heading Hold
Mode
Press the button to enter heading hold mode, and press again to exit from
heading hold mode.
Trimmer Mode
Button
Press down this button,move the stick to the required trimmer direction,
then it will adjust the direction accordingly, when loose the stick, then ESC
from the trimmer mode.
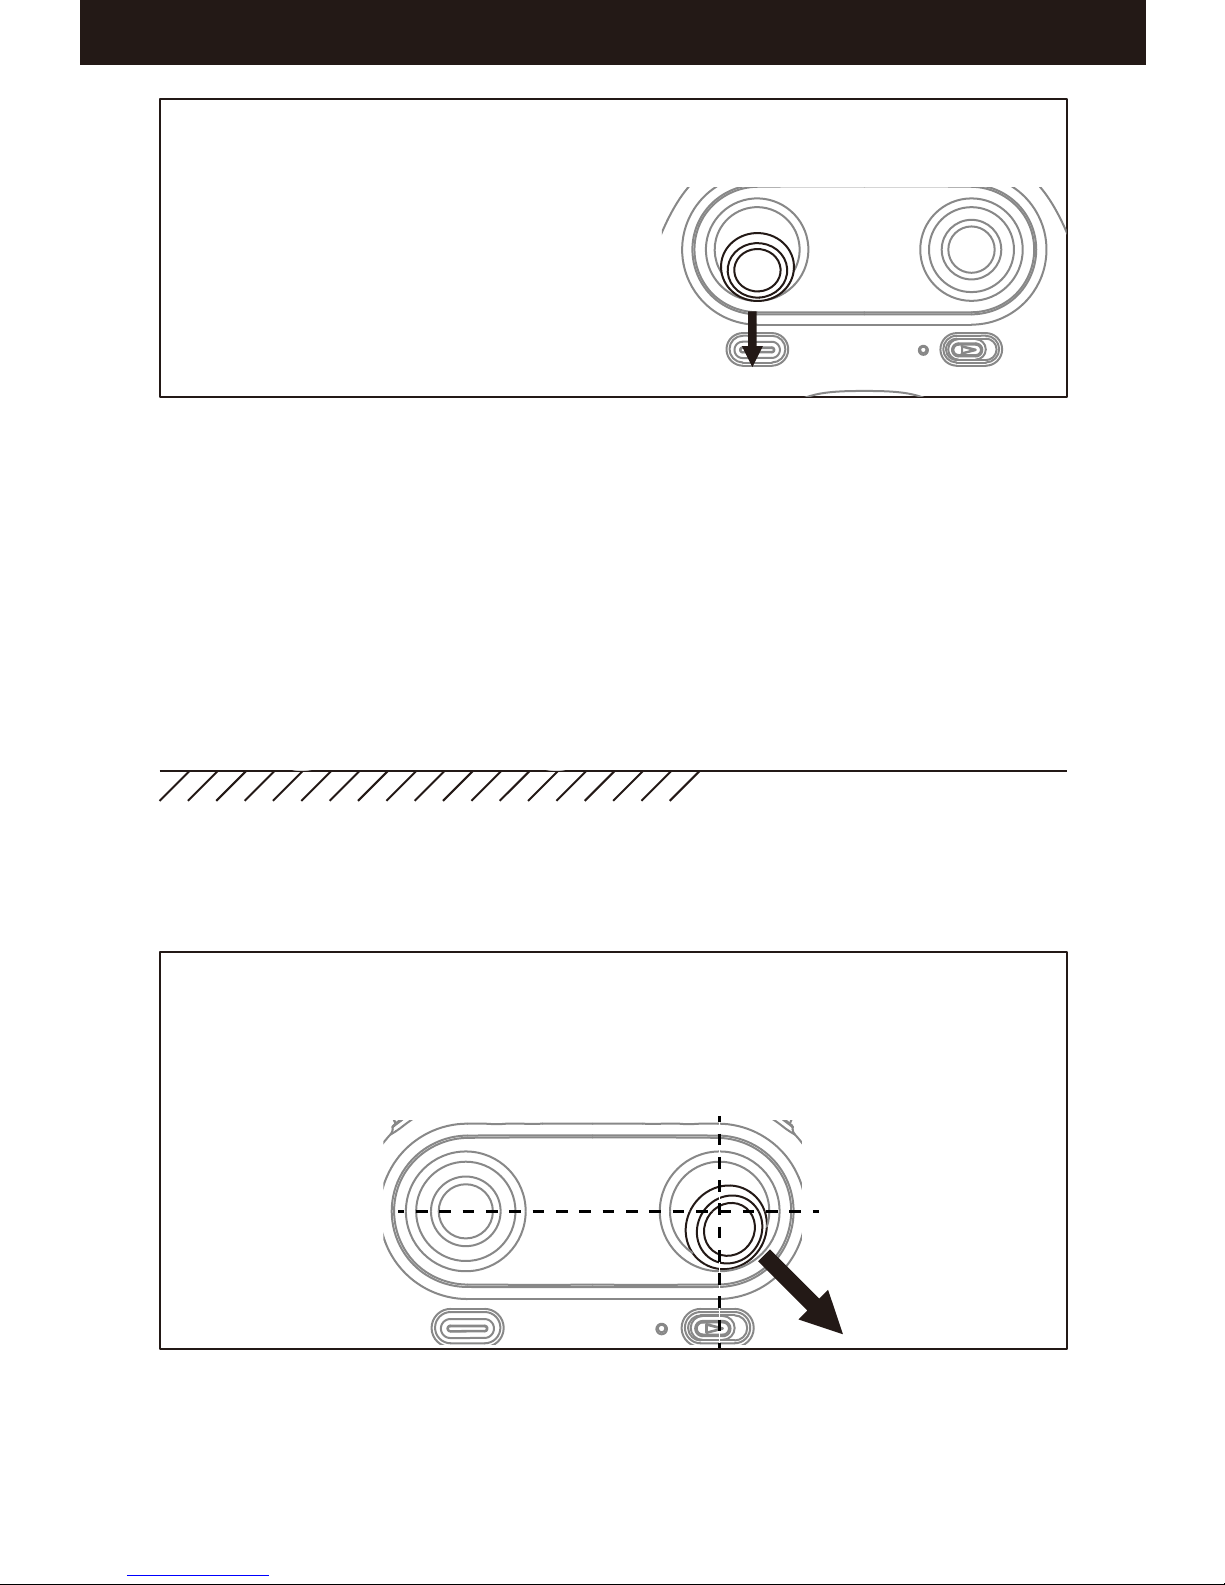
LED control button
When flying, press down this button to switch the LED color continuously.
Take Off / Landing /
Emergency Stop
Button
Press the button and the drone will fly up automatically. Press the button again
and the drone will land on the ground automatically. Press and hold the button
more than 1s, the drone propellers will stop and fall down immediately.
1. Make sure the electrodes are correct.
2. Do not mix new with old batteries.
3. Do not mix different kinds of batteries.
4. Do not charge the non rechargeable battery.
Notice:
6


 user manual")