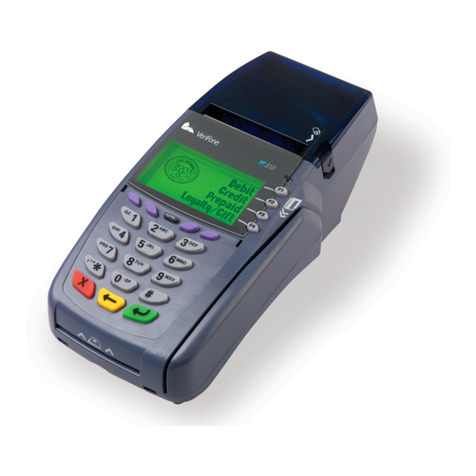
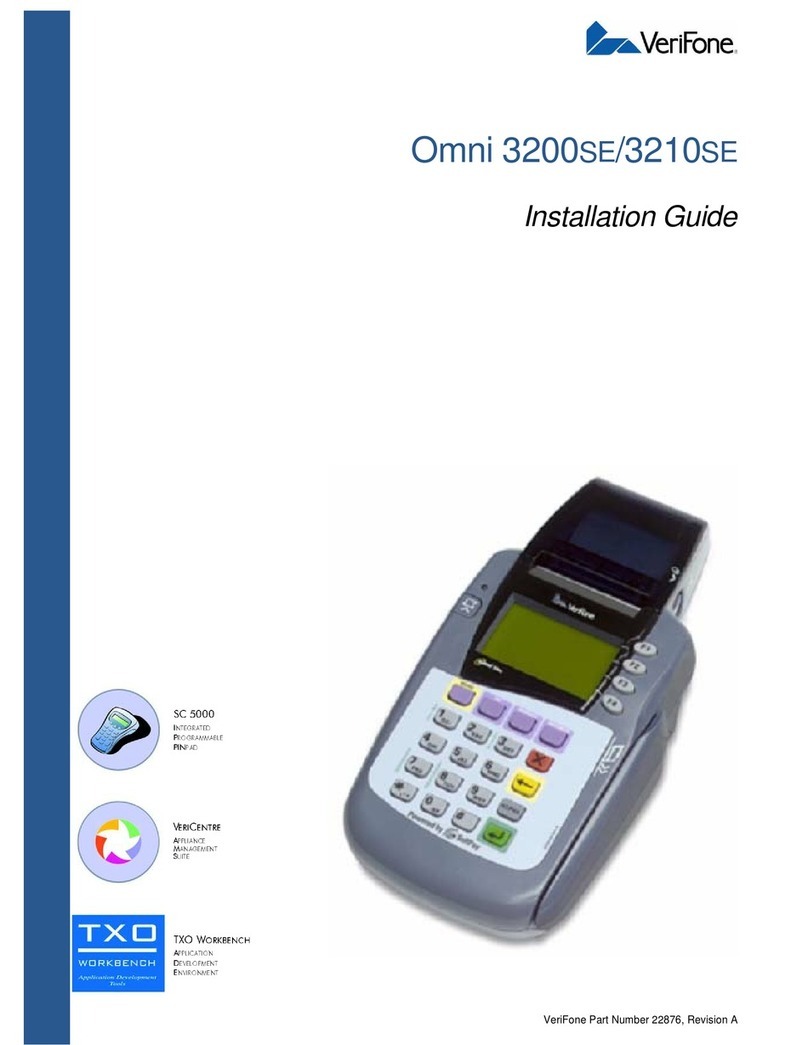
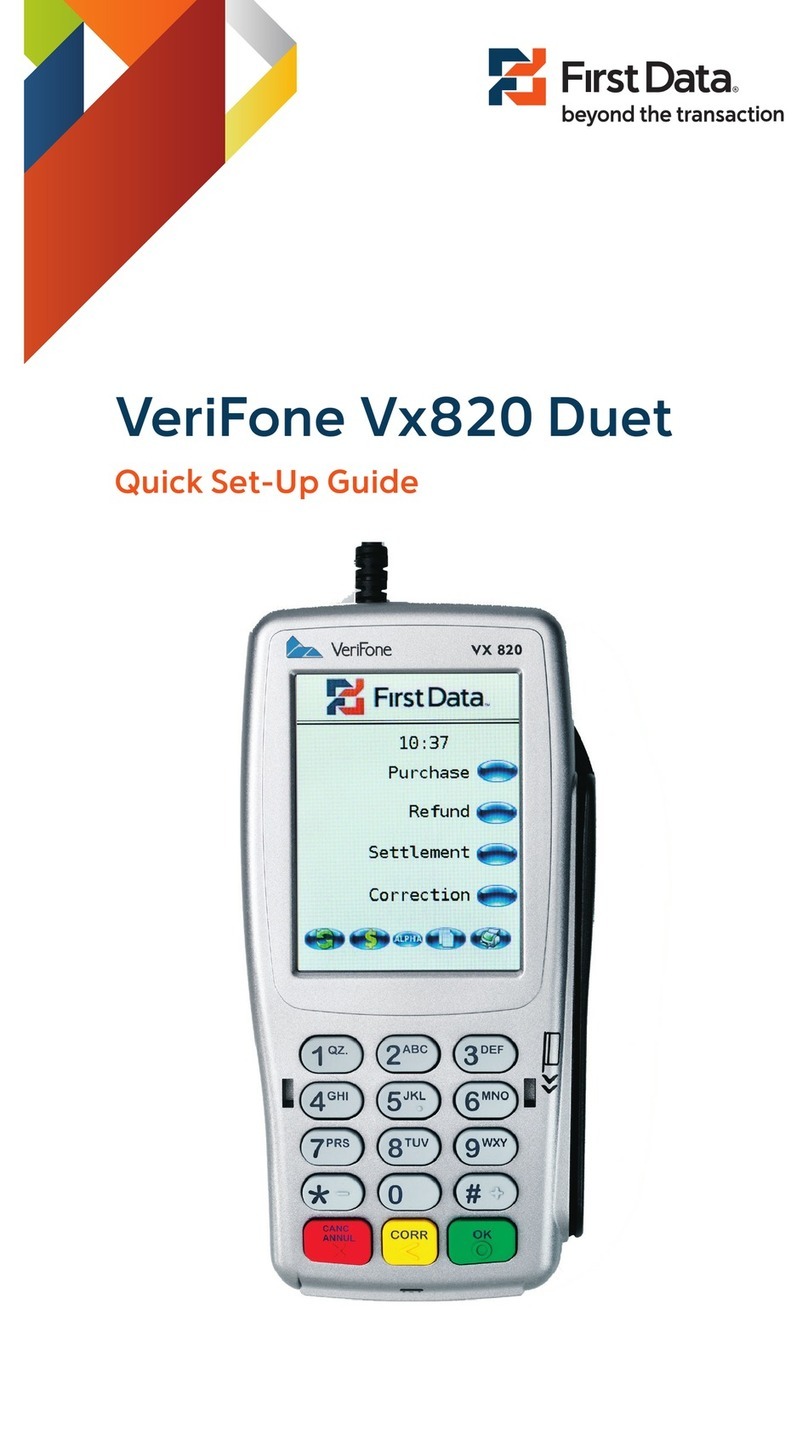
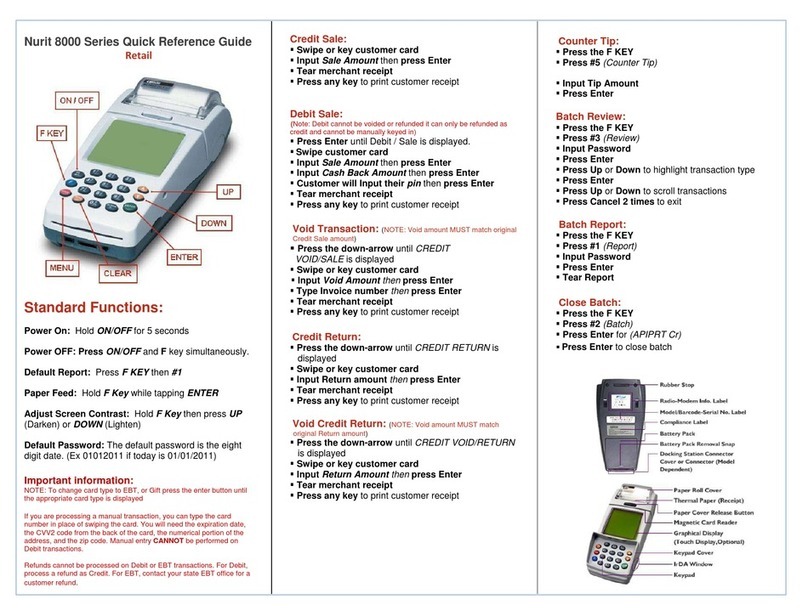
VeriFone VX520-H Quick start guide

E L E C T R O N I C M E R C H A N T S E R V I C E S
Terminal Operational Procedures Guide
First Floor, #62 Independence Square,
Port of Spain, Trinidad, W.I.
Tel: 623-2460 / 62-FIRST / 625-DPOS
E-mail: pos@firstcitizenstt.com

Table of Contents
Processing the LOGON Function..............................................1
Processing a Sale/Purchase Transaction..................................2
Processing a Debit Card Transaction..............................................2
Processing a Credit Card Transaction (Magstrip/Non-Chip) ...........3
Processing a Credit Card Transaction (Chip)..................................4
Processing a Balance Inquiry Transaction................................5
Processing a Void/Reversal......................................................6
Processing the Reprint Function...............................................7
Running the Audit Report..........................................................8
End of Day Settlement Function................................................8
Tampering with terminals ..........................................................9
Contact Information.................................................................10

Processing the LOGON Function
This function is done at the start of the day or at the start of a shift, depending on the business practices conducted.
On left bottom hand of the terminal’s home screen, a downward pointing arrow is shown,
press the corresponding purple key. This is the first purple key under the terminal’s screen on
the left.
The option ‘Function’ is displayed.
Select the ‘F2’ key
The terminal prompts ‘Enter Function’
Enter ‘93’ then press the ‘ENTER’ key (Green key)
The terminal prompts ‘PASSWORD’
Enter the four (4) digit password, then press the ‘ENTER’ key (Green key)
The option ‘HYPERCOM’ is displayed, select the ‘F2’ key
The terminal then goes through a process of communicating and upon completion prompts
‘APPROVED’.
Note
1. The communication process prior to approval shows: Processing… → Approved
1

Processing a Sale/Purchase Transaction
PROCESSING A DEBIT CARD TRANSACTION
Swipe the customer’s card along the card reader on the right hand side of the terminal with the
magstripe facing inside
Enter SALE AMOUNT and then press the ‘ENTER’ key (Green Key)
The merchant confirms the amount by pressing either of the following: F2 –Yes or F3 –No
The customer confirms sale amount on the pin pad by pressing the ‘ENTER’ key (Green Key)
The pin pad will read ‘SELECT ACCOUNT’, prompting the customer to select either of the
following options:
SAVINGS 1
CHEQUING 2
The pin pad screen then reads ‘PLEASE ENTER PIN’; the customer must enter their PIN at
this time.
The terminal then goes through a process of dialing and upon completion prompts
‘APPROVED’
The terminal generates a receipt automatically. (
This is the merchant’s copy
)
The screen then reads ‘Print Copy’ , prompting the merchant to select
COPY F2
EXIT F3
2

PROCESSING A CREDIT CARD TRANSACTION (MAGSTRIP/NON-CHIP)
Perform SECURITY CHECKS on the card presented by the customer
Swipe the customer’s card along the card reader on the right hand side of the terminal with
the magstripe facing inside
Enter the last four (4) digits of the credit card number, and then press the ‘ENTER’ key
Enter SALE AMOUNT and then press the ‘ENTER’ key
The terminal then goes through a process of communicating and upon completion prompts
‘APPROVED’
The terminal generates a receipt automatically. (
This is the merchant’s copy
)
The screen then reads ‘Print Copy’ , prompting the merchant to select
COPY F2
EXIT F3
Note
1. The Security Checks involve: (a) Checking the Card Number, (b) Verifying the Printed Number, (c)
Checking the Hologram, (d) Checking the Signature, (e) Checking the Logo (f) Verifying the Expiry Date,
(g) Verifying Name on Card is SAME on Valid Photo ID
2. The last (4) four digits of the Credit Card Number are on the front of the Credit Card presented.
3

PROCESSING A CREDIT CARD TRANSACTION (CHIP CARD)
Insert the customer’s card into the chip reader of the pin pad or terminal depending on what
is being used
Enter SALE AMOUNT and then press the ‘ENTER’ key
The merchant confirms the sale amount by pressing either if the following:
YES F2
NO F3
The customer conforms the amount on the pin pad by pressing the ‘ENTER’ key (Green Key)
The pin pad screen then reads ‘PLEASE ENTER PIN’; the customer must enter their PIN at
this time
The terminal then goes through a process of communicating and upon completion prompts
‘APPROVED’
The terminal generates a receipt automatically. (
This is the merchant’s copy
)
The screen then reads ‘Print Copy’ , prompting the merchant to select
COPY F2
EXIT F3
4

Processing a Balance Inquiry Transaction
This function is done on Debit Cards only
On the Home Screen, select ‘NEW TRANS’ by pressing the ‘F2’ key.
On left bottom hand of the terminal’s home screen, a downward pointing arrow is shown,
press the corresponding purple key. This is the first purple key under the terminal’s screen on
the left.
Select the option ‘Balance’by selecting the ‘F1’ key
The terminal screen reads ‘TYPE/INSERT OR SWIPE THE CARD’
Swipe the customer’s card along the card reader on the right hand side of the terminal with the
magstripe facing inside.
The pin pad will read ‘SELECT ACCOUNT’, prompting the customer to select either of the
following options:
SAVINGS 1
CHEQUING 2
The pin pad screen then reads ‘PLEASE ENTER PIN’; the customer must enter their PIN at
this time.
The terminal then goes through a process of communicating and upon completion prompts
‘APPROVED’
The terminal generates a receipt automatically. (
This is the merchant’s copy
)
The screen then reads ‘Print Copy’ , prompting the merchant to select
COPY F2
EXIT F3
5

Void/Reversal Function
On the Home Screen, select ‘Batch’ by pressing the ‘F3’ key.
On left bottom end the terminal’s home screen, a downward pointing arrow is shown, press
the corresponding purple key. This is the first purple key under the terminal’s screen on the
left.
Select the option ‘VOID’ by pressing the ‘F4’ key
The terminal prompts ‘Enter Invoice Number’.
Enter the digits of the invoice number and press the ‘ENTER’ key
The transaction is displayed on the terminal’s screen, and prompts the merchant to select
YES F2
NO F3
The terminal then goes through a process of dialing and upon completion prompts
‘APPROVED’.
The terminal generates a receipt automatically. This is the merchant’s copy.
The screen reads ‘Print Copy’ , prompting the merchant to select
COPY F2
EXIT F3
Note
1. The Process of Voiding/Reversing a transaction is the same for Debit Transactions, Credit Card
(Magstrip/Non-Chip) Transaction and Credit Card (Chip Card) Transactions.
6

REPRINT FUNCTION
On the Home Screen, select ‘Reports’ by pressing the ‘F4’ key.
Select the option ‘Reprint’ by pressing the ‘F4’ key
Select the second purple key under the display screen from the left.
The following options are displayed for selection:
-
Last –F2
-
Invoice –F3
Either of the following scenarios will apply:
a. If ‘Last’is selected, a copy of the last successful transaction processed at the terminal
will be printed.
b. If ‘Invoice’ is selected:
The terminal prompts ‘ENTER INVOICE’.
When entered, the reprint is generated with the word ‘Duplicate’at the
top.
Note
2. The Process of reprinting a transaction is the same for Debit Transactions, Credit Card (Magstrip/Non-
Chip) Transaction and Credit Card (Chip Card) Transactions.
7

Running the Audit Report
On the Home Screen, select ‘Reports’ by pressing the ‘F4’ key.
Select the option ‘Audit’ by pressing the ‘F2’key
The options ‘All’and ‘By Acq.’ are displayed. Select ‘All’by pressing the ‘F2’ key
End of Day Settlement Function
This is the process where daily transactions are credited to the account. It is done at the end of the business day or at
the end of a shift according to the company’s business practice.
On the Home Screen, select ‘Batch’ by pressing the ‘F3’ key.
Select the option ‘Settle’by pressing the ‘F2’key
The options ‘All’and ‘By Acq.’ are displayed. Select ‘All’by pressing the ‘F2’ key
The terminal prompts to confirm the Sales Total
YES F2
NO F3
The terminal prompts to confirm the Refunds Total
YES F2
NO F3
The terminal then goes through a process of communicating and upon completion prompts
‘Settlement Successful’and generates a printed receipt automatically.
8

Note
1. TAMPERING WITH TERMINALS
Verify the identity of any third-party person claiming to be repair or
maintenance personnel, prior to granting them access to modify or
troubleshoot devices.
Do not install, replace, or return devices without verification
Be aware of suspicious behavior around devices (for example, attempts
by unknown persons to unplug or open devices)
Report suspicious behavior and indications of device tampering or
substitution to appropriate personnel (for example, to a manager or
security officer)
9

Contact Information
10
Officer
Contact Number
Officer number
627-4POS (627-4767)
(Call for paper rolls and technical assistance)
Authorization Department 24/7
623-2460
Call Center –between 6am -10pm, 7 days
a week
62 FIRST (623-4778)
E-mail
(Email for paper rolls and technical assistance)
Table of contents
Other VeriFone Credit Card Machine manuals

VeriFone
VeriFone VX 805 User manual

VeriFone
VeriFone HICAPS VX680 User manual

VeriFone
VeriFone HICAPS VX820 User manual

VeriFone
VeriFone C680 FF User manual

VeriFone
VeriFone Omni 3730 User manual

VeriFone
VeriFone VX-670 series User manual

VeriFone
VeriFone Omni 3200SE User manual

VeriFone
VeriFone MX800 Series User manual

VeriFone
VeriFone MX800 Series Parts list manual

VeriFone
VeriFone HICAPS VX680 User manual