Please proceed as follows:
Replacing Fluorescent Lamp:
(a) Turn off power to the unit. .
(b) Grip the bulb at both ends, near the connectors and twist
the bulb approximately 90 degrees.
(c) Gently pull the bulb out of the connectors.
(d) Reverse this process to fit, ensuring that the bulb is held
firmly and correctly within the connectors before releasing.
UNDER SHELF LIGHTING (Optional extra)
The shelf lights are individually controlled via switches on the
lamp fittings. They can be accessed from the customer side. The
switch is near the left hand side. (The shelf lights can be
accessed through rear doors on enclosed models) To change a
lamp, proceed as replacing lamps above, except the lamp end
covers need to be slid across and removed after (a). When
replacing the lamp end covers, they just clip back into place.
4. CLEANING
Switch off the unit at the mains before cleaning.
The tray in the base can be removed to access the underneath
area enabling spillages and crumbs to be cleaned up. Take care
not to touch the heat exchanger as it may have sharp edges.
Shelves and brackets can be removed for cleaning. Ensure that
they are replaced securely afterwards.
For enclosed units, cleaning access can be gained by tilting the
front glass out to the open rest position. For greater access the
glass screen can be lifted right out. The glass is heavy or very
heavy and will need 2 people to lift it.
Where fitted, the perforated clear plastic panel(s) in the rear
door(s) can be removed for cleaning. Slide the perforated clear
plastic panel up out of the door. Replace before use.
Stainless steel surfaces will give you many years of trouble-free
use as long as you follow a few simple rules. If it appears to
mark do not worry, it is usually not the steel but something
deposited on it which has stained.
Wash all surfaces before use:
You should use a damp cloth and a mild detergent or soap, or
similar cleaner. Always rinse well with clean water and dry the
surface with a soft cloth. Clean regularly when in use. Do use
soft cloths, nylon or bristle brushes.
Do not use:
Metal scrapers, wire brushes or wire wool pads as they can
scratch the steel. Do take care when handling sharp objects as
they can scratch the surface of stainless steel. Any scratches on
stainless steel will blend together over a period of time and
become less noticeable with age. There is no detriment to the
corrosion resistance or general performance of the material.
Do not use:
Bleach for cleaning purposes (remember dishwasher powders,
sterilising agents and similar products all contain chlorides). If
used, black pit marks, large brown patches or other such effects
may appear and permanent damage may be caused. If used
inadvertently rinse immediately with clean water.
the food temperature. Other buttons on the controller are of no
consequence to the user and are for factory or service engineer
use only.
To obtain the best performance, the following procedure is
suggested:
(a) Switch on the refrigeration system via the switch located on
the control panel.
(b) Depending on the ambient temperature, allow the display
approximately 30 minutes to reach the required temperature.
(c) Load the display. Do not load the shelves too densely. Please
leave gaps between adjacent items to enable adequate
airflows. Please also leave a gap between the top of the food
items and the shelf above.
All refrigeration systems frost up when operating. Your
appliance has a microprocessor control, programmed to defrost
periodically. No manual defrost is required. The refrigeration
system will automatically defrost every 2 hours for
approximately 20 minutes.
The controller will display‘def’ during the defrost cycle, then rec
as the systems recovers temperature. Water collected from the
defrost operation is automatically evaporated.
Please remember: The refrigeration system is not designed to
chill food, but is designed to maintain it at a satisfactory
temperature before serving.
REAR DOORS (enclosed models)
The lower door hinges up, and the upper door hinges down.
The two doors can’t be open at the same time. When the top
door is lowered it can be used as a shelf to assist loading the
cabinet.
REAR DOORS (open fronted models)
Changing the hinging from left to right
The door(s) hinges outward to facilitate loading and cleaning.
Whilst the unit is running, only open them for the minimum
time possible. On 1000 and 1300 sizes there are 2 doors but on
the 650 there is 1. As standard, the 650 is supplied opening to
the left from the operator’s side. However it is simple to alter
the hinging to be from the other side.
Unscrew and remove the cover plate from the non hinge side.
Slide the perforated clear plastic panel up out of the door. Hold
onto the door and unscrew the hinges from the cabinet. Rotate
the door through 180o so that the hinges go to the side that
you want them fixed to. Fasten the hinges to the cabinet. Slide
the perforated clear plastic panel into the door from the top.
Re-fix the cover panel.
SHELVES; REMOVAL AND HEIGHT ADJUSTMENT
(a) The glass shelves may be removed for cleaning. On enclosed
models the glass may be removed through the rear doors.
(b) With the glass out, the shelf height can be adjusted up or
down 15mm.
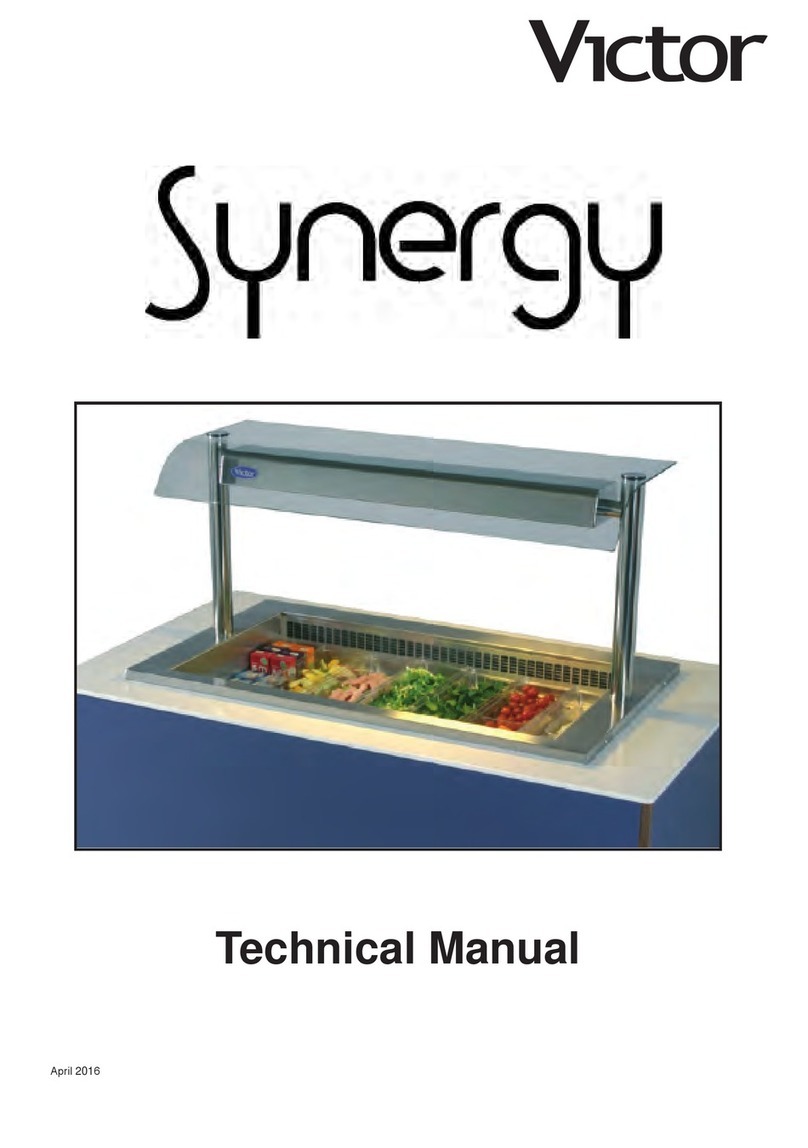
CANOPY
The canopy is fitted with a fluorescent tube controlled by an
on/off switch on the rear of the unit (inside cabinet on wall
style models) adjacent to the refrigeration control. The lamp is
replaceable.
