manuals.online logo
Brands
  1. Home
  2. •
  3. Brands
  4. •
  5. Virutex
  6. •
  7. Planer
  8. •
  9. Virutex CE24E User manual

Virutex CE24E User manual

Planer
CE24E
2496149
2
A
G
H
D
Fig. 1
OPERATING INSTRUCTIONS
F
D
Fig. 2
3
J
F
M
K
D
L
A
E
Fig. 3
Fig. 4
5 mm
Fig. 5 Fig. 6
English
CE24E PLANER
1. SAFETY INSTRUCTIONS FOR
USE OF THE PLANER
1.1 WARNING! Read carefully the GENERAL
SAFETY INSTRUCTIONS LEAFLET,which is
included in the machine documentation.
1.2 Before starting up the machine make sure
that the supply voltage is the same as that shown
on the specificationplate.
1.3 Always keep hands clear of the cutting area,
and always hold the machine using the grips. 1.4
Always use original VIRUTEX blades. Never use
bluntordamagedbladesorbladesofthewrongsize
or in poor condition.
Always use the original VIRUTEX blade holders
and blade supports mounted on the machine. If
necessary, replace them with original VIRUTEX
parts.
1.5 It is necessary to work with dust collection in
order to prolong the life of the blades and prevent
any breakages.
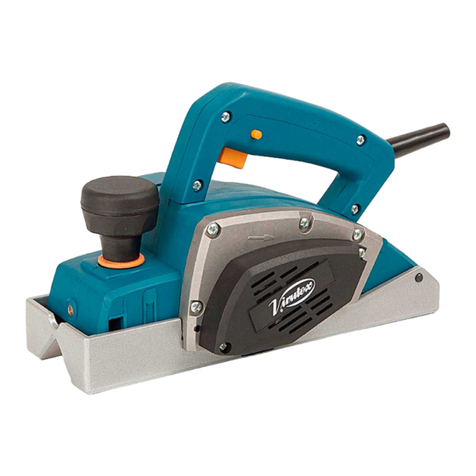
4. GENERAL DESCRIPTION
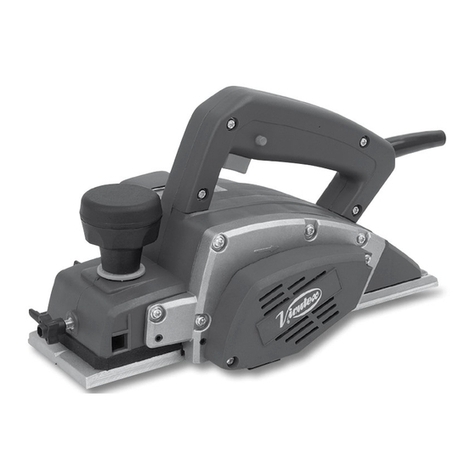
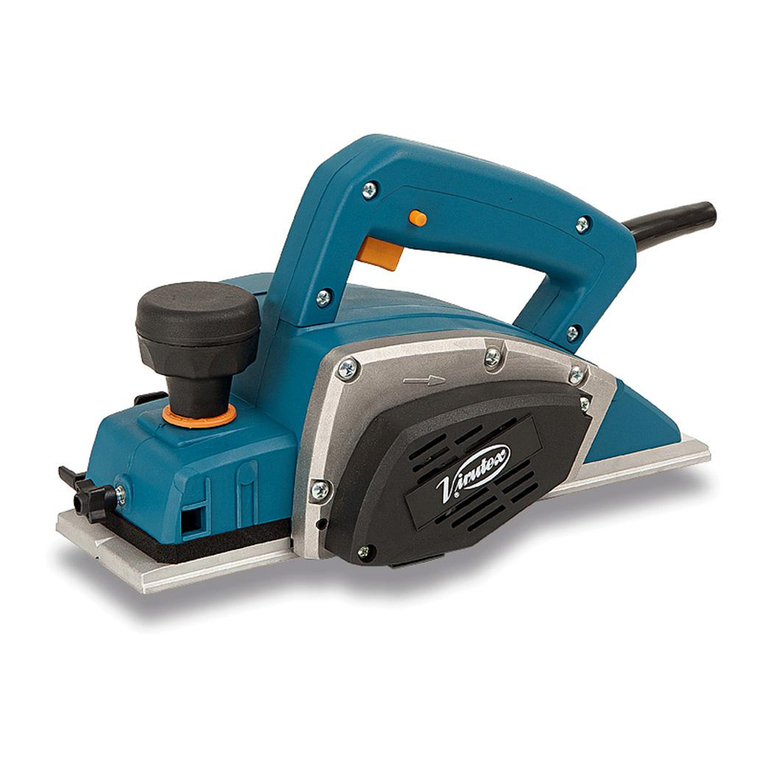
The CE24E planer is equipped with spare, twin-
use hard metal blades, a depth guide for planing
or rebating, a lateral fence for working to outside
references and a safety switch with reverse setting
to avoid accidental start-up.
The tool has a suction point via which it can be
connected to our extractor AS182K, AS282K,
or to any industrial extractor, by means of the
STANDARD DUST COLLECTORATTACHMENT
(ref. 6446073).
5. REGULATING THE CUT
Turn knob A, (Fig. 1) until the required depth is
reached. (Maximum cutting depth 3 mm)
6. CHANGING BLADES
Changing and adjustment of blades
WARNING! Disconnect the machine fromthemains
before carrying out this operation. Loosen screws
D (Fig. 2) using the spanner included in the kit,
and slide the blade sideways to free it from the
blade cartridge. Insert a new blade or turn the old
one araound to use the second cutting edge, and
tighten up screws D.
The blade-holders on the machine are perfectly
6
adjustment becomes necessary this is carried out
by screws F until the blades are parallel with the
base of the machine.
The blades supplied by VIRUTEX are reversible
(double-edge).
WARNING! Ensure that screws D are well tighte-
ned up before restarting work with the machine.
Only use VIRUTEX original spares for any spares
needed for the Blade-holder system.
7. CHANGING THE
TRANSMISSION BELT
Unscrew screws F (Fig. 3) and remove protection
E.
Replace the worn belt with a VIRUTEX original
spare, taking care to fit it correctly into the pulley
cogs, never forcing it. (Fig. 4).
8. MAINTENANCE OF THE
BRUSHES AND COLLECTOR
WARNING! Disconnect from the mains before
carrying out any maintenance operations.
The brushes must be replaced when they reach a
minimum length of 5 mm (Fig. 5).
Unscrew screws H and remove the ventilation
lid. Slip the brush-holder out of its guide. Replace
the brushes with original VIRUTEX ones, sliding
them gently into the brush-holder. Fit this back
into its guide and screw the lid back in place. It is
recommended that the appliance be left idling for
15 minutes to run the brushes in.
If the collector is burned or uneven it should be
repaired by a VIRUTEX service agent.
Always keep the lead and plug in good working
condition.
9. ASPIRATION NOZZLE ASSEMBLY
To fit the nozzle, proceed as show in (Fig. 6). The
3.5 m standard aspiration coupling tube (Ref.
6446073) may be connected to the aspiration
nozzle and that tube can be connected to the
AS182K, AS282K vacuum unit.
NOTE! Do not use the brush with the aspiration
nozzlefittedwithout first connecting up the machine
to a vacuum unit, since otherwise chips may block
the nozzle.
10. LATERAL FENCE
For planing operations following the edge of the
wood. Adjusted by means of knob G (see Fig. 1).
11. OPTIONAL ACCESSORIES
AND TOOLS
11.1 TOOLS
3540118 - Set of reversible straight MD blades
CE24E/CE35E (Included with equipment)
3531019 - Set of reversible straight AR blades
CE24E/CE35E
3599101 - Set of standard blades
11.2 ADJUSTABLE LATERAL
FENCE 2200018
Features: for different degrees of chamfer.
Assembly: screw the two screws J, incorporated in
the try square, into the holes which are on the same
side of the plane as the belt guard (Fig. 3).
Adjustment: loosen knob K and, using knob M,
shift the try square sideways.
Adjust the degrees of chamfer by means of wing
nuts L (Fig. 3)
12. NOISE AND VIBRATION LEVEL
The noise and vibration levels of this electrical
device have been measured according to the
European standard EN50144.
The noise level in the workplace can exceed
85dB(A), in which case it is necessary for the
user to take noise protection measures.
13. WARRANTY
All VIRUTEX power tools are guaranteed for 12
months from the date of purchase, excluding any
damage which is a result of incorrect use or of
natural wear and tear on the machine. All repairs
should be carried out by the official VIRUTEX
technical assistance service.

Other manuals for CE24E

1

Other Virutex Planer manuals

Virutex WEGOMA AP98N User manual

Virutex

Virutex WEGOMA AP98N User manual

Virutex CE24E User manual

Virutex

Virutex CE24E User manual

Virutex CE89E User manual

Virutex

Virutex CE89E User manual

Virutex DUO CE223X User manual

Virutex

Virutex DUO CE223X User manual

Virutex CE123N User manual

Virutex

Virutex CE123N User manual

Virutex AP98 User manual

Virutex

Virutex AP98 User manual

Virutex WEGOMA BH80 User manual

Virutex

Virutex WEGOMA BH80 User manual

Virutex CE35E User manual

Virutex

Virutex CE35E User manual

Virutex CE120P User manual

Virutex

Virutex CE120P User manual

Virutex CE96H User manual

Virutex

Virutex CE96H User manual

Virutex WEGOMA FH71 User manual

Virutex

Virutex WEGOMA FH71 User manual

Virutex CE123N User manual

Virutex

Virutex CE123N User manual

Virutex CE96H User manual

Virutex

Virutex CE96H User manual

Virutex CE53S User manual

Virutex

Virutex CE53S User manual

Virutex GR120P User manual

Virutex

Virutex GR120P User manual

Popular Planer manuals by other brands

Makita M1901 instruction manual

Makita

Makita M1901 instruction manual

WolfPack M1B-YH8-82X2 instruction manual

WolfPack

WolfPack M1B-YH8-82X2 instruction manual

Hitachi P 20SD Handling instructions

Hitachi

Hitachi P 20SD Handling instructions

Ryobi HPL51K Manuel d'utilisation

Ryobi

Ryobi HPL51K Manuel d'utilisation

Titan TTB876PLN manual

Titan

Titan TTB876PLN manual

Makita KP312 instruction manual

Makita

Makita KP312 instruction manual

Felder AD 941 operating manual

Felder

Felder AD 941 operating manual

Rikon Power Tools 25-010H Operator's manual

Rikon Power Tools

Rikon Power Tools 25-010H Operator's manual

Wen 6528 user manual

Wen

Wen 6528 user manual

Grizzly G0815 owner's manual

Grizzly

Grizzly G0815 owner's manual

Bosch PHO 2-82 operating instructions

Bosch

Bosch PHO 2-82 operating instructions

Makita 1902 instruction manual

Makita

Makita 1902 instruction manual

Craftsman 351.217580 Operator's manual

Craftsman

Craftsman 351.217580 Operator's manual

Erbauer EHP1050 Original instructions

Erbauer

Erbauer EHP1050 Original instructions

FFC LAF5412 manual

FFC

FFC LAF5412 manual

Metabo 602682000 Original instructions

Metabo

Metabo 602682000 Original instructions

King Industrial KC-390FX instruction manual

King Industrial

King Industrial KC-390FX instruction manual

LEMAN RAD260 instruction manual

LEMAN

LEMAN RAD260 instruction manual

manuals.online logo
manuals.online logoBrands
  • About & Mission
  • Contact us
  • Privacy Policy
  • Terms and Conditions

Copyright 2025 Manuals.Online. All Rights Reserved.