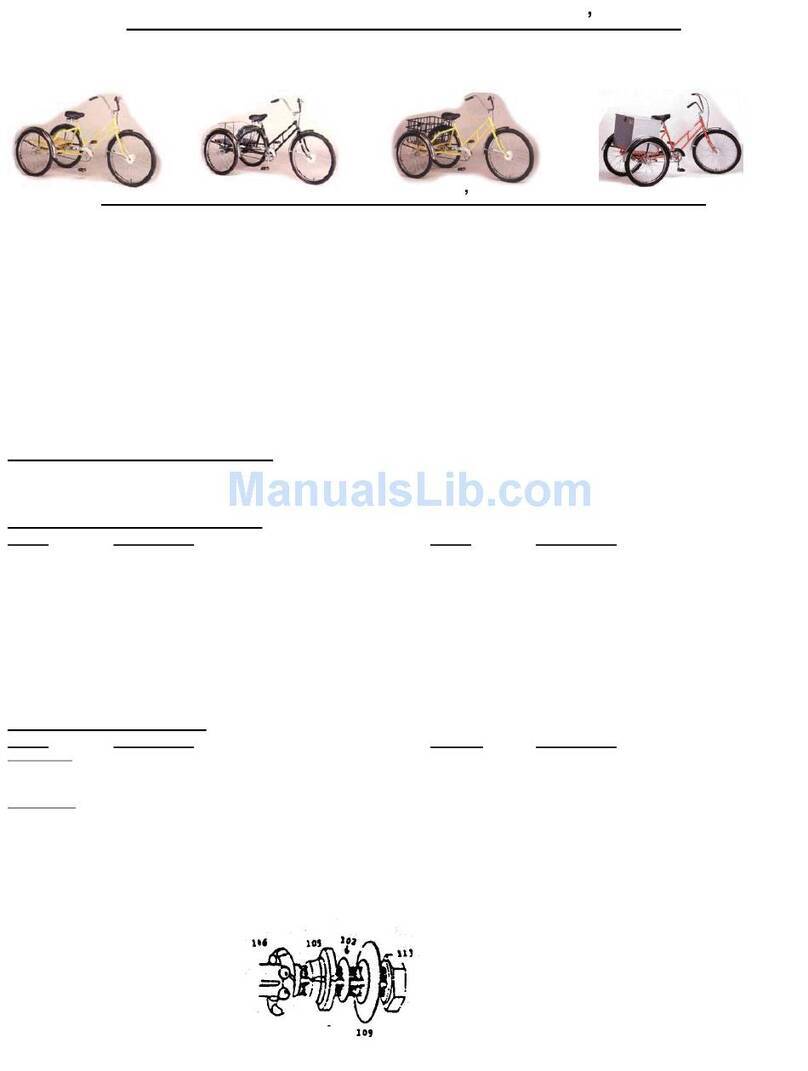
Assembly Instructions:
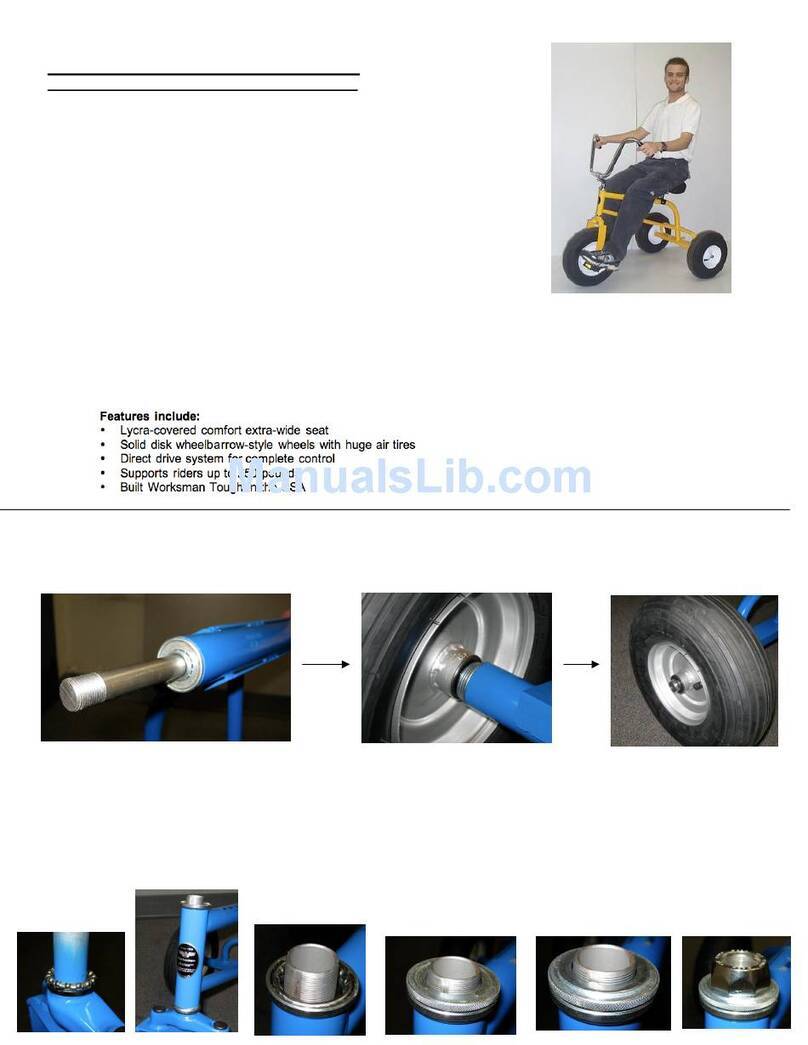
1. Slide rear axle through rear of frame.
2. Install one axle washer on each side of the rear axle.
3. Install rear wheels onto axle with valve stem facing out.
4. Install elastic stop nut on axle and tighten. Make sure wheels spin freely. Do not overtighten!
5. Install fork/headset into frame. (See instructions below.)
6. Install pedals on correct side of crank (marked L and R). Left side tightens counter-clockwise!
7. Insert stem into fork steerer-tube. Position stem so it is straight with head facing forward and
loosely tighten stem top bolt.
8. Install handlebar into stem, position properly and tighten clamp.
9. Once the handlebar is positioned properly, re-tighten both the stem bolt and the clamp to make
sure the handlebar and stem are secure and aligned properly.
10. Slide grips onto handlebars. (Put a small amount of liquid soap on end of bar if difficult to install.)
11. Install seat on pre-installed seat bracket by sliding seat clamp over seatpost / seat bracket.
12. Tighten seat clamp bolt/nut located under the seat on the seat clamp. Make certain the seat does
not rotate after tightening.
13. Reinstall seat bracket in frame if not already in correct position. Tighten bracket nut securely.
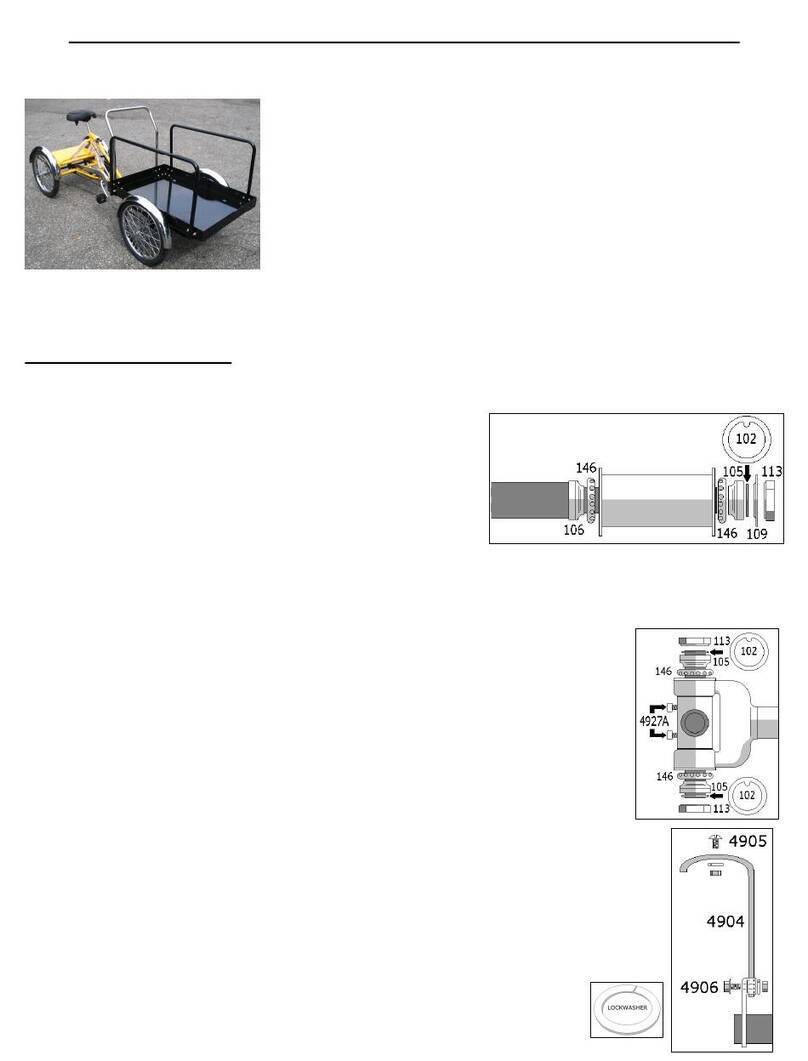
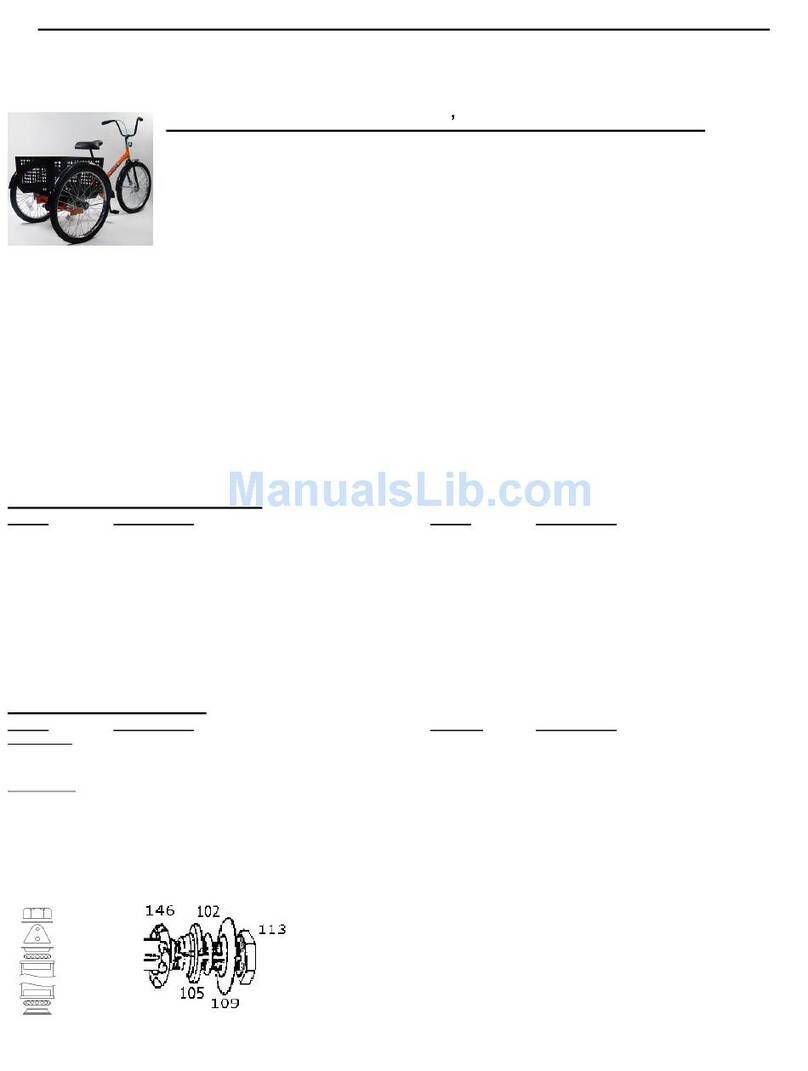
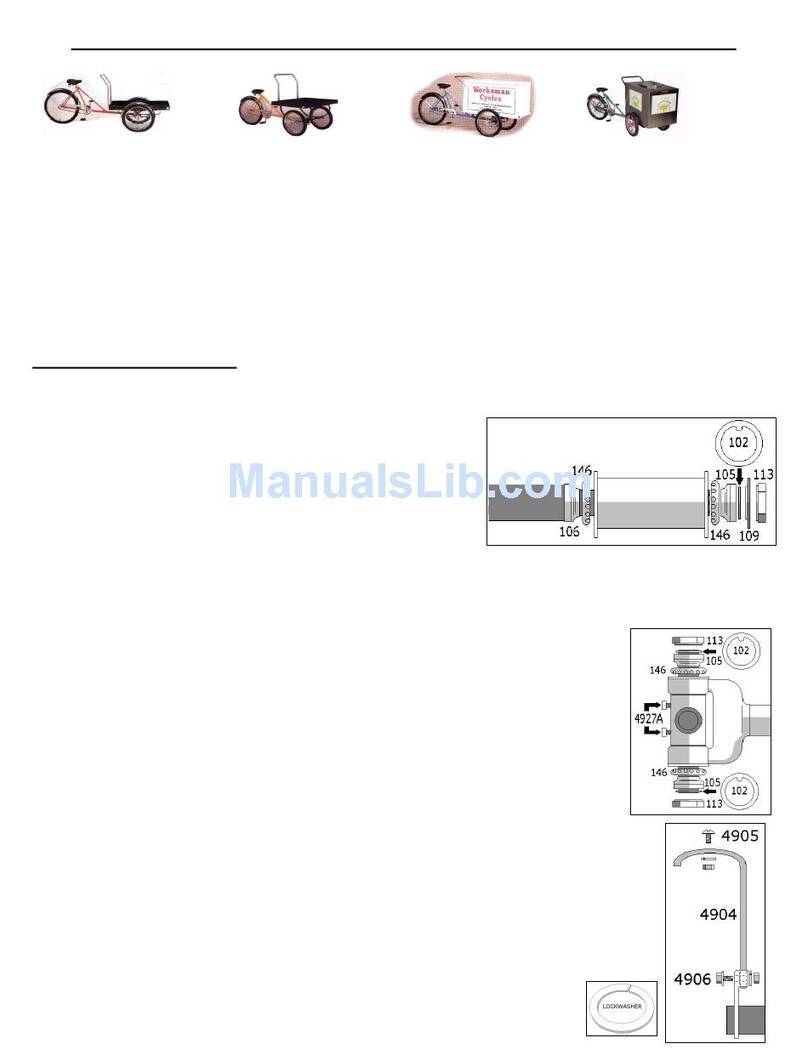
Headset Assembly Instructions to Attach Front Fork/Wheel Assembly to Frame:
1) Grease cups (48) with Rustolene 200 or equal. Bearings (49) are pre-greased at the factory,
but it is wise to add lubrication before assembly.
2) Place one bearing (#49) onto fork steering tube w/ balls facing up. Slide fork tube into frame.
3) Place the other bearing on top of fork tube with balls facing down towards the cup (#48),
which is already pressed onto the frame.
4) Install top-adjusting cone (#52) onto treaded fork steering tube. Hand-tighten, making sure
bearings do not bind. Turn back ¼ turn.
5) Install fork key washer (#53) on top of adjusting cone with tip of washer in slot on fork tube.
6) Install head lock nut (#54) and securely tighten. Make sure that the fork rotates freely without
being loose. Excess play or resistance must be adjusted. Failure to adjust properly can lead to
improper steering response.
7) Install handlebar stem (55A) into the fork steering tube with the handlebar clamp facing
forward. The stem must be inserted far enough to reach the minimum insertion line. Tighten the
stem bolt slightly at this point. Loosen the handlebar clamp nut and slide the handlebar through the
clamp, centering the knurled center section of the handlebar into the clamp.
8) Position the handlebar to the desired angle and tighten clamp securely. Recommended torque is 300
IN. LBS. Adjust the handlebar rotation so that it is straight with the front wheel. Tighten stem bolt
securely. Recommended torque 240 IN. LBS. Be sure not to over tighten, as damage to the parts may
occur causing steering failure.
Replacements Parts List
60010 Frame (Specify color)
60011 Rear Wheel w/ Tire
60012 Fork (Specify color)
60013 Seat Bracket w/ Seatpost
60014 Rear Axle
60015 Front Wheel w/ Tire
60016 Crank Arms (pair)
60017 Crank Arm Pins (pair)
60018 Spindle for Front Wheel
60019 Set Screw for Front Wheel
155 Handlebar
174HD 5/8”Bearings (for wheels/axles)
174W Axle washer
50A Headset
55A Handlebar Stem
55B Grips (pair)
57 Rear Axle Nut (each)
7219 Pedal (pair)
8250V Seat w/ Clamp Assembly
60020 Bolt and Nut for Seatpost Clamp
Technical Specifications:
Length: 43”Front Tire: 4.80/4.00-8
Max. Tire Inflation: 30 PSI Width: 29.5”(rear axle)
Rear Tire: 4.00-6 Carrying Capacity: 250 lbs.
Worksman Trading Corporation
Worksman Cycles 94-15 100th Street Ozone Park, NY 11416
www.worksmancycles.com 718-322-2000

