manuals.online logo
Brands
  1. Home
  2. •
  3. Brands
  4. •
  5. XYZ Printing
  6. •
  7. 3D Printer
  8. •
  9. XYZ Printing da Vinci Jr. 1.0 User manual

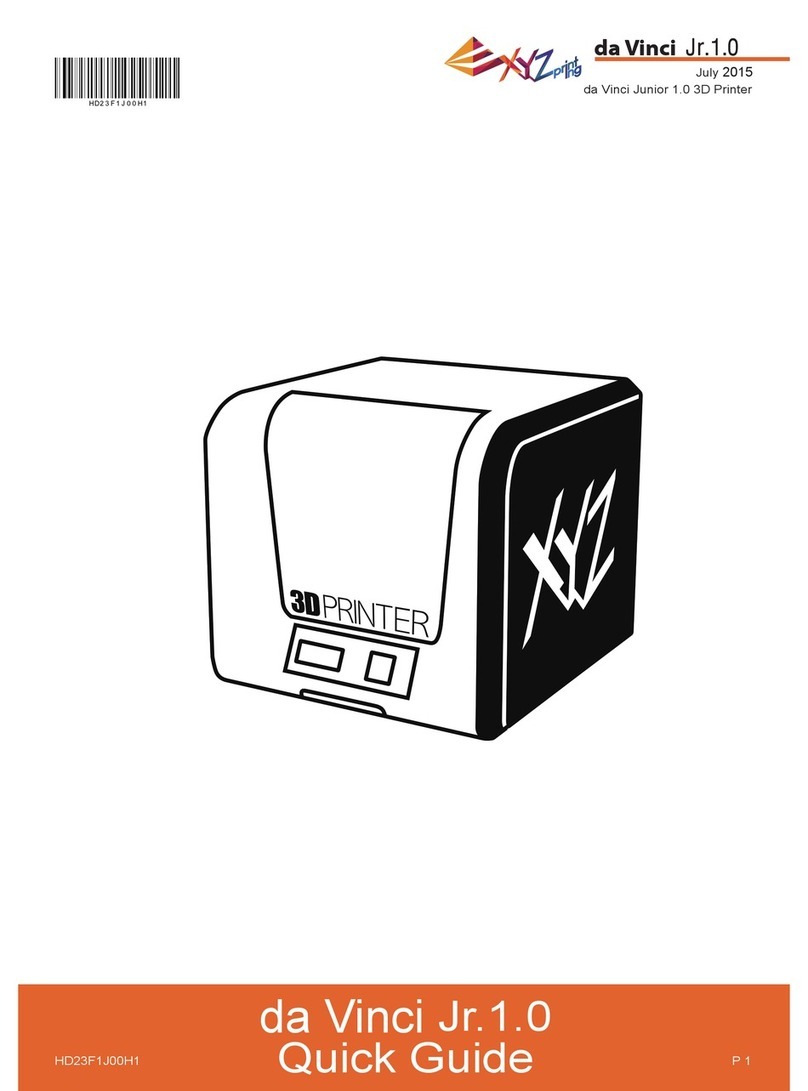
XYZ Printing da Vinci Jr. 1.0 User manual

P 1
HD23F1JS067
Compatible Model : da Vinci Jr. 1.0 3in1
Introducing the installation / detachment of the laser engraving module
Instructions for the laser engraving module
Please visit the official website of XYZprinting in order to obtain additional details on operational reminders,
application techniques, and maintenance information: http://www.xyzprinting.com
◆ Do not open the front door when the machine is running to prevent interrupting the laser engraving process,
as this would impact the integrity of the sculpted image.
◆ Do not look directly at the laser engraving process to prevent eye discomfort.
◆ Mild odors may be generated during the engraving process. We recommend working in a well-ventilated and
open area to ensure operational comfort.
◆ Please turn off the electric power when dismantling / replacing the laser engraving module.
◆ Defect reparation must be carried out according to the contents of this instruction manual. Where the defect
cannot be repaired, please contact your printer dealer or the customer service center.
Installing the laser engraving module:
Detachment of the laser engraving module
To release the extruder:
After removing the spool,
please select [CHANGE NOZZLE].
If the printer has filament inside,please “unload the Filament” first. Select [CHANGE SPOOL].
The Nozzle will back to the home position and
then turn off the power.
●
●
●
TURN OFF POWER
AND THEN CHANGE
NOZZLE MODULE
UTILITIES
CALIBRATE
BUILD SAMPLE
CHANGE NOZZLE
Press the white button at the
back of the extruder to release it.
◆ Connect the flat cable to the laser en-
graver. (Remind the flat cable direction.)
◆ Please select [CHANGE NOZZLE],then switch off the printer power.
◆ Press the white button at the back of the laser engraver to release it.
◆ Detach the connected cables.
◆ Complete dismantling and provide proper safekeeping of the laser engraver module.
◆ Align the laser engraver with the bracket
and press it to fix the holder.
Lightly press the spring around the feed hole and remove the
filament guide tube. Press on the harness chips and disconnect
the cable.
P 2
HD23F1JS067
Recommended laser engraving material:
Reminders before laser engraving
Using the laser engraving function
2. Place the aluminum foil on the platform and secure the 4 corners with tape. The foil will protect the platform
against any damage during the engraving process.
1. Remove the filament guide tube and fix the rubber plug to the filament moving area on the top of the printer.
The plug helps stop the emitting of laser light.
3. The engraving module is only capable of engraving planar objects. The target should thus be placed flatly on the
panel. Avoid engraving warped or curved objects that are not completely flat. The user may use tape to secure and
flatten the object on the platform or other flat surfaces.
Please verify that the device is connected. Then carry out Connect My Printer. After connecting, the XYZware screen will
appear. Select the Switch to Laser Engraving function at the Tool area at top right hand corner of the software interface.
If you need more detailed technical support and program resources, visit the website:
http://support.xyzprinting.com/global_en/Support
如需更詳細的技術支援與程式資源,請參考下列網址 :
http://support.xyzprinting.com/tw_zh_tw/Support
如需更详细的技术支持与程序资源,请参考下列网址 :
http://support.xyzprinting.com/cn_zh_cn/Support
さらに詳細なテクニカルサポートおよびプログラムの情報につきましては、次の URL をご参照ください :
http://support.xyzprinting.com/jp_ja/Support
더 자세한 기술 지원과 프로그램 리소스가 필요한경우 , 다음 웹사이트를 참조하십시오 .
http://support.xyzprinting.com/kr_ko/Support
EN:
TW:
CN:
JP:
KR:
The user may use tape to secure
and flatten the object on the
platform or other flat surfaces.
An example of an item placed
within the platform.
◆
◆
◆
◆
◆Paper
Cardboard
Leather
Wood
Plastic
Note:
Avoid using materials that are light colored, white, or have glossy surfaces for laser engraving.
Achieve the best engraving results with gray colored or dark colored materials.
●
Avoid using engraved materials that are
curved or otherwise not flat.
‧ Rubber Plug
P 3
HD23F1JS067
GUIDELINES FOR LASER SAFETY 雷射安全指引
雷射安全指引
EMERGENCY INSTRUCTIONS
緊急指示
紧急指示
Safety Precautions 安全注意事項
安全注意事项安全注意事項
PART NUMBER: RS1AWXY100A
LASER CLASSIFICATION: CLASS 3B
產品料號 : RS1AWXY100A
雷射功率等級 : CLASS 3B
产品料号 : RS1AWXY100A
雷射功率等级 : CLASS 3B
製品品番:RS1AWXY100A
レーザー出力レベル: CLASS 3B
Shut the 3D printer off immediately.
http://www.iec.ch/
(IEC 60825-1:2014)
請立刻關閉 3D 列印機電源。
http://www.iec.ch/
(IEC 60825-1:2014)
请立刻关闭 3D 打印机电源。
http://www.iec.ch/
(IEC 60825-1:2014)
Laser safety eyewear is needed. 使用雷射雕刻時請戴上安全護目鏡。
使用雷射雕刻时请戴上安全护目镜。
本レーザーモジュールは、レーザー製品の操作知識を
有し、且つ関連する安全保護を理解しているユーザー
だけに適用されます。
ご購入の前に、下記説明を詳しくお読みくだ
さいレーザー彫刻モジュール使用安全ガイドʼ
Mild odors may be generated during the engraving
process. We recommend working in a well-ventilat-
ed and open area to ensure operational comfort.
Please power off the 3D printer when replacing the
laser engraving module.
レーザー刻印は多少の臭いを発生させるので、使用環
境全体の快適性を保つため、通気性の良いオープンス
ペースで使用することをお勧めします。
貴殿の安全のため、また機器への損害が生じないよ
う、必ず事前に 3D プリンターの電源を切ってから、
レーザーモジュールの取替え、または取付けを行って
ください。
機器が過熱またはその他の異常が発生した場合、直ち
に3D プリンターの電源を切ってください。
http://www.iec.ch/
(IEC 60825-1:2014)
DO NOT look directly at the laser engraving
process to prevent eye discomfort.
DO NOTengrave specular (i.e., mirror-like)
reflecting objects.
DO NOT open the printer front door whole the
laser engraving process.
嚴禁於雷射雕刻過程中眼睛直視雕刻過程以免造成
眼睛不適。
嚴禁雕刻在材質光滑如鏡面的反射物體上。
嚴禁於機器運行時打開機台門。
严禁于雷射雕刻过程中眼睛直视雕刻过程以免造
成眼睛不适。
严禁雕刻在材质光滑如镜面的反射物体上。
严禁于机器运行时打开机台门。
レーザー刻印を使用するとき、開始から終了まで、
必ずゴーグルをご着用ください。目の損傷を防ぐた
め、レーザー刻印の過程で刻印過程を目で直視する
ことは厳禁です。
レーザー刻印を使用するとき、すべすべした材質の
反射物体、例えば鏡面に刻印することは厳禁です。
レーザー刻印を使用するとき、稼動中の機械のドア
を開くことは厳禁です。
◆
◆◆
◆
◆
◆
◆
雷射雕刻過程會產生少許氣味,為確保整體使
用環境的舒適性,請選擇通風良好之開放環境
使用。
更換或安裝雷射雕刻模組時,列印機電源請務
必關閉。
◆
◆
雷射雕刻过程会产生少许气味,为确保整体使
用环境的舒适性,请选择通风良好之开放环境
使用。
更换或安装雷射雕刻模块时,打印机电源请务
必关闭。
◆
◆
◆
◆
◆
■
■
■
■
■
■
■
■
■
■
■
■
ENG
CN
TW
JP

Other manuals for da Vinci Jr. 1.0

2

Other XYZ Printing 3D Printer manuals

XYZ Printing Da Vinci Jr. 2.0 Mix User manual

XYZ Printing

XYZ Printing Da Vinci Jr. 2.0 Mix User manual

XYZ Printing da Vinci 1.0 User manual

XYZ Printing

XYZ Printing da Vinci 1.0 User manual
XYZ Printing da Vinci 1.0 User manual

XYZ Printing

XYZ Printing da Vinci 1.0 User manual

XYZ Printing da Vinci Pro EVO User manual

XYZ Printing

XYZ Printing da Vinci Pro EVO User manual

XYZ Printing da Vinci Color mini User manual

XYZ Printing

XYZ Printing da Vinci Color mini User manual

XYZ Printing da Vinci 1.1 Plus User manual

XYZ Printing

XYZ Printing da Vinci 1.1 Plus User manual

XYZ Printing da Vinci 1.0 User manual

XYZ Printing

XYZ Printing da Vinci 1.0 User manual

XYZ Printing da Vinci 1.0 User manual

XYZ Printing

XYZ Printing da Vinci 1.0 User manual

XYZ Printing da Vinci 2.0 Duo User manual

XYZ Printing

XYZ Printing da Vinci 2.0 Duo User manual

XYZ Printing da Vinci 1.0 Pro User manual
XYZ Printing

XYZ Printing da Vinci 1.0 Pro User manual

XYZ Printing Nobel 1.0 User manual

XYZ Printing

XYZ Printing Nobel 1.0 User manual
XYZ Printing Nobel 1.0 User manual

XYZ Printing

XYZ Printing Nobel 1.0 User manual

XYZ Printing da Vinci Jr. 1.0 User manual

XYZ Printing

XYZ Printing da Vinci Jr. 1.0 User manual

XYZ Printing da Vinci Jr.1.0w User manual

XYZ Printing

XYZ Printing da Vinci Jr.1.0w User manual

XYZ Printing da Vinci Jr. WiFi Pro User manual

XYZ Printing

XYZ Printing da Vinci Jr. WiFi Pro User manual

XYZ Printing ds Vinci Color User manual
XYZ Printing

XYZ Printing ds Vinci Color User manual

XYZ Printing da Vinci Jr 1.0 Pro User manual

XYZ Printing

XYZ Printing da Vinci Jr 1.0 Pro User manual

XYZ Printing PartPro200 xTCS User manual

XYZ Printing

XYZ Printing PartPro200 xTCS User manual

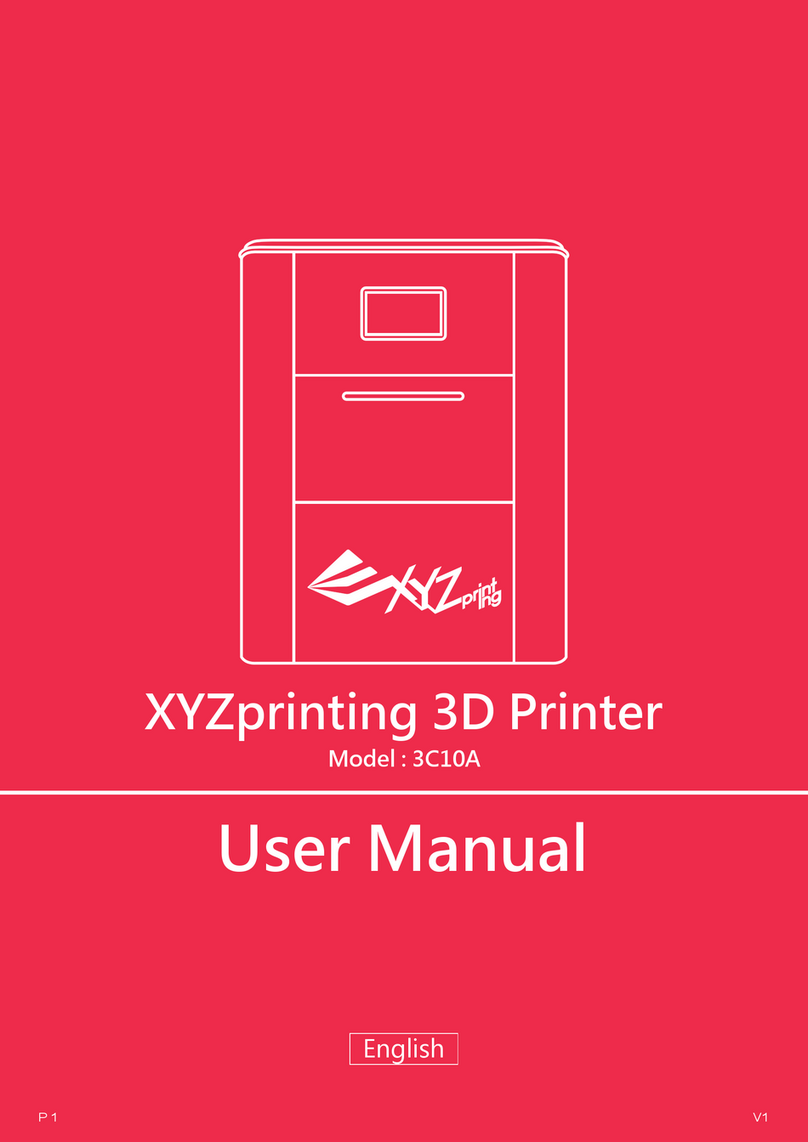
XYZ Printing 3C10A User manual

XYZ Printing

XYZ Printing 3C10A User manual

XYZ Printing do Vinci nono User manual

XYZ Printing

XYZ Printing do Vinci nono User manual

XYZ Printing Nobel Superfine User manual
XYZ Printing

XYZ Printing Nobel Superfine User manual

XYZ Printing Nobel Superfine User manual

XYZ Printing

XYZ Printing Nobel Superfine User manual

XYZ Printing da Vinci 1.0 Pro User manual

XYZ Printing

XYZ Printing da Vinci 1.0 Pro User manual
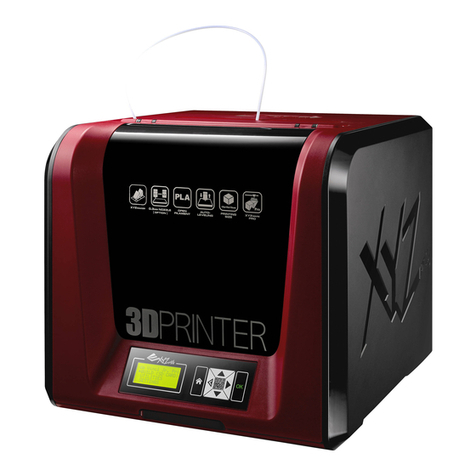
XYZ Printing Vinvi 2.0A Duo User manual

XYZ Printing

XYZ Printing Vinvi 2.0A Duo User manual

Popular 3D Printer manuals by other brands

LeapFrog Bolt PRO user manual

LeapFrog

LeapFrog Bolt PRO user manual

Renkforce RF500 Maker Construction Kit operating instructions

Renkforce

Renkforce RF500 Maker Construction Kit operating instructions

AnkerMake M5C Assembly guide

AnkerMake

AnkerMake M5C Assembly guide

Qilive Q.3622 instruction manual

Qilive

Qilive Q.3622 instruction manual

Emotion Tech MicroDelta Rework user guide

Emotion Tech

Emotion Tech MicroDelta Rework user guide

formlabs Fuse 1 manual

formlabs

formlabs Fuse 1 manual

Ultimaker 2 Extended Installation and user manual

Ultimaker

Ultimaker 2 Extended Installation and user manual

B9Creations Cure XL Instructions for use

B9Creations

B9Creations Cure XL Instructions for use

3D Systems Cube 2nd Generation user guide

3D Systems

3D Systems Cube 2nd Generation user guide

Geeetech Duplicator 5 user manual

Geeetech

Geeetech Duplicator 5 user manual

Noztek touch user manual

Noztek

Noztek touch user manual

Creality CR-10 Series user manual

Creality

Creality CR-10 Series user manual

Instone EASIER user manual

Instone

Instone EASIER user manual

Dremel DigiLab 3D45 Calibration manual

Dremel

Dremel DigiLab 3D45 Calibration manual

Noztek Filament Winder user manual

Noztek

Noztek Filament Winder user manual

Quant 3D Q300 3D user manual

Quant 3D

Quant 3D Q300 3D user manual

3D Systems CubePro Original instructions

3D Systems

3D Systems CubePro Original instructions

MostFun Sail Getting started

MostFun

MostFun Sail Getting started

manuals.online logo
manuals.online logoBrands
  • About & Mission
  • Contact us
  • Privacy Policy
  • Terms and Conditions

Copyright 2025 Manuals.Online. All Rights Reserved.