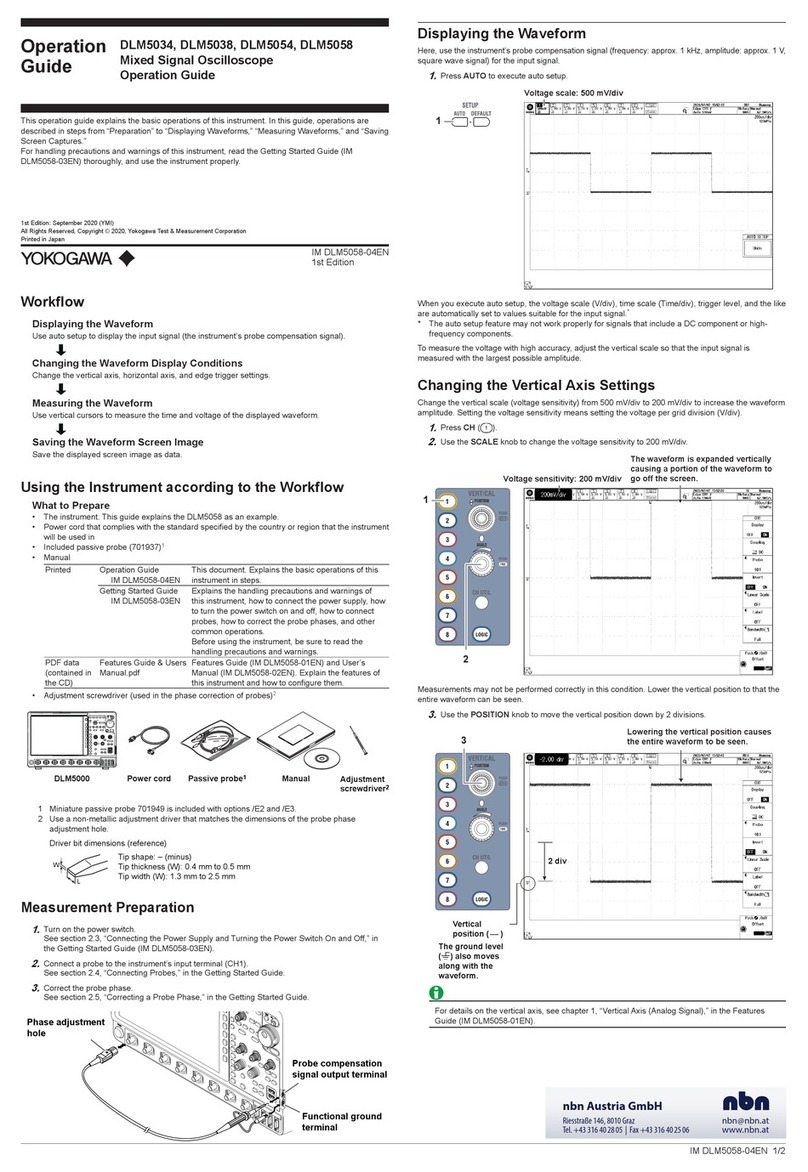
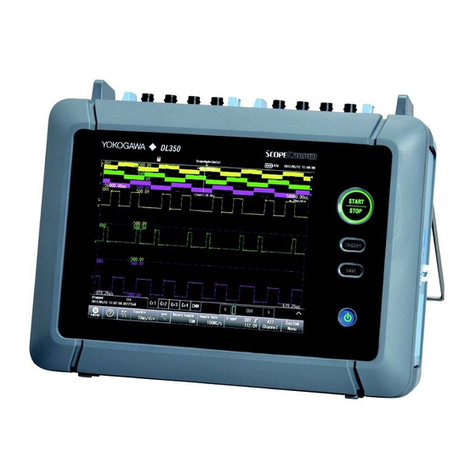
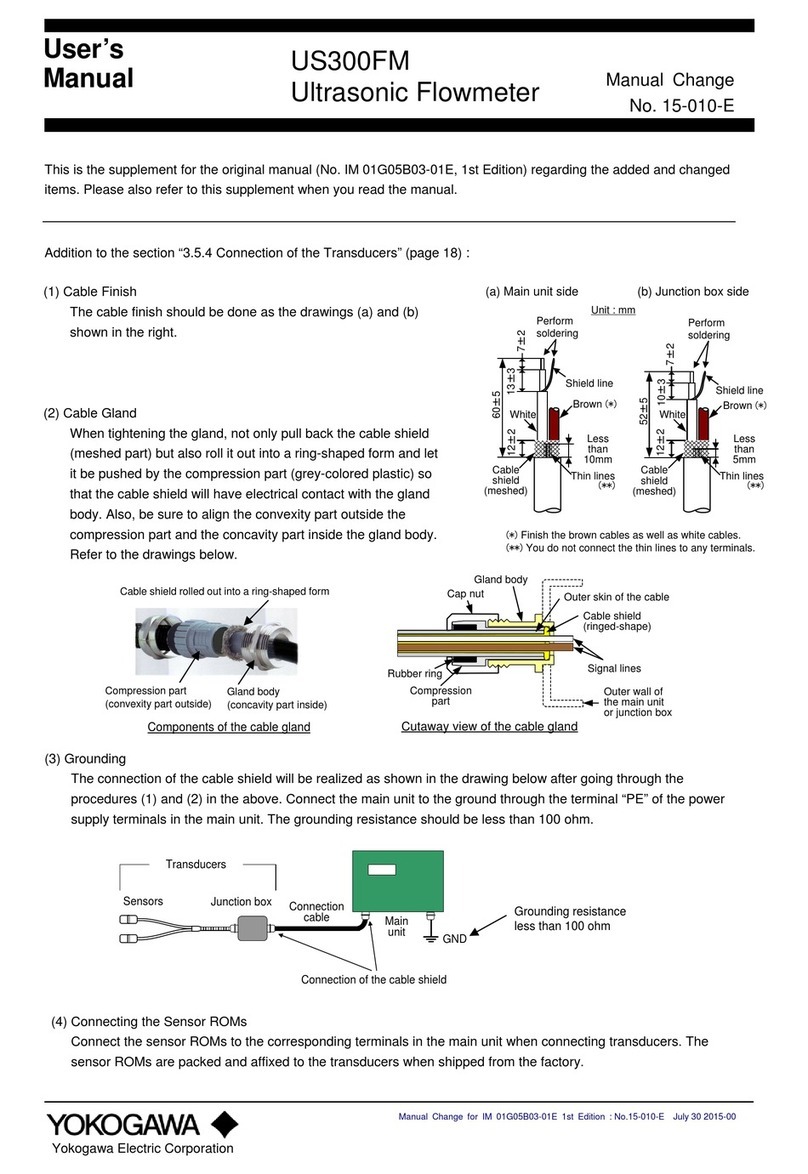
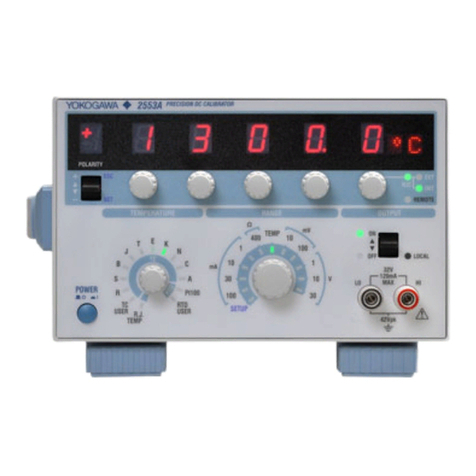
manuals.online logo
Brands
  1. Home
  2. •
  3. Brands
  4. •
  5. YOKOGAWA
  6. •
  7. Test Equipment
  8. •
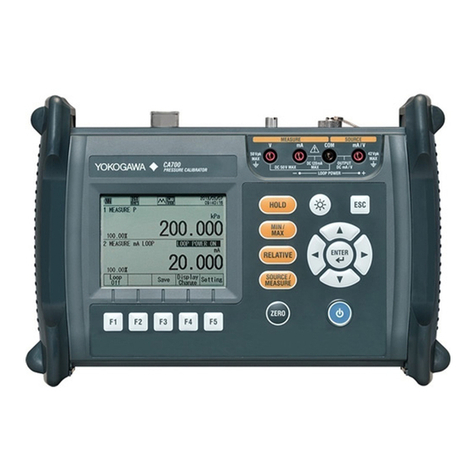
  9. YOKOGAWA CA310 User manual

YOKOGAWA CA310 User manual

User's
Manual
Safety Precautions
The handling precautions, component names, and specifications are covered in the separate Getting
Started Guide (IM CA310-02EN).
Be sure to read the Getting Started Guide before using this instrument.
Basic Setup
1.
Turn the instrument on, and set the rotary switch to SETTING.
2.
Use the left-most up and down keys to select the setting and the right-most up and down keys to
switch the options.
3.
Press OUTPUT ON/OFF to confirm the setting.
▲
▲
▲
▲
▲
▲
▲
▲
POWER
Selects the setting Selects an option
Confirms the settings
Setting
Auto power-off
Backlight
Sweep time
HART/BRAIN
Communication
resistance
Initialization of
span settings
Initialization of
settings
Options
ON*/OFF
ON/OFF*/TIMER
15s*/30s/45s/60s
ON/OFF*
—
—
Display
*: Default value
OUTPUT
ON/OFF
Auto power-off
If this is set to ON when the instrument is running on batteries, the power automatically turns off
if you do not operate the instrument for approx. 20 minutes. This is invalid when the instrument is
running off of the AC adapter.
Backlight
Turns the backlight on and off. If set to Timer, the backlight turns on for approx. 2 minutes every
time you operate a key.
Sweep time
When sweeping in steps, set the output duration of each step. When sweeping linearly, set the
output duration for the value to change from 0% to 100%.
HART/BRAIN communication resistance
 Ifyouwanttoconnectthe250ΩcommunicationloadresistancetoaHARTorBRAIN
communication system, turn this on.
Initialization of Span Settings
Initializes the span settings.
Initialization of Settings
Initializes settings.
Measurement
WARNING
• Always turn off the power of the device under measurement before connecting
it. Connecting or disconnecting lead cables without turning off the device under
measurement is extremely dangerous.
• Do not connect current circuits to the voltage input terminals. Likewise, do not
connect voltage circuits to the current input terminals. Improper connection may
cause electric shock or burns or may damage the device under measurement
or the instrument.
French
AVERTISSEMENT
Avant de brancher l’appareil à mesurer, mettez-le hors tension. Il peut être très dangereux de
brancher/débrancher les câbles de mesure sans mettre l’appareil à mesurer hors tension.
Évitez en particulier de brancher un circuit de courant sur les bornes d’entrée de tension ou
un circuit de tension sur les bornes d’entrée de courant. Un branchement inadéquat risquerait
non seulement d’endommager le circuit ou l’appareil à mesurer ainsi que l’équipement, mais il
pourrait également représenter un risque pour les personnes.
1.
Set the CA310’s measure/source switch to MEASURE.
2.
Follow the instructions in the Getting Started Guide to connect the CA310 to the device to be
measured using the included lead cable.
3.
Use the rotary switch to set the range. In measurement mode, mA SIMULATE is invalid.
4.
Turn on the device to be measured. The measurement appears on the CA310.
This manual explains how to use the Volt mA Calibrator.
Keep this manual in a safe place for quick reference in the event that a question arises.
LOOP POWER
Apply a constant 24 VDC voltage to the transmitter to perform a loop test. The displayed value is
current.
Set the rotary switch to LOOP POWER and take measurements.
Press
OUTPUT ON/OFF. 24 VDC voltage is applied. Press OUTPUT ON/OFF again to stop
the application.
4-20mA
+
—
Two-wire transmitter
Distributor
+
—
HART Communicator
Sourcing
1.
Set the CA310’s measure/source switch to SOURCE.
2.
Follow the instructions in the Getting Started Guide to connect the CA310 to the target device
using the included lead cable.
3.
Usetherotaryswitchtosettherange.Insourcemode,LOOPPOWER,50mA,and50Vare
invalid.
4.
Follow the instructions for common operations in the Getting Started Guide, and set the output
valuewiththe▼and▲keys.
5.
Press OUTPUT ON/OFF. ON appears on the screen, and the output is turned on.
Press OUTPUT ON/OFF again to turn off the output.
If you change the range, the output turns off.
Note
• If the load current in a voltage range or load voltage in a current range exceeds the maximum
value in the specifications, the protection limiter is activated, and the output is turned off.
To restore, set the load back to a normal condition, and press OUTPUT ON/OFF again.
• The CA310 is calibrated excluding the voltage dip in the lead cable.
Load current readings include an error resulting from the lead cable resistance.
mA SIMULATE
If the range is set to mA SIMULATE, the CA310 operates as a two-wire transmitter simulator and
sinkscurrentappliedtotheHiterminalfromanexternalvoltagesource(distributor).
4-20mA
+
—
Two-wire transmitter
Distributor
+
—
Changing the Output Mode
1.
Referto“Keys”intheGettingStartedGuide,andsettheoutputmode.
Normaloutput(nodisplay):Thesetvalueisoutput.Theoutputvaluecanbevariedusingthe▼
and▲keys.
Span check ( ): In addition to normal output, the output can be varied in units of 25% of the
span.
Step sweep( ): The output is varied automatically in steps of 25% of the span.
Linear sweep ( ): The output is varied linearly from 0% to 100%.
▲
▲
▲
▲
▲
▲
▲
▲
Press simultaneously to set the output mode.
Pauses or resumes sweeping
Output setting for span check
▲
▲
▲
▲
▲
▲
▲
▲
Increase or
decrease by
1 count
Increase or decrease
by 100 counts
Increase or decrease in
25% steps of span
Set to 100% of
span
Set to 0% of
span
Pressing this when sweeping is
stopped or paused sets the output
to the span 0% value.
Sweeping
The output value is varied automatically between 0% and 100% of the specified span. There are
two sweep modes: step and linear.
Time
Output
0%
100%
Sweep time
Time
Output
0%
100%
Sweep time
Step sweep Linear sweep
1.
Set the 0% and 100% of the span, which is the sweep range.
Setthespan0%valueusingthe▼and▲keysandthenpresssimultaneouslythefirstandthe
second▼keysfromtheright.SETisdisplayed,and0%isset.
Likewise,setthespan100%valueusingthe▼and▲keysandthenpresssimultaneouslythe
firstandthesecond▼keysfromtheright.
Fordetailsonkeyoperation,see“Keys”intheGettingStartedGuide.
2.
Set the output mode to step sweep or linear sweep.
3.
Press OUTPUT ON/OFF. Sweeping will start.
Pressing OUTPUT ON/OFF again stops sweeping and also the output.
Pressing OUTPUT ON/OFF yet again resumes sweeping from the last output value.
Pressingtheleft-most▼keywhilesweepingpausessweeping.Thedisplayedvaluecontinues
tobeoutputwhilesweepingispaused.Pressingthe▼keyagainresumessweeping.
Whensweepingisstoppedorpaused,pressingtheleft-most▲keysetstheoutputtothespan
0% value.
CA310
Volt mA Calibrator
User’s Manual
IM CA310-01Z2
1st Edition
1st Edition: November 2015 (YMI)
AllRightsReserved,Copyright©2015,YokogawaMeters&InstrumentsCorporation
Printed in Japan
IM CA310-01Z2
User's
Manual
本機器を安全にご使用いただくために
本機器を使用するときの注意、各部の名称、仕様については、別冊のスタートガイド (IM
CA310-02JA) に記載しています。
本機器を使用する前に、必ずスタートガイドをお読みいただき、正しくご使用ください。
基本設定をする
1.
本機器の電源を ON にして、ロータリースイッチを SETTING に合わせます。
2.
左端の上下キーで設定項目を選択し、右端の上下キーで選択肢を切り替えます。
3.
OUTPUT ON/OFF キーで設定を確定します。
▲
▲
▲
▲
▲
▲
▲
▲
POWER
設定項目の選択 選択肢の選択
設定の確定
設定項目
オートパワーオフ
バ ックラ イト
スイープ時間
HART/BRAIN通信用抵抗
スパン設定の初期化
設定の初期化
選択肢
ON*/OFF
ON/OFF*/TIMER
15s*/30s/45s/60s
ON/OFF*
-
-
表示
*:初 期 値
OUTPUT
ON/OFF
オートパワーオフ
乾電池で駆動している場合、ON に設定すると、約 20 分間操作しないと自動的に電源
が OFF になります。AC アダプタで駆動しているときは無効です。
バックライト
バックライトを ON/OFF します。Timer に設定すると、キー操作するたびに約 2 分間バッ
クライトが点灯します。
スイープ時間
ステップスイープの場合は各ステップ値の出力時間、リニアスイープの場合は 0%から
100%までの出力時間を設定します。
HART/BRAIN 通信用抵抗
HART 通信や BRAIN 通信のシステムで、通信用負荷抵抗 250Ω を接続する場合は、ON
に設定します。
スパン設定の初期化
スパン設定を初期化します。
設定の初期化
設定を初期化します。
測定する
警 告
・ 測定対象を接続する場合は、測定対象の電源を切ってください。測定対象の電
源を切らないで測定用リードケーブルを接続したり切り離すことは大変危険で
す。
・ 電圧入力端子に電流回路を接続しないでください。また電流入力端子に電圧回
路を接続しないでください。誤接続により、感電ややけど、測定対象や本機器
が破損するおそれがあります。
1.
本機器の測定 / 発生切り替えスイッチを MEASURE( 測定 ) に設定します。
2.
スタートガイドに従って、本機器と測定対象を付属の測定発生用リードケーブルで
接続します。
3.
ロータリースイッチでレンジを設定します。測定モードでは、mA SIMULATE は無効
です。
4.
測定対象の電源を ON にします。本機器に測定値が表示されます。
LOOP POWER
伝送器に 24 VDC の一定電圧を印加し、ループテストができます。表示値は電流値です。
ロータリスイッチを LOOPPOWER に設定して測定してください。
OUTPUTON/OFF を押します。24V DC 電圧が印加されます。再度、OUTPUTON/OFF を
押すと、印加が停止します。
4-20mA
+
-
2 線式伝送器
ディストリビュータ
+
-
HART Communicator
本書では、電圧電流キャリブレータの操作方法について説明しています。
お読みになったあとは大切に保存してください。ご使用中に操作がわからなくなったときなどにきっ
とお役に立ちます。
発生する
1.
本機器の測定 / 発生切り替えスイッチを SOURCE( 発生 ) に設定します。
2.
スタートガイドに従って、本機器と対象機器を付属の測定発生用リードケーブルで接
続します。
3.
ロータリースイッチでレンジを設定します。発生モードでは、LOOP POWER、
50mA、50V は無効です。
4.
スタートガイドの共通操作に従って、▼▲キーで出力値を設定します。
5.
OUTPUTON/OFF を押します。画面に ON が表示され、出力が ON になります。
再度、OUTPUTON/OFF を押すと、出力が OFF になります。
出力中にレンジを変更すると、出力が OFF になります。
Note
・ 電圧レンジでの負荷電流または電流レンジでの負荷電圧が仕様の最大値を超えて、過大な値に
なると、保護用のリミッターが作動し、出力が OFF になります。
復帰する場合は、負荷を正常な状態に戻し、再度、OUTPUT ON/OFF を押してください。
・ 本機器はリードケーブルの電圧降下分を除いて校正されています。
負荷電流をとる場合は、リードケーブルの抵抗が誤差になります。
mA SIMULATE
レンジを mA SIMULATE に設定すると、2 線式伝送器のシミュレーターとして、外部電
圧発生器 ( ディストリビューター ) から Hi 端子の方向に設定した電流を吸い込みます
(SINK)。
4-20mA
+
-
2 線式伝送器
ディストリビュータ
+
-
出力モードの変更
1.
スタートガイドの「操作キー」に従って、出力モードを設定します。
通常出力 ( 表示なし ):設定値を出力。出力値を▼▲キーで変更可能
スパンチェック ( ):通常出力に加え、スパンの 25%単位で出力を変更可能
ステップスイープ ( ):スパンの 25%単位で自動的にステップ出力
リニアスイープ ( ):0%~ 100%をリニアに変化させて出力
▲
▲
▲
▲
▲
▲
▲
▲
同時に押して出力モードを設定
スイープの一時停止/再開
スパンチェックの出力値設定
▲
▲
▲
▲
▲
▲
▲
▲
1カウント増減
100カウント増減
スパンの25%ステップで増減
スパンの100%
に設定
スパンの0%
に設定
スイープ停止中または一時停止中
に押すと、スパンの0%に設定
スイープ
設定したスパンの 0%と 100%の間で、自動的に出力値が変化します。スイープには、
ステップスイープとリニアスイープがあります。
時間
出力
0%
100%
スイープ時間
時間
出力
0%
100%
スイープ時間
ステップスイープ リニアスイープ
1.
スイープの範囲であるスパンの 0%と 100%を設定します。
スパンの 0%の値を▼▲キーで設定し、右から 1 番目と 2 番目の▼キーを同時に押し
ます。SET が表示され、0%が設定されます。
同様に 100%の値を▼▲キーで設定し、右から 1 番目と 2 番目の▲キーを同時に押し
ます。
キー操作の詳細はスタートガイドの「操作キー」をご覧ください。
2.
出力モードをステップスイープまたはリニアスイープに設定します。
3.
OUTPUTON/OFF を押します。スイープが開始されます。
再度、OUTPUTON/OFF を押すと、スイープが停止し、出力も止まります。
さらに、OUTPUTON/OFF を押すと、停止した出力値からスイープが再開されます。
スイープ中に左端の▼キーを押すと、スイープが一時停止します。停止中も表示され
ている値が出力されます。再度、▼キーを押すとスイープが再開されます。
スイープの停止中または一時停止中に左端の▲キーを押すと、出力値がスパンの 0%
に設定されます。
CA310
電圧電流キャリブレータ
ユーザーズマニュアル
IM CA310-01Z2
初版
1st Edition: November 2015 (YMI)
AllRightsReserved,Copyright©2015,YokogawaMeters&InstrumentsCorporation
Printed in Japan
IM CA310-01Z2
Other manuals for CA310

1

This manual suits for next models

3

Other YOKOGAWA Test Equipment manuals

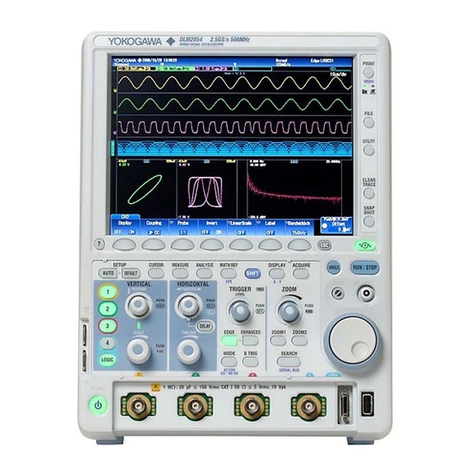
YOKOGAWA HANDY CAL CA51 User manual

YOKOGAWA

YOKOGAWA HANDY CAL CA51 User manual

YOKOGAWA CA320 User manual

YOKOGAWA

YOKOGAWA CA320 User manual

YOKOGAWA 30032A User manual

YOKOGAWA

YOKOGAWA 30032A User manual

YOKOGAWA 30031A User manual

YOKOGAWA

YOKOGAWA 30031A User manual

YOKOGAWA CA51 HANDY CAL User manual

YOKOGAWA

YOKOGAWA CA51 HANDY CAL User manual

YOKOGAWA 701928 User manual

YOKOGAWA

YOKOGAWA 701928 User manual

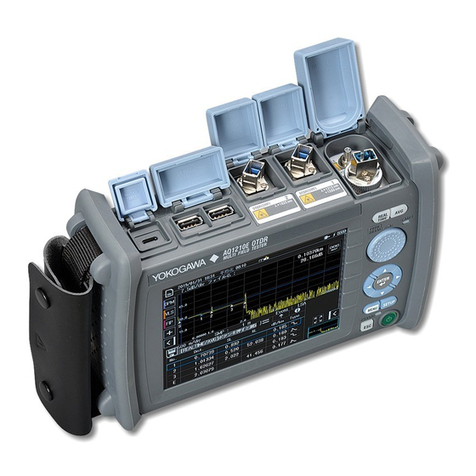
YOKOGAWA AQ1210A User manual

YOKOGAWA

YOKOGAWA AQ1210A User manual

YOKOGAWA 701715 User manual

YOKOGAWA

YOKOGAWA 701715 User manual

YOKOGAWA 2560A User manual

YOKOGAWA

YOKOGAWA 2560A User manual

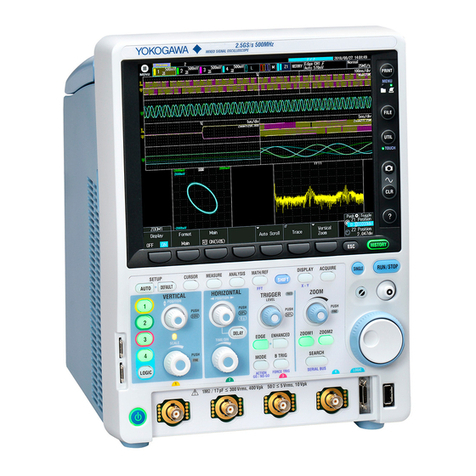
YOKOGAWA DLM3022 User manual

YOKOGAWA

YOKOGAWA DLM3022 User manual

YOKOGAWA DLM2000 Series User manual

YOKOGAWA

YOKOGAWA DLM2000 Series User manual

YOKOGAWA CA330 User manual

YOKOGAWA

YOKOGAWA CA330 User manual

YOKOGAWA 701921 User manual

YOKOGAWA

YOKOGAWA 701921 User manual

YOKOGAWA DL850E Operation instructions

YOKOGAWA

YOKOGAWA DL850E Operation instructions

YOKOGAWA 30032A User manual

YOKOGAWA

YOKOGAWA 30032A User manual

YOKOGAWA AQ1210 Series User manual

YOKOGAWA

YOKOGAWA AQ1210 Series User manual

YOKOGAWA 720930 User manual

YOKOGAWA

YOKOGAWA 720930 User manual

YOKOGAWA PBL100 User manual

YOKOGAWA

YOKOGAWA PBL100 User manual

YOKOGAWA DL2700 Series User manual

YOKOGAWA

YOKOGAWA DL2700 Series User manual

YOKOGAWA MY10 User manual

YOKOGAWA

YOKOGAWA MY10 User manual

YOKOGAWA AQ1210D User manual

YOKOGAWA

YOKOGAWA AQ1210D User manual

YOKOGAWA US300FM User manual

YOKOGAWA

YOKOGAWA US300FM User manual

YOKOGAWA CA500 User manual

YOKOGAWA

YOKOGAWA CA500 User manual

YOKOGAWA M1233SR Operating instructions

YOKOGAWA

YOKOGAWA M1233SR Operating instructions

Popular Test Equipment manuals by other brands

ATD Tools ATD8601 instruction manual

ATD Tools

ATD Tools ATD8601 instruction manual

SCS 770030 user guide

SCS

SCS 770030 user guide

Bante Instruments PHscan Series instruction manual

Bante Instruments

Bante Instruments PHscan Series instruction manual

Jandel RM3000 instructions

Jandel

Jandel RM3000 instructions

Kett HI-520 operating manual

Kett

Kett HI-520 operating manual

Oakton EcoTestr CTS1 operating manual

Oakton

Oakton EcoTestr CTS1 operating manual

Elma Elmasteam 4.5 Series instruction manual

Elma

Elma Elmasteam 4.5 Series instruction manual

Optoelectronics Scout user manual

Optoelectronics

Optoelectronics Scout user manual

Sartorius Stedim Biotech 16756 operating instructions

Sartorius Stedim Biotech

Sartorius Stedim Biotech 16756 operating instructions

LION alcolmeter 900 User handbook

LION

LION alcolmeter 900 User handbook

Apera Instruments Premium Series user manual

Apera Instruments

Apera Instruments Premium Series user manual

Elditest GE3400 Series manual

Elditest

Elditest GE3400 Series manual

RS PRO RS-SI 7002 manual

RS PRO

RS PRO RS-SI 7002 manual

EXFO FTB-800 Series user guide

EXFO

EXFO FTB-800 Series user guide

Gamry Interface 5000 Operator's manual

Gamry

Gamry Interface 5000 Operator's manual

PCE Health and Fitness PCE-2550 user manual

PCE Health and Fitness

PCE Health and Fitness PCE-2550 user manual

Instron KPX Series System Concepts Manual

Instron

Instron KPX Series System Concepts Manual

Westfalia 98 51 01 instruction manual

Westfalia

Westfalia 98 51 01 instruction manual

manuals.online logo
manuals.online logoBrands
  • About & Mission
  • Contact us
  • Privacy Policy
  • Terms and Conditions

Copyright 2025 Manuals.Online. All Rights Reserved.