IMPORTANT INFORMATION
3
• The wallbox must be installed, connected and approved for operation according to
local rules and regulations by a qualified specialist electrical contractor.
• Please ensure that minimum clearances of 50 cm are kept on all sides of the wall-
box during and after installation.
• Only use accessories intended and sold for the device by ABL.
• Do not operate this wallbox in close vicinity to running water or water jets: However,
the ABL Wallbox is sufficiently protected against water splashes and sprays accord-
ing to IP54.
• The ABL Wallbox must not be installed in areas subject to flooding.
• The ABL Wallbox must not be installed in explosive atmosphere areas (EX areas).
• The ABL Wallbox must not be covered with stickers or other objects or materials so
that sufficient air circulation is ensured at all times.
• No liquids, or objects or receptacles containing liquids, must be placed on the hous-
ing.
• Please note that additional overvoltage protection may be required depending on
the connected vehicle and/or by national regulations.
• Please note that, in some countries, a different tripping characteristic for the up-
stream residual current circuit breaker (residual current device, in the following
called RCCB, see also “Glossary & Definitions” on page 20) may be required. In
this case, please contact ABL technical support.
• Please note that operating a radio transmitter in the immediate vicinity (< 20cm) of
the wallbox may lead to malfunctions and should therefore be avoided.
• Please note that the ABL Wallbox may be installed and operated at elevations of
max. 2,000 meters AMSL (above mean sea level).
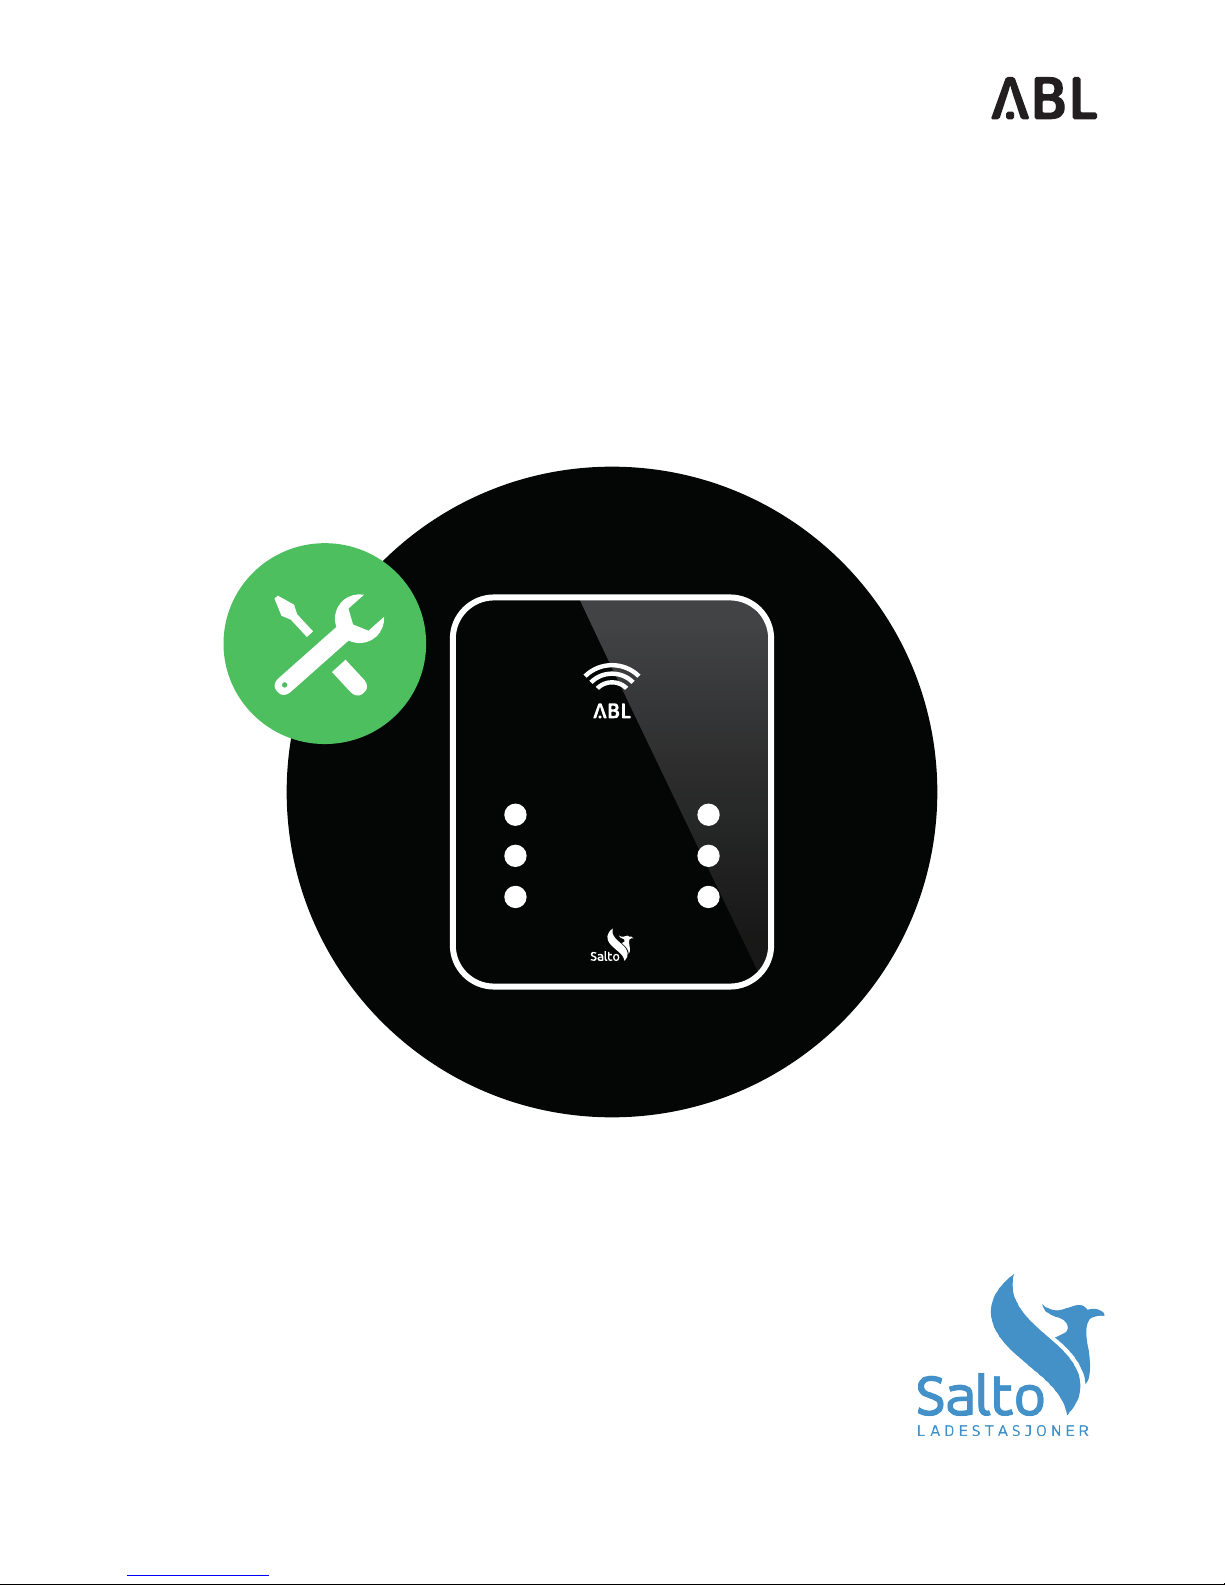
General product information
This ABL Wallbox represents the current state of technology and complies with all
current technical safety requirements, guidelines and standards. The safety notices
in this manual serve to ensure the proper and safe installation as well as subsequent
operation of the device. Disregard of or actions contrary to the safety information and
instructions contained in this manual may lead to electric shock, fire, severe injury and/
or death.
The ABL Wallbox must be installed by a qualified specialist electrical contractor, con-
nected according to local regulations and norms and subsequently checked and ap-
proved for operation.
Malfunctions affecting the safety of persons, connected vehicles or the device itself
must be repaired by an authorized specialist electrical contractor only.