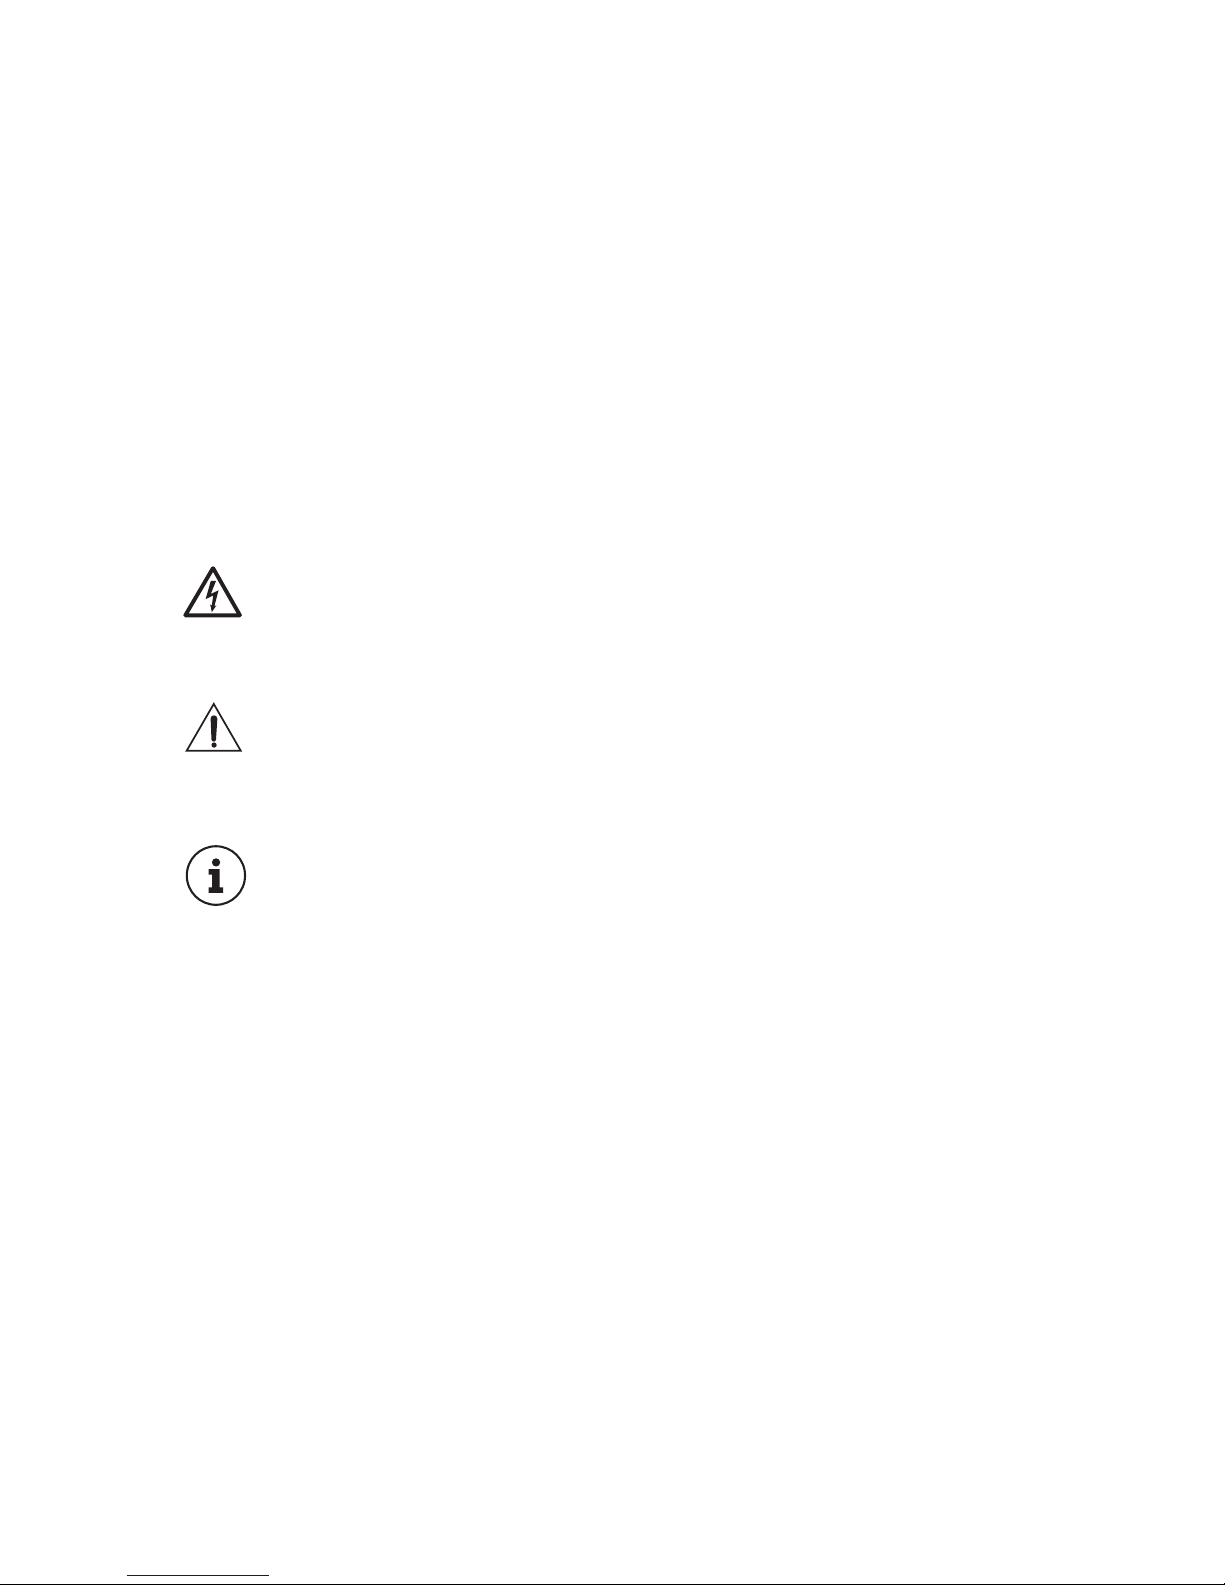
ABL eMH1 513 User manual

VERSION: 513/824-2016-07-15
eMH1
WALLBOX
Instruction manual
eMH1 513/824

ii
Contact
Manufacturer
ABL Sursum
Bayerische Elektrozubehör GmbH & Co. KG
Albert-Büttner-Straße 11
91207 Lauf / Pegnitz
Germany
Phone +49(0)9123 188-0
Fax +49(0)9123 188-188
Web www.abl.de
Email [email protected]
Support Phone +49(0)9123 188-600
Email emobility[email protected]

iii
A
B
C

iv
D
E

v
G
H
F

vi

vii
Contact ii
Introduction 1
Meaning of the safety information 1
General safety information 1
Warnings 1
Product overview 3
Description 3
EVSE 513 charging station scope of delivery (Fig. A) 3
Residual direct current (‘DC residual current’) 3
Assembly 5
Assembly location 5
Opening the charging station (Fig. B) 5
Attaching the charging station (Fig. C) 5
Mounting height (Fig. D) 6
Electrical connection (Fig. E) 6
Operation 7
Charging process and LED indicators (Fig. F) 7
Removing the coupler from the charging station (Fig. G) 8
CONTENTS

viii
Checking the RCCB (Fig. H) 8
Lockable panel 8
Troubleshooting 9
Care and maintenance 10
Specifications 11
Conditions of operation 11
Declaration of compliance 11
Disposal note 11

IntroductIon
1
Introduction
This operating manual contains important information about the installation and safe
operation of the device. Please make sure to read and observe the safety instructions
provided.
All safety information in this operating manual must be passed on to all users.
Meaning of the safety information
DANGER!
Failure to heed this warning may lead to death or serious injury.
WARNING!
Failure to heed this warning could damage the device or any appliance
connected to it.
NOTE!
This symbol refers to recommendations or special features.
General safety information
The device has been manufactured according to current technical standards and safety
regulations. Failure to adhere to the safety instructions and advice may lead to electric
shock, burns and/or serious injuries.
The device may only be used if it is in a technically sound condition. Any faults com-
promising the safety of the device or anyone using it may only be repaired by qualified
personnel.
Warnings
The symbols and warning signs displayed on the charging station have the following
meanings:

IntroductIon
2
(A) (B)
(A) Read operating manual before opening
(B) Warning: dangerous electrical voltages
Consult the operating manual
(A) (B) (C)
(A) WARNING:
(B) Potential risk of electric shock from residual
direct currents
(C) For further information, see the operating
manual
DANGER!
• The electrical system complies with all applicable guidelines and standards
• Do not tamper with electrical installations
• Do not modify the device in any way
• Electrical connection should only be carried out by qualified personnel and in
accordance with the guidelines provided in this manual
• Do not operate the device if wiring or connections are faulty
• Do not carry out any repair work on the device while it is electrically live
• Install all electrical connections properly
• Make sure the device is properly connected to the electrical installation of the
building
WARNING!
• The charging station is designed exclusively for connection and operation with a
230 V 50 Hz power supply
• The supply lines may be laid either in a surface- or flush-mounted manner
• It is recommended to feed in the cable at the bottom of the housing base
Read and take note of the safety instructions before assembling, starting up or opening
the charging station.

IntroductIon
Product overvIew
3
Product overview
Description
The charging station allows safe and convenient charging of electric vehicles in ac-
cordance with IEC 61851-1, Mode 3. In this mode, the charging station ensures that
the vehicle is only supplied with electrical energy if the vehicle is connected properly.
EVSE 513 charging station scope of delivery (Fig. A)
• Charging station with lower housing A1, upper housing A2 and housing cover A3
with lock A4
• Connected charging cable with coupler (A5)
• Two keys
• Assembly and operating manual
• Drilling template
Residual direct current (‘DC residual current’)
Warning!
When charging an e-vehicle, sometimes a DC residual current will flow
from the charging device into the electrical installation of the building. This
could affect the reliability of the built-in or external circuit breaker (RCCB
Type A) during the charging process.
A non-functional RCCB cannot detect alternating residual currents in the
electrical installation of the building etc. and is therefore unable to short-cir-
cuit and protect against life-threatening electric shocks and serious injuries.
• Only electrical vehicles equipped with a residual current protective device may
be connected to this charging station. Never connect e-vehicles to the charging
station if they are not equipped with such a protection.
• Before charging an electric vehicle, always check whether the vehicle is equipped
with a residual current protective device. Information about DC residual current
protection can be found in the vehicle’s instruction manual (such as in the case of

Product overvIew
4
Volkswagen vehicles), obtained from authorised dealers or even from the manu-
facturer themselves.
• If you do not know whether the vehicle has a residual current protective device, it
may not be connected to this charging station. In this event, additional protective
measures are required in the charging station or the electrical wiring in order to
prevent DC residual currents from compromising the reliability of an RCCB during
the charging process.

Product overvIew
Assembly
5
Assembly
Assembly location
The charging station is designed for outdoor use (splash proof). In order to best protect
the appearance of the charging station, it should only be installed in locations that are
not exposed to constant, direct sunlight. We recommend installing the charging station
in a garage or carport.
Opening the charging station (Fig. B)
1. Open the housing cover (B1)
2. Loosen the fastening screws (B2)
3. Remove the upper housing (B3)
Attaching the charging station (Fig. C)
1. Check the installation site (floor, routing of cable to be connected)
2. Drill a hole for feeding the cable through the lower housing (centre points!)
3. Drill holes into the wall (drilling template)
4. Hang the charging station on attachment point C1
(4-mm Ø cylinder head screw with 8-mm Ø head)
5. Attach the charging station to attachment point C2 with 4-mm Ø cylinder head
screw
6. Connect power supply (see electrical connection) and attach with strain relief (C3)
Ensure solid mounting of the housing base, particularly for the lower part, because this
is where the tensile forces of the charging cable are absorbed.
Use the drilling templates to mark drill hole positions for wall installation. The mounting
surface must measure at least 260 mm x 220 mm!

Assembly
6
Mounting height (Fig. D)
Amounting height of 150 cm is recommended for a 3-m charging cable.
Electrical connection (Fig. E)
WARNING!
Before operating, installing or opening the charging station, read and ob-
serve the safety information provided. Switch off the power before ope-
ning the device, and ensure it cannot be switched back on.
Only trained personnel may connect the charging station to the building’s supply grid
and put the device into operation. Any applicable national standards and regulations
must be observed.
The power supply of the charging station must be protected by a circuit breaker (MCB)
whose nominal current exceeds neither the maximum charging current of the charging
station nor the maximum capacity of the supply cable itself.
Connect the power supply to the connectors on the charging station marked L1 and N
on the RCCB. The earth conductor (PE) is connected to the earth conductor terminal on
the mounting rail.

Assembly
oPerAtIon
7
Operation
Charging process and LED indicators (Fig. F)
The charging process complies with IEC 61851-1 Mode 3
Step LED F2
(green)
LED F1
(blue) Description
Ready Off short flash
every 5 s
Power supply
connected to the
vehicle inlet
Off On Vehicle detected, charging starts
automatically
Charging flashing On Green LED is flashing
Charging stopped
by vehicle1) On On
Remove charging cable from the
vehicle and place it back in the
charging station
Error2) Flashing sequence F1 x 1,
F2 x 3
• The vehicle is requesting
additional ventilation during
the charging process
• Charging is not taking place
• Charging process will auto-
matically restart after 30 s
Error2)
F1 and F2 are flashing
alternately
• Communication with vehicle
disrupted
• Charging is not taking place
• Charging process will auto-
matically restart after 30 s
1) The charging process can also be stopped by removing the charging cable from the
vehicle
2) The flashing sequence is repeated continuously

oPerAtIon
8
Removing the coupler from the charging station (Fig. G)
Disengage the coupler by first lifting the coupler in the direction indicated (G1) and then
taking it out of its bracket (G2).
Checking the RCCB (Fig. H)
The RCCB (H1) should be checked at least every six months!
When pushed, the RCCB test button must function and break the circuit. Switch on
again using the lever. The charging station must no longer be used in the event of a
malfunction.
Lockable panel
In order to prevent unauthorized access to the charging station (and the RCCB, for
example), the panel can be locked (not vandalism proof!). If you lose your key, please
consult your designated service provider.

oPerAtIon
troubleshootIng
9
Troubleshooting
In the event the RCCB triggers, open the panel with the supplied key and use the lever
reset the station to operating mode.
If the RCCB is triggered again, this may indicate a fault that can only be repaired by
trained personnel.
Please note that any inappropriate repair work voids the warranty, and ABL cannot be
held liable for any damage caused as a result.
Malfunction Possible cause Solution
No LED indicator
No power supply
• Test upstream MCB
• Check RCCB
LED indicator defective Inform your service provider
Charging process
does not start
Charging cable not pro-
perly connected to the
vehicle
Check whether plug is properly
connected to the vehicle (unplug,
then plug in again)
Error display Error
Charging station restarts charging
after 30 s. If the problem per-
sists, please inform your service
provider.

cAre And mAIntenAnce
10
Care and maintenance
• The charging station can be cleaned with a dry cloth.
• Harsh cleaning agents may cause the displays (LED indicators) to become dull.
• Never use a pressure washer or similar device to clean the charging station.
• The built-in RCCB situated below the protective panel must be tested every six
months.
• Regularly check the charging cable for signs of damage.
• In addition, the respective local legal requirements governing the operation of elec-
trical devices apply.

cAre And mAIntenAnce
sPecIfIcAtIons
11
Specifications
Conditions of operation
Storage temperature −30 ˚C … 85 ˚C
Operating temperature −30 ˚C … 50 ˚C
Humidity 5 % … 95 % rH (non-condensating)
Rated voltage 230 V 50 Hz
Rated current 16 A
Overvoltage category III
Class of protection I
Protection degree IP54
Declaration of compliance
The eMH1 EVSE 513 / 824 charging station bears the CE mark.
The corresponding declarations of compliance are available on
request
ABL SURSUM Bayerische Elektrozubehör GmbH & Co. KG
or can be downloaded from www.abl.de.
Disposal note
The symbol with the crossed-out dustbin means that electrical and
electronic devices and their accessories should not be disposed of with
general household waste.
The materials are recyclable according to their labelling. The reuse or
recycling of materials and old units makes an important contribution
towards protecting our environment.

Albert-Büttner-Straße 11
D-91207 Lauf / Pegnitz
Tel. +49 (0) 9123 188-0
Fax +49 (0) 9123 188-188
www.abl.de
ABL SURSUM
Bayerische Elektrozubehör GmbH & Co. KG
MADE IN
GERMANY
This manual suits for next models
1
Table of contents
Other ABL Batteries Charger manuals