| Safety and user information – General
4
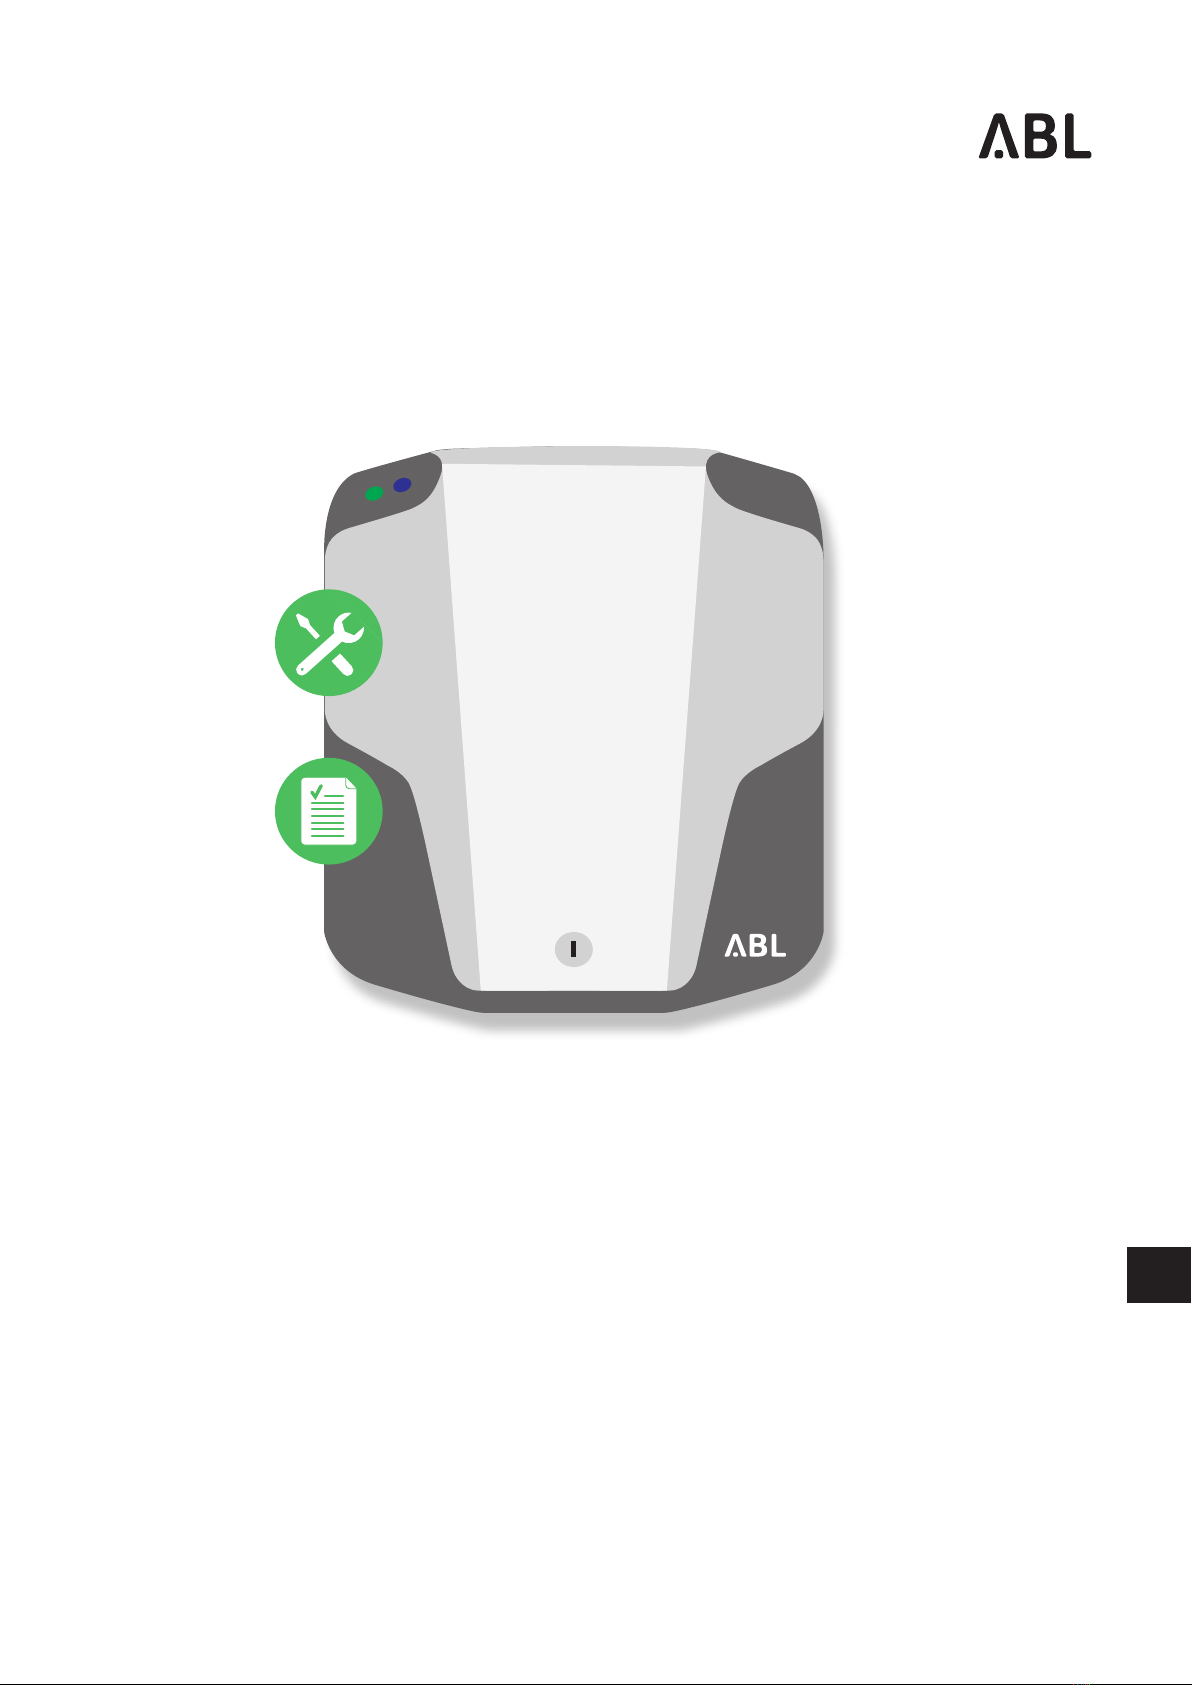
Safety and user information
General
This manual describes all working steps required to install and/or operate the product it concerns.
Certain sections of this manual are specially formatted for quick and easy reference.
Descriptions listing equally valid options are indicated by bullet points.
1 Descriptions listing operating steps are numbered in chronological order.
Actions marked with this symbol must not be carried out under any circumstances.
Actions marked with this symbol must be carried out with special care.
Actions marked with this symbol should be carried out as required.
Passages containing additional information.
Safety information
The safety notices serve to ensure the proper and safe installation, as well as subsequent safe operation of the
device.
Disregard of or actions contrary to the safety information and instructions contained in this manual may
lead to electric shock, fire, severe injury and/or death.
Please pay attention to the following points:
Please read this manual carefully.
Heed all warnings and follow all instructions.
Keep this manual in a safe place where it can be accessed at all times: The contents of this manual, and the
safety notices in particular, must be available to all users of the product.
Only use accessories intended and sold for the product by ABL.
Do not install this device in close vicinity to running water, water jets or areas subject to flooding.
The product must not be installed in explosive atmosphere areas (EX areas).
Mechanical installation should be carried out by qualified specialist personnel.
Electrical installation and testing must be carried out with reference to local rules by a qualified specialist
electrical contractor, who, on the basis of their specialist training and experience, as well as their knowledge of
the relevant standards, is able to assess and carry out the working steps described in this manual and recognise
potential hazards.
Please note that electrical grid operators, energy suppliers or national regulations may require notifica-
tion of or approval for the installation or operation of a charging station.
The product must only be operated after final approval by a qualified specialist electrical contractor.
In case of installation faults, or malfunctions that can be traced back to faulty installation, always contact the
contractor who carried out the installation first.
The product must not be covered with stickers or other objects or materials.
No liquids or receptacles containing liquids must be placed on the product.
Please note that operating a radio transmitter in the immediate vicinity (< 20 cm) of the product may lead to
malfunctions.