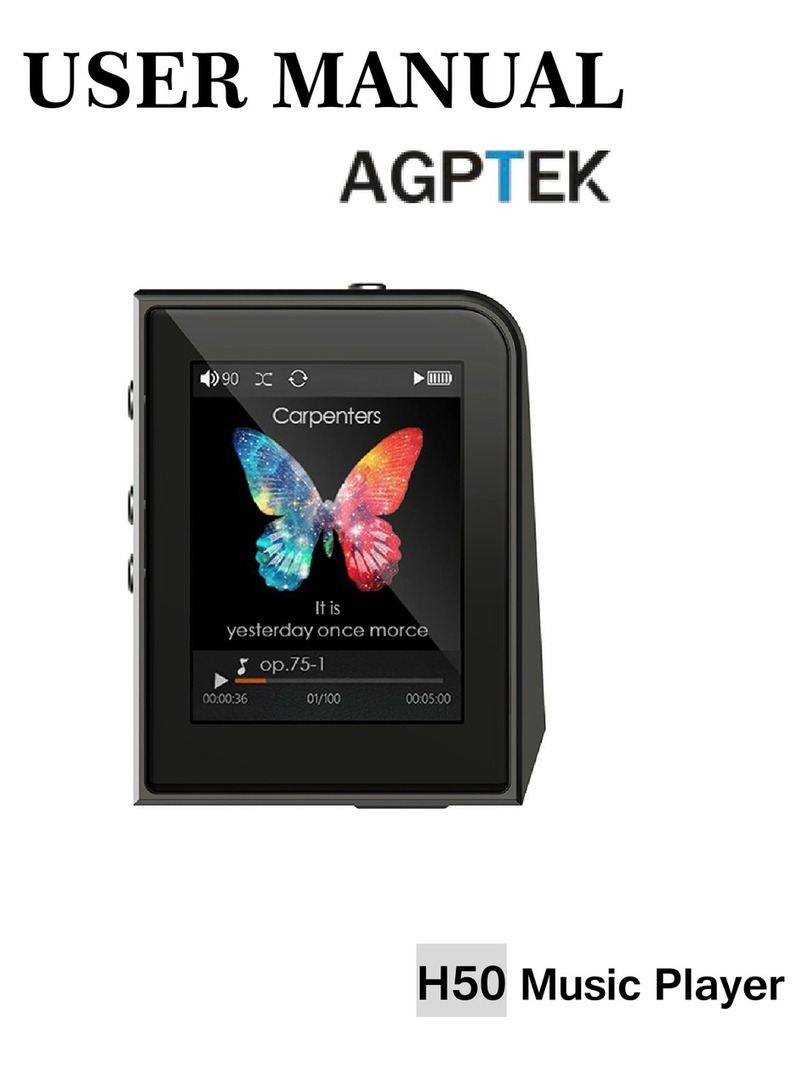
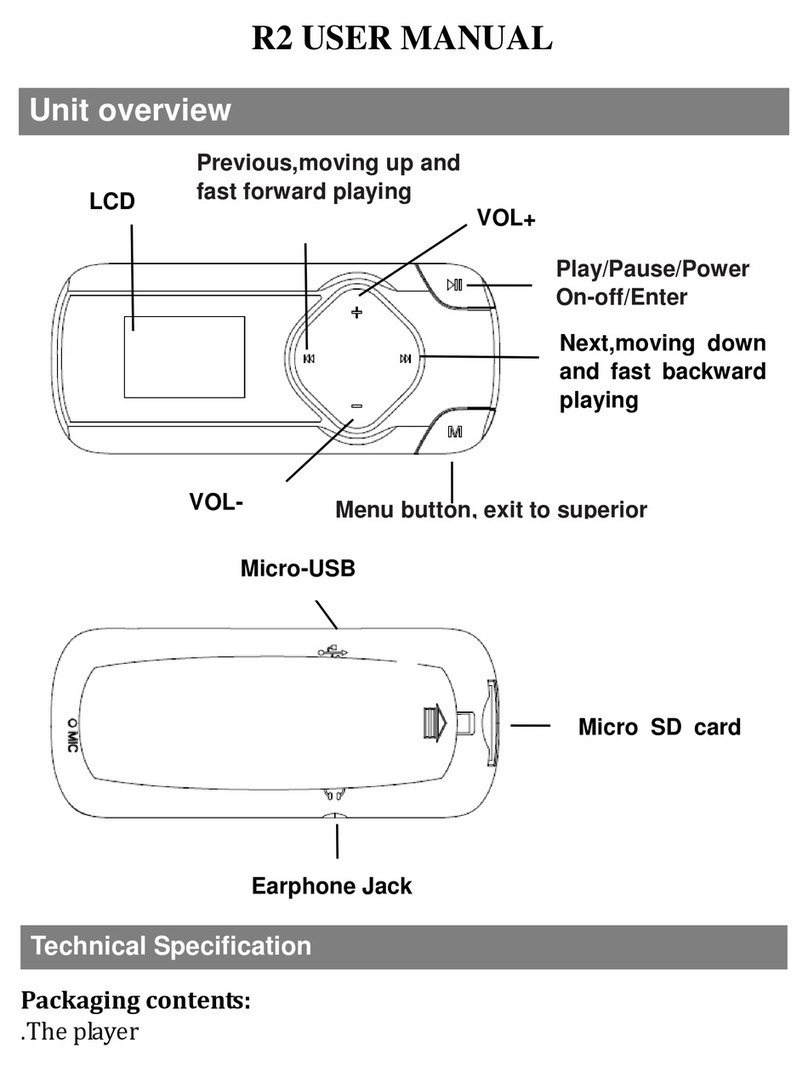
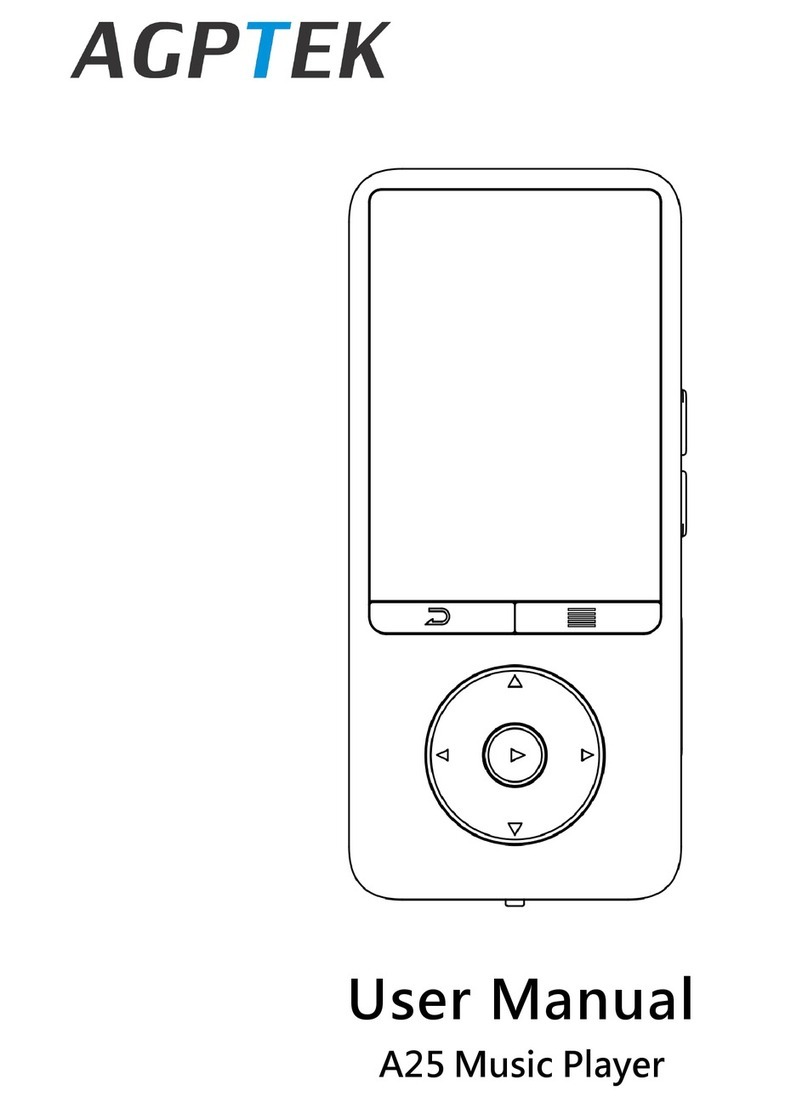
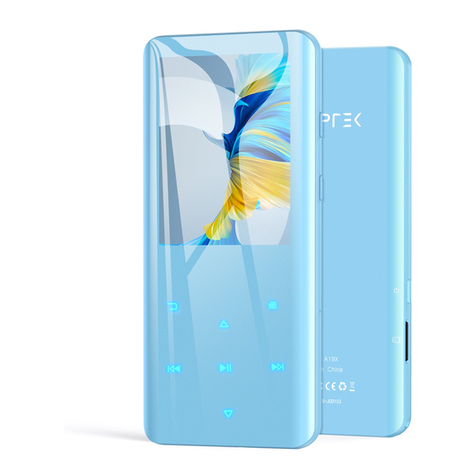
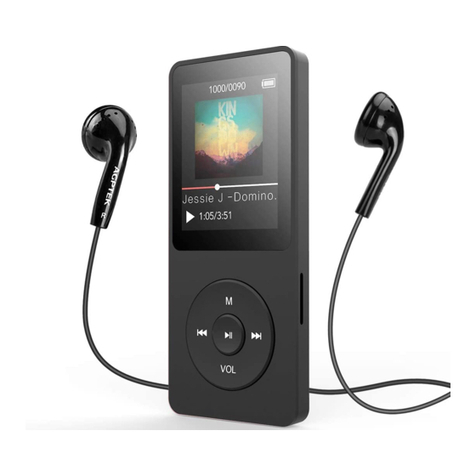
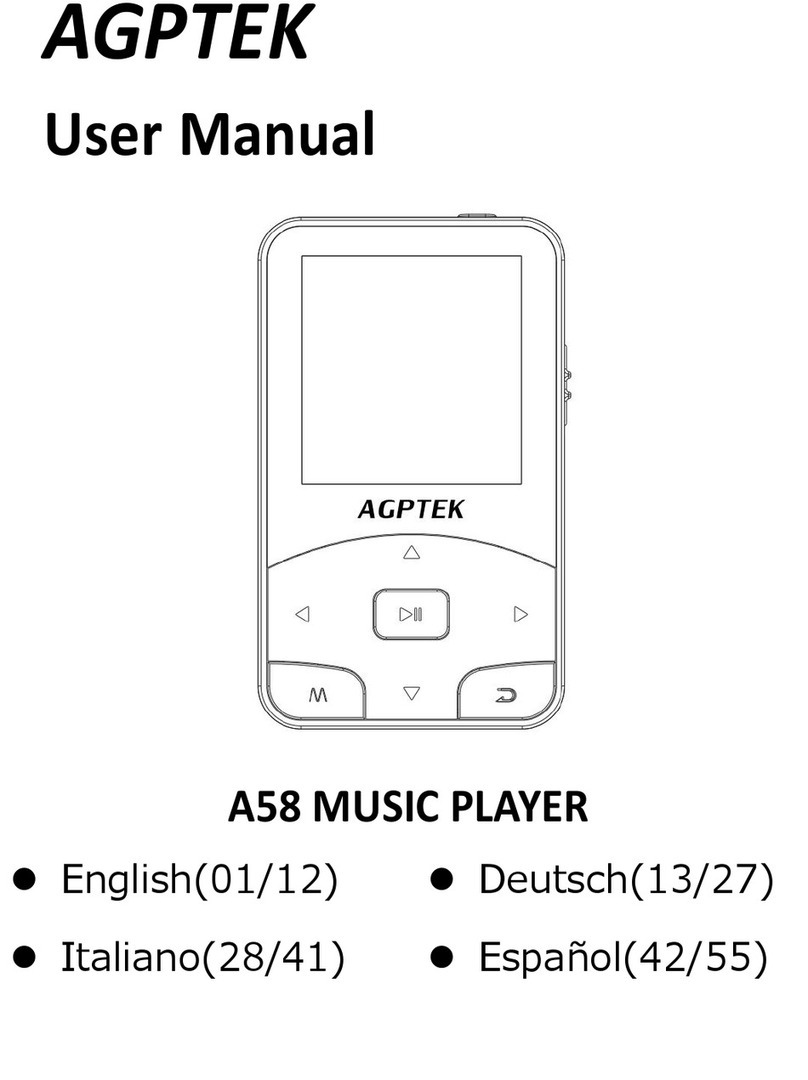
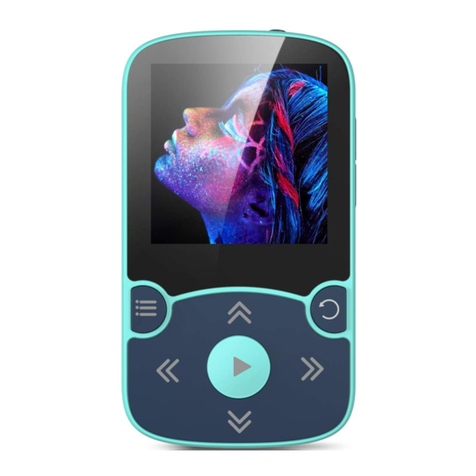
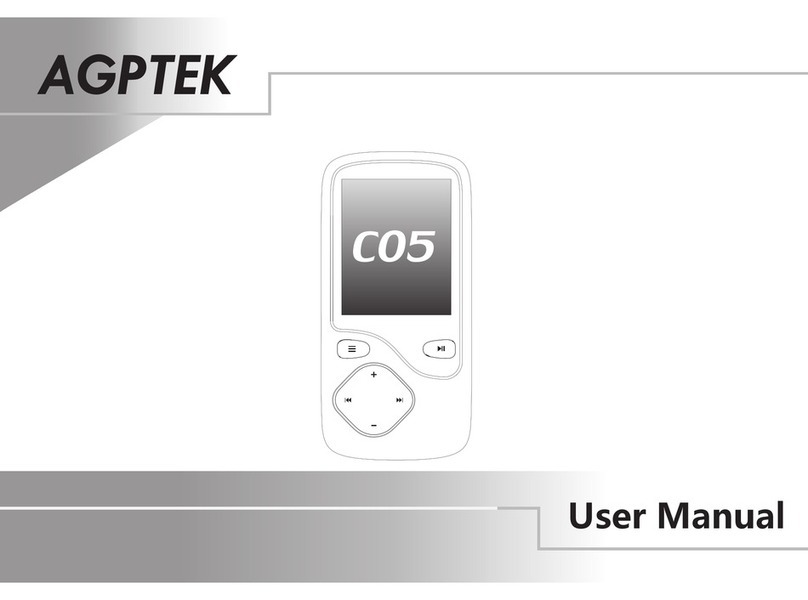
AGPtek A16 User manual


CONTENT
English
Deutsch
Français
Italiano
Español
日本語
01/10
11/22
23/33
34/45
46/57
58/66

1
Before use
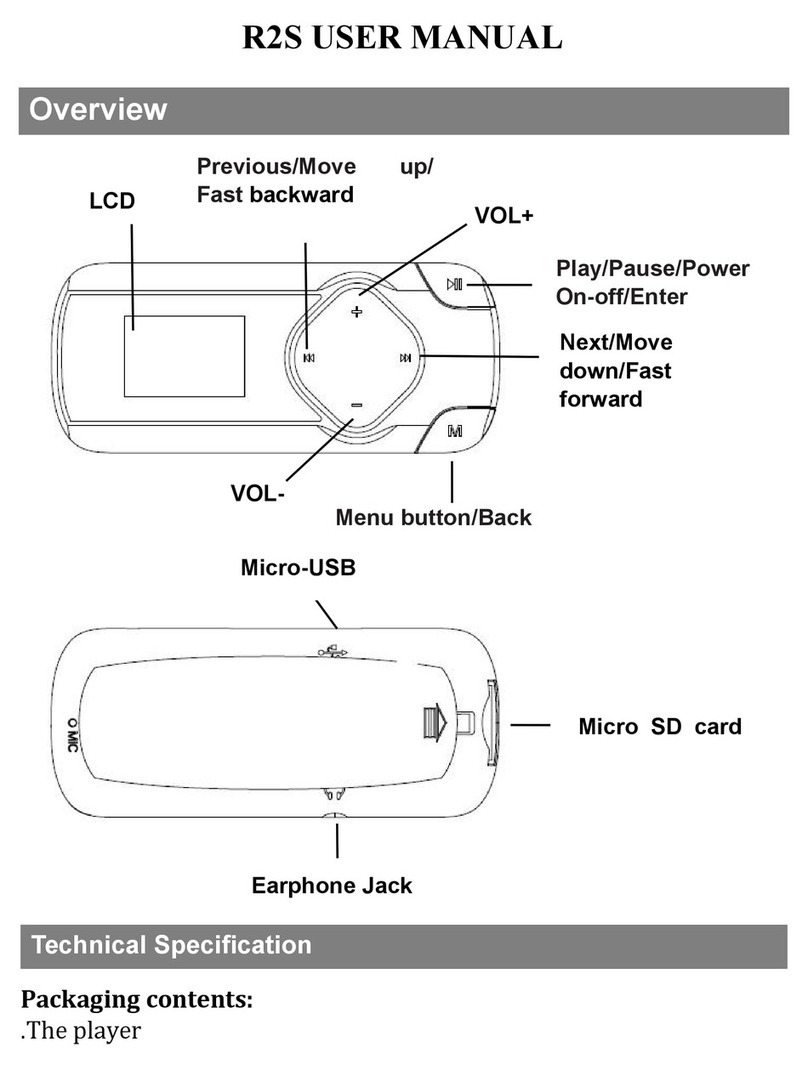
Buttons and Controls
Quick Guide
Thank you for purchasing AGPTEK Music Player. Please read the
manual carefully before using the product. Specifications are
subject to change without prior notice.
1. Charge the player
Charge by computer
Connect the player to a running computer via USB cable.
The USB cable can both be used for data transfer and charging the
player.
Use 5V/500mA charger (The charger is not included).
Plug one end of the micro USB cable into the USB port of a charger,
the other end to the port on your device.
2. Power On/Off:
Long press the power button for 3 seconds to turn on/off the
1. Power on/off; Screen on/off
2. Enter/ Play/ pause
3. Back
4. Menu
5. Previous/ Fast backward
6. Next/ Fast forward
7. Move up
8. Move down
9. Volume down
10. Volume up
11. Micro SD card slot
12. Headphone jack
13. Mic/ Reset hole
14. USB interface

2
player.
Short press the power button to turn on/off the screen display.
Note:
When you turn off the player with music playing/paused in
the background, next time you turn on the player, it will start from
the last position it left off.
3. Home Menu:
The Home menu is the starting point of each application. There are
8 main functions on the home menu: Music/ Bluetooth/ FM radio/
Tools/ Recordings/ Pedometer/ Folder/ Settings.
4. Basic Operation:
When it’s on main interface, tap the button / to choose
its 8 different functions on main interface, and tap the middle
button to enter it.
When it’s on menu list interface, tap button / to select
items, tap button to enter/confirm, tap button to go
back and hold button to go back to the Home menu
directly.
When it’s on main interface and there is music playing or
paused in the background, tap the button to and it will
bring you back to the music playing interface.
5. Import and Transfer Music
Connect the computer via the USB cable. Copy the music and
other files you need to transfer in the computer, and then paste in
the player, or just drag and drop the music files or folders directly
when connected to computer.
Note:
Do not disconnect your player during the transferring
process. If you do, the file being transferred will be damaged.
6.Insert / Remove Micro SD Card
Insert the Micro SD card into its slot and push inward, the deck will
automatically lock the Micro SD card. When remove the Micro SD
card, push inward and then let go, the card will automatically pop
up.
Note:
Please insert the memory card while the player is off, or it
may not able to read the data.

3
Music
Find “Music” on Home menu and tap the button to access to
its function.
The related list will show, including: All songs, Resume(Now
playing), Artists, Albums, Genres, Playlists, Update playlists, Local
folder and Card folder.
Note:
Local folder and Card folder functions are only available
when the Micro SD card inserted.
All songs - All the music files in local folder or card folder.
Resume (Now playing) - Take you back to the song or audio file
you are playing now or played last time.
Artists /Albums /Genres - View music files sorted by artists
/albums /genres.
Playlist - There 3 default playlist on the player: Playlist on the go
[1]/[2]/[3].
Update Playlists - Update music files.
Local folder / Card folder - View music file in the local folder or
card folder.
Note:
Local folder and card folder are conflict with each other. It
will stop playing music in the local folder to view the files card
folder.
1. Play the music
While it’s on music playing interface, hold the button to fast
forward, tap to switch to next music file; hold the button to
fast rewind, click to the previous song files. Tap button to
play/pause. Tap the button / to adjust volume.
2. Submenu
While it’s on music playing interface, tap button to access to
the submenu. Tap button / to select items or adjust value,
tap the button to enter or confirm.
1) Play mode
"Play music from…", choose to play songs from all songs or this
artist/album/genre.

4
Play music via Bluetooth
"Repeat", choose repeat mode: repeat 1, repeat all, and preview
or turn off repeat mode. If you select option "preview", the
player would only play the first 10 seconds of a track and then
skip.
"Shuffle", choose to turn on/off shuffle mode.
“Repeat settings”, A-B repeat mode.
- Replay Mode: Set A-B repeat period. Tap button to confirm
the starting time A when A is flashing. Then tap the button to
set the ending time B when B is flashing. The passage from time A
to B will be repeated automatically. The icon for A-B indication will
appear on the screen. Tap button again to back to normal
playback.
- Replay times: Set the replay times from 1 to 10.
- Replay intervals: Set the replay interval from 1 to 10 (seconds).
2) Sound settings
"Equalizer", choose from the 6 sound effects, or choose "off" to
turn off equalizer.
"Variable speed playback", adjust playback speed from
-8(Slowest) to +8(Fastest).
“Volume limit”, Set the maximum volume limit. Tap the button
/ to adjust value and tap button to confirm.
3) Add to playlist/ Remove from playlist, choose to add to or
remove from the 3 existing playlist.
4) Delete, choose to delete the song that is playing now.
5) Bookmarks, choose to add bookmark for the song that is
playing now, or go to /delete the bookmark you added.
Find “Bluetooth” on Home menu and tap button to access to
its function and enable Bluetooth.
Note:
Please open the Bluetooth of the device you want to connect
first.
Search devices
Search the nearby devices, then all of the devices which has

5
FM radio
opened its Bluetooth will be listed.
Device List
Choose from the available devices and tap the button to
connect/disconnect.
All music
After successfully connected, this player is ready to play music via
Bluetooth. Tap button to enter and play music.
Bluetooth music playback
Tap the button to enter the Bluetooth music playing interface.
Find “FM radio” on Home menu with the button to enter to its
function. A related list will show: Presets, Manual tune, Auto tune,
FM Recording.
Presets - View preset station list. While it’s on preset station list,
tap the button to choose to delete preset station or clear all
the presets
Manual tune /Auto tune - Choose to search stations manually
or automatically.
FM Recording - View the radio recording files. The radio
recordings will also be saved in Recordings > Recordings library.
Submenu
While it’s on radio playing interface, tap button to switch
among preset stations. Tap to access to its submenu which
includes: Play via Bluetooth, Start FM radio recording, Save to
presets, Clear preset, Auto tune, Turner Region and FM Recording.
Play via Bluetooth
Choose to listen to radio via Bluetooth. Please open the Bluetooth
of the device you want to connect first.
Start FM radio recording
Choose "Start FM radio recording", tap button to
pause/continue, tap and select “Yes” to save the recording
file.
Auto tune / Save to / Clear preset

6
Recordings
Tools
- “Auto tune”, search stations automatically. You can see the
searched stations in “Presets”.
- “Save to preset”, save the station you are listening to “Playlist”.
- “Clear preset”, tap button to enter the preset list, choose the
station you want to clear, then tap and choose “yes” to clear
the station
Find “Recordings” on the Home menu, tap button to access to
its function. The related list will show, including: Start voice
recording, Recordings library, Storage (only available when SD card
inserted),Record Format, Record Setting.
Start voice recording - Choose “Start voice recording” and tap
button to start voice recording, tap again to pause. Tap the
button and choose “Yes” to save the recording file.
Recordings library - Find the saved recordings in
Recordings >Recordings library. Tap button to play the
recording file. When it’s on recording file list interface, tap
button / to choose file and hold the button for 3
seconds and choose “Delete” to delete the file.
Storage - Choose to store your recordings in internal or external
memory. Confirm your selection with button .
Record Format - Choose the record format between MP3/WAV.
Record Settings - Track AVR mode. When you start recording
under AVR mode, the recorder will start recording automatically
if sound is detected and stop recording when no sound
detected.
Find "Tools" on the Home menu, tap button to access to its
function. A related list will show EBook, Videos, Calendar, Pictures,
Stopwatch and Alarm.
1. EBook
While it’s on text playing interface, tap button / to turn
the pages. Tap the button to play automatically, click again

7
Pedometer
to stop.
While it’s on book reading interface, click to enter its
submenu and set your preference, including Auto playtime
settings(set the automatic playback interval), Delete ebook,
Select bookmark, Delete bookmark, Add Bookmark, Select Page,
etc.
Note:
The device can only recognize the article in “txt” format.
2. Videos
Tap button to access to its function. You will need to choose
from local folder or card folder if the memory card is inserted.
Tap button to watch videos, tap / to go to
previous/next video or hold to fast backward/forward.
When it’s on video playing interface, press button to
access to its submenu, including: Brightness, Repeat, Delete
Video, Update Playlist. Set according to your preference.
Note:
This player can only support the AVI/AMV format in
128*160, you should convert video files by format conversion
software first.
3. Pictures
Tap to view pictures, tap / to go to previous/next
picture.
When it’s on picture viewing interface, tap button to access
to its submenu, including: Brightness, Backlight timer,
Slideshow settings, Delete picture. Set according to your
preference.
Note:
The device only supports pictures in JPG, BMP and GIF
format.
4. Stopwatch
Tap button to enter, tap again to start the timer, then tap
again to stop or tap to resume. Tap to start a new one.
The maximum Stopwatch list is 5.
Find "Pedometer" on Home menu, tap button to access to its
function, then a related list will show as Start the pedometer,

8
Settings
Personal info, History and Clear history.
Choose "Start the pedometer", it will display your realtime
workout information as below:
S: Step counts D: Distance traveled C: Calories burned;
S: Walking speed T: Elapsed time
Tap button and choose “Yes”/”No” to save the step record or
not.
"Personal info", set your step length between 0~200cm with
button to confirm.
"History", all your saved step record will be listed here, you can
save up to 3 records.
"Clear history", you can choose to delete the record you want
or delete all the record.
Find “Settings” on Home menu with the button to enter to its
function. A related list will show, including: Language, Date and
time, Display, Shutdown settings, Radio background, Button lights,
Information, Format device, Default settings. Always tap button
to confirm when you’ve done the settings.
Date and time: Choose “Date settings” to set date format and
date. To set date, tap / to switch among day|month|year,
tap button / to adjust the value of day|month|year. Set
time under “Time setting” and adjust the time in the same way.
Display settings: Set Brightness, Backlight time and Screensaver.
Shutdown settings
- Sleep timer: The device will shut down automatically when
reaches the set time;
- Power Off: When there is no operation on the device, the device
will shut off automatically when reaches the set time.
Radio background: Choose to turn on/off radio background. If
you choose the option “On”, the radio will continue playing
when you exit the FM radio.
Button lights
- Always on: Button lights stay on while the player is working.

9
Help and Troubleshooting
- On: The button light is on only when tapped.
- Off: Turn off button light function.
Information: check player information and disk space about
your player.
Format device / Default settings: Format the device or restore to
factory settings.
Note:
Before formatting the device, please backup the file so as
not to lose any files.
Can’t turn on the player
- Please check whether the player is run out of power, connect the
player to an adapter and try again after charging.
Can’t charge the battery
- Disconnect the player, and then reconnect it.
- Charge the battery under an proper temperature within the range
of 5℃(41℉) to 35℃(95 ℉).
- Turn on the computer.
Can’t download files from computer
- Please confirm whether it’s connected properly;
- Please check whether the storage space of the internal memory is
full;
- Please check whether the USB cable is damaged.
Can’t recognize the player when connected to the computer via
USB cable.
- Disconnect the player, wait for a few minutes, and then
reconnect it.
- Disconnect the player, restart the computer, and then reconnect
the player.
- Connect your player to another USB port on your computer.
- If the player has not been used for a long period of time, charge
the player for about 10 minutes, after which it should start
operating normally again.

10
Specifications
If you have any problems about this product, please feel free to
contact support@agptek.com
Screen
1.8 inch TFT LCD screen
Housing Material
Aluminum alloy
Unit Size
96mm*40mm*10mm
Net Weight
76g
Audio Format
MP3/WMA/OGG/APE/FLAC/WAV/AAC-LC/
ACELP
Video Format
AVI/AMV(128*160)
Photo Format
JPG/BMP/ GIF
Recording Format
MP3: 32 kbps/64 kbps/128 kbps
WAV:
512kbps/768kbps/1024kbps/1536kbps
Interface Type
USB 2.0
Internal Memory
8GB
SD Card Expansion
Up to 128GB
Battery
400mAh lithium polymer battery
Charging Time
2 hours (5V/500mA)
OS
Windows98/ ME/ 2K/ XP/ SP2/ Vista/
Linux6.2/ Mac os 10.3

11
Vor Gebrauch
Tasten
Kurzanleitung
Vielen Dank für Ihren Einkauf bei AGPTEK. Lesen Sie bitte die
Bedienungsanleitung sorgfältig durch, bevor Sie das Produkt
benutzen.
1. Aufladfen
Mit Computer aufladen
Sie können auch das Gerät aufladen und gleichzeitig Daten
übertragen. (Durch das USB-Kabel an einen laufenden Computer
angeschlossen).
Mit 5V/500mA Ladegerät(Nicht mitgeliefert) aufladen .
Stecken Sie ein Ende des Micro-USB-Kabels in den USB-Anschluss
eines Ladegeräts und das andere Ende in den Anschluss an Ihrem
Gerät.
2. Ein/Ausschalten:
1. Ein/Ausschalten; Bildschirm
ein /aus
2. Bestimmen/Spielen/Pause
3. Zurück
4. Menü
5. Vorherig/Schneller Rücklauf
6. Nächst/Schneller Vorlauf
7. Nach Oben
8. Nach Unten
9. Volume -
10. Volume +
11. Micro SD Karte Slot
12. Kopfhörer Jack
13. Mikrofon / Reset-Loch
14. USB interface

12
Halten Sie die Ein/Ausschalten Taste 3 Seunden gedrückt um den
Player ein/auszuschalten.
Drücken Sie die Taste, um den Bildschirm ein- oder auszuschalten.
Hinweis:
Schalten Sie den Player bei laufender/ angehaltener
Musikwiedergabe Schnittstelle aus, wenn Sie den Player
einschalten, wird es von der letzten Position spielen.
3. Hauptmenü:
Der Hauptmenü ist der Ausgangspunkt jeder Funktionen. Es gibt 8
Hauptfunktionen im Hauptmenü: Musik/ Bluetooth/ UKW-Radio/
Werkzeuge/ Aufzeichnungen/ Schrittzähler/ Ordneransicht/
Einstellen.
4. Funktion auswählen:
Wenn Sie sich im Hauptmenü befinden, klicken Sie die Taste
/ um ihre 8 verschiedenen Funktionen auf der
Hauptschnittstelle auszuwählen, und klicken Sie die mittele
Taste , um sie einzugeben.
Wenn es in der Menüliste ist, klicken Sie auf die Taste / ,
um die Funktion auszuwählen, klicken Sie auf die Taste , um
zu bestätigen. Tippen Sie auf die Taste , um vorheriges Menü
zurückzugehen. Halten Sie die Taste lange gedrückt, um
direkt zum Hauptmenü zurückzukehren.
Wenn es auf der Hauptschnittstelle ist und Musik gleichzeitig
beim Hintergrund spielt oder pausiert, tippen Sie auf die Taste
und dann wird es zurück zur Musikwiedergabeschnittstelle.
5. Musik importieren und übertragen
Verbinden Sie der Player mit dem Computer über das USB-Kabel.
Kopieren Sie die Musik und andere Dateien, die Sie auf dem
Computer übertragen möchten, und fügen Sie sie in den Player ein.
Sie können auch die Musikdateien oder Ordner auch direkt per
Drag & Drop verschieben, wenn Sie den Player mit dem Computer
verbunden sind.
Hinweis:
Trennen Sie Ihren Player aus dem Computer nicht,
während die Datien übertragen. Sonst wird die übertragene Datei
beschädigt.

13
Musik
6. Einsetzen / Entfernen der Micro SD-Karte
Setzen Sie die Micro SD-Karte in den Steckplatz ein und drücken
Sie sie nach innen. Das Deck wird die Micro SD-Karte automatisch
sperren. Wenn Sie die Micro SD-Karte entfernen, drücken Sie die
Karte nach innen und dann loslassen, wird sie automatisch Pop-up.
Hinweis:
Bitte stecken Sie die Speicherkarte ein, während der Player
ausgeschaltet ist. Sonst wird sie die Daten möglicherweise nicht
lesen.
Finden Sie “Musik”auf dem Hauptmenü und dann drücken Sie
die Taste um diese Funktion einzugeben.
Das Untermenü wird zeigt: Alle Titel, Letzte Titel (Jetzt abspielen),
Interpreten, Alben, Genres, Wiedergabelisten, Playlist aktualisieren,
Lokaler Ordner und Kartenordner.
Hinweis:
Die Funktion für Hauptkatalog und Kartenkatalog ist nur
verfügbar, wenn die SD-Karte eingelegt ist.
Alle Titel - Sortieren nach alle Musikdateien im Hauptkatalog
oder Kartenordner.
Akueller Titel (Jetzt abspielen)- Zurück zu dem Song oder der
Audiodatei, die Sie gerade gespielt haben..
Interpreten/Album/Genres- Die Musikdateien sortiert
nachInterpreten/Album/Genres an.
Wiedergabeliste - Es gibt 3 Wiedergabelisten auf dem Player:
Playlist [1]/[2]/[3].
Playlist aktualisieren- Es ist um die Musikdatei zu aktualisieren.
Hauptkatalog/ Kartenkatalog-Musikdatei im lokalen Ordner
oder Kartenordner anzeigen.
Hinweis:
Hauptkatalog und Kartenkatalog sind miteinander in
Konflikt. Es wird aufhören, Musik im lokalen Ordner abzuspielen,
um den Ordner der Dateikarte anzuzeigen.
1. Musik abspielen
Wenn es auf der Musikwiedergabe Schnittstelle, halten Sie die
Taste / lange gedrückt, um es Schneller Rücklauf/Vorlauf zu
machen; Drücken Sie die Taste / , um vorherig/nächste Lied

14
abzuspielen.
Tippen Sie die Taste zum Abspielen / Anhalten. Tippen Sie auf
die Taste / , um die Lautstärke einzustellen.
2. Untermenü
Wenn es sich um Musikwiedergabe Schnittstelle handelt, drücken
Sie die Taste , um das Untermenü zu gelangen. Klicken Sie die
Taste / , um das Option auszuwählen oder Werte einzustellen,
dann klicken Sie die Taste , um die Funktion zu bestimmen.
1) Wiedergabemodus
"Musikwiedergabe von …", wählen Sie aus allen Songs oder
diesem Interpreten/ Album / Genre Songs aus.
"Wiederholen", wählen Sie den Wiederholungsmodus: Titel
wiederholen, Alles wiederholen usw. Wenn Sie die Option
"Durchblättern und starten" auswählen, spielt der Mp3 Player
kann nur die ersten 10 Sekunden jede Lieders spielen und dann
überspringen.
"Schuffle", wählen Sie es, um den Zufallsmodus ein- oder
auszuschalten.
“Wiederholenseinstellung ”Wiederholungsmodus(A-B)
-Wiederholungsmodus: Wählen Sie Wiederholungsmodus, klicken
Sie die Taste , um die Startzeit A zu bestätigen (A blinkt). Dann
klicken Sie dann auf die Taste , um die Endzeit B einzustellen (B
blinkt). Und das Audio von Zeit A bis B wird automatisch
wiederholt. Das Symbol für die A-B Anzeige erscheint auf dem
Bildschirm. Tippen Sie erneut auf die Taste , um zur normalen
Wiedergabe zurückzukehren.
-Die Anzahl der Wiederholungen: Stellen Sie bitte die
Wiederholungszeiten von 1 bis 10 ein.
-Wiederholungsintervall: Wählen Sie es, um die
Wiederholungsintervall 1-10 mal einzustellen.
2) Soundeinstellungen
"Equalizer", wählen Sie aus den 6 Soundeffekten; wählen Sie
auch "Aus", um den Equalizer auszuschalten.
"Variable Schnelligkeit": Sie können die

15
Musik spielen beim Bluetooth
UKW-Radio
Wiedergabegeschwindigkeit von -8(der langsamste) bis +8 (der
schnellste) einstellen.
"Lautstärkebegrenzung", stellen Sie das maximale Volumen ein.
Tippen Sie auf die Taste / , um den Wert anzupassen, und
tippen Sie die Taste zur Bestätigung.
3) Zur Wiedergabeliste hinzufügen / Aus Wiedergabeliste löschen,
wählen Sie die Funktion aus, um die Musik zu der vorhandenen
Wiedergabeliste hinzufügen oder aus dieser zu entfernen.
4) Löschen, um den Song zu löschen, der gerade spielt.
5)Lesezeichen, um es hinzufügen, zu löschen oder um
Lesezeichen zu gelangen.
Finden Sie "Bluetooth" auf Hauptschnittstelle, drücken Sie mit der
Taste um die Funktion zu gelangen.
Hinweis:
Öffnen Sie bitte zuerst das Bluetooth des Geräts, wenn
Sie sich mit dem Player verbinden möchten.
Geräte suchen
Wenn Bluetooth eingeschaltet wird, wählen Sie "Gerät suchen", um
die Geräte in der Nähe zu suchen. Dann werden alle Geräte
aufgelistet, die Bluetooth geöffnet haben.
Gerätliste:
Wählen Sie aus den verfügbaren Geräten und drücken Sie die Taste
zum verbinden/ trennen.
Alle Musik
Nach erfolgreicher Verbindung ist dieser Player bereit, um die
Musik über Bluetooth abzuspielen. Tippen Sie auf die Taste , um
Musik einzugeben und abzuspielen.
Bluetooth Musikwiedergabe
Drücken Sie bitte die Taste , um das Bluetooth Musikwiedergabe
Schnittstelle aufzurufen.
Finden Sie "UKW-Radio" im Hauptmenü, klicken Sie die Taste ,
um zu die Funktion zu gelangen. Das Untermenü zeigt:

16
Voreinstellen; Manuelle Einstellung; Autom. Einstellung.;
UKW-Aufnahme.
Voreinstellen - Voreingestellte Senderliste anzeigen. Drücken Sie
auf die Taste , um den gespeicherten Sender oder alle
Voreinstellungen zu löschen.
Manuelle Einstellung/ Automatische Einstellung - Wählen Sie
aus, ob Stationen manuell oder automatisch gesucht werden
sollen.
UKW-Aufnahme - Finden Sie die Radioaufnahmen auch im
Aufnahmen> Aufnahmebibliothek.
Untermenü
Wenn Sie auf der Radiowiedergabe-Schnittstelle halten, klicken
Sie auf die Taste , um zwischen den voreingestellten Sendern zu
wechseln. Klicken Sie die Taste , um auf das Untermenü
zuzugreifen, das Folgendes enthält: Durch Bluetooth spielen,
Aufnahme von UKW-Radio starten, Als Voreinstellungen
Speichern, Voreinstellung löschen, Automatische Einstellung,
Bandabstimmung und UKW-Aufnahme.
Durch Bluetooth spielen
Wählen Sie bitte "Durch Bluetooth spielen". Öffnen Sie bitte das
Bluetooth des Geräts, mit dem Sie sich verbinden möchten.
Aufnahme von UKW-Radio starten
Wählen Sie "Aufnahme vom UKW-Radio starten", klicken Sie die
Taste zum die Musik pausen/ spielen, klicken Sie die Taste
und wählen Sie "Ja", um die Aufnahmedatei zu speichern.
Automatische Einstellung/ Speichern/ Voreinstellung löschen
-“Automatische Einstellung”, wird Radio-Senders automatisch
suchen. Sie können die gesuchten Sendern in "Voreinstellung"
sehen.
-“Als Voreinstellungen speichern”, speichern Sie den Sender, dem
auf der "Voreinstellung" Liste stellt.
- “Voreinstellung löschen”, klicken Sie die Taste , um die
voreingestellte Liste einzugeben. Dann wählen Sie den Sender aus,
den Sie löschen möchten. Klicken Sie dann auf die Taste und

17
Aufzeichnungen
Werkzeuge
wählen Sie "Ja", um den voreingestellten Sender zu löschen.
Finden Sie "Aufzeichnungen" im Hauptmenü, klicken Sie die Taste
, um zu die Funktion zu gelangen. Und dann gibt es ein
Untermenü, zeigt: Sprachaufnahme starten, Aufnahmebibliothek,
Speicher (nur verfügbar, wenn SD-Karte eingelegt ist), Aufnahme
Format, Aufnahme-Einstellungen.
Sprachaufnahme starten- Wählen Sie bitte "Sprachaufnahme
starten" und klicken Sie die Taste , um die Aufnahme zu
starten. Klicken Sie die Taste und dann wählen Sie "Ja", um
Ihre Aufnahme zu speichern;
Aufnahmebibliothek- Suchen Sie die gespeicherten Aufnahmen
in Aufnahmen> Aufnahmebibliothek. Tippen Sie auf die Taste
, um die Aufnahmedatei abzuspielen. Tippen Sie beim
Aufnehmen der Dateiliste auf die Taste / , um die Datei
auszuwählen, halten Sie die Taste 3 Sekunden lang gedrückt
und wählen Sie "Löschen", um die Datei zu löschen.
Speicher- Wählen Sie aus, um Ihre Aufnahmen im internen oder
externen Speicher zu speichern. Bestätigen Sie Ihre Auswahl mit
der Taste .
Aufnahme Format- Wählen Sie das Aufnahmeformat zwischen
MP3/PCM aus.
Aufnahme-Einstellungen- Wenn Sie die Aufnahme im
AVR-Modus starten, beginnt den Player automatisch mit der
Aufnahme, wenn es ein Ton erkannt wird. Und wenn es kein
Ton erkannt, wird die Aufnahme stoppt.
Suchen Sie "Werkzeuge" im Hauptmenü, tippen Sie auf die Taste ,
um auf die Funktion zuzugreifen. Eine Untermenü zeigt: E-Buch,
Video, Bilder, Kalender, Stoppuhr und Wecker.
1. E-Buch
Wenn es sich um ein E-Buch Wiedergabesschnittstelle befinden,
drücken Sie die / Taste, um die Seiten zu drehen. Klicken

18
Sie die Taste , um automatisch zu spielen, klicken Sie die Taste
erneut, um zu stoppen.
-Wenn es sich um ein E-Buch Schnittstelle steht, drücken Sie die
Taste , um das Untermenü aufzurufen. Stellen Sie die
Funktion sowie: Automatisch Wiedergabe Einstellung, E-Buch
löschen, Lesezeichen hinzufügen, Seite auswählen usw.
Hinweis:
Das Gerät unterstützt nur E-Buch im “txt”Format.
2. Video
Drücken Sie die Taste , um diese Funktion einzugeben. Sie
müssen aus dem Hauptkatalog oder Kartenkatalog wählen,
wenn die Speicherkarte eingelegt ist.
Klicken Sie die Taste , um die Video abspielen. Drücken Sie
die Taste / , um den nächsten oder vorherigen zu zeigen.
Oder halten Sie die Taste / gedrückt, um schnell vor/
zurück zu gehen.
Wenn es sich um eine Videowiedergabe-Schnittstelle steht,
drücken Sie die Taste , um auf das Untermenü zuzugreifen.
Das Untermenü zeigt: Helligkeit, Hintergrundbeleuchtung
(Timer), Video löschen und Playlist aktualisieren. Stellen Sie
Ihren Wünschen entsprechend ein.
Hinweis:
Der| Player kann nur das AVI / AMV-Format in 128 *
160 unterstützen. Sie sollten zuerst Videodateien durch
Formatkonvertierungssoftware konvertieren.
3. Bilder
Klicken Sie die Taste um die Bilder zu sehen. Drücken Sie die
Taste / , um den nächsten oder vorherigen zu zeigen.
Wenn es sich um eine Bildbetrachtung-Schnittstelle steht,
drücken Sie die Taste , um auf das Untermenü zuzugreifen.
Das Untermenü zeigt: Helligkeit, Hintergrundbeleuchtung
(Timer), Diashow-Einstellungen und Bild löschen. Stellen Sie
Ihren Wünschen entsprechend ein.
Hinweis:
Das Gerät unterstützt nur Bilder im JPG-, BMP- und
GIF-Format.
4. Stoppuhr
Table of contents
Languages:
Other AGPtek MP3 Player manuals