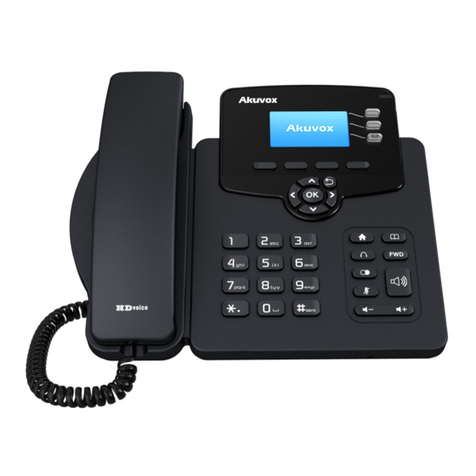
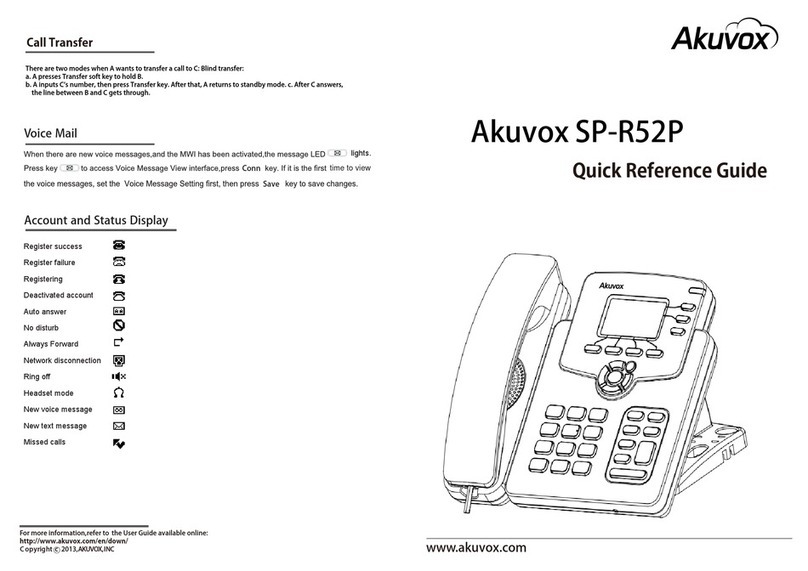
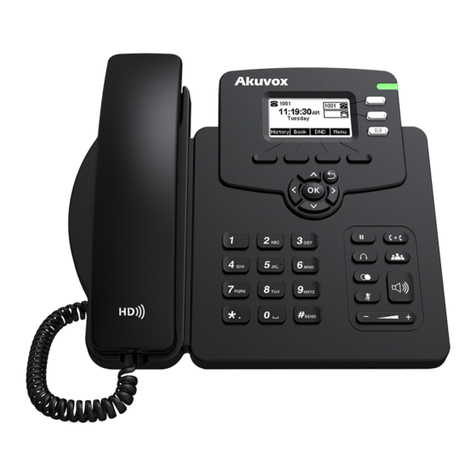
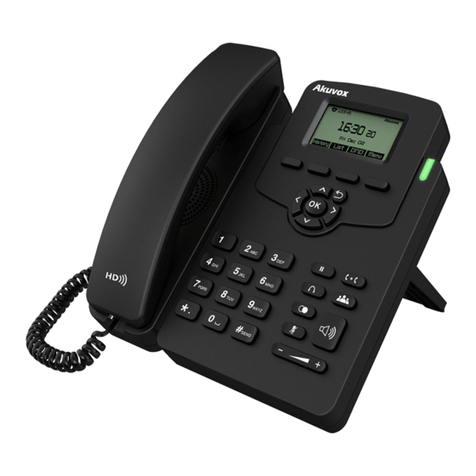
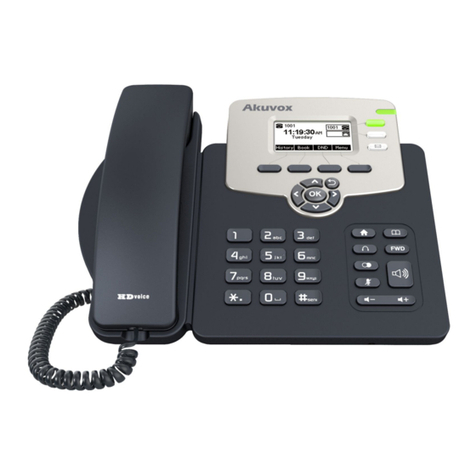
Akuvox R49G Service manual

Version: 1.0 |Date: May.2021

About This Manual
.
Thank you for choosing the Akuvox R49 guard phone. This manual is intended for the
administrators who need to properly configure the R49 guard phone. This manual applies to the
49.30.5.xxx version, and it provides all the configurations for the functions and features of the
guard phone. Please visit the Akuvox forum or consult technical support for any new information
or the latest firmware

Introduction of Icons and Symbols
Warning:
Always abide by this information in order to prevent the persons
from injury.
Caution:
Always abide by this information in order to prevent damages to the
device.
Note:
Informative information and advice for the efficient use of the
device.
Tip:
Useful information for the quick and efficient use of the device.

Blue indicator Light Status
No.
Indicator Light Type
Indicator Light Status
1
Power Indicator Light
When the device is powered on the light will turn on .
When the device starts on normally, the light will be
on.
When the device is powered off, the light will turn off .
2
Network Connection
indicator light
When the device is powered on but is not connected to
the network, the light will be off.
When the the device is powered on and the network is
connected, the light will turn on immediately.
When the device network is disconnected, the light will
turn off. ( the light will be turn on when the network is
reconnected).
3
Call Indicator Light
When there is no missing call or unread messages
and the device is in stand-by status, the light will be
off.
When there is no missing call or unread messages
and the device is in receiving incoming calls status,
the light will be flickering.
when there is no missing call or unread messages and
the device is in dialing out status, the light will stay on.
when there is no missing call or unread messages and
the device is in dialing out status while receiving a
incoming call, the light will be flickering.
when there is no missing call or unread messages and
the device is in calling status, the light will stay on.
when there is missing call or unread messages and
the device is in calling status while receiving a
incoming call, the light will be flickering.
when there is missing call or unread messages and
the device is in stand-by status, the light will be
flickering.
when there is missing call or unread messages and
the device is in dialing out status, the light will be
flickering.
when there is missing call or unread messages and
the device is receiving an incoming call , the light will
be flickering.
when there is missing call or unread messages with
new missing calls and unread messages, the light will
be flickering.

R49G Guard Phone Administrator Guide
AKUVOX SMART INTERCOM www.akuvox.com
Table of Contents
1. Product Overview....................................................................................................1
2. Connecting Akuvox Smartplus.............................................................................2
3. Network Setting...................................................................................................... 3
3.1. Device Network Status............................................................................... 3
3.2. Device Network Configuration...................................................................4
3.2.1. Configure Network Connection on the Device.............................5
3.3. Configure Network Connection on the Web Interface........................... 7
3.4. Configure Device WIFI Connection........................................................... 8
3.5. Local RTP Configuration............................................................................ 9
3.6. Device Bluetooth Configuration..............................................................10
3.7. Device VLAN Configuration..................................................................... 11
4. Access the Device Web Interface...................................................................... 14
5. Language and Time Setting................................................................................15
5.1. Language Setting...................................................................................... 15
5.1.1. Language Setting on the Device..................................................15
5.2. Time Setting...............................................................................................16
5.2.1. Time Setting on the Device.......................................................... 16
5.2.2. Time Setting on the Web Interface..............................................17
6. Screen Display Configuration.............................................................................19
6.1. LCD Screen Brightness Setting...............................................................19
6.2. Wallpaper Setting...................................................................................... 20
6.3. Sleep Mode Setting...................................................................................21
6.4. Font size Setting........................................................................................22
6.5. Home Screen Display Setting..................................................................23
6.6. Screen Lock Setting..................................................................................23
6.7. Screenshot Setting....................................................................................26
6.8. Screensaver Setting..................................................................................27
6.9. Large text Setting Screen Display.......................................................... 28
7. Sound and Volume Configuration..................................................................... 29
7.1. Sound and Volume Configuration on the Device................................. 29
7.1.1. Sound and Volume Configuration on the Web Interface......... 30
8. Call Configuration................................................................................................ 32
8.1. IP call and IP Call Configuration............................................................. 32
8.2. SIP Call and SIP Call Configuration........................................................32
8.2.1. SIP Account Registration..............................................................33
8.2.2. SIP Server Configuration.............................................................. 34
8.3. Data Transmission Type Configuration.................................................35
8.4. Call Setting................................................................................................. 36
8.4.1. Call Auto-answer Configuration..................................................36

R49G Guard Phone Administrator Guide
AKUVOX SMART INTERCOM www.akuvox.com
8.4.2. Enable SIP-hacking Prevention .................................................. 38
8.5. Emergency Call Setting............................................................................ 39
8.5.1. SOS Number Setting......................................................................39
8.6. Call Forwarding Setting............................................................................ 40
8.6.1. Call Forwarding Configuration on the Device............................40
8.6.2. Call Forwarding Configuration on the Web Interface...............41
8.7. Quick Dial By Number Replacement...................................................... 42
8.8. Area Code................................................................................................... 44
8.8.1. Dial Now.......................................................................................... 44
9. Intercom Message................................................................................................46
10. Audio& Video Configuration.............................................................................48
10.1. Audio Codec Configuration................................................................... 48
10.2. CNG configuration.................................................................................. 49
10.3. VAD configuration...................................................................................50
10.4. AGC configuration...................................................................................51
10.5. Net EQ Configuration..............................................................................52
10.6. Video Codec Configuration for SIP calls............................................. 52
10.7. Video Codec Configuration for IP direct calls.................................... 53
10.8. Media Feedback...................................................................................... 54
10.9. H264 Setting............................................................................................ 55
10.10. Other Video Parameters...................................................................... 56
11. Door Access control.......................................................................................... 57
11.1. Give Access Permission........................................................................ 57
12. Security................................................................................................................58
12.1. Monitor Setting........................................................................................58
12.2. Alarm.........................................................................................................59
12.3. Voice Encryption..................................................................................... 60
13. Application.......................................................................................................... 61
13.1. Calendar................................................................................................... 61
13.2. Camera......................................................................................................62
13.3. Gallery....................................................................................................... 63
13.4. Music.........................................................................................................64
13.5. Video......................................................................................................... 64
13.6. Explorer.....................................................................................................65
13.7. Calculator................................................................................................. 66
14. Call Log................................................................................................................ 67
15. Firmware Upgrade..............................................................................................68
16. Backup................................................................................................................. 69
17. Auto-provisioning.............................................................................................. 70
17.1. Provisioning Principle............................................................................ 70
17.2. Introduction to the Configuration Files for Auto-Provisioning........71
17.3. Autop Schedule....................................................................................... 71
17.4. DHCP Provisioning Configuration........................................................ 72
17.5. Static Provisioning Configuration........................................................ 75
R49G Guard Phone Administrator Guide
AKUVOX SMART INTERCOM www.akuvox.com
18. Debug................................................................................................................... 77
18.1. System Log for Debugging....................................................................77
18.2. PCAP for Debugging...............................................................................78
18.3. User Agent................................................................................................79
19. Password Modification..................................................................................... 80
19.1. Modify Device Web Interface Password..............................................80
19.2. Configure Web Interface Automatic Log-out..................................... 80
20. System Reboot&Reset...................................................................................... 82
20.1. Reboot.......................................................................................................82
20.2. Reset......................................................................................................... 83
20.2.1. Reset on the web interface........................................................ 83
20.2.2. Reset on the device..................................................................... 83
21. Abbreviations......................................................................................................85
22. FAQ....................................................................................................................... 87
23. Contact US.......................................................................................................... 88

R49G Guard Phone Administrator Guide
AKUVOX SMART INTERCOM www.akuvox.com
1
1.Product Overview
The cloud-based R49G guard phone can be deployed and maintained on the
SmartPlus platform along with Akuvox door phones, indoor monitors,
SmartPlus app that are incorporated with the guard phone as a whole in the
community management. With the R49G guard phone, you will be able to
build up the connection with door phone , indoor monitors, Smartplus app in
terms of making intercom calls, monitoring door phones, dealing with alarms
triggered by the indoor monitors in a community, and receiving SOS
messages. More over, R49G allows you to send notifications to the door
phones and SmartPlus apps, to create your local contact in the devices, and
to set up monitoring locally.

R49G Guard Phone Administrator Guide
AKUVOX SMART INTERCOM www.akuvox.com
2
2.Connecting Akuvox Smartplus
Akuvox R49 guard phone is connected to the Akuvox smartPlus platform for
the cloud based management in terms of guard phone deployment, remote
device configuration, device data transmission type, SIP account information,
and time zone etc. And all these settings will be synchronized to the guard
phone, prioritizing over the manual settings you conducted on the device. So
before using it, please make sure it is already connected with Akuvox
SmartPlus. If not, please consult your distributor or Akuvox technical team
for help.

R49G Guard Phone Administrator Guide
AKUVOX SMART INTERCOM www.akuvox.com
3
3.Network Setting
3.1. Device Network Status
Device network status can be checked on the device and on the device web
interface.
Check Device Network Status on the Device
Click on on the device home screen and click on Status Info to check the
the device network status.

R49G Guard Phone Administrator Guide
AKUVOX SMART INTERCOM www.akuvox.com
4
Check Device Network Status on the Device
To check the network status on the web Status > Network Information
interface.
3.2. Device Network Configuration
R49G guard phone can be connected to both Ethernet and Wi-Fi network.
You can check for the door phone’s network connection info and configure
the default DHCP mode (Dynamic Host Configuration Protocol) or static IP
mode for the device either on the device or on the device web interface. You
can also check and configure the device Wi-Fi connection and Wi-Fi and data
usage (both WiFi and Ethernet data) on the device.

R49G Guard Phone Administrator Guide
AKUVOX SMART INTERCOM www.akuvox.com
5
3.2.1.Configure Network Connection on the Device
You can check for the door phone’s network connection info and configure
the default DHCP mode (Dynamic Host Configuration Protocol) and static IP
mode for the device either on the device or on the device web interface.To
check and configure the network connection. You can press on on the
home screen and click on Network Settings> LAN Type, then set up the
network connection.
Parameter Set-up:
Access Mode: select DHCP or static IP access mode. DHCP mode is the
default network connection. If the DHCP mode is selected, then the guard
door phone will be assigned by the DHCP server with IP address, subnet
mask,gateway,and primary/ backup DNS server address automatically. If
IP mode is selected, then the IP address, subnet mask, default gateway,
and DNS server address will have to be manually configured according to
your actual network environment.
IP Address: set up the IP Address if the static IP mode is selected.
Subnet Mask: set up the subnet Mask according to your actual network
environment.

R49G Guard Phone Administrator Guide
AKUVOX SMART INTERCOM www.akuvox.com
6
Gateway: set up the correct gateway according to the IP address of the
gateway.
Pri DNS Server: set up the primary and the backup DNS Server address
(Domain Name Server)according to your actual network environment.
the guard phone will connect to the backup server when the primary DNS
server is unavailable .
In addition, you can also check the network setting, enable/disable the
Ethernet connection, and configure DHCP or static IP mode the device on the
advanced setting on the device . To do so you can slide down your finger
twice on device home screen and click on and click on Network&Internet >
Ethernet

R49G Guard Phone Administrator Guide
AKUVOX SMART INTERCOM www.akuvox.com
7
3.3. Configure Network Connection on the Web
Interface
To check or configure network connection on the device web Network >
Basic interface.
Parameter Set-up:
IP Address: If the DHCP mode is selected, then the guard door phone will

R49G Guard Phone Administrator Guide
AKUVOX SMART INTERCOM www.akuvox.com
8
be assigned by the DHCP server with IP address, subnet
mask,gateway,and primary/ backup DNS server address automatically.
Subnet Mask:If static IP mode is selected, then the IP address, subnet
mask, gateway, and DNS servers address will have to be manually
configured according to your actual network environment
IP Address: set up the IP address if the static IP mode is selected.
Subnet Mask: set up the subnet mask according to your actual network
environment.
Default Gateway: set up the correct gateway default gateway according
to the IP address of the default gateway.
LAN DNS1/2 Server: set up DNS (Domain Name Server) according to your
actual network environment. DNS 1 for primary DNS server while DNS2
fo the back DNS server. The guard phone will connect to the backup
server when the primary DNS server is unavailable.
3.4. Configure Device WIFI Connection
R49G guard phone supports Wi-Fi connection, you can configure the Wi-Fi
connection on the device. To do so you can slide down your finger twice on
device home screen and click on then click on Network&Internet >
Ethernet , switch on Wi-Fi and set up the Wi-Fi connection.

R49G Guard Phone Administrator Guide
AKUVOX SMART INTERCOM www.akuvox.com
9
3.5. Local RTP Configuration
For the device network data transmission purpose, device needs to be set up
with a range of RTP port (Real-time Transport Protocol) for establishing an
exclusive range of data transmission in the network. To set up device local
RTP on web Network > Advanced > Local RTP interface

R49G Guard Phone Administrator Guide
AKUVOX SMART INTERCOM www.akuvox.com
10
Parameter set-up:
Starting RTP Port: enter the Port value in order to establish the start
point for the exclusive data transmission range.
Max RTP port: enter the Port value in order to establish the end point for
the exclusive data transmission range.
3.6. Device Bluetooth Configuration
You can switch on the Bluetooth function on the device to establish the
Bluetooth based connection with devices with the Bluetooth function for files
transmission, and making or answering the Bluetooth calls. To pair the guard
phone with other Bluetooth device, you can slide down your finger twice on
device home screen and click on then click on Connected devices and pair
the guard phone with other devices.

R49G Guard Phone Administrator Guide
AKUVOX SMART INTERCOM www.akuvox.com
11
3.7. Device VLAN Configuration
Virtual Local Area Network is a logical grouping of two or more nodes which
are not necessarily on the same physical network segment but which share
the same logical IP domain. To be specify, the purpose of VLAN is to
separate layer 2 broadcast domain. Within trunk links, the tagged packet will
only be send to those ports with same VLAN ID. This is usually achieved by
switch or router.User can benefit from deployed VLAN, such as: *Security: if
without VLAN, all host will be included in unique broadcast domain.
Therefore, the consequence of ARP attack will affect all end devices in the
organization. *Performance: The nature of network broadcast is to flood
frames among the network. In certain condition, it is unnecessary to receive
broadcast frame. To save bandwidth for high efficiency, it will be better to
separate broadcast domain by deploy VLAN.
If you want to create a VLAN network in which you only allow the designated
number of devices in the same VLAN to be connected with the R49G guard
phone for intercom calls, you can slide down your finger twice on the device
home screen and press on and go to Network&internet > Advanced for
the VLAN configuration.

R49G Guard Phone Administrator Guide
AKUVOX SMART INTERCOM www.akuvox.com
12
Parameter Set-up:
PC Port Setting:tick the check box to enable the PC port setting, if you
want to connect the device to the VLAN network from PC port on the
device. R49 has two type of ports for the network connection, one is the
PC port and the other is LAN port. If you set PC port for the VLAN
network connection and connect the device to the network from the
device LAN port, then the setting will not be valid. The value is 0by
default.
Table of contents
Other Akuvox IP Phone manuals

Akuvox
Akuvox SP-R55P User manual

Akuvox
Akuvox VP-R49G User manual

Akuvox
Akuvox VP-R47P User manual

Akuvox
Akuvox VP-R49P User manual

Akuvox
Akuvox SP-R63G User manual

Akuvox
Akuvox SP-R59P User manual

Akuvox
Akuvox SP-R52P User manual

Akuvox
Akuvox R63G User manual

Akuvox
Akuvox SP-R52P User manual

Akuvox
Akuvox SP-R53P User manual