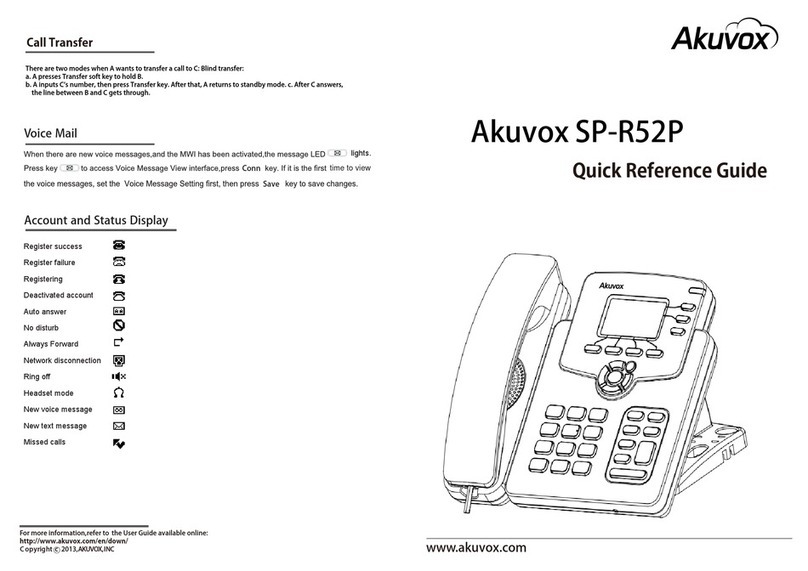
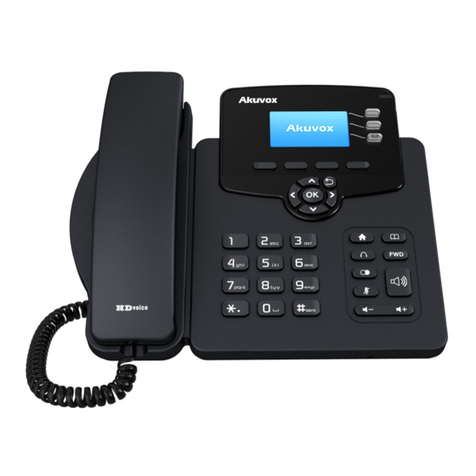
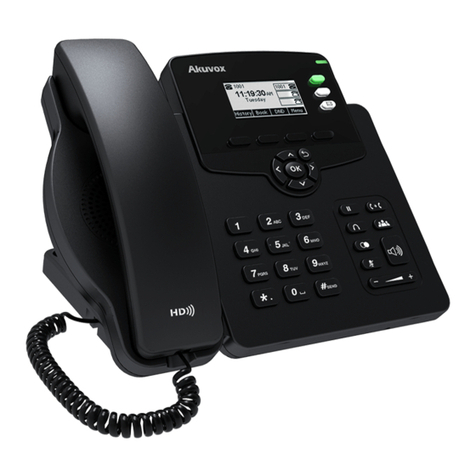
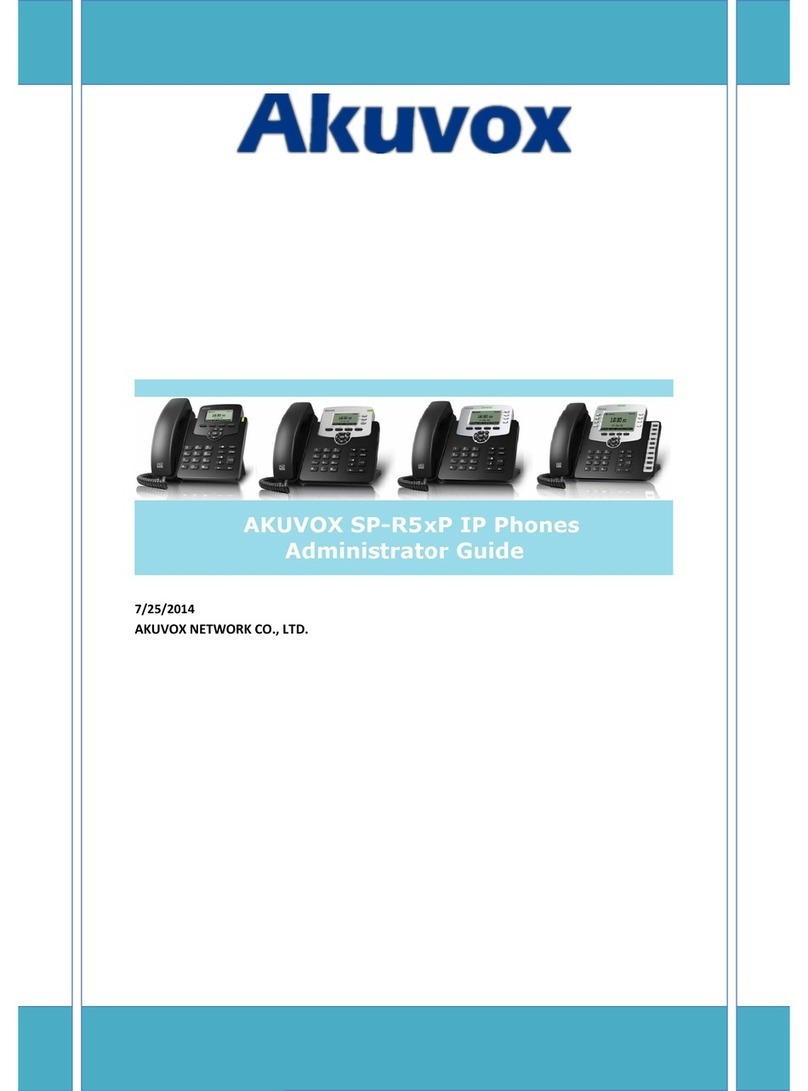
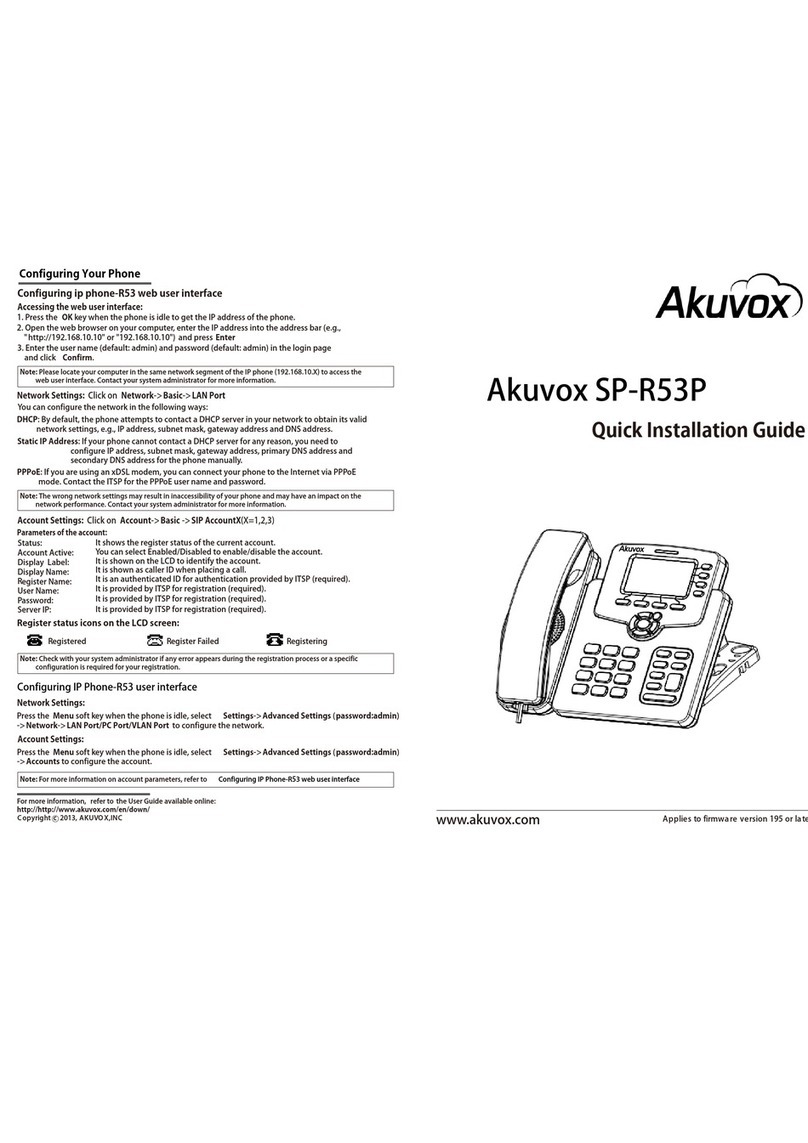
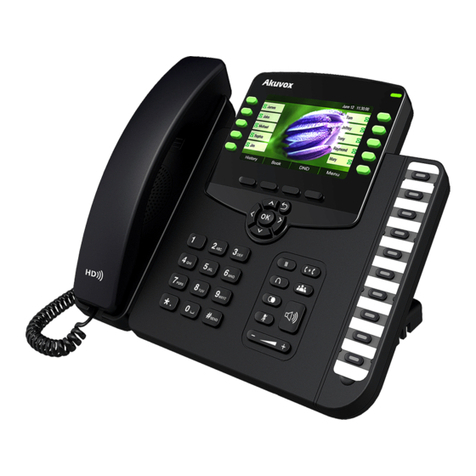
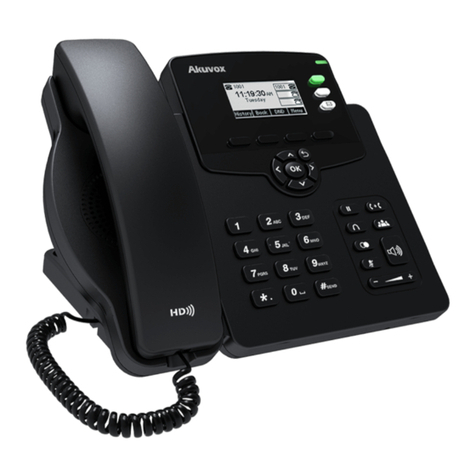
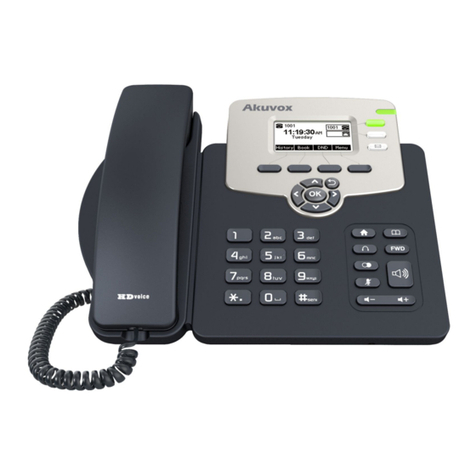
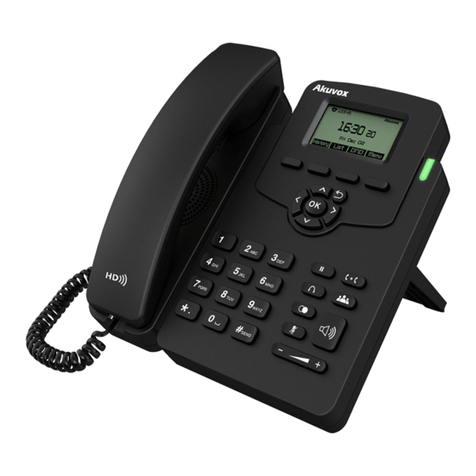
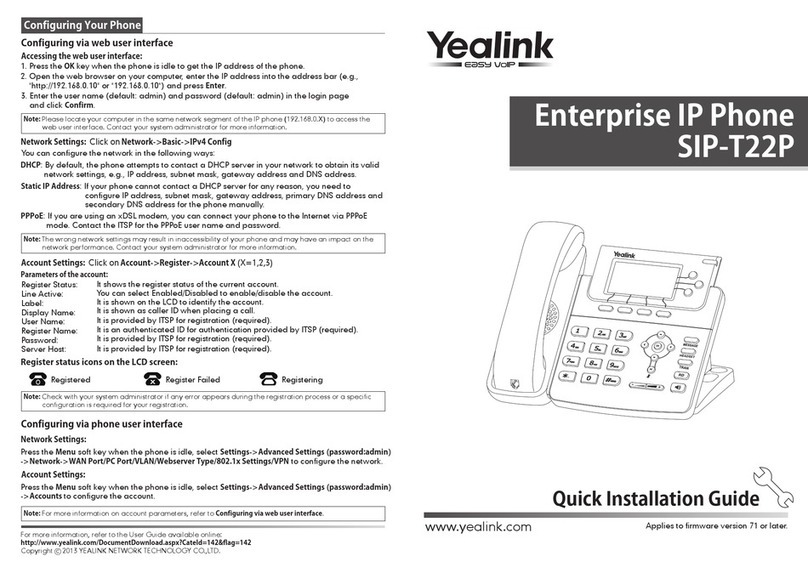
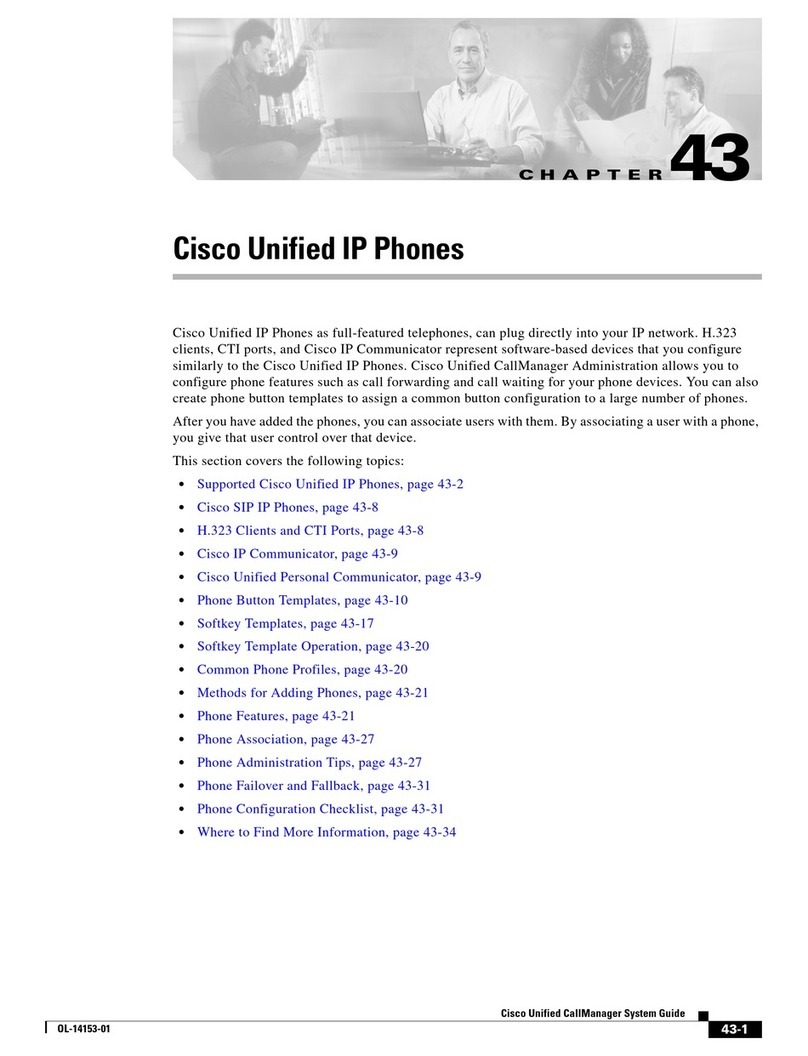
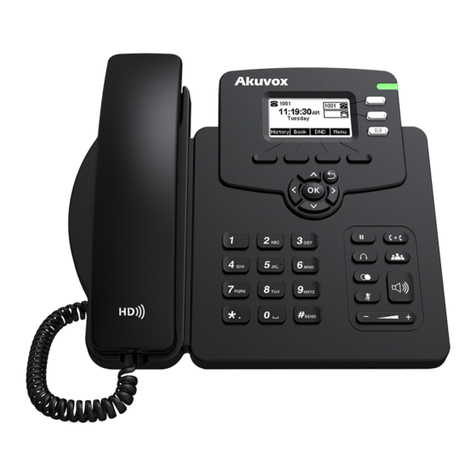
Akuvox SP-R53P User manual

SP-R53P User Manual
Contents
Chapter 1: Overview .........................................................................................................................3
1. Icons introduction .............................................................................................................4
2. User Interface ....................................................................................................................4
Chapter 2: Getting Started.................................................................................................................4
1. Phone Initialization ...........................................................................................................5
2. Phone Status ......................................................................................................................5
3. Basic Network Settings.....................................................................................................9
1. The Idle ...........................................................................................................................16
Chapter 3: Settings ..........................................................................................................................17
1. Basic Settings..................................................................................................................17
˄1˅Language .........................................................................................................17
˄2˅Date & Time....................................................................................................19
˄1˅Call Waiting.....................................................................................................27
˄2˅DND................................................................................................................28
1. Sound Setting ..................................................................................................................29
˄˅Vo l u me ............................................................................................................29
˄˅The Ring Tone.................................................................................................33
2. Phone Book .....................................................................................................................35
˄˅Local Phone Book ...........................................................................................36
˄˅Blacklists .........................................................................................................66
˄˅Remote Phone Book........................................................................................69
3. History Management.......................................................................................................71
˄˅Check the calls history via phone interface.....................................................71
˄˅Make a call from the History via phone interface ...........................................75
˄˅Add contact from the history via phone interface ...........................................77
˄˅Delete the calls log from the History via phone interface ...............................85
˄˅Delete all the call log via phone interface .......................................................86
4. System Customizations ...................................................................................................90
˄˅Programmable keys .........................................................................................90
5. Account management......................................................................................................94
˄˅Register an Account ........................................................................................94
˄˅Disable account .............................................................................................103
6. Hotline...........................................................................................................................108
7. Intercom ........................................................................................................................111
Chapter 4 Basic Features...............................................................................................................114
Make calls .............................................................................................................................115
Use the handset to make a call ......................................................................................116
Use the hand-free to make a call ...................................................................................118

Use the headset to make calls........................................................................................121
Dial multiple-line calls..................................................................................................123
1. Answer call ...................................................................................................................126
˄˅Use the handset to answer a call˖................................................................126
˄˅Use hand-free to answer a call˖..................................................................127
˄˅Use the headset to answer a call....................................................................128
˄˅Answer a call during talking˖.....................................................................128
1. End a call˖...................................................................................................................129
˄˅Use the handset˖.........................................................................................129
˄˅Use headset: ..................................................................................................130
˄˅Use hand-free˖............................................................................................130
˄˅Hold talking˖...............................................................................................131
2. Redial ............................................................................................................................132
˄˅Redial the last dialed number ........................................................................132
˄˅Redial any dialed number..............................................................................133
3. Mute ..............................................................................................................................134
2. Call Hold/Resume .........................................................................................................135
˄˅Connected˖..................................................................................................135
˄˅Resume multiple-lines talking.......................................................................136
3. Do Not Disturbed(DND)...............................................................................................136
4. Call Forward .................................................................................................................137
5. Call Transfer..................................................................................................................144
˄˅Blind Transfer ...............................................................................................145
˄˅Consultation Transfer....................................................................................146
6. Conference ....................................................................................................................147
4. Call Park........................................................................................................................151
˄˅Set Call Park..................................................................................................152
7. Pickup ...........................................................................................................................154
˄˅Specified Pickup............................................................................................154
˄˅Group Pickup ................................................................................................158
Chapter 5 Advanced Features........................................................................................................166
1. Message.........................................................................................................................166
˄1˅Text Message...............................................................................................................166
˄2˅Voice Message.............................................................................................................176
Chapter 6 WEB Interface..............................................................................................................182
1. Book-Local Phone Book ...............................................................................................182
2. Phone Book-Remote Phone Book.....................................................................................183
3. Phone Book-Call log.........................................................................................................184
4. Phone-Dial Plan-Remake Rule .........................................................................................185
5. Phone Setting-Dial Plan-Dial Now ...................................................................................186
6. Phone Setting-Time/Lang .................................................................................................187
7. Phone-Basic Setting ..........................................................................................................188
8. Phone-Call Feature............................................................................................................189
9. Phone-Voice ..................................................................................................................190
10. Phone-Key/Display ...............................................................................................191
11. Phone-Ring tones ..................................................................................................192
12. Phone-Tones..........................................................................................................193
13. Status-Basic...........................................................................................................194
14. Account-Basic .......................................................................................................195
15. Account-Advanced................................................................................................196
16. Network-Basic ......................................................................................................197
17. Network-Advanced ...............................................................................................198
18. Upgrade-Basic.......................................................................................................199
19. Upgrade-Advanced ...............................................................................................200
20. AUTOP .................................................................................................................201
22. DHCP-AUTOP Mode Configuration....................................................................205
23. Security-Basic .......................................................................................................209
24. Security-Advanced................................................................................................210
Chapter 1: Overview

1. Icons introduction
2. User Interface
The IP phone R53 supports two configuring mode: phone interface and
web interface. In most cases both of the two ways can be used for phone
setting except some situations.
Chapter 2: Getting Started

1. Phone Initialization
After power on, “Initializing, Please Wait…” appears on the LCD.
2. Phone Status
˄˅Press the OK key on the phone keyboard to enter Status interface
directly or press the Menu soft key to enter the main menu and
then select Status. The contents as below are contained in the
main menu:
Idle˖
Main Menu:
Press the Left/Right to the Switch:

(2) In the menu interface, press the Left/Right,Up/Down key on the
phone keyboard to select an option, then Press the OK key on the phone
keyboard or the Enter soft key to enter.
¾Option 1: Status, the following interfaces are contained:
Main interface:
Press the Up/Down key to the Switch:
Press the More soft key to access another interface:
Press the Up/Down key to Switch:

zSelect Network, Press the OK key on the phone keyboard or the
Enter soft key to access Network Status interface:
zSelect Phone, press the OK key on the phone keyboard or the Enter
soft key to access phone status interface:
zSelect Accounts, Press the OK key on the phone keyboard or the
Enter soft key to access accounts status interface:
Press the key or the Back soft key in the UI to return
to the previous interface

¾Option 2: Features, the following interfaces are contained:
Main interface:
Press the Up/Down key to the Switch:
Press the Enter soft key to access another interface:
¾Option 3: Settings, the following interfaces are contained
¾Option 4: Message, the following interfaces are contained
¾Option 5: History, the following interfaces are contained
¾Option 6: Phone Book, the following interfaces are contained
(3) In the main menu interface, press the Up or Down key on the phone
keyboard to select History, then press the OK key on the phone
keyboard or the Enter soft key to access the All Calls history interface:
(4) In the main menu interface, press the Up or Down key on the phone

keyboard to select Phone Book, then press the OK key on the phone
keyboard or the Enter soft key to access the phone book interface:
3. Basic Network Settings
1. If your phone cannot obtain an IP address via DHCP server, you need
to set a static IP address manuallyDŽ
1. IP Access Menu -> Settings -> Advanced Setting ˄password:
admin˅-> Network -> LAN Port -> Static IP
˄1˅In the Idle mode, press the Menu soft key to enter the main
menu:
˄2˅In the main menu, press the Up or Down key on the phone
keyboard to select Settings, then Press the OK key on the phone
keyboard or the Enter soft key.

˄3˅In Settings interface, press the Up or Down key on the phone
keyboard to select Advanced Setting, Press the OK key on the
phone keyboard or the Enter soft key:
˄4˅A dialog box “Enter Password:” appears, enter the password: admin
(case sensitive), then Press the OK key on the phone keyboard˖
˄5˅In Advanced Setting interface, press the Up or Down key on the
phone keyboard to switch among the following interfaces˖
Press the Up or Down key on the phone keyboard

Press the Up or Down key on the phone keyboard
˄6˅In the Advanced Settings interface, press the Up or Down key on
the phone keyboard to select Network, then Press the OK key on the
phone keyboard or the Enter soft key to enter Network Settings˖
˄7˅In the Network Settings interface, Press the OK key on the phone
keyboard or the Enter soft key to enter LAN Port˖

˄8˅In the LAN Port interface, press the Up or Down key on the
phone keyboard to select Static IP, then Press the OK key on the phone
keyboard or the Enter soft key to enter Static IP Setting interface and
input IP address.
˄9˅Press the Down key on the phone keyboard to enter the Subnet
Mask of Static IP Setting and input the subnet mask.
Press the Down key on the phone keyboard to enter the
Gateway of Static IP Setting and input the gateway

Press the Down key on the phone keyboard to switch to the
DNS1. Input the DNS 1
Press the Down key on the phone keyboard to switch to the
DNS2. Input the DNS 2˖.
Input the IP address, Subnet mask, Gateway, DNS 1 and DNS 2
in the corresponding area, Press the OK key on the phone
keyboard or the Save soft key to save
2. In the Advanced Setting interface, press the Up or Down key on the
phone keyboard to select “Reset to factory”, Press the OK key on the
phone keyboard or the Enter soft key to access the reset to factory
interface:

Press the OK key on the phone keyboard or the Enter soft
key to access the reset to factory interface
Press the OK key on the phone keyboard or the OK soft key
in the UI to reset the phone, or press the key or the
Cancel soft key in the UI to cancel the operation, and then
return to the Advanced Setting interface
3. In the Advanced Setting interface, press the Up or Down key on the
phone keyboard to select Password Setting, Press the OK key on the
phone keyboard or the Enter soft key to access the Password Setting:
Press the “abc” soft key to switch the input methods, then
input the current password. Press the Down key on the phone

keyboard
Input the new password, then Press the Down key on the
phone keyboard.
Input the new password again, press the Save soft key. If the
password is wrong, the following prompt interface appears:
Press the key on the phone keyboard or the Back
soft key in the UI to return to the Password Setting area:

Press the key on the phone keyboard or the Back
soft key in the UI to cancel the operation, and then return to
the Advanced Setting interface:
1. The Idle
1. After the phone starts normally, the Idle displays as follows:
2. The following contents appear: Time & Date, the label of current
account and four soft keysDŽ
3. In the Idle, the date format that appears on the LCD is for date &
time settings.
When the network is disconnected, Idle displays:

Chapter 3: Settings
1. Basic Settings
˄
˄
1
˅
Language
1. You can change the language used to display the menu messages.
Two languages are available: English and Chinese. Access Menu
-> Settings -> Advanced Setting -> Language
Press the Menu soft key on the phone keyboard to enter the
main menu.
In the main menu interface, press the Up or Down key on the
phone keyboard to select Settings, then press the OK or the
Enter soft key to enter the Settings interface.

In the Settings interface, press the Up or Down key on the
phone keyboard to select Basic Setting, then Press the OK
key on the phone keyboard or the Enter soft key. The
Language in default is “English”
In the Basic Setting interface, press the OK key on the phone
keyboard or the Enter soft key to enter Language Setting
interface:
In the Language Setting interface, press the Up or Down key
on the phone keyboard to select the language that you need.
English and Chinese are available.

˄
˄
2
˅
Date & Time
1. The Idle interface of the IP phone displays Time and Date. You can
set the Time and Date obtain from SNTP server automatically, also
you can set the time and date manually.
2. Set SNTP via phone interface: Access Menu -> Settings -> Basic
Setting -> Date & Time -> SNTP SettingDŽ
Press the Menu soft key in the Idle to access the main menu:
In the main menu, press the Up or Down key on the phone
keyboard to select Settings, then enter the Setting interface˖
In the Settings interface, press the Up or Down key on the
phone keyboard to select Basic Setting, Press the OK key on

the phone keyboard or the Enter soft key:
In the Basic Setting interface, press the Up or Down key on
the phone keyboard to select Date & Time, Press the OK key
on the phone keyboard or the Enter soft key to enter Date &
Time setting˖
The following contents are included in the Date & Time
setting:
In the Date & Time interface, press the Up or Down key on
the phone keyboard to select the SNTP Setting, Press the OK
key on the phone keyboard or the Enter soft key to enter the
SNTP setting.
3. Time Zone setting: press the Left or Right key on the phone
Other manuals for SP-R53P
2
Table of contents
Other Akuvox IP Phone manuals

Akuvox
Akuvox SP-R52P User manual

Akuvox
Akuvox R49G Service manual

Akuvox
Akuvox R55P User manual

Akuvox
Akuvox R63G User manual

Akuvox
Akuvox VP-R49P User manual

Akuvox
Akuvox SP-R63G User manual

Akuvox
Akuvox SP-R52P User manual

Akuvox
Akuvox R67G User manual

Akuvox
Akuvox SP-R52 User manual

Akuvox
Akuvox SP-R59P User manual