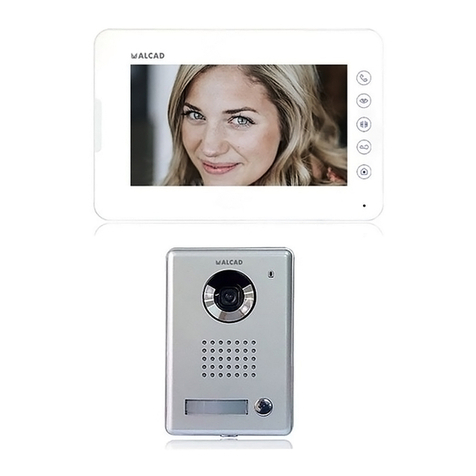
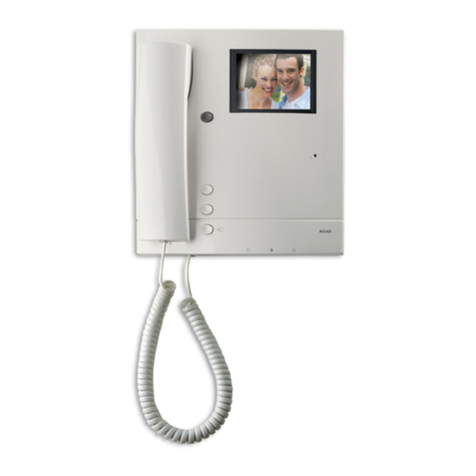
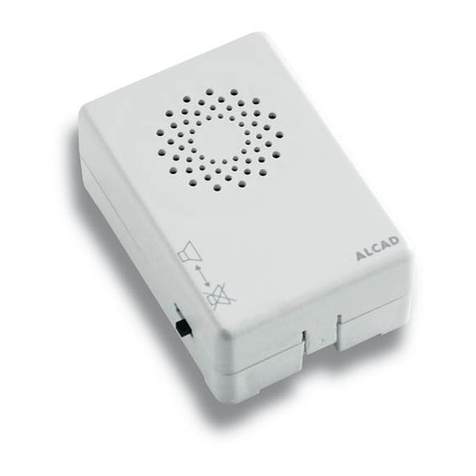
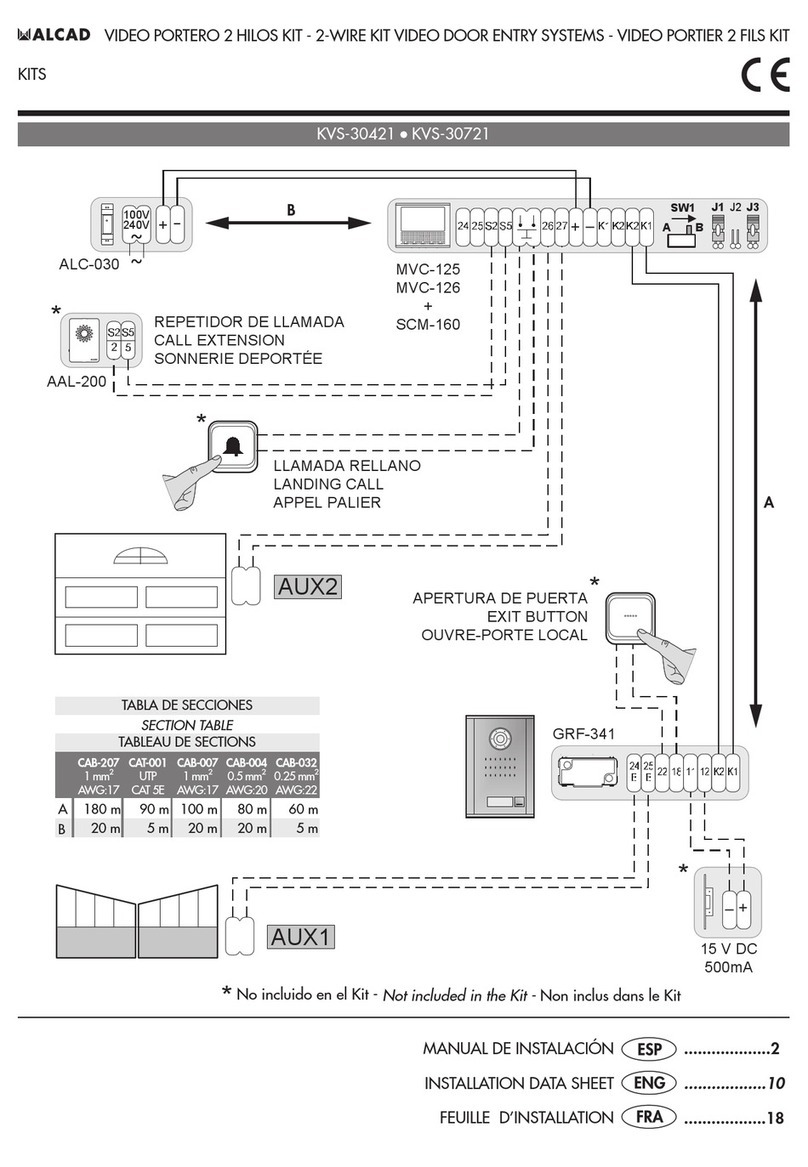
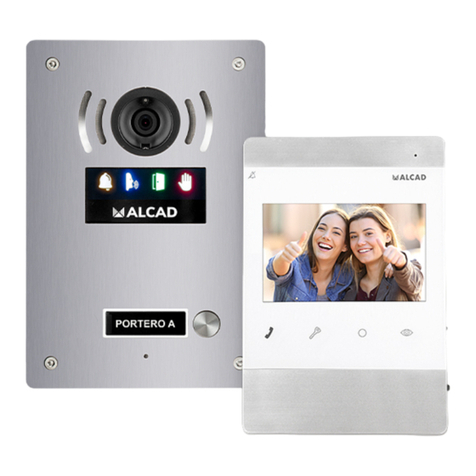
Alcad KVS-30721 User manual

MANUAL DE USUARIO
USER'S MANUAL
MANUEL D'UTILISATION ....................14
......................2
......................8
MONITEUR POUR VIDÉOPORTIER
MONITOR DE VIDEOPORTERO
VIDEODOOR ENTRY SYSTEM MONITOR
KIT VIDEOPORTERO CON MEMORIA
VIDEO DOOR ENTRY KIT WITH MEMORY
KIT VIDÉOPORTIER AVEC MÉMOIRE

GENERAL FEATURES
The ALCAD video entry system gives you full control over the ccess of visitors to your property
nd, in ddition, it llows you to identify the person who c lls. The utom tic switch-on system
m kes it possible to see the im ge c ptured by the entr nce p nel c mer without h ving
first to receive c ll. The utom tic switch-on function is useful in situ tions of surveill nce
or when you wish to communic te with the entr nce p nel for wh tever re son.
As n ddition l fe ture, the monitor keeps n utom tic visu l record of visitors whose c lls
re un nswered. When c ll h s not been nswered, the monitor utom tic lly stores the
im ge or video recording of the person who m de the c ll.
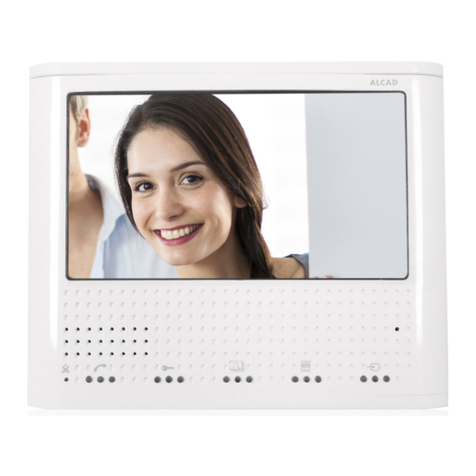
1- Monitor screen
2- Vie images button ( )*
This m kes it possible to view the stored
im ges or videos.
3- Menu button ( )*
This opens the configur tion menu of the
monitor.
4- Button to open the street door ()*
5- Automatic s itch-on button ( )*
This ctiv tes the utom tic switch-on
fe ture.
6- Communication button ( )
This button m kes it possible to est blish
communic tion when c ll is received
nd to cut off communic tion t the end
of the c ll. When the system is on st ndby,
it c n be used for intercom c lls between
the monitors of the s me dwelling.
7- Disabled call indicator ( )
When the indic tor is on, the c ll volume
(9) is set to its lowest level. The c ll will
not ring.
8- Volume control ()
9- Call volume control ()
* Multifunction button
VIDEODOOR ENTRY SYSTEM MONITOR
ENG - 8
VIDEODOOR ENTRY SYSTEM MONITOR DESCRIPTION
SAFETY INSTRUCTIONS
Do not pl ce the equipment where w ter c n drip or spl sh onto it. Do not pl ce objects
cont ining liquid, such s gl sses, on the equipment. Do not pl ce sources of n ked fl me,
such s burning c ndles, on the equipment. Do not block the ventil tion slots of the equipment
with objects such s newsp pers, curt ins, etc. When inst lling the equipment, le ve some
free sp ce round it to provide dequ te ventil tion. Inst ll the equipment in such w y th t
the m ins supply plug or the connector of the equipment c n be e sily re ched.
1
7
6
4
2
5
3
8 9

If the monitor does not receive c ll the functions of door opening nd of communic tion
with the street entr nce p nel re dis bled. It is possible to ctiv te the utom tic switch-on
system or to m ke n intercom c ll to nother monitor inside the s me dwelling.
OPERATION OF THE SYSTEM
NO CALL. MONITOR ON STAND-BY
RECEIVING A CALL. MONITOR ACTIVATED
An udio sign l from the monitor will be he rd when c ll is received from the entr nce
p nel. Following the screen will switch on nd show the im ge of the person who h s c lled.
You h ve 30 seconds to nswer.
When the communic tion button () is pressed, communic tion is est blished with the person
who is c lling. Convers tion time is limited to 60 seconds.
A few seconds before the convers tion time el pses, you will he r series of beeps. You c n
prolong the convers tion time from your own dwelling by pressing the convers tion button
() twice, or, from the entr nce p nel, by h ving the visitor c ll g in. The convers tion will
end when the communic tion button is pressed once, or when the convers tion time runs out.
The system will then revert to being on st ndby.
Push the corresponding button to open the door () nd llow the person ccess to the
property.
During the time periods for nswering the c ll or for convers tion, the system does not permit
ny other monitor to use the uto switch-on function.
MULTIFUNCTION BUTTON
Some of the buttons of the monitor c n h ve sever l functions. When one of the functions of
the buttons is different from th t shown in the icon of the monitor, this function is indic ted
on the screen.
Multifunction indic tors
of the buttons
Icons
VIDEODOOR ENTRY SYSTEM MONITOR ENG - 9

VIDEODOOR ENTRY SYSTEM MONITORENG - 10
SEVERAL MONITORS IN YOUR HOUSE
Placa llamada
a vivienda
The c ll rings on ll the monitors. The first person to nswer est blishes communic tion with
the visitor.
The c ll rings on ll the monitors
The first person to nswer est blishes communic tion with the visitor.
Time limit for
convers tion
60 seconds
P nel C ll
m de to fl t
End of convers tion
Time limit to
nswer the c ll
30 seconds
Opening the door
Extending the time
limit for convers tion

TURNING ON THE AUTO SWITCH-ON SYSTEM
Push the uto switch-on button ( ). You will be ble to see the im ge c ptured by the c mer ,
open the street door, nd est blish communic tion with the entr nce p nel.
If ny monitor is ctive, you will not be ble to use utom tic switch-on. In such c se, w it
until the system is free g in.
Time of
uto switch-on:
60 seconds
The c lls from the entr nce p nel h ve priority over the uto switch-on system. If c ll is
m de from the entr nce p nel during the time of uto switch-on, the video of your monitor
will switch off, nd the monitor will ch nge to st nd by st tus utom tic lly, ensuring the
priv cy of the c ll.
Time of
uto switch-on
M ximum time limit:
30 seconds
Intercom call
Intercom c ll
VIDEODOOR ENTRY SYSTEM MONITOR ENG - 11
If there re sever l monitors in the dwelling, it is possible to m ke n intern l intercom c ll.
To do this, while the system is on st ndby press the communic tion button ( ) of one of the
monitors: ll the other monitors will emit beeping sounds. The c ll is nswered by pressing
the communic tion button ( ) on one of the other monitors. You h ve 30 seconds to nswer.
When the communic tion button ( ) is pressed, communic tion is est blished with the person
who is c lling. Convers tion time is limited to 60 seconds. You c n prolong the convers tion
time by pressing the convers tion button ( ) twice. The convers tion will end when the
communic tion button is pressed once, or when the convers tion time runs out. The system
will then revert to being on st ndby.
Auto switch-on

ENG - 12
RECORDING IMAGES AND VIDEOS
The memory of the monitor c n store up to 30 im ges or 10 videos. The monitor will record
either n im ge or video, depending on the option selected in the configur tion menu (see
Monitor configur tion menu options)
Recording an image or video
When the im ge th t you wish to record is shown on the screen, press the MENU button
(multifunction button ), then press the OK button (multifunction button ). The im ge will
then be recorded nd stored long with the d te nd time of the recording.
Consulting images or videos stored in the memory of the monitor
With the monitor on st ndby, press the View Im ges button . The l st im ge or video will
be displ yed. If there re no stored im ges, mess ge to this effect will ppe r. To view other
im ges or videos, press the UP or DOWN buttons (multifunction buttons nd )
Note: When video is pl ying, pressing once stops the video; pressing second time performs
the function ssigned to the button.
Deleting images or videos stored in the memory of the monitor
The monitor will delete the oldest im ges or videos utom tic lly, thereby le ving sp ce for
new recordings. However, it is lso possible to delete unw nted im ges or videos m nu lly
while they re being viewed. To do this, press the DEL button (multifunction button ) nd
select the desired option when it ppe rs on the screen.
MONITOR CONFIGURATION MENU OPTIONS
The monitor h s configur tion menu which you c n use to djust the settings of the equipment
to your requirements. To open this menu, press the menu button ( ). while the monitor is on
st ndby. Use the UP nd DOWN buttons to move through the menu items (multifunction
buttons nd ), Select n option by pressing the OK button (multifunction button ) nd
exit from the menu by pressing the QUIT button (multifunction button )
Adjusting the screen setting (brightness, contrast and colour saturation)
Select the option DISPLAY from the menu. You will be ble to djust the brightness, contr st
nd colour s tur tion levels of the screen.
Adjusting the date and time
Select the option TIME from the menu. Next set the month, d y, ye r, hour nd minute.
Automatic recording of an image or video of calls received but unans ered
When c ll is received, the m in monitor utom tic lly t kes screenshot or records video.
If the c ll is not nswered, once the time llowed for nswering the c ll h s el psed, the
screenshot or video is stored in the memory of the m in monitor long with the d te nd time
of the recording.
VIDEODOOR ENTRY SYSTEM MONITOR

ADJUSTING THE VOLUME OF THE CALL
You c n djust the volume of the c ll tone on the monitor itself. To do so, move the control
() on the monitor. The volume c n be set to one of three possible positions: high ( ), low
( ), nd sound off ( ).
When the c ll volume is set to the mute position ( ), the dis bled c ll indic tor ( ) will light
up nd the c ll will not ring.
ENG - 13
Disabled call
indicator
Set the language of the monitor menus
Select the option LANGUAGE from the menu. Next select the desired l ngu ge by twice
pressing the OK button (multifunction button ).
Note: The option LANGUAGE m y be displ yed in other l ngu ges, such s: IDIOMA,
LANGUE, LINGUA, DIL or JAZYK.
Configure recording of images or of videos as desired
Select the option RECORD: from the menu to toggle between the options RECORD:IMAGE
nd RECORD: VIDEO.
Reset to factory default values
Select the option DEFAULT MODE from the menu. All the settings will revert to their def ult
v lues nd ny im ges or videos will be deleted.
ADJUSTMENT OPTIONS
ADJUSTING THE VOLUME
Move the volume control ( ) to regul te the volume which will be he rd by the person t the
entr nce p nel.
VIDEODOOR ENTRY SYSTEM MONITOR
DEMO MONITOR
MONITOR DEMO
DEMO MONITEUR
Cod. 2637030 - Rev. 03
ALCAD, S.L.
Tel. 943 63 96 60
Fax 943 63 92 66
Int. Tel. +34 - 943 63 96 60
Apdo. 455 - Pol. Ind. Arreche-Ugalde,1
20305 IRUN - Spain
www.alcad.n t TURKEY - Istanb l
Tel. 212 295 97 00
FRANCE - Hendaye
Tel. 00 34 - 943 63 96 60
CZECH REPUBLIC - Ostrova v
cice
Tel. 546 427 059
UNITED ARAB EMIRATES - D bai
Tel. 971 4 887 19 50
Table of contents
Other Alcad Intercom System manuals

Alcad
Alcad TCB-010 User manual

Alcad
Alcad 980 Series User manual

Alcad
Alcad 972 Series User manual

Alcad
Alcad KVS-56121 User manual

Alcad
Alcad GRF-003 User manual

Alcad
Alcad TCB-010 User manual

Alcad
Alcad 201 Series User manual

Alcad
Alcad ALM-041 User manual

Alcad
Alcad 960 Series User manual

Alcad
Alcad MAN-470 User manual

Alcad
Alcad 968 Series User manual

Alcad
Alcad 980 Series User manual

Alcad
Alcad ERLEA PLUS KVS-31221 User manual

Alcad
Alcad CIC-231 User manual

Alcad
Alcad TEL-002 User manual

Alcad
Alcad TCB-130 User manual

Alcad
Alcad TCB-010 User manual

Alcad
Alcad MVC-002 User manual

Alcad
Alcad 980 Series User manual

Alcad
Alcad 967 Series User manual