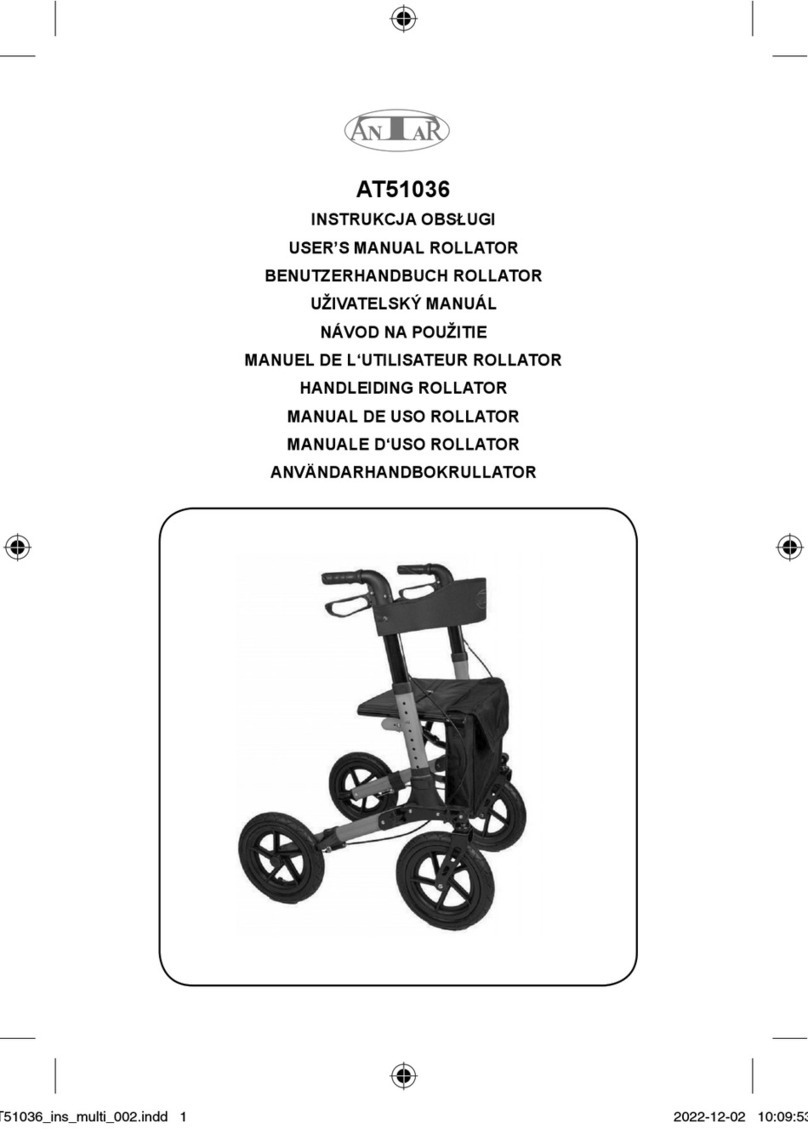
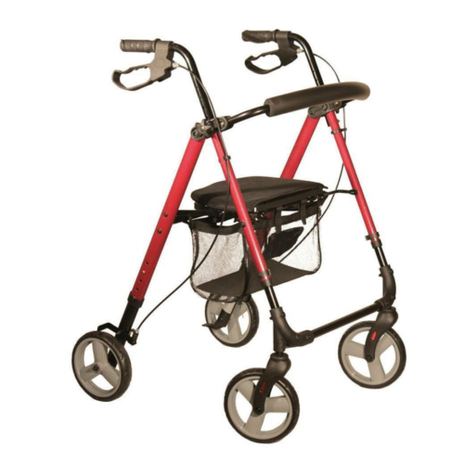
Antar AT51006 User manual

ROLLATOR
GEBRAUCHSANWEISUNG
INSTRUCTION MANUAL ROLLATOR
AT51006 / AT51006R
DÉAMBULATEUR EN ALUMINIUM,
À QUATRE ROUES
ALUMINIUM ROLLATOR, VIERWIELIG


werden.
Das Gerät dient als Geh-, Stütz- und Traghilfe beim Tragen kleinerer Gegenstände sowohl im
Innen- als auch im Außenbereich. Es ist für den Gebrauch durch einen Benutzer mit einer
beschränkten Bewegungsfähigkeit und der nachstehend genannten maximalen Größe
bestimmt. Um die Sicherheit des Benutzers des Rollators zu gewährleisten, soll der Benutzer
entsprechende körperliche, Seh- und kognitive Fähigkeiten besitzen. Beim Zweifel
kontaktieren Sie den Verkäufer/ Spezialisten, der die Rollator Benutzung verschrieben hat.
Es ist sehr wichtig, dass der Benutzer vor dem ersten Gebrauch des Gerätes die
Sicherheitshinweise in dieser Gebrauchsanweisung genau in Kenntnis nimmt. Die hier
genannten Hinweise sollen eventuelle Körperverletzungen des Benutzers oder Dritter, sowie
Beschädigung des Rollators oder der daneben befindlichen Gegenstände verhindern.
Auf den einzelnen Teilen des Rahmens darf nicht gestanden werden. Der Rahmen des
Gerätes ist nicht zu solchem Zweck vorgesehen.
BESTIMMUNG
(2) Vor dem Gebrauch vergewissern Sie sich, dass alle Räder, davon die
(1) Vergewissern Sie sich, dass die Bremse eines unbeaufsichtigt gelassenen
beweglichen Räder sicher befestigt sind.
(3) Vergewissern Sie sich, dass die Bremsen richtig funktionieren.
(4) Vor dem ersten Gebrauch prüfen Sie die Griffhöhe und ihre richtige Befestigung.
(5) Vergewissern Sie sich, dass der Rollator vollständig aufgeklappt ist.
(6) Beim Aufklappen des Rollators soll der Rahmen in der richtigen Position gesperrt
Rollators immer gesperrt ist.
(7) Beim Tragen des zusammengeklappten Rollators ist Vorsicht geboten.
Der Rollator ist mit einer abnehmbaren Schultertasche, Feststellbremse und einem Sitz mit
Polsterlehne ausgestattet. Die Griffhöhe ist einstellbar und der Rollator kann zum Transport
oder zur Lagerung zusammengeklappt werden. Vor dem Zusammenklappen oder der ersten
Benutzung des Rollators ist die Gebrauchsanweisung genau zu lesen und in einem sicheren
Ort aufzubewahren. Vor dem genauen Lesen dieser Gebrauchsanweisung darf das Gerät
NICHT zusammengeklappt oder benutzt werden.
Mediziner.
(8) Um das Kneifen der Hände zu vermeiden, halten Sie sie vom Klappmechanismus fern.
(10) Beim Heben oder Tragen des Rollators ist Vorsicht geboten.
HINWEIS:
(9) Um den Rollator an Ihre Bedürfnisse gut anzupassen, beraten Sie sich bei einem
SICHERHEIT
Der Rollator kann durch eine Person mit einem Gewicht von max. 136 kg benutzt werden.
ES IST ZU BEACHTEN:

D - Sitz
G - Befestigungsknöpfe (2)
B - Bremshebel
I - Vorderräder Durchmesser 8"
E - Schultertasche mit Gürtel
H - Hinterräder Durchmesser 8"
A - Lehne
F - Hintere Befestigungsstifte (2)
C - Griffe mit Höhenregelung
A
B
C
D
E
F
G
H
I
AUFBAUANWEISUNG
Vergewissern Sie sich, dass der Rollator während des Transports nicht beschädigt wurde.
Bei sichtbaren Beschädigungen benutzen Sie den Rollator nicht. In solchem Fall kontaktieren
Sie den Verkäufer, um den Rollator reparieren zu lassen oder ihn zurückzugeben.
ES IST VERBOTEN:
Bewegung setzen und es kann zu Körperverletzungen beim Benutzer oder bei Dritten
Rollstuhl entwickelt.
kommen.
(3) Sich auf den Rollator bei der eingestellten Neigung zu setzen.
(4) Sich auf den Sitz mit Schwung zu setzen - setzen Sie sich vorsichtig und kontrolliert, bei
Bedarf bitten Sie um Hilfe.
(6) Sich auf den Rollator zu stellen oder ihn als Fußstütze zu nutzen.
(5) Auf den Bremshebeln oder Griffen keine Gegenstände hängen, das kann die
(1) Den Rollator zum Fahren von Personen zu benutzen - das Gerät wurde nicht als
(2) Sich auf den Rollator ohne gesperrte Bremse zu setzen - das kann den Rollator in
Funktionierung der Bremsen und/oder die Stabilität des Rollators beeinträchtigen.

1. Die Verpackung beseitigen. Der Rollator ist
zusammengeklappt - Abb. 1.
Abb. 1
2. Die Vorderräder aufklappen und mit den Befestigungsknöpfen sperren - Abb. 2
Abb. 2
3. Die Hinterräder aufklappen und mit den hinteren Befestigungsstiften sperren - Abb. 3.
Abb. 3
Schritt 1 Schritt 2 Schritt 3 Schritt 4
HINWEIS: Beide Seiten müssen in einer entsprechenden Stellung mit dem hörbaren "Klick"
gesperrt werden.
4. Den Rollator aufklappen, den Sitz auf beiden Seiten nach unten drücken - Abb. 4.
Abb. 4

3. Sind Sie gezwungen, sich zu neigen oder die Arme zu heben, um den Rollator zu erreichen,
Wiederholen Sie die Tätigkeit auf der anderen Seite des Rollators und prüfen Sie vor dem
4. Dazu drücken Sie den Federknopf und stellen Sie die Füße in der richtigen Höhe ein.
Gebrauch, ob beide Griffe auf derselben Höhe und richtig gesperrt sind.
Fett machen und einmal Entern Vor dem ersten Gebrauch des Rollators vergewissern Sie
sich, dass er vollständig aufgeklappt ist und dass der Rahmen richtig gesperrt und steif ist. Es
ist wichtig, die Höhe des Rollators richtig zu einer komfortablen Position einzustellen.
1. Zu diesem Zweck lassen Sie die Hände an den Seiten hängen und stellen Sie die Griffe des
gebogen werden.
stellen Sie die Füße richtig ein.
2. Nach der Hinlegung der Hände auf den Griffen sollen die Ellbogen im Winkel von 15°-20°
Rollators auf der Höhe der Handgelenke ein.
HÖHENEINSTELLUNG
5. Die Tasche aufhängen.
Einstellungsbereich der Griffhöhe: 80 - 92,5 cm
HINWEIS: Um die richtige Höhe des Rollators
festzulegen, kontaktieren Sie ihren Arzt oder
Therapeuten.
Federknopf

Hinterräder zu sperren und hochziehen, um die
Sperre zu lockern (s. Abb. 5).
verlangsamen, ziehen Sie den Bremshebel
1. Um die Bewegung des Rollators zu
nach oben.
2. Den Bremshebel nach unten drücken, um die
EINSTELLUNG UND BEDIENUNG DER BREMSEN
Abb. 5
Sperrung
Bremseinstellung: Um die Spannung des Bremsseils zu erhöhen, drehen Sie die
Regelungsschraube gegen den Uhrzeigersinn; anschließend - um solche Einstellung
beizubehalten - drehen Sie den Befestigungsknopf im Uhrzeigersinn und halten Sie dabei die
Regelungsschraube fest (s. Abb. 6).
HINWEIS: Die Funktionierung der Bremssperre kann durch solche Einstellung der Bremsen
beeinflusst werden, dass zu ihrer Sperrung leichtes Drücken des Bremshebels ausreichend
ist.
Sicherungsmutter
Abb. 6
HINWEIS: Die Funktionierung der Bremssperre kann durch solche Einstellung der Bremsen
beeinflusst werden, dass zu ihrer Sperrung leichtes Drücken des Bremshebels ausreichend
ist.
ZUSAMMENKLAPPEN UND LAGERUNG DES ROLLATORS
1. Ziehen Sie den Riemen im mittleren
Teil des Sitzes nach oben, um den
Rollator zusammenzuklappen - Abb. 7.
Abb. 7

2. Den Rollator zusammenklappen. Die hinteren Befestigungsstifte herausschieben und die
Räder wie in Abb. 8 zusammenklappen.
Abb. 8
3. Verbrauchte oder beschädigte Teile sind unverzüglich auszutauschen.
Zur Reinigung des Rollators benutzen Sie ein feuchtes Tuch oder einen Schwamm und
warmes Wasser mit Seife. Bei Bedarf können auch übliche Desinfektionsmittel benutzt
werden. Vergewissern Sie sich, dass auf den gereinigten Flächen kein Wasser oder
Reinigungsmittelreste geblieben sind und dass sie nicht glatt sind. Benutzen Sie keine rauen
Reinigungsmittel oder Kratzgeräte - sie können die Lackschicht beschädigen.
4. Um eine möglichst kleine Größe des Rollators zu erreichen, können auch die Vorderräder
REINIGUNG
Höhe und führen Sie die o.g. Schritte 1 und 2 durch. Die Befestigungsknöpfe abdrehen und
zusammengeklappt werden.
2. Prüfen Sie, ob die Schrauben, Knöpfe und Drehknöpfe der Räder und der beweglichen
richtig gesichert sind.
WARTUNG
Räder zugeschraubt sind. Prüfen Sie, ob die Bremse richtig funktioniert und dass die Griffe
die Vorderräder zusammenklappen.
1. Vergewissern Sie sich, dass ALLE Ausstattungsteile immer richtig zugedreht sind.
3. Um den Rollator in eine Reisetasche einzustecken, senken Sie die Griffe in die minimale

ANTAR Sp. J.
Adresse: ul. Zawiślańska 43
03-068 Warszawa,
TEL: +48 22 518 36 00
FAX: +48 22 518 36 30
E-mail: antar@antar.net
www.antar.net
Seriennummer:.........................................................................................................................
Kaufdatum:...............................................................................................................................
Garantieschein
Modell:......................................................................................................................................
und leserliche Unterschrift des Verkäufers:..............................................................................
Stempel der Verkaufsstelle
4. Falls Sie feststellen, dass das Produkt nicht ordnungsgemäß funktioniert, sollten Sie es unverzüglich an
die Adresse der Firme ANTAR (in Pkt. 1 angegeben) einsenden bzw. Ihre Verkaufsstelle kontaktieren.
3. ANTAR behält sich das Recht vor, das Produkt auszutauschen, falls angenommen werden muss, dass
eine Reparatur unrentabel wäre.
7. DIESES GARANTIEDOKUMENT IST NUR GÜLTIG IN VERBINDUNG MIT EINEM KAUFNACHWEIS
(KASSENBON ODER RECHNUNG), BITTE FÜGEN SIE BEI REKLAMATION DEN KAUFNACHWEIS
BEI. ZUR ANERKENNUNG DER VERLÄNGERTEN GARANTIEFRIST FÜR PRODUKTE, DEREN KAUF
VON DER KRANKENKASSE NFZ ERSTATTET WURDE, IST ES NOTWENDIG, EINE KOPIE DES
"AUFTRAGS FÜR DIE AUSSTATTUNG MIT MEDIZINPRODUKTEN, DIE ORTHOPÄDISCHE
GEGENSTÄNDE UND HILFSMITTEL SIND BEIZUFÜGEN."
8. Reklamationen ohne Kaufnachweis können nicht berücksichtigt werden.
2. Während der Garantiefrist verpflichtet sich ANTAR, die notwendigen Reparaturen auszuführen, um das
Produkt wieder funktionstüchtig zu machen, innerhalb von 14 Tagen ab Eingang des reklamierten
Produkts.
1. ANTAR Sp. J., 03-068 Warszawa, ul.Zawiślańska 43, gewährt hiermit auf das Produkt eine 12monatige
Garantie ab dem Tag der Übergabe des Produkts an den Käufer. Für Produkte, die von der polnischen
staatlichen Krankenkasse NFZ erstattet werden, gilt eine verlängerte Garantiefrist, die der Hälfte der
Nutzungsdauer entspricht, die in der Verordnung zu den garantierten Leistungen festgelegt ist, unter der
Bedingung, dass die Nutzungsdauer in der Verordnung in Monaten bzw. in Jahren festgelegt wurde.
6. Der Garantie unterliegen keine Beschädigungen infolge von Durchbohren bzw. Durchschneiden mit
einem scharfen Gegenstand, Beschädigung infolge mechanischer Kräfte von außen, infolge einer das in
der Bedienungsanleitung angegebene maximale Körpergewicht des Benutzers überschreitenden
Belastung, Kontakt mit fettigen bzw. öligen Substanzen, Benzin.
5. Vor lngebrauchnahme sollten Sie die Bedienungsanweisung lesen und sie genauestens einhalten.
Zweckentfremdete Benutzung des Produkts hat den Verlust der Garantie zur Folge.

As a manufacturer, we can only consider ourselves responsible for the safety, reliability and
usability of the rollator if any changes, extensions, repairs and maintenance work are only
carried out by those persons who have been authorized by us and the rollator is used in
compliance with all instructions for use.
Durability
The expected service life of the rollator is up to a maximum of 5 years if used as intended and if
the safety, care and maintenance instructions are observed. The rollator can continue to be
used beyond this period, provided it is in good working order.
źcognitive disorders
źincapacity to sit
As the manufacturer of the product, Medical Medizin- und Rehabilitation products GmbH
declares that the Aluminum Premium Rollator meets the requirements of the European
Directive 93/42/EEC.
źsevere balance disorders
źlack of possibility to use the arms
Responsibility
EC declaration of conformity
Introductory information
General
The instruction manual given to you is intended to help you to improve the operation and
handling of the rollator. This is a festive and important component for the use of the rollator.
Keep the instructions to hand and give them over when passing on the rollator. Please read the
Instruction manual carefully before you use the Rollator for the first time.
Characteristics
The aluminum rollator was designed for indoor and outdoor use. It is meant as a walking aid
with only one seat (1 person). Carriage of more than one person is not allowed. Unless
otherwise noted, the operating instructions are aimed at the patient rather than the user of the
Walker.
Contraindications
The use of the rollator is unsuitable for:
Thank you for your decision to use our Aluminum premium Rollator. The quality will not
disappoint you. Please read the Instruction manual carefully before you use the Rollator for the
first time. The Instruction includes important safety devices and
Value tips for the correct authorization and care of the rollator. If you have any questions or
need information, please contact the specialist dealer who delivered you the Aluminum
Premium Rollator. He will be happy to advise you. The operating instructions can also be
viewed electronically and, in a more regular form, can also be used by people with poor
eyesight.

Symbole
Important! Designates particularly safety-relevant notes. Failure to
follow notices may result in personal injury or damage to the rollator.!
Important! Designates very useful information.
Observe the instructions for use
CE-Marking
CLASSIC Pocket Rollator Overview
4. Front wheels (Controllable)
6. Rear
5. Adjustment screw brake
8. Bracket of rear wheels
10. Height adjustment of the handles
7. Tilting aids (Left and Right)
9. Seat
11. Brakelever
12. Sliding handle
2. Bag
3. Bracket of the front wheels
1. Backrest 1
2
12
11
10
8
5
7
6
3
4
9

The adjustment of brakes should be carried out by trained professionals.
However, if you have sufficient experience, you can do this work yourself.
Keep in mind, however, that improperly adjusted brakes can have life-
threatening consequences.!
Brakes
Strengthen/reduce braking effect
4. Fine adjustment:
2. Bowden pull retightening or loosening by pulling out
or pushing it out (Fig. 5 arrow 2).
Retract protective cap (Fig.6, arrow 1) until the
tighten it.
1. Loosen the Inbus screw.
adjustment screw can be rotated (Fig.6 arrow 2).
Turn the adjustment screw clockwise: increase
3. Retighten the Inbus screw.
braking effect. Push the protective cap back and
Perform these steps on the other brake as well. The
brakes must be adjusted in such a way that they do not
cause resistance during movement, but allow easy
progress. Tightened brakes make it impossible to use
the rollator.
Fig. 5
Fig.6

When installing the rollator, you can be assisted by your specialist dealer. If you have manual
skills, you can carry out the assembly on your own.
Setting up the Classic Pocket
When installing the rollator, you should consider the risk of clamping!
You can adjust the height of the handles to your height. You don't need a tool to do this.
Handle height
Below each handle you will find a red toggle switch
(Fig. 3). Press and hold the toggle switch. Now you
can pull up or push the handle down. Release the
button. Now drag or press again until you hear and
notice that the handle snaps into place and can no
longer be adjusted. Repeat on the other side to set
both handles to the same height.
Fig. 3
Fig. 4
The rollator comes with mounted bag. The bag can
be easily removed or hung over the guide rails
(Fig. 4).
Bag

Especially when folding and unfolding the rollator as well as when preparing
for transport, the risk of clamping must be taken into account!
Using the Classic Pocket
Folding and unfolding the rollator
The rollator can be stored in a folded state in a space-saving manner. To use it again, press
down the seat on the outside (Fig.7). There is a lock on the underside of the rollator to secure it
against accidental folding. If you hear a clear slip-in when folding, the locking is properly locked.
To fold, pull up the seat on the handle (Fig. 8).
Fig. 8Fig. 7
Fig. 9
In order to facilitate the transport of the rollator
and to save space during its storage, front
wheels can be turned over and the rear wheels
holder can be removed (Fig9).
Transport and storage

Front wheels
To release the locking of the front wheels, the red
button must be pressed (Fig. 10). Then the front
wheels should be pulled forward and rotated 180°
upwards. In order to be able to use the rollator again,
the front wheels must be pulled forward and turned
downwards. Locking means that the wheels are in the
correct position, then the seat can be adjusted
accordingly.
Back wheels
The lever should then be folded (Fig. 11). In the Final
step, the button is pressed and the rear wheels are
pulled down. It should be noted that the back wheels
are firmly connected to the roller conveyor via the
brake line. To remove them, the rear wheel
mechanism must be pushed back into the frame.
Locking in means that the wheels are in the correct
position, then the lever can be pushed back. Make
sure the back wheels are properly fastened and that
the brake is working properly.
Fig. 10
Fig. 11
When using the rollator, it should be remembered not to stand too far from the
handles. Only in this way can a safe use of the walker and case safety be
guaranteed. The bent posture is to be avoided.!
Walking with the rollator
First, test the use of the rollator on flat, dry ground. If possible, let yourself be accompanied.
Practice with the rollator first, only when you feel safer can the walking aid be used on sloping
surfaces.
The tempo and the direction of travel is chosen independently by pushing the rollator in Front of
you. To reduce the running speed, the brakes should be used. When braking, both brakes must
always be applied, otherwise the rollator with the unbraked wheel can turn around the braked
wheel and cause the user to fall.
Always try to bypass obstacles on your way. At steps you are looking for a ramp, at stairs you take
the elevator. If this is not possible, the rollator must be carried over the obstacle. If possible, seek
the help of a second person.

Tilting aids
Please make sure that you are in a stable position.
I Your rollator is equipped with two tilting aids (Fig. 12)
to help you overcome curbs. By stepping your foot on
the tilting aid and at the same time attracting the
rollator to you on the handles, lift the front wheels. You
can overcome curbs and other minor obstacles in this
way.
Fig. 12
Brakes and parking brakes
The braking effect depends on how you actuate the
parking brake. Press down the brake levers until they
are locked in with a clearly audible click (Fig. 14). To
release the parking brake, pull the brake levers back
up (Fig. 15).
I Your rollator is equipped with a manually operated
service brake and a parking brake against
unintentional rolling away.
To bring the rollator to a standstill easily and safely,
pull both brake levers upwards at the same time
(Fig. 13).
Fig. 13
Fig. 14
Fig. 15
The rollator as a seat
Your rollator is equipped with a seat and a backrest.
Before you sit down, it is important to put on the parking
brake. The rollator might otherwise roll away, and you
could fall. Do not use an extra seat cushion, it could slip
away and cause your fall.

Safety devices
Carrying the rollator
If you want to carry the rollator, e.B over a curb, fold it together. Wear the rollator on handles or on
the frame. The risk of clamping is to be considered.
Cleaning
Before each use, the rollator must be inspected for damage and the brakes must be checked for
their proper functioning. The rollator is not suitable for use on an escalator (danger of falling!).
The rollator is made of non-combustible materials. The maximum user weight is 136 kg, the
maximum payload of the carrying bag is 5 kg. The rollator must not be used to transport loads.
The carrying bag is not designed for
Do not use a high-pressure or steam cleaner! After cleaning, the rollator should be dried with a
towel or left to dry.
The frame parts can be wiped with a damp cloth. For heavy dirt, you can use a mild detergent.
The wheels can be cleaned with a damp brush with plastic bristles (do not use a wire brush!) The
backrest, seat and transport bag can be washed off with a mild soapy liquor.
transport of animals. The rollator can be folded in a space-saving manner. Please note that there
is a risk of clamping when folding and folding. To fold or unfold the rollator, do not pull on the
attachments (brake, wheels, bag, etc.) but always on the frame of the rollator. Please note that if
the seat and the backrest are exposed to direct sunlight, they can heat up and cause the burning
of the user's skin. Therefore, the seat and backrest or the entire rollator should be covered to
protect them from the effects of the sun's rays.
The rollator can be disinfected with a household disinfectant. Use approved spray disinfectants
or wipe disinfectants on an alcoholic basis. The Robert Koch list of approved disinfectants can
be found on http://www.rki.de.
After disinfection, the rollator should be left to dry in fresh air, taking into account the duration of
action of the disinfectants specified by the producers.
Desinfektion
Technical data
Dimensions and weights
Seat width
Seat height
Overall width
Total height / height sliding terms (6-fold adjustable)
Kerb weight (without accessories)
Maximum load
Maximum load on the bag
Folding dimensions
450 mm
540 mm
653 mm
810-936 mm
7,85 kg
136 kg
5 kg
706 x 250 x 810 mm
(LxBxH)
Wheels (puncture proof)
Steering front wheels (front)
Brake wheels, rigid (rear)
Turning radius
Frame
Seat
Backrest
Wheels
250x35 mm
250x35 mm
1770 mm
Aluminium (pulverbeschichtet)
Nylon, black
Nylon, black
Polyurethane
Materials

karta gwarancyjna
ANTAR Sp. J.
ul. Zawiślańska 43
03-068 Warszawa,
TEL: +48 22 518 36 00
FAX: +48 22 518 36 30
E-mail: antar@antar.net
www.antar.net


This manual suits for next models
1
Table of contents
Languages:
Other Antar Mobility Aid manuals

Antar
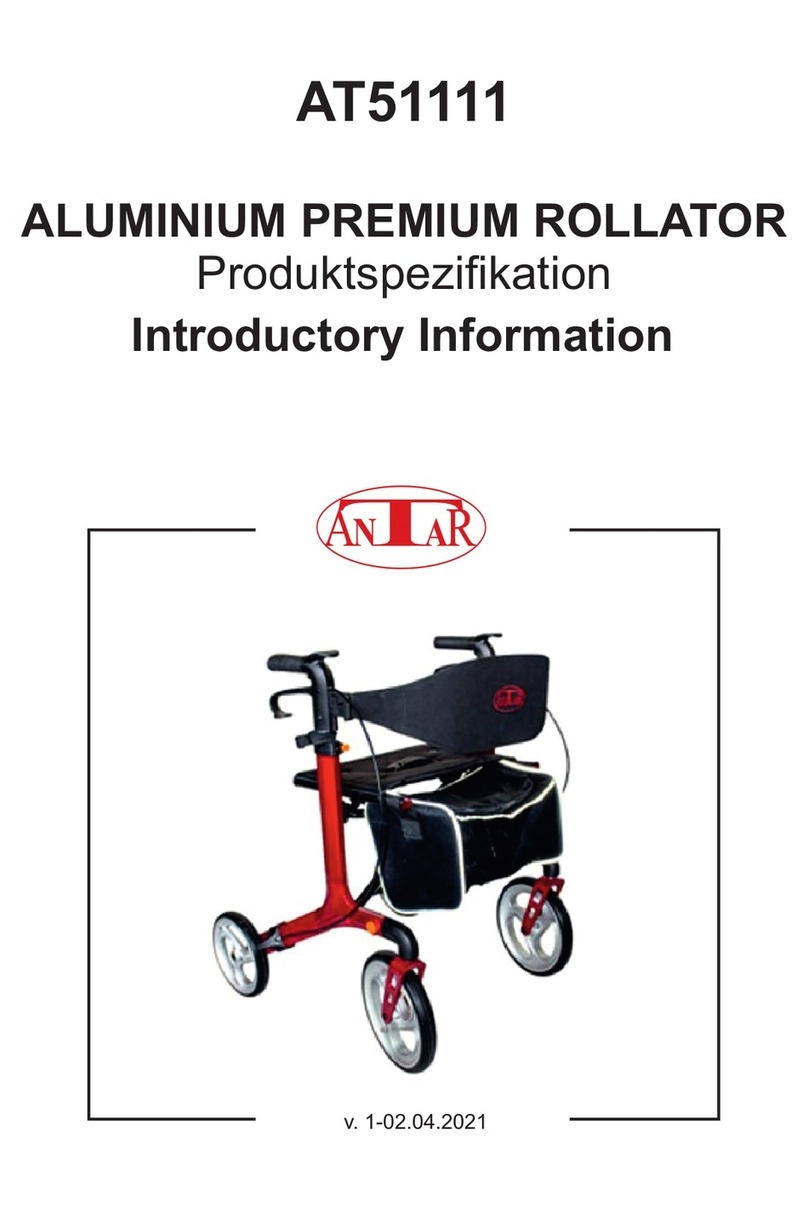
Antar AT51111 User manual

Antar
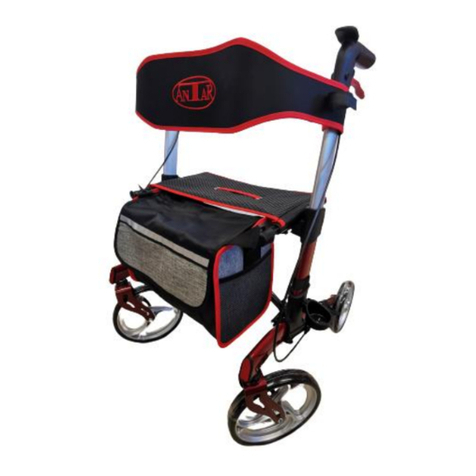
Antar AT51112R User manual

Antar
Antar AT51113 User manual

Antar
Antar AT02020 User manual

Antar
Antar AT51038 User manual

Antar
Antar AT51126 User manual

Antar
Antar AT51003 User manual

Antar
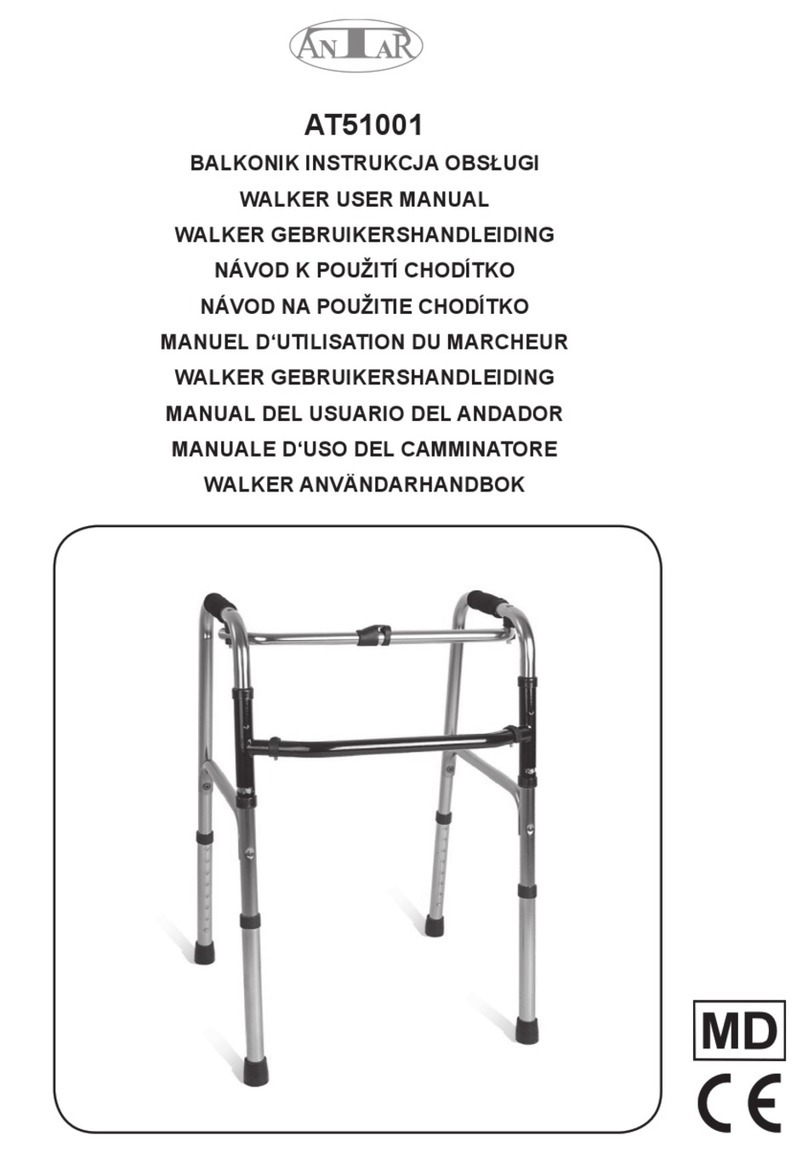
Antar AT51001 User manual

Antar
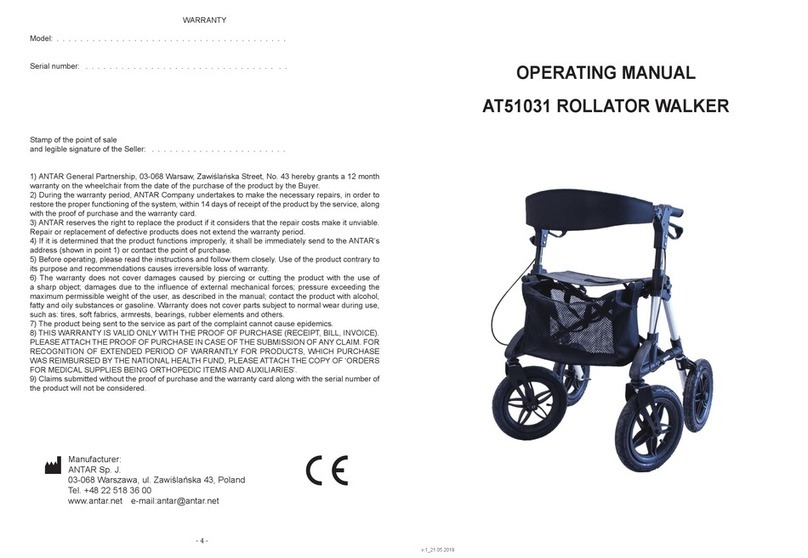
Antar AT51031 User manual

Antar
Antar AT51002 User manual
Popular Mobility Aid manuals by other brands

Rebotec
Rebotec 133 Series user manual

Invacare
Invacare P402 Aventia user manual

Decon wheel
Decon wheel Action 5 Assembly instructions

CareCo
CareCo BD06018 manual

Heartway Medical Products
Heartway Medical Products QUEST user manual

Harbor Freight Tools
Harbor Freight Tools 62547 Owner's manual & safety instructions