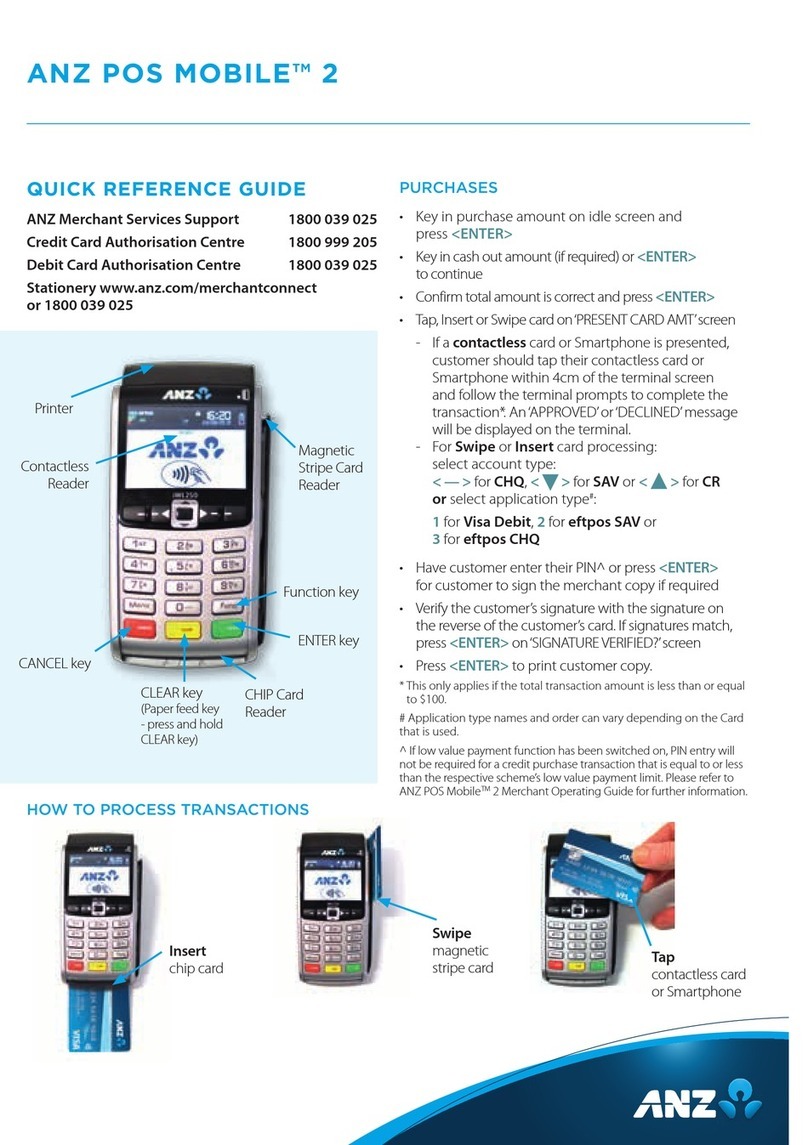
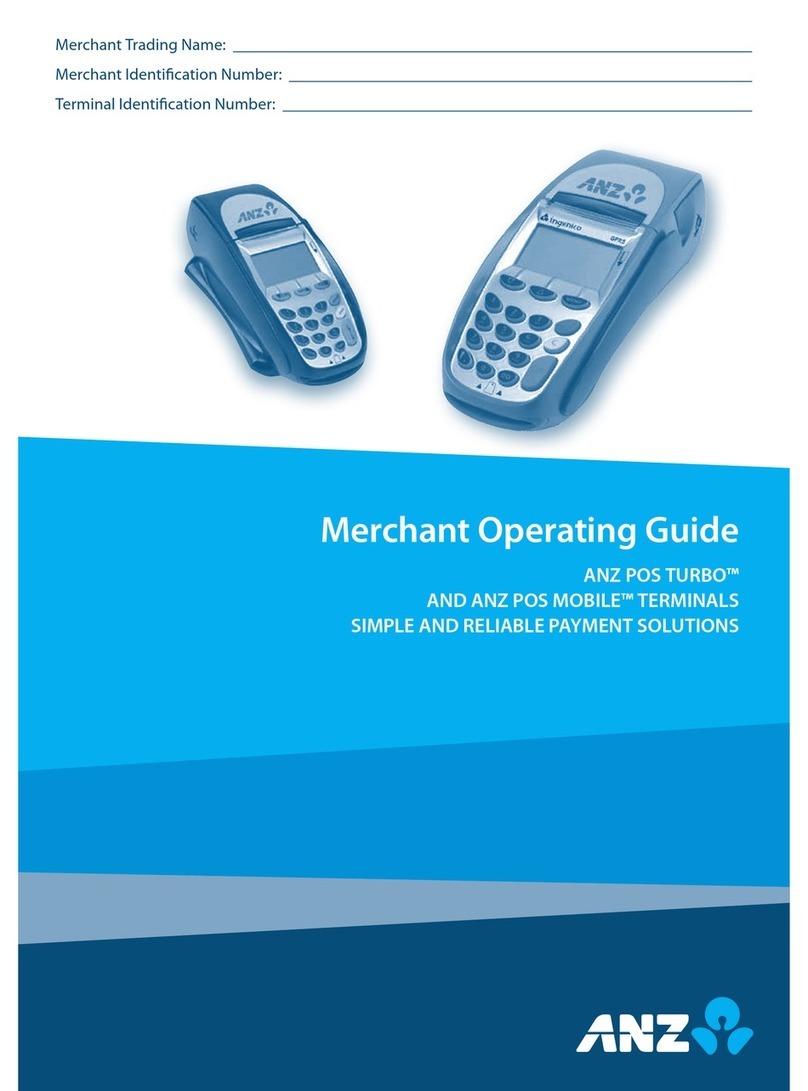
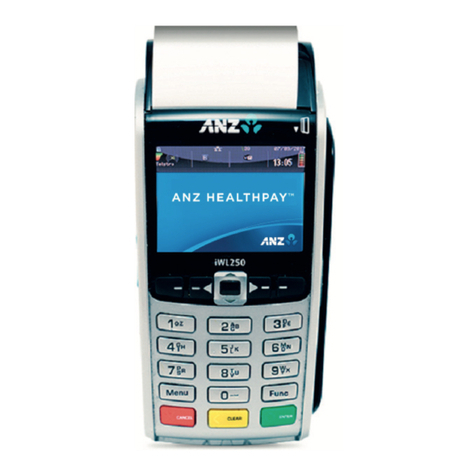
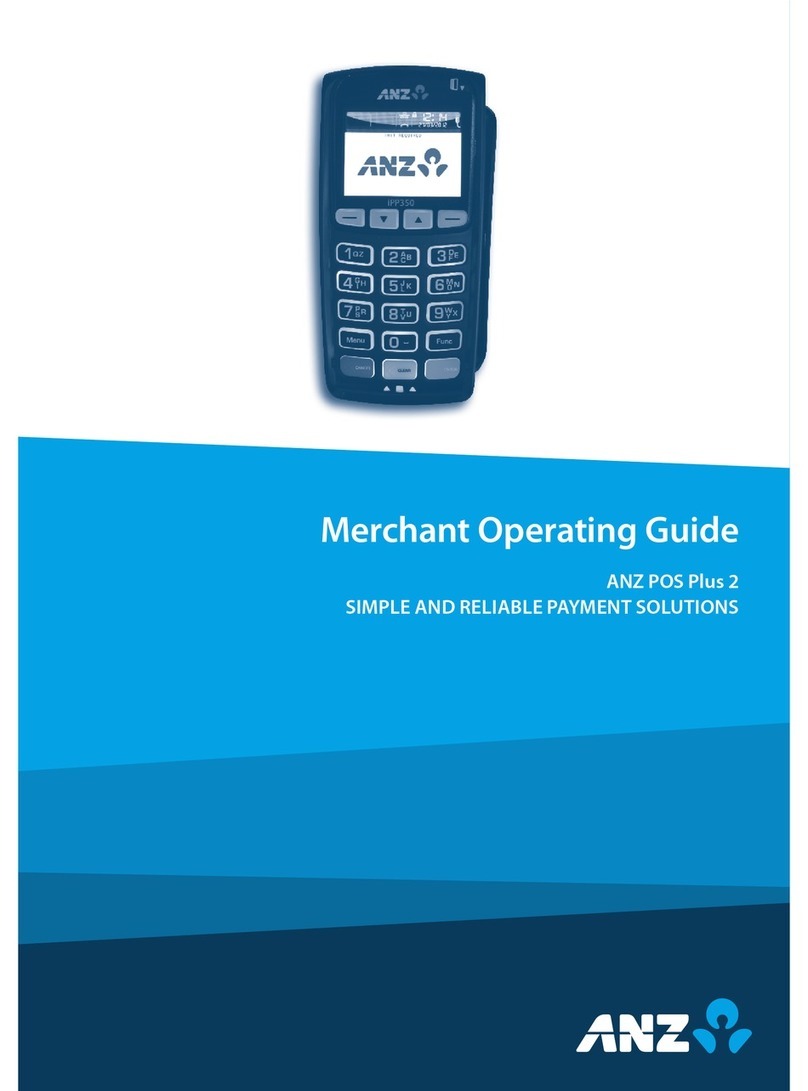
ANZ Medicare Easyclaim User manual

1– 1
Medicare Easyclaim
Merchant Operating Guide
ANZ POS TURBO™
MEDICARE EASYCLAIM MERCHANT SUPPORT: 1300 633 269
Merchant Trading Name:
Merchant Identication Number:
Terminal Identication Number:
179896_Medicare_Merch_op_Guide_74719.indd 1 6/08/10 5:11 PM

Contents
1. Welcome 4
1.1 Merchant Agreement 4
1.2 Important Contact Details 4
1.3 Important Contact Details for Claimants 4
2. Claim Types 5
2.1 Patient Claims 5
2.2 Bulk Bill Claims 6
2.3 Medical Practitioner 6
3. General Information 7
3.1 Patients and Claimants 7
3.2 Bank Accounts 7
3.3 Optional Fields 7
3.4 Medicare Easyclaim Reference Guide 7
3.5 Express Claims 7
3.6 Receipts 8
3.7 Ineligible Claims 8
3.8 Terminal-Timeout 8
3.9 System Unavailability 9
4. Setting up the Terminal 10
4.1 Adding Terminal Operator IDs 10
4.2 Modifying Terminal Operator IDs 11
4.3 Removing Terminal Operator IDs 12
4.4 Printing an Operator List 12
5. Medicare Admin Functions 13
5.1 Adding Practitioners 13
5.2 Removing Practitioners 14
5.3 Creating MBS Lists 15
5.4 Printing Duplicate Medicare Receipts 16
6. Processing Medicare Claim Transactions - General Practitioners 18
6.1 Paid Patient Claims 18
6.2 Partially paid patient Claims 22
6.3 Unpaid Patient Claims 23
6.4 Bulk Bill Claims 25
179896_Medicare_Merch_op_Guide_74719.indd 2 6/08/10 5:11 PM

7. Processing Medicare Claim Transactions - Specialists 28
7.1 Paid Patient Claims 28
7.2 Partially Paid Patient Claims 32
7.3 Unpaid Patient Claims 34
7.4 Bulk Bill Claims 36
8. Processing Medicare Claim Transactions – Diagnostic Services 39
8.1 Paid Patient Claims 39
8.2 Partially Paid Patient Claims 43
8.3 Unpaid Patient Claims 45
8.4 Bulk Bill Claims 47
9. Processing Medicare Claim Transactions –Pathology Services 51
9.1 Bulk Bill Claims 51
10. Medicare Receipts 54
179896_Medicare_Merch_op_Guide_74719.indd 3 6/08/10 5:11 PM

1. Welcome
We are excited to provide you with Medicare Easyclaim – a service that allows medical
practitioners to process Medicare claims electronically using the EFTPOS network.
This service can benet general practitioners, specialists, diagnostic and pathology clinics
through a reduction in the time and eort spent on completing Medicare claim forms and
through payments usually being made within 24 hours, straight into your nominated bank
account.
Your patients can also benet from this service. Using Medicare Easyclaim they can now
have their Medicare rebate deposited directly into their bank account.
This Merchant Operating Guide provides you with clear and easy-to-follow instructions on
how to process Medicare claims through your ANZ EFTPOS Terminal, including Fully Paid
Patient claims, Unpaid Patient claims, Partially Paid Patient claims and Bulk Bill claims.
This Medicare Easyclaim Merchant Operating Guide should be used in conjunction with
your existing ANZ POS Turbo Merchant Operating Guide. A Medicare Easyclaim online
training guide is also available at anz.com/merchantconnect
Please take time to read this manual thoroughly and ensure that your sta read it too.
1.1 Merchant Agreement
Your ANZ Merchant Agreement contains valuable information and important
requirements relating to operating procedures. Instructions in this Merchant Operating
Guide form part of the ANZ Merchant Agreement and may be varied or replaced by ANZ at
any time.
1.2 Important Contact Details for Practitioners
ANZ’s Medicare Easyclaim Merchant Support 1300 633 269**
(24 hours, 7 days a week)
~ For instructions on how to process Medicare Easyclaim transactions.
~ To report technical problems with the Medicare Easyclaim service
ANZ Merchant Services 1800 039 025 **
(24 hours, 7 days a week)
~ To report terminal faults
Medicare Australia Provider Line 132 150*
(24 hours, 7 days a week)
~ For medical practitioner claiming enquiries
~ For other Medicare Australia system enquiries
1.3 Important Contact Details for Claimants
Medicare Australia Consumer Line 132 011*
(24 hours, 7days a week)
~ For patient or claimant enquiries regarding claim assessment
~ For other general Medicare Australia enquiries.
179896_Medicare_Merch_op_Guide_74719.indd 4 6/08/10 5:11 PM

4– 5
If a claimant has not received their Medicare rebate processed via Medicare Easyclaim,
they should contact the nancial institution that issued the EFTPOS card used in the
transaction.
NOTE: * Call charges apply. 24 hour service.
** Call charges may apply from mobile phones or payphones only.
2. Claim Types
2.1 Patient Claims
There are three types of patient claim:
• Paid;
• Partially Paid; and
• Unpaid
Any Medicare benet payable in respect of a patient claim is payable to the claimant, who
may or may not be the patient.
2.1.1 Paid Patient Claim
A Paid Patient claim is in respect of an account of the medical practitioner that the
claimant has fully paid.
For this patient claim type, where Medicare Australia assesses that a Medicare rebate is
payable, the Medicare rebate will be paid to the claimant.
To process a Paid Patient claim, please refer to:
• Section 6.1 for General Practitioners
• Section 7.1 for Specialists, Allied Health and Dental providers
• Section 8.1 for Diagnostic Services
2.1.2 Partially Paid Patient Claim
A Partially Paid Patient claim exists when a portion of an account of the medical
practitioner has been paid.
Where Medicare Australia assesses that a rebate is payable, Medicare Australia will issue a
statement and a Pay Doctor via Claimant (PDVC) cheque, which is mailed to the claimant’s
address that is recorded with Medicare Australia. Where no benet is assessed as payable,
only a statement will be forwarded to the claimant’s address that is recorded with
Medicare Australia.
The claimant is then responsible for forwarding the cheque, with any outstanding amount,
to the medical practitioner.
To process a Partially Paid Patient claim, please refer to:
• Section 6.2 for General Practitioners
• Section 7.2 for Specialists, Allied Health and Dental providers
• Section 8.2 for Diagnostic Services
179896_Medicare_Merch_op_Guide_74719.indd 5 6/08/10 5:11 PM

2.1.3 Unpaid Patient Claim
An Unpaid Patient claim exists when a claimant has not paid a medical practitioner’s
account.
Where Medicare Australia assesses that a rebate is payable, Medicare Australia will issue a
statement and a Pay Doctor via Claimant (PDVC) cheque, which is mailed to the claimant’s
Medicare address that is recorded with Medicare Australia. Where no benet is assessed as
payable, only a statement will be forwarded to the claimant’s address that is recorded with
Medicare Australia.
The claimant is then responsible for forwarding the cheque, with any outstanding amount,
to the medical practitioner.
To process an Unpaid Patient claim, please refer to:
• Section 6.3 for General Practitioners
• Section 7.3 for Specialists, Allied Health and Dental providers
• Section 8.3 for Diagnostic Services
2.2 Bulk Bill Claims
A Bulk Bill Claim is a claim made by a medical practitioner who undertakes to accept the
relevant Medicare rebate(s) as full payment for the service(s) provided by that medical
practitioner to the patient and where the right to that Medicare rebate(s) has been
assigned to the medical practitioner by the patient.
It is the medical practitioner’s discretion whether to bulk bill a Patient or not.
To process a Bulk Bill Claim, please refer to:
• Section 6.4 for General Practitioners
• Section 7.4 for Specialists, Allied Health and Dental providers
• Section 8.4 for Diagnostic Services
• Section 9.1 for Pathology Services
2.3 Medical Practitioner
For all patient claim types, the medical practitioner can be a General Practitioner,
Specialist, Allied Health Provider, Dentist, Radiologist or any other practitioner who
provides a medical service, which is covered by the Medicare Benets Schedule.
For all Bulk Bill claims, the medical practitioner can be a General Practitioner, Specialist,
Allied Health Provider, Dentist, Pathologist, Radiologist or any other practitioner who
provides a medical service, which is covered by the Medicare
Benets Schedule.
179896_Medicare_Merch_op_Guide_74719.indd 6 6/08/10 5:11 PM

6– 7
3. General Information
3.1 Patients and Claimants
Medicare Easyclaim makes references to both patients and claimants. The patient is the
recipient of a medical service. The claimant is the person receiving the Medicare rebate
relating to the service provided.
The patient and claimant may be the same person or dierent people e.g. a child receiving
the service is the patient and the child’s parent or guardian may be the claimant. Multiple
patients can be listed on a single Medicare card, but each patient claim must be processed
individually.
3.2 Bank Accounts
Medicare rebates can only be paid into a cheque or savings account, not into a credit card
account. However credit cards can be used to pay for the service provided in accordance
with your usual business processes.
3.3 Optional Fields
In certain circumstances, you may be asked to enter additional information to allow
Medicare Australia to assess the service and process the claim. Omission of this
information may result in either a rejection or Medicare Australia contacting you for
clarication.
Examples of optional elds include, Item Override Code, Equipment Identication Number,
Self Deemed Code, Account Reference Number and Location Specic Practice Number
(LSPN).
Please refer to your Medicare Easyclaim Reference Guide to view denitions of the above
optional elds. The Medicare Easyclaim Reference Guide is included in the Medicare
Easyclaim Starter Kit and is available directly from Medicare Australia.
3.4 Medicare Easyclaim Reference Guide
For more information about Medicare Easyclaim, including services that are not supported
by Medicare Easyclaim, please refer to the Medicare Easyclaim Reference Guide, or visit
www.medicareaustralia.gov.au and click on the link for Health Professionals.
3.5 Express Claims
The Medicare Easyclaim application has an Express Claim option for Paid Patient claims and
Bulk Bill claims.
Depending on the type of medical practitioner processing the claim, the following steps
may not be presented:
• Payee Provider
• Item Override Code
• Location Specic Practice Number
• Equipment ID
179896_Medicare_Merch_op_Guide_74719.indd 7 6/08/10 5:11 PM

3.6 Receipts
The terminal will produce a Medicare receipt for each claim (including cancelled claims),
please hand this receipt to the claimant. For cancelled claims, also provide a medical
account receipt to enable the claimant to make a claim through an alternative channel.
For Bulk Bill claims, a two-part receipt will be printed. Please hand the completed receipt
to the patient.
The terminal can print a duplicate of the EFTPOS receipt from the last transaction. This
would be used in circumstances where the terminal runs out of paper mid-receipt. If the
medical practice requires copies of all Medicare receipts refer to Section 5.4 to enable
duplicate receipt printing.
Sample receipts are contained in Section 10 of this guide.
3.7 Ineligible Claims and Error Codes
Where a claim is lodged for a patient who is not eligible for Medicare benets or service,
Medicare Australia will reject the claim and a brief message, including an error code, will
be displayed on the terminal indicating that the Patient is not eligible. Please refer to the
Medicare Easyclaim Reference Guide for error code denitions.
A receipt is printed showing the 4 digit error code e.g. 9611.
3.8 Terminal Time-out
There are a number of scenarios where the Medicare Easyclaim application can time-out.
Scenario 1 - Patient Claim
If the Medicare Easyclaim operator pauses for more than approximately 30 seconds during
the entry of patient claim details at any point prior to Medicare Australia approval, the
terminal will time-out.
When a time-out occurs in this scenario, the terminal will return to the ANZ Idle screen and
the claim details will need to be entered again.
Scenario 2 - Patient Claim
If there is a delay of approximately 30 seconds between the claimant swiping their EFTPOS
card and entering their PIN, a time-out will occur.
When a time-out occurs in this scenario, a message will prompt the claimant to retry their
PIN entry. If the claimant does not enter a PIN, the transaction will be cancelled and a
‘Cancelled by Practitioner Receipt’ will be produced.
Scenario 3 - Bulk Bill
If the Medicare Easyclaim operator pauses for more than approximately 30 seconds during
the entry of patient claim details at any point prior to the Assign benets screen, the
terminal will time-out.
When a time-out occurs in this scenario, the terminal will return to the ANZ Idle screen and
the claim details will need to be entered again.
179896_Medicare_Merch_op_Guide_74719.indd 8 6/08/10 5:11 PM

8– 9
Scenario 4 - Bulk Bill
If there is no response within approximately 30 seconds to the prompt on the Assign
benets screen, the terminal will time-out.
When a time-out occurs in this scenario, the transaction will be cancelled and a ‘Cancelled
by Practitioner Receipt’ will be produced.
3.9 System Unavailability
Should the Medicare network become unavailable for a period of time, the terminal will
display a message when you attempt to next process a claim.
In this event, you may advise the claimant to lodge their claim through an alternative
channel.
179896_Medicare_Merch_op_Guide_74719.indd 9 6/08/10 5:11 PM

4. Setting up the Terminal
4.1 Adding Terminal Operator IDs.
A user ID is required to process Medicare transactions. The user ID is part of the Security
mode features of the ANZ EFTPOS terminal. Security mode is used to prevent unauthorised
use of the terminal when it is left unattended.
01/01/2010 12:08
From the ANZ start screen, keep pressing ENTER
until the ‘SERVICES’ screen is displayed.
SERVICES
XTRA
Select XTRA from the menu by pressing the CHQ
soft-function key.
SERVICES
1 MEDICARE EASYCLAIM
9 ADMIN
From the SERVICES menu, press the FUNC
button.
SERVICES
1 END SESSION
2 BARCODE PRINTING
3 TERMINAL UPDATES
4 MERCHANT SETTINGS
Press 4 to select MERCHANT SETTINGS.
SYSTEM ADMIN
Master User Id?
Enter Master User Id (default Id is 467263) then
press ENTER.
MERCHANT SETTINGS
1 OPERATOR ADMIN
2 SECURITY MODE
3 TIMERS
4 REVERSAL
Press 1 to select OPERATOR ADMIN.
OPERATOR ADMIN
1 ADD OPERATOR
2 MODIFY OPERATOR
3 REMOVE OPERATOR
4 OPERATOR LIST
Press 1 to select ADD OPERATOR.
SWIPE OR
INSERT
CARD
179896_Medicare_Merch_op_Guide_74719.indd 10 6/08/10 5:11 PM

10– 11
ADD NEW OPERATOR
OPERATOR NAME Enter Operator Name then press ENTER.
ADD NEW OPERATOR
USER ID? Enter Operator ID then press ENTER.
ADD NEW OPERATOR
USER ID?
RECORD ADDED…
The new Operator is added to the terminal.
ADD NEW OPERATOR
OPERATOR NAME
If another operator is to be added please repeat
the previous 3 steps. If there are no more
operators to be added, press CANCEL to return
to the OPERATOR ADMIN screen.
4.2 Modifying Terminal Operator IDs.
Repeat the steps in section 4.1 until you reach the OPERATOR ADMIN menu.
OPERATOR ADMIN
1 ADD OPERATOR
2 MODIFY OPERATOR
3 REMOVE OPERATOR
4 OPERATOR LIST
Press 2 to select MODIFY OPERATOR.
MODIFY OPERATOR
OPERATOR NAME
OPERATOR1
PREV NEXT
Select PREV or NEXT from the menu by
pressing the CHQ or CR soft-function keys
until you locate the operator you wish to
change and then press ENTER.
MODIFY OPERATOR
USER ID? (NEW) Enter New User ID then press ENTER.
MODIFY OPERATOR
USER ID? (CONFIRM) Enter New User ID then press ENTER.
179896_Medicare_Merch_op_Guide_74719.indd 11 6/08/10 5:11 PM

UPDATING RECORD…
MODIFY OPERATOR
OPERATOR NAME
To modify another operator please repeat
the above steps. If there are no more
operators to modify, press CANCEL to return
to the OPERATOR ADMIN screen.
4.3 Removing Terminal Operator IDs.
Repeat the steps in section 4.1 until you reach the OPERATOR ADMIN menu.
OPERATOR ADMIN
1 ADD OPERATOR
2 MODIFY OPERATOR
3 REMOVE OPERATOR
4 OPERATOR LIST
Press 2 to select REMOVE OPERATOR.
REMOVE OPERATOR
OPERATOR NAME
OPERATOR1
PREV NEXT
Select PREV or NEXT from the menu by
pressing the CHQ or CR soft-function keys
until you locate the operator you wish to
delete and then press ENTER.
REMOVE OPERATOR
OPERATOR NAME
PREV NEXT
The selected operator has been deleted.
Press CANCEL to return to the OPERATOR
ADMIN screen.
4.4 Printing an Operator List.
Repeat the steps in section 4.1 until you reach the OPERATOR ADMIN menu:
OPERATOR ADMIN
1 ADD OPERATOR
2 MODIFY OPERATOR
3 REMOVE OPERATOR
4 OPERATOR LIST
Press 4 to select OPERATOR LIST. The terminal
will print an Operator List. Press CANCEL to
return to ANZ idle screen.
179896_Medicare_Merch_op_Guide_74719.indd 12 6/08/10 5:11 PM

12– 13
5. Medicare Admin Functions
5.1 Adding Practitioners.
Practitioners (referred to as a ‘Provider’ by the terminal) can be stored in the terminal to
process a Medicare transaction for a service they have provided.
The practitioner is stored in the terminal using their Medicare provider number and their
name (maximum of 16 characters).
Please note that practitioners will be displayed on the terminal in the order of creation.
01/01/2010 12:08
SWIPE OR
INSERT
CARD
From the ANZ idle screen, keep pressing
ENTER until the ‘SERVICES’ screen is displayed.
SERVICES
XTRA
Select XTRA from the menu by pressing the
CHQ soft-function key.
SERVICES
1 MEDICARE EASYCLAIM
9 ADMIN Press 1 to select MEDICARE EASYCLAIM.
MEDICARE EASYCLAIM
1 PATIENT CLAIM
2 BULK BILL CLAIM
3 PATIENT EXPRESS
4▼BULK BILL EXPRESS
Press the CHQ soft-function key to view the
next screen in this menu.
MEDICARE EASYCLAIM
5 MEDICARE SETUP Press 5 to select MEDICARE SETUP.
MEDICARE SETUP
1 SETUP SERVICES
2 PROVIDER SETUP
3 MBS ITEM SETUP
4 LSPN SETUP
Press 2 to select PROVIDER SETUP.
179896_Medicare_Merch_op_Guide_74719.indd 13 6/08/10 5:11 PM

PROVIDER SETUP
1 ADD PROVIDER/S
2 DELETE PROVIDER/S
3 PRINT LIST
Press 1 to select ADD PROVIDER.
PROVIDER NUMBER 1 Enter Provider Number e.g. 2151231W then
press ENTER.
SHORT NAME
Enter Provider short name e.g. DR DAN
(maximum of 16 characters), then press
ENTER.
PAYEE PROVIDER
1 YES
2 NO
If the practitioner is a Payee Provider press 1
YES, otherwise press 2.
PROVIDER NUMBER 2
To enter another practitioner, enter Provider
Number then press ENTER. If there are no
more practitioners to enter, the terminal will
print a Service Provider List then return to the
ANZ idle screen.
5.2 Removing Practitioners.
To remove a practitioner, follow the steps in section 5.1 until you reach the PROVIDER
SETUP menu.
PROVIDER SETUP
1 ADD PROVIDER/S
2 DELETE PROVIDER/S
3 PRINT LIST
Press 2 to select DELETE PROVIDER.
PROVIDER NUMBER 1 Enter Provider Number e.g. 2151231W then
press ENTER.
PROVIDER NUMBER 2
To delete another practitioner, enter Provider
Number then press ENTER. If there are no
more practitioners to delete, the terminal will
print a Service Provider List then return to
the ANZ idle screen.
179896_Medicare_Merch_op_Guide_74719.indd 14 6/08/10 5:11 PM

14– 15
After adding or removing a practitioner, the terminal will send the new practitioner details
to the Medicare Easyclaim host system and print a Provider Listing.
The terminal will automatically contact the host system to retrieve a refreshed list of
practitioners. This is required if the new practitioner data is to become available on the
terminal, this process may take several minutes.
5.3 Creating MBS Lists.
Steps in processing a Medicare transaction may be common across large numbers of
patients, such as a MBS Item Number. The MBS Item Number may be stored in a list that is
displayed each time that particular entry is required.
01/01/2010 12:08
SWIPE OR
INSERT
CARD
From the ANZ idle screen, keep pressing
ENTER until the ‘SERVICES’ screen is displayed.
SERVICES
XTRA
Select XTRA from the menu by pressing the
CHQ soft-function key.
SERVICES
1 MEDICARE EASYCLAIM
9 ADMIN Press 1 to select MEDICARE EASYCLAIM.
MEDICARE EASYCLAIM
1 PATIENT CLAIM
2 BULK BILL CLAIM
3 PATIENT EXPRESS
4▼BULK BILL EXPRESS
Select the next screen from the menu by
pressing the CHQ soft-function key.
MEDICARE EASYCLAIM
5 MEDICARE SETUP Press 5 to select MEDICARE SETUP.
MEDICARE SETUP
1 SETUP SERVICES
2 PROVIDER SETUP
3 MBS ITEM SETUP
4▼LSPN SETUP
Press 3 to select MBS ITEM SETUP.
179896_Medicare_Merch_op_Guide_74719.indd 15 6/08/10 5:11 PM

MBS ITEM SETUP
1 ADD MBS ITEM/S
2 DELETE MBS ITEM/S
3 PRINT LIST
4 CHANGE ITEM PRICES
Press 1 to select ADD MBS ITEM/S.
SERVICE TYPE
1 GENERAL PRACTICE
2 SPECIAL/AH/DENTAL
3 DIAGNOSTIC
4 PATHOLOGY
Select Service Type (e.g. Press 1 to select
GENERAL PRACTICE), then press ENTER.
MBS ITEM NUMBER 1 Enter MBS ITEM NUMBER (e.g. press key 3) then
press ENTER.
SHORT NAME Enter MBS ITEM description e.g. LEVEL A
CONSULT.
CHARGE AMOUNT
$0.00 Enter Charge Amount then press ENTER.
MBS ITEM NUMBER 2
To add an additional MBS item, repeat the
above 3 steps. If there are no more MBS items
to add press ENTER to return to the ANZ idle
screen.
You can create lists for:
• Practitioner Numbers (including servicing, payee, requesting and referring providers)
• MBS Item Numbers
• Equipment Identication Numbers
• Location Specic Practice Number (LSPN)
• Specimen Collection Point (SCP) ID.
5.4 Printing Duplicate Medicare Receipts.
The Medicare receipt is always provided to the patient or claimant. If the practice wishes to
retain copies for their own records they can use the following setup options to
automatically print a second copy of the receipt.
179896_Medicare_Merch_op_Guide_74719.indd 16 6/08/10 5:11 PM

16– 17
01/01/2010 12:08
SWIPE OR
INSERT
CARD
From the ANZ start screen, keep
pressing ENTER until the ‘SERVICES’
screen is displayed.
SERVICES
XTRA
Select XTRA from the menu by pressing
the CHQ soft-function key.
SERVICES
1 MEDICARE EASYCLAIM
9 ADMIN Press 1 to select MEDICARE EASYCLAIM.
MEDICARE EASYCLAIM
1 PATIENT CLAIM
2 BULK BILL CLAIM
3 PATIENT EXPRESS
4▼BULK BILL EXPRESS
Select the next screen from the menu
by pressing the CHQ soft-function key.
MEDICARE EASYCLAIM
5 MEDICARE SETUP Press 5 to select MEDICARE SETUP.
MEDICARE SETUP
1 SETUP SERVICES
2 PROVIDER SETUP
3 MBS ITEM SETUP
4 LSPN SETUP
Select the next screen from the menu
by pressing the CHQ soft-function key.
MEDICARE SETUP
5 EQUIPMENT SETUP
6 REF/REQ PROV. SETUP
7 SCP ID SETUP
8 RECEIPT SETUP
Press 8 to select RECEIPT SETUP.
PAID PATIENT CLAIMS
1 SINGLE RECEIPT
2 DUPLICATE RECEIPT
Press 1 to select SINGLE RECEIPT, or
press 2 to select DUPLICATE RECEIPT.
BULK BILL CLAIMS
1 SINGLE RECEIPT
2 DUPLICATE RECEIPT
Press 1 to select SINGLE RECEIPT, or
press 2 to select DUPLICATE RECEIPT.
179896_Medicare_Merch_op_Guide_74719.indd 17 6/08/10 5:11 PM

6. Processing Medicare Claim Transactions – General
Practitioners
6.1 Paid Patient Claims
A Paid Patient Claim is in respect of an account of the medical practitioner that the
claimant has fully paid.
For this patient claim type, where Medicare Australia assesses that a Medicare rebate is
payable, the Medicare rebate will be paid to the claimant.
Follow the below steps when the claimant has paid their account in full.
NOTE: A Medicare transaction can be initiated by swiping a patient’s Medicare card. In this case,
commence at the MEDICARE EASYCLAIM screen.
01/01/2010 12:08
SWIPE OR
INSERT
CARD
From the ANZ idle screen, keep pressing ENTER
until the ‘SERVICES’ screen is displayed.
SERVICES
XTRA
Select XTRA from the menu by pressing the
CHQ soft-function key.
SERVICES
1 MEDICARE EASYCLAIM
9 ADMIN Press 1 to select MEDICARE EASYCLAIM.
MEDICARE EASYCLAIM
1 PATIENT CLAIM
2 BULK BILL CLAIM
3 PATIENT EXPRESS
4 BULK BILL EXPRESS
Press 1 to select PATIENT CLAIM. Press 3 to
select PATIENT EXPRESS (for more information
on Express Claims, please refer to section 3).
CLAIM TYPE
1 GENERAL PRACTICE
2 SPECIAL/AH/DENTAL
3 DIAGNOSTIC
Press 1 to GENERAL PRACTICE.
PATIENT CARD
SWIPE CARD OR KEY
Swipe patient’s Medicare card or enter
Medicare card number then press ENTER.
179896_Medicare_Merch_op_Guide_74719.indd 18 6/08/10 5:11 PM
18– 19
PATIENT IRN Enter the number corresponding to the patient
on the Medicare card then press ENTER.
CLAIMANT=PATIENT
1=YES
2=NO
Press 1 if the claimant is the patient, if not press
2.
If the claimant is not the patient, the following
screens will be displayed:
CLAIMANT CARD
SWIPE CARD OR KEY
If the claimant’s Medicare card number is the
same as the patient’s, press ENTER. If not, swipe
the claimant’s Medicare card or press CLEAR to
delete the patient’s Medicare card number,
then enter the claimant’s Medicare card
number and press ENTER.
If the claimant is on the same Medicare card as
the patient, press ENTER to accept the card
number.
CLAIMANT IRN
Enter the number corresponding to the
claimant on the Medicare card then
press ENTER
SERVICE PROVIDER
1 [NAME 1]
2 [NAME 2]
3 [NAME 3]
4 [NAME 4]
PREV NEXT
Select the provider of the service (e.g. press 1 to
select [NAME 1]).
Select PREV or NEXT from the menu by
pressing the CHQ or CR soft-function keys until
you locate the provider of the service.
If you wish to add a dierent provider, enter 99
then enter the relevant provider and press
ENTER.
PAYEE PROVIDER
1 N/A
2 [NAME 2]
3 [NAME 3]
4 [NAME 4]
PREV NEXT
Press 1 if the payee provider is also the
practitioner who provided the service. If not,
select the payee provider from the list (e.g.
press 2 to select [NAME 2]).
ACCOUNT PAID
1 FULLY PAID
2 PARTIALLY PAID
3 UNPAID
Press 1 to select FULLY PAID.
179896_Medicare_Merch_op_Guide_74719.indd 19 6/08/10 5:11 PM
DATE OF SERVICE
DDMMYY
080208
Press ENTER to accept default date. If a dierent
date is required, press CLEAR to remove default
date then enter correct date in format ddmmyy.
CONNECTING TO HOST
PLEASE WAIT
MBS ITEM 1
Enter the MBS Item number then press ENTER.
If you have previously created a list, select the
desired MBS Item number from the list.
CHARGE AMOUNT 1 Press ENTER to accept the amount displayed, or
to enter a dierent amount, press CLEAR then
enter the amount and press ENTER.
ITEM OVERRIDE CODE 1
1 N/A
2 NOT DUPLICATE
3 NOT NORMAL A’CARE
Select appropriate item override code from the
list, if no item override code applies press 1.
RESTRICTIVE OVERRIDE CODE
1 N/A
2 SEPARATE SITES
3 NOT RELATED
4 NOT FOR COMPARISON
If N/A is selected in the previous screen, select
the appropriate restrictive override code, if no
restrictive override code applies press 1.
LSPN 1
Select the Location Specic Practice Number
(LSPN) from the list. If there is no LSPN press 1
to select N/A.
If you wish to add a dierent LSPN, enter 99
and then enter the relevant LSPN then press
ENTER.
MBS ITEM 2 If applicable enter or select a second MBS item
number. Otherwise press ENTER to continue.
SERVICE DEPOSIT
TOTAL $56.00
ENTER TO CONTINUE
The claim is submitted to Medicare Australia for
consideration and if approved, details of the
Medicare rebate to be paid will be displayed.
Press ENTER to continue.
179896_Medicare_Merch_op_Guide_74719.indd 20 6/08/10 5:11 PM
Table of contents
Other ANZ Payment Terminal manuals
Popular Payment Terminal manuals by other brands

Quest Payment Systems
Quest Payment Systems Donation Point TAP Getting started guide

VeriFone
VeriFone Vx-520 Series APACS 40 Quick reference guide

Alberici
Alberici Timebox B Operator's manual

Moneris
Moneris PAYD PRO user manual

Ingenico group
Ingenico group Self/2000 quick start

IDTECH
IDTECH ViVOpay VP3300BT user manual