manuals.online logo
Brands
  1. Home
  2. •
  3. Brands
  4. •
  5. Argos
  6. •
  7. Indoor Furnishing
  8. •
  9. Argos 157/7295 User manual

Argos 157/7295 User manual

Safety and Care Advice
Important – Please read these instructions fully before starting assembly
Care and maintenance
2
• Check you have all the
components and tools listed on
pages 3 and 4.
• Remove all ttings from the
plastic bags and separate them
into their groups.
• Keep children and animals
away from the work area, small
parts could choke if swallowed.
• Make sure you have enough
space to layout the parts before
starting.
• Do not stand or put weight on
the product, this could cause
damage.
• Assemble the item as close
to its nal position (in the same
room) as possible.
• Assemble on a soft level
surface to avoid damaging the
unit or your oor.
• Parts of the assembly will be
easier with 2 people.
• We do not
recommend the
use of power
drill/drivers for
inserting screws,
as this could damage the unit.
Only use hand screwdrivers.
• Dispose of all packaging
carefully and responsibly.
• Only clean using a damp
cloth and mild detergent, do
no use bleach or abrasive
cleaners.
• From time to time check that
there are no loose screws on
this unit.
• This product should not be
discarded with household
waste. Take to your local
authority waste disposal
centre.
5
Assembly Instructions
Step 1
Insert 2 x 35mm male
camlock A into the
holes at the bottom of
side panels 1 and 3
as shown. Tighten with a
screwdriver.
Insert 4 x female
camlock B into the
holes on the underside of
base panel 14 .
Connect the camlocks
and tighten with a
screwdriver.
Step 2
Slot back panel 4 into
the assembly as shown.
1
3
14
4
A
B
6
Assembly Instructions
Step 3
Secure shelf 5 in place
using 4 x screw C as
shown.
Step 4
Insert 4 x 35mm male
camlock A into the
holes in the middle of
side panels 6 and 7
as shown. Tighten with a
screwdriver.
Insert 4 x female camlock
B into the holes on the
underside of shelf 2.
Note that there are two of
these shelves in this part
of the assembly.
Connect the camlocks
and tighten with a
screwdriver.
Step 5
Insert 4 x 35mm male
camlock A into the
holes in top of the
assembly completed at
Step 3 as shown.
Insert 4 x female
camlock B into holes
at the bottom of the
assembly completed at
Step 4.
Place the second
assembly on top of
the rst to connect the
camlocks and tighten
with a screwdriver.
5
C
C
C
6
7
2
2
B
B
A
A
7
Assembly Instructions
Step 6
Insert middle back panel
8 into the slots at the
back of the assembly as
shown.
Step 7
Secure shelf 5 in place
using 4 x screw C as
shown.
5
C
C
C
8
8
Assembly Instructions
Step 8
Insert 2 x 35mm male
camlock A into the
holes in the middle of
top side panel 10 as
shown. Tighten with a
screwdriver.
Insert 4 x female camlock
B into the holes on the
underside of shelf 2.
Connect the camlocks
and tighten with a
screwdriver.
Insert 2 x wooden dowel
D into the end of rail
11 and connect to top
side panel 10 as shown.
Step 9
Insert 2 x 35mm male
camlock A into the
holes in the middle of
top side panel 9 as
shown. Tighten with a
screwdriver.
Connect to the assembly
completed in Step 8
as shown and tighten
the camlocks with a
screwdriver.
D
D
A
B
2
10
11
9
A
B
9
Assembly Instructions
Step 10
Insert top back panel
12 into the slots at the
back of the assembly as
shown.
Step 11
Insert 4 x 35mm male
camlock A into the
holes on the underside
of shelf 13 as
shown. Tighten with a
screwdriver.
Step 12
Insert 4 x female
camlock B into holes at
the top of the assembly
completed at Step 10.
Turn shelf 13 over and
connect the camlocks into
the assembly as shown.
Tighten the camlocks
with a screwdriver.
12
A
B
13
13
10
Assembly Instructions
Step 13
Insert 4 x 35mm male
camlock A into the
holes in top of the
assembly completed at
Step 7 as shown.
Insert 4 x female
camlock B into holes
at the bottom of the
assembly completed at
Step 12.
Place the second
assembly on top of
the rst to connect the
camlocks and tighten
with a screwdriver.
Insert 4 x shelf bracket
L into the holes inside
the bottom part of the
unit as shown.
Place shelf 15 on top of
the shelf brackets.
Step 14
Connect the knobs J to
the doors 16 17 using
screw K.
Connect the doors to the
unit using hinges G and
screws F as shown.
Screw the magnetic
plate E in place on the
doors using screws F
and the magnetic catch
H in place on the body
of the unit using screw
I.
A
B
15
L
H
H
G
G
I
F
F
I
E
E
16
17
J
K
KJ
M
C
18
18
J

Other Argos Indoor Furnishing manuals

Argos SAN DIEGO 408/8365 User manual

Argos

Argos SAN DIEGO 408/8365 User manual

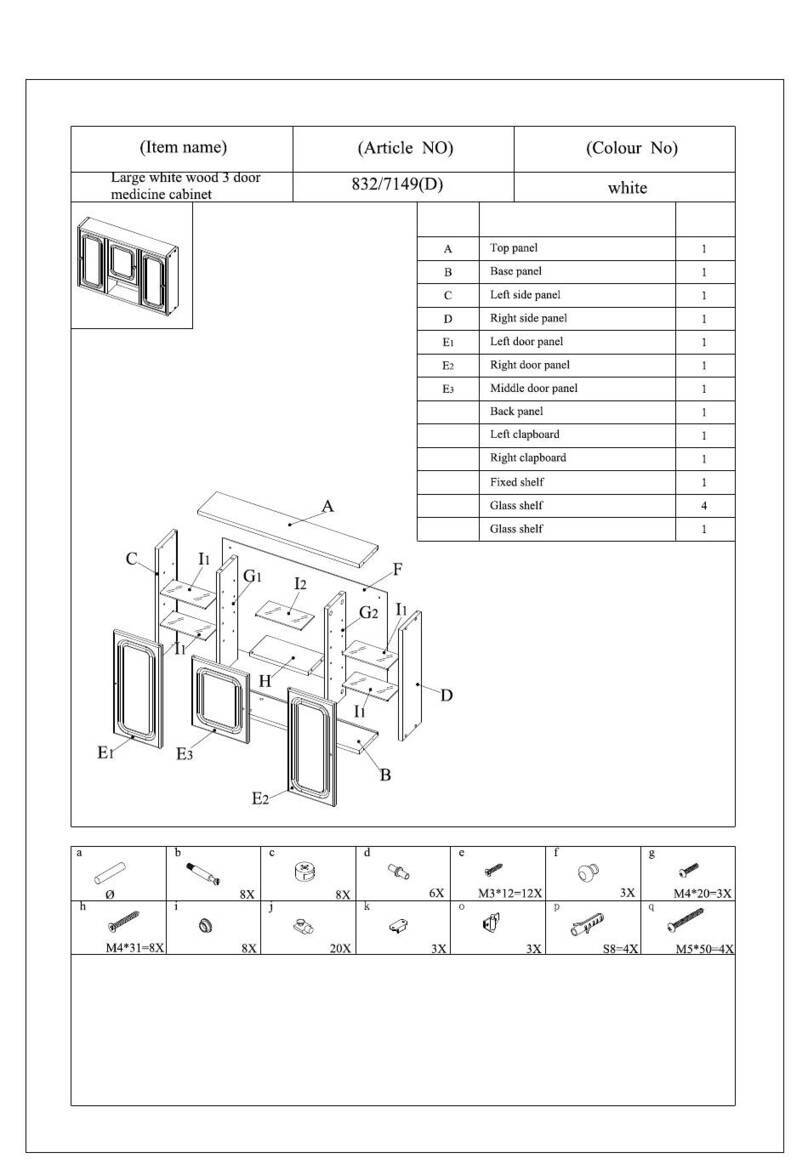
Argos 832 User manual

Argos

Argos 832 User manual

Argos 418/9329 User manual

Argos

Argos 418/9329 User manual

Argos HOME 631/1494 User manual

Argos

Argos HOME 631/1494 User manual

Argos 837/9221 User manual

Argos

Argos 837/9221 User manual

Argos 700-3024 User manual

Argos

Argos 700-3024 User manual

Argos 042 3048 Series User manual

Argos

Argos 042 3048 Series User manual

Argos Phoenix 2 Door Storage Cubes User manual

Argos

Argos Phoenix 2 Door Storage Cubes User manual

Argos SEAGRASS CHEST 424/3801 User manual

Argos

Argos SEAGRASS CHEST 424/3801 User manual

Argos Napoli 600/6273 User manual

Argos

Argos Napoli 600/6273 User manual

Argos Aruba 614/3868 User manual

Argos

Argos Aruba 614/3868 User manual

Argos Amersham 724/7196 User manual

Argos

Argos Amersham 724/7196 User manual
Argos Attalia 617/3742 User manual

Argos

Argos Attalia 617/3742 User manual

Argos habitat Draper 950/5032 User manual

Argos

Argos habitat Draper 950/5032 User manual

Argos Star 7607729 User manual

Argos

Argos Star 7607729 User manual

Argos Small Mustard Fabric Ottoman 716/5467 User manual

Argos

Argos Small Mustard Fabric Ottoman 716/5467 User manual

Argos Phoenix 314/9449 User manual

Argos

Argos Phoenix 314/9449 User manual

Argos 619/1834 User manual

Argos

Argos 619/1834 User manual

Argos Hallingford Gloss 790/7711 User manual

Argos

Argos Hallingford Gloss 790/7711 User manual

Argos Perth 423/8029 User manual

Argos

Argos Perth 423/8029 User manual

Argos 1838800 User manual

Argos

Argos 1838800 User manual

Argos Marlow 424/2929 User manual

Argos

Argos Marlow 424/2929 User manual

Argos HOME MID BACK GAMING CHAIR BLK 608/8734 User manual

Argos

Argos HOME MID BACK GAMING CHAIR BLK 608/8734 User manual

Argos Cheval 147/3100 User manual

Argos

Argos Cheval 147/3100 User manual

Popular Indoor Furnishing manuals by other brands

Coaster 723457 Assembly instructions

Coaster

Coaster 723457 Assembly instructions

Wilding Wallbeds PARK CITY manual

Wilding Wallbeds

Wilding Wallbeds PARK CITY manual

The Container Store Linea Media Stand Assembly instructions

The Container Store

The Container Store Linea Media Stand Assembly instructions

Blanco BLANCOMAGNUM 501-117-A Specification sheet

Blanco

Blanco BLANCOMAGNUM 501-117-A Specification sheet

Better Homes and Gardens 5684215WCOM1 manual

Better Homes and Gardens

Better Homes and Gardens 5684215WCOM1 manual

VECELO KHD-JYX-SET03-BRN-A2 Assembly instructions

VECELO

VECELO KHD-JYX-SET03-BRN-A2 Assembly instructions

Julian Bowen Limited CAPRI Assembly instructions

Julian Bowen Limited

Julian Bowen Limited CAPRI Assembly instructions

Wampat W04H4121G Assembly instructions

Wampat

Wampat W04H4121G Assembly instructions

Crosley Furniture CF501018 quick start guide

Crosley Furniture

Crosley Furniture CF501018 quick start guide

BoLiving Kasari Assembly instructions

BoLiving

BoLiving Kasari Assembly instructions

Costway HW66508 user manual

Costway

Costway HW66508 user manual

Vauth-Sagel VS ADD Iron manual

Vauth-Sagel

Vauth-Sagel VS ADD Iron manual

Julian Bowen Limited RAVELLO DEEP BUTTON SCROLL BED Assembly instructions

Julian Bowen Limited

Julian Bowen Limited RAVELLO DEEP BUTTON SCROLL BED Assembly instructions

burmeier INOVIA 50.5522.24 instruction manual

burmeier

burmeier INOVIA 50.5522.24 instruction manual

TEMPUR ERGO PROSMART owner's manual

TEMPUR

TEMPUR ERGO PROSMART owner's manual

U-Line H-4571 instructions

U-Line

U-Line H-4571 instructions

CAHABA JUNIPER 60 installation manual

CAHABA

CAHABA JUNIPER 60 installation manual

INDUSTRIAL Werkbank WB177 Assembly instructions

INDUSTRIAL

INDUSTRIAL Werkbank WB177 Assembly instructions

manuals.online logo
manuals.online logoBrands
  • About & Mission
  • Contact us
  • Privacy Policy
  • Terms and Conditions

Copyright 2025 Manuals.Online. All Rights Reserved.