manuals.online logo
Brands
  1. Home
  2. •
  3. Brands
  4. •
  5. Argos
  6. •
  7. Indoor Furnishing
  8. •
  9. Argos 932/7502 User manual

Argos 932/7502 User manual

Adjustable Tidy Rail
Dimensions
Width - 109.5cm
Depth - 48.5cm
Height - 182cm
Important - Please read these instructions fully before starting assembly
If you need help or have damaged or missing parts, call the Customer Helpline: 08456 400800
Assembly Instructions - Please keep for future reference
932/7502
Issue 1 - 22/03/11
• Check you have all the
components and tools listed on
pages 2 and 3.
• Remove all fittings from the
plastic bags and separate them
into their groups.
• Keep children and animals
away from the work area, small
parts could choke if swallowed.
• Make sure you have enough
space to layout the parts before
starting.
•Assemble the unit as close to its
final position (in the same room)
as possible.
• Assemble on a soft level
surface to avoid damaging the
unit or your floor.
• Parts of the assembly will be
easier with 2 people.
• If using power tools, please
follow the safety instructions
supplied with the tools.
• We do not
recommend the
use of power
drill/drivers for
inserting screws,
•Dispose of all packaging
carefully and responsibly.
Safety and Care Advice
• Only clean using a damp cloth
and mild detergent, do no use
bleach or abrasive cleaners.
• From time to time check that
there are no loose screws on
this unit.
• This product should not be
discarded with household waste.
Take to your local authority
waste disposal centre.
Care and maintenance
Important - Please read these instructions fully before starting assembly
as this could damage the unit.
Only use hand screwdrivers.
1
Upper side support x 2 (105cm)
1
Lower side support x 2 (78.9cm)
2
Lower adjustable support x 1 (73.5cm)
4
Cross bar x 2 (104.2cm)
5
Adjustable hanging rail (short) x 1 (55cm)
6
Adjustable hanging rail (long) x 1 (58cm)
7
Bottom cross bar x 2 (104.5cm)
8
Leg tube x 2 (48cm)
9
Upper adjustable support x 1 (100cm)
3
Components - Panels
Please check you have all the panels listed below
If you have damaged or missing components,
call the Customer Helpline: 08456 400800
2
3
Note: The quantities below are the correct amount to complete the assembly. In some cases more fittings
may be supplied than are required.
Components - Fittings
Please check you have all the fittings listed below
If you have damaged or missing components,
call the Customer Helpline: 08456 400800
Plastic cap x 2
A
Adjustor x 1
D
G
Allen key x 1
Plastic end sleeve x 4
B
50mm Flat Hex. Screw x 10
E
Spacer x 4
H
Joint x 2
C
50mm Hex. Socket Flat Screw x 2
F
Ruler - Use this ruler to help correctly identify the screws
0 5 10 15 20 25 30 35 40 45 50 55 60 65 70 75 80 85 90 95 100 110 115 120 125 130 135 140 145 150 155 160 165 170
105
a:
Assembly Instructions
Step 1
b: Insert each Joint
into the end of Upper
adjustable support
and Lower adjustable
support , then insert
Upper adjustable support
into Lower adjustable
support .
c: Insert Cross bar
through the Joint on
the Adjustable support
& .
3
A
C
b:
d:
4
Fitting the side support
a: Insert Plastic cap
into Upper side support
, then insert the other
end of Upper side support
into Lower side
support .
Repeat step a: to finish
the other side support.
c:
2
3
2
4
A
CA
C
2
22
1A
A
A
A
1
1
2
Fitting the adjustable
support
A
C
3
4
3
4
5
4
1
d: Use Flathex. screw
toconnect Side
support & , Spacer
, Cross bar ,then
tighten by Allen key .
Repeat step d: to
finish the other side.
5
2
A
H
A
E
A
G
2
5
2
5
2
1
2
2
2
2
2
1
A
G
A
E
A
EA
E
A
E
A
H
A
H
A
H
A
H
2
5
2
5
2
3
2
4
A
C
A
C
A
G
A
E
A
H
A
A
2
3
2
4
a:
c:
b:
Assembly Instructions
If you need help or have damaged or missing parts, call the Customer Helpline: 08456 400800
Step 2
Assembly is complete.
A
F
A
FE
A
E
G
6
9
9
7
Note: It would be useful
to ask someone to help
you at this stage.
Finishing the Unit
b: Fitting the adjustable
hanging rail. Insert
Adjustor into Adjustable
hanging rail , then
insert Adjustable hanging
rail into Adjustable
hanging rail .
A
D
6
7
6
A
E
A
E
c: Use Flat hex. screw
to fix adjustable
support with hanging rail
, use Flat hex. screw
to fix side support
with hanging rail ,
then both tighten by
Allen key . Use Hex.
socket flat screw to
fix the leg tubes with
Lower side support ,
tighten by Allen key .
Carefully put the Unit
Upside.
A
G
A
F
2
A
G
7
6
2
9
2
9
2
8
2
8
A
B
A
B
A
G
A
E
A
E
A
EA
B
A
B
2
72
6
A
D
A
G
8
9
9
A
E
A
B
a: Attach Plastic end
sleeve into Leg tube
, use Flat hex. screw
to join Leg tube
with Bottom cross bar
, then tighten by
Allen key .
Fitting the leg section
A
BA
G
A
E
EG
2
2
2
2

Other Argos Indoor Furnishing manuals

Argos Mix and Match 709/0439 User manual

Argos

Argos Mix and Match 709/0439 User manual

Argos Suki 609/7426 User manual

Argos

Argos Suki 609/7426 User manual

Argos Haversham User manual

Argos

Argos Haversham User manual

Argos Merrick 227/3031 User manual

Argos

Argos Merrick 227/3031 User manual

Argos Florenza 162/2377 User manual

Argos

Argos Florenza 162/2377 User manual

Argos Darcy 428/5890 User manual

Argos

Argos Darcy 428/5890 User manual

Argos Baby Amelie 228/2785 User manual

Argos

Argos Baby Amelie 228/2785 User manual

Argos 634/1457 User manual

Argos

Argos 634/1457 User manual

Argos Stirling 345/8312 User manual

Argos

Argos Stirling 345/8312 User manual

Argos HOME New Pagnell Deep 3+2 Chest 610/8793 User manual

Argos

Argos HOME New Pagnell Deep 3+2 Chest 610/8793 User manual

Argos 1926925 User manual

Argos

Argos 1926925 User manual

Argos 719/0023 User manual

Argos

Argos 719/0023 User manual

Argos Capella 615/6831 User manual

Argos

Argos Capella 615/6831 User manual

Argos New Penton 258/7129 User manual

Argos

Argos New Penton 258/7129 User manual

Argos WOW 152/7252 Datasheet

Argos

Argos WOW 152/7252 Datasheet

Argos 600/0774 User manual

Argos

Argos 600/0774 User manual

Argos Ellie 257/8028 User manual

Argos

Argos Ellie 257/8028 User manual

Argos 6172633 User manual

Argos

Argos 6172633 User manual

Argos Vegas 600/6479 User manual

Argos

Argos Vegas 600/6479 User manual

Argos 322/8645 User manual

Argos

Argos 322/8645 User manual

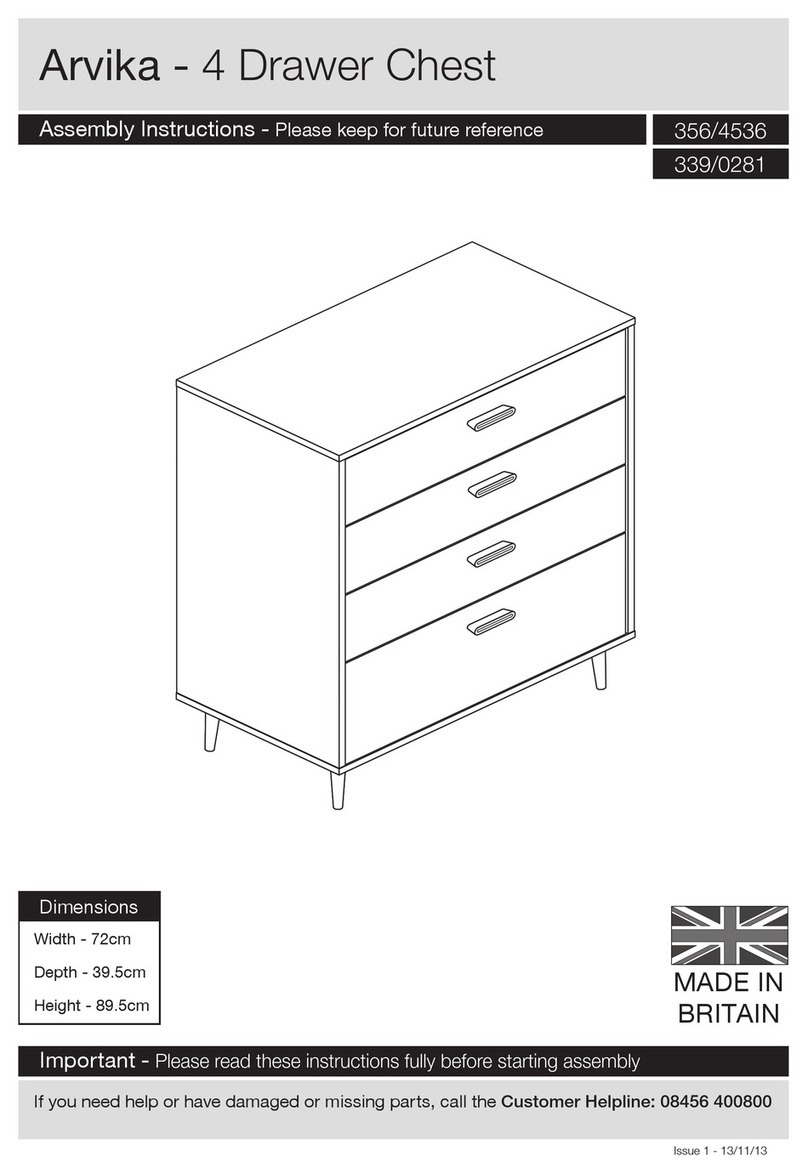
Argos Arvika 356/4536 User manual

Argos

Argos Arvika 356/4536 User manual

Argos Stroud scroll back pair chair 549/5737 User manual

Argos

Argos Stroud scroll back pair chair 549/5737 User manual

Argos Habitat Winchester Tall TV Unit 414/7990 User manual

Argos

Argos Habitat Winchester Tall TV Unit 414/7990 User manual

Argos Rattan 4 User manual

Argos

Argos Rattan 4 User manual

Popular Indoor Furnishing manuals by other brands

Triarch Indoor Lighting 31126 Assembly instructions

Triarch

Triarch Indoor Lighting 31126 Assembly instructions

Forte WTVK221L Assembling Instruction

Forte

Forte WTVK221L Assembling Instruction

COLAMY ZY-2199 instruction manual

COLAMY

COLAMY ZY-2199 instruction manual

Walker Edison W52AV2D Assembly instructions

Walker Edison

Walker Edison W52AV2D Assembly instructions

Clou match me CL/07.56.301.65 installation instructions

Clou

Clou match me CL/07.56.301.65 installation instructions

Nolte Kuchen UHZ60 Instalation instructions

Nolte Kuchen

Nolte Kuchen UHZ60 Instalation instructions

Extremis KOSMOS 3 ZIT Assembly and maintenance instructions

Extremis

Extremis KOSMOS 3 ZIT Assembly and maintenance instructions

Kvik MU838 manual

Kvik

Kvik MU838 manual

ofichairs Croma quick start guide

ofichairs

ofichairs Croma quick start guide

Forever Redwood LUNA WOOD ROCKING CHAIR Assembly instructions

Forever Redwood

Forever Redwood LUNA WOOD ROCKING CHAIR Assembly instructions

Philips 288720 operating instructions

Philips

Philips 288720 operating instructions

Rapidline YOYO CHAIR Assembly instructions

Rapidline

Rapidline YOYO CHAIR Assembly instructions

Forte BHLK231 Assembling Instruction

Forte

Forte BHLK231 Assembling Instruction

Next MALVERN DOVE GREY 319977 Assembly instructions

Next

Next MALVERN DOVE GREY 319977 Assembly instructions

Linon 580454SIL01U manual

Linon

Linon 580454SIL01U manual

HJH office WORKSPACE H III manual

HJH office

HJH office WORKSPACE H III manual

RH 18TH C. SPINDLE TURNED QUEEN BED Assembly instructions

RH

RH 18TH C. SPINDLE TURNED QUEEN BED Assembly instructions

Coaster 460071 Assembly instructions

Coaster

Coaster 460071 Assembly instructions

manuals.online logo
manuals.online logoBrands
  • About & Mission
  • Contact us
  • Privacy Policy
  • Terms and Conditions

Copyright 2025 Manuals.Online. All Rights Reserved.