manuals.online logo
Brands
  1. Home
  2. •
  3. Brands
  4. •
  5. Arjo
  6. •
  7. Medical Equipment
  8. •
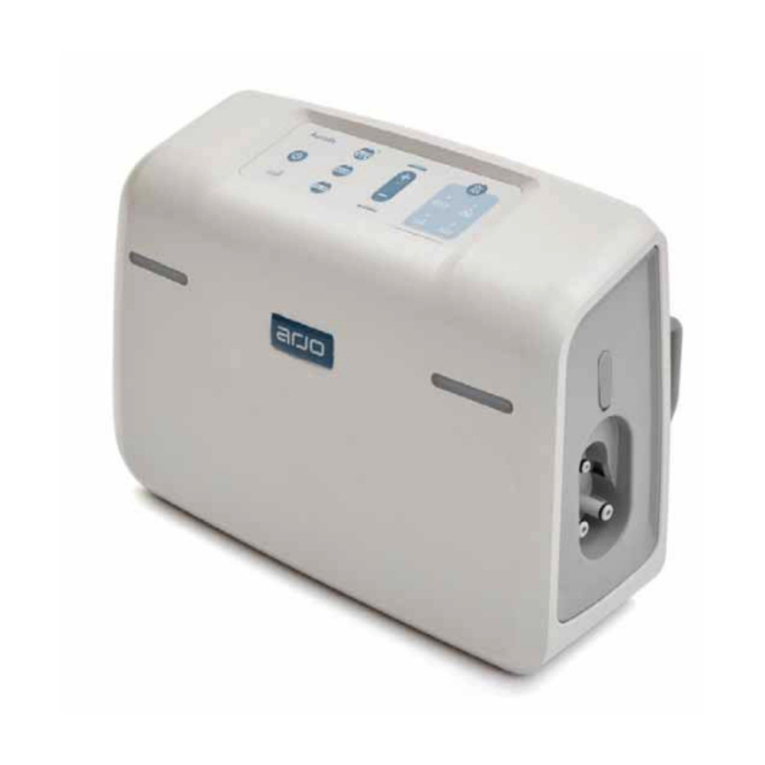
  9. Arjo Huntleigh Hydroven 12 LymphAssist... User manual

Arjo Huntleigh Hydroven 12 LymphAssist... User manual

Controls and Indicators
Hydroven®12 LymphAssist™Professional
TM
TM
Pressure
setting
buttons
Ination mode
select button
Therapy
setting
buttons
Pressure
Display
Run mode
indicator
Sleep mode
indicator
Run/Standby
button
Ination
mode
indicators
Therapy
setting
indicators
Therapy setting
select button
Therapy setting
display
TM
TM
(For detailed instructions, refer to the document
“Instructions for Use” part number 779393-EN)
779353-EN-5 02/2023
Quick Reference Guide
Shown in Run
Mode
Run/Standby
Button
Run and Sleep
Mode
Indicators
When the pump is in Standby, both the Run and Sleep Mode indicators are extinguished.
Press and hold the Run/Standby button for 3 seconds to start the patient therapy. The
Run Mode indicator is illuminated to show that the pump is in Run mode.
During therapy, the pump can be stopped by pressing and holding the Run/Standby
Button for 3 seconds. After therapy, press and hold the Run/Standby button to return the
pump to Standby.
After 10 minutes in Standby mode with no activity, the pump automatically enters Sleep
Mode with only the Sleep Mode indicator illuminated.
Shown in
Sequential Mode
Ination Mode
Select Button
and Indicators
Repeated presses of the Ination Mode select button will cycle the pump through the ve
types of patient therapy, as follows:
• Sequential
• Wave
• LymphAssist
• LymphAssist plus Sequential (linked therapy cycles)
• LymphAssist plus Wave (linked therapy cycles)
The indicator adjacent to the selected Ination Mode is illuminated.
With ‘linked’ therapy cycles, both Ination Mode indicators are initially illuminated.
During therapy, one indicator will ash to show which cycle is currently operating.
Pressure
Display and
Setting Buttons
The value shown on the Pressure display is the set pressure for the rst garment chamber
to be inated. Press the +and -Pressure Setting buttons to adjust the set pressure. The
pressure ranges are:
• Sequential: 15-120mmHg.
• Wave: 15-100mmHg.
• LymphAssist: 15-40mmHg.
Shown in Inate
setting
Therapy Setting
Select Button
and Indicators
Repeated presses of the Therapy Setting select button selects which parameter is shown
on the Therapy Setting display as follows:
• Inate time
• Deate time
• Treatment Duration
The indicator adjacent to the selected Therapy Setting is illuminated.
Normal Setting
Continuous Therapy
Therapy Setting
Display and
Setting Buttons
Use the Therapy Setting Select button to select which parameter is shown on the
Therapy Setting display. Press the +and -Therapy Setting buttons to change the value
shown on the Therapy Setting display.
• Inate time: Sequential - 30-95sec (15-80mmHg); 60-95sec (85-120mmHg)
Wave/LymphAssist - 60-95sec
• Deate time: Sequential - 10-95sec (15-80mmHg); 60-95sec (85-120mmHg)
Wave/LymphAssist - 15-60sec
• Inate and Deate times can only be adjusted when the pump is in Standby.
• Treatment Duration: 10-99 minutes.
If you hold down the + Therapy Setting button when the Treatment duration gets to 99
minutes, the Therapy Setting display will show CO (continuous therapy =2 hours).
The Treatment duration can be adjusted at any time, in Run or Standby modes.
Connecting the Garments to the Pump
1. Make sure the garment is the correct size for the limb, and that a
garment insert is used if necessary.
2. Undo the zip on the garment.
3. If a garment insert is tted to the garment, do the following:
• Put the garment insert in between the two halves of the garment
zip. Make sure the orientation of the garment and insert are
correct: the two tubesets should be at the same end and on the
outside of the garment and insert.
• Fully fasten one of the zips between the garment and insert,
leaving the other unfastened.
4. Before applying the garment (and insert, if tted) to the limb, zip up
the rst 150 mm (6”) of the unfastened garment zip. Put the garment
(and insert) onto the limb and fully fasten the zip.
5. Make sure the patient is in a comfortable position with the limb
supported or elevated as necessary.
6. Connect the garment(s) to the two push-t, polarised 12-way
connectors on the pump.
• If two garments are used (two arm garments, two leg garments,
or one arm/leg garment and one garment insert), connect one to
the upper connector and the other to the lower connector. The
two connections are interchangeable - both garments will inate
at the same time and to the same pressure.
• If only one garment is used, it must be connected to the upper
connector and the rubber cover must be folded over and securely
tted to the lower connector. If the 12 outputs on the lower
connector are not completely occluded by the cover, there will
be a signicant loss of air from the pump and the Low Pressure
alarm will be activated.
7. Switch on the mains power supply to the pump. The pump will
perform a short self-test and then go into Standby. The Run and
Sleep Mode Indicators are extinguished.
8. The indicators and displays on the pump control panel will show the
previously selected therapy settings. Check the therapy settings and
make any changes
Stopping Therapy
Starting Therapy
1. Make sure that all garment zips are fully and securely fastened.
2. Press and hold the Run/Standby Button for 3 seconds. The Run
Mode Indicator will be illuminated, and the pump will run through
an initialisation process, which may take up to 15 seconds.
3. After the initialisation process the garment(s) will start inating.
4. The Treatment duration shown on Therapy Setting Display the
will count down, indicating the time remaining.
Do not undo the zips or attempt to remove the garments during the
therapy session or you may damage the zips.
Make sure the therapy session has stopped and the garments have
deated before you remove the garments.
TM
TM
Lower 12-Way connector
(under rubber covered)
Upper 12-Way
connector
Rubber Cover
(folded over)
1. The pump automatically stops and the garments are deated at the
end of the selected Treatment duration.
2. When the garments have deated, the Therapy Setting and
Pressure Displays change to zero and the pump gives 5 beeps to
conrm that the therapy session has been completed.
3. The Run Mode Indicator is extinguished.
4. Press the Run/Standby Button to reset the pump to Standby
5. The pump can be stopped during the therapy session by pressing
and holding the Run/Standby Button for 3 seconds.
Clinical Applications
Contraindications
IPC should NOT be used in the following circumstances:
• Known or suspected deep vein thrombosis (DVT), pulmonary
embolism, thrombophlebitis and acute infections of the skin such as
cellulitis.
• Decompensated / severe congestive cardiac failure, pulmonary
oedema associated with signicant limb oedema or any condition
where an increase of uid to the heart may be detrimental.
• Severe arteriosclerosis or other ischaemic vascular disease.
• Active metastatic disease a󰀨ecting the limb.
Indications
Intermittent Pneumatic Compression (IPC) is e󰀨ective in the
treatment of the following clinical conditions, when combined with an
individualised monitoring programme:
• Oedema - dependent (including secondary to cerebro-vascular
incident, pregnancy or paralysis) and traumatic (post-surgical or
injury).
• Lymphoedema - primary and secondary (including post surgery,
radio or chemotherapy).
• Chronic venous insu󰀩ciency.
• Post phlebotic syndrome.
• Acute and chronic wounds, including venous leg ulcers and
postsurgical wounds.
IPC may also be benecial in the management of:
• Fixed exion deformity.
• Lower limb pain due to trauma or surgery.
• Lipoedema.
Selection should be based upon a holistic assessment of the patients’
individual care needs.
Cautions
IPC should be used with care in patients with the following symptoms
or conditions:
• Peripheral neuropathy, pain or numbness in the limb.
• Undiagnosed, untreated or infected wounds, fragile skin, grafts or
dermatological conditions that may be aggravated by the garment.
• Extreme limb deformity which may practically impede the correct
application of the garment.
Warnings
• Therapy should be interrupted if pain, tingling or numbness of the
limb occurs during, or as a result of therapy.
• In the event of a power failure or fault whereby the garment remains
inated, disconnect the tubeset(s) in order to deate the garment(s)
and then remove the garment(s) from the limb(s).
• Patients must not walk or stand when wearing leg garment(s).
Note - These systems represent one aspect of a treatment
strategy if the patient’s condition changes the overall therapy
regimen should be reviewed by the prescribing clinician.
Note - The above are guidelines only and should not replace
clinical judgement.
PATIENT NOTE: if you are uncertain whether you have any of the
above conditions please consult a physician before use.
1001066-1
Huntleigh Healthcare Ltd.
35 Portmanmoor Road, Cardiff, CF24 5HN, United Kingdom
T: +44 (0)29 20485885 sales@huntleigh-diagnostics.co.uk
www.huntleigh-diagnostics.com
ArjoHuntleigh AB
Hans Michelsensgatan 10
211 20 Malmö, Sweden
Manufactured for Huntleigh Healthcare Ltd on behalf of;
Note: Garments are designed to be worn over thin clothing and not
in direct contact with the patients skin.
This manual suits for next models

3

Other Arjo Medical Equipment manuals

Arjo Flowtron ACS900 User manual

Arjo

Arjo Flowtron ACS900 User manual

Arjo Evenda EV-ACC07 User manual

Arjo

Arjo Evenda EV-ACC07 User manual

Arjo Sara 3000 User manual

Arjo

Arjo Sara 3000 User manual

Arjo AtmosAir User manual

Arjo

Arjo AtmosAir User manual

Arjo Maxi Sky 2 PLUS User manual

Arjo

Arjo Maxi Sky 2 PLUS User manual

Arjo Auralis User manual

Arjo

Arjo Auralis User manual

Arjo SARA PLUS User manual

Arjo

Arjo SARA PLUS User manual

Arjo Alpha Active 3 User manual

Arjo

Arjo Alpha Active 3 User manual

Arjo AtmosAir Velaris - Plus Flex User manual

Arjo

Arjo AtmosAir Velaris - Plus Flex User manual

Arjo Miranti User manual

Arjo

Arjo Miranti User manual

Arjo HUNTLEIGH Sonicaid Team3 User manual

Arjo

Arjo HUNTLEIGH Sonicaid Team3 User manual

Arjo MAA8000 User manual

Arjo

Arjo MAA8000 User manual

Arjo Carevo User manual

Arjo

Arjo Carevo User manual

Arjo Flowtron ACS900 User manual

Arjo

Arjo Flowtron ACS900 User manual

Arjo MAXI MOVE Operating instructions

Arjo

Arjo MAXI MOVE Operating instructions

Arjo MAA4020M User manual

Arjo

Arjo MAA4020M User manual

Arjo Evenda EV-ACC05 User manual

Arjo

Arjo Evenda EV-ACC05 User manual

Arjo Sara 3000 User manual

Arjo

Arjo Sara 3000 User manual

Arjo AtmosAir Velaris User manual

Arjo

Arjo AtmosAir Velaris User manual

Arjo Prioma Semi Electric Couch Series User manual

Arjo

Arjo Prioma Semi Electric Couch Series User manual

Arjo Maxi Sky 440 User manual

Arjo

Arjo Maxi Sky 440 User manual

Arjo MAA8000 User manual

Arjo

Arjo MAA8000 User manual

Arjo Evenda EV-ACC01 User manual

Arjo

Arjo Evenda EV-ACC01 User manual

Arjo Assembly instructions User manual

Arjo

Arjo Assembly instructions User manual

Popular Medical Equipment manuals by other brands

GE iVent 201 Series User's reference manual

GE

GE iVent 201 Series User's reference manual

RWD R500 Series user manual

RWD

RWD R500 Series user manual

Innomed Medical Cardio-Aid 360-B quick guide

Innomed Medical

Innomed Medical Cardio-Aid 360-B quick guide

ErgoCentric Multi Tilt user guide

ErgoCentric

ErgoCentric Multi Tilt user guide

OAKWORKS CFPMFXH user manual

OAKWORKS

OAKWORKS CFPMFXH user manual

Stryker Secure II 3002 Maintenance manual

Stryker

Stryker Secure II 3002 Maintenance manual

Nasco Life/form Basic GERi LF04040U instruction manual

Nasco

Nasco Life/form Basic GERi LF04040U instruction manual

burmeier Dali Series installation instructions

burmeier

burmeier Dali Series installation instructions

Alert1 On-the-Go user guide

Alert1

Alert1 On-the-Go user guide

Joerns Oxford User instruction manual

Joerns

Joerns Oxford User instruction manual

Meditrac Cervico 2000 user manual

Meditrac

Meditrac Cervico 2000 user manual

Aspen Vista MultiPost Cleaning instructions

Aspen

Aspen Vista MultiPost Cleaning instructions

CardioTech GT-300 quick start guide

CardioTech

CardioTech GT-300 quick start guide

Seers Medical XP1006 manual

Seers Medical

Seers Medical XP1006 manual

LINET AVE 2 User manual and technical description

LINET

LINET AVE 2 User manual and technical description

Vital VitalFlex user manual

Vital

Vital VitalFlex user manual

Chattanooga Artromot Elbow Patient instructions

Chattanooga

Chattanooga Artromot Elbow Patient instructions

ALCARE MOLDCARE RI II instruction manual

ALCARE

ALCARE MOLDCARE RI II instruction manual

manuals.online logo
manuals.online logoBrands
  • About & Mission
  • Contact us
  • Privacy Policy
  • Terms and Conditions

Copyright 2025 Manuals.Online. All Rights Reserved.