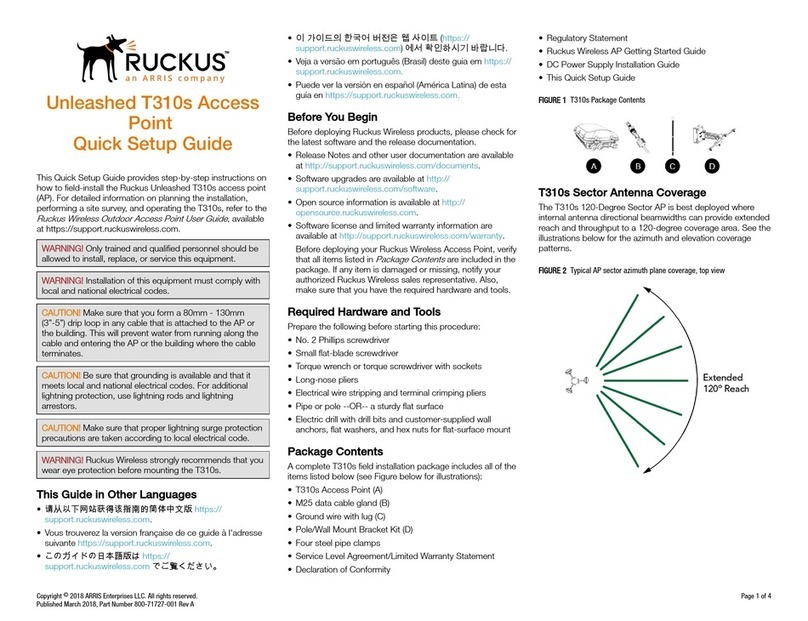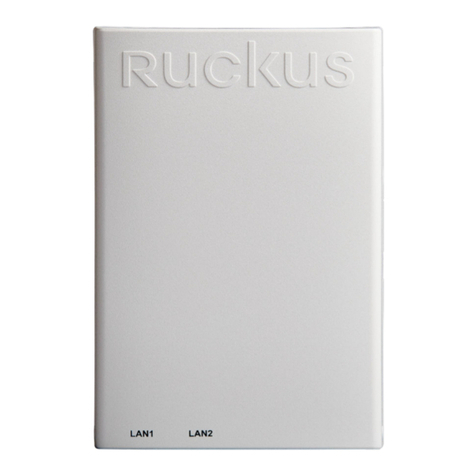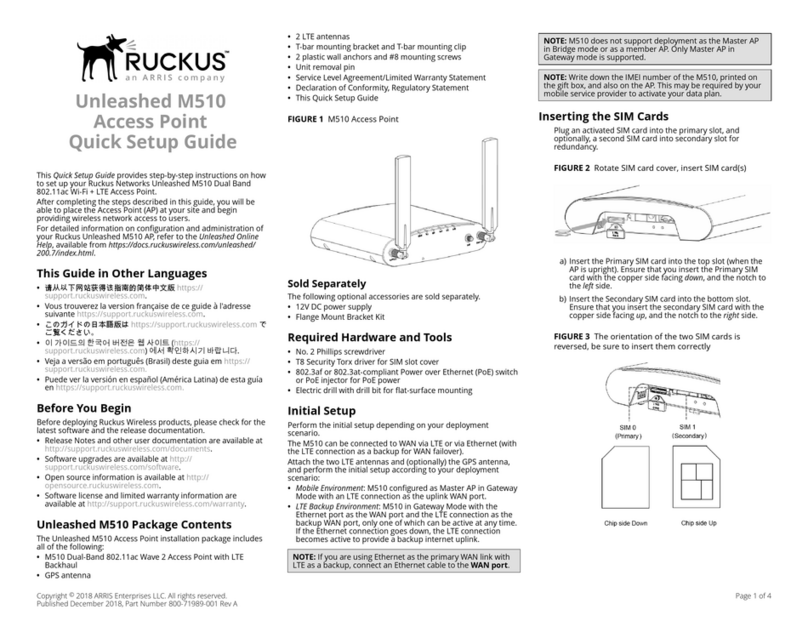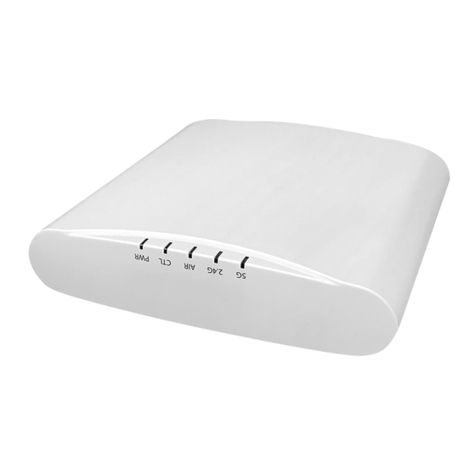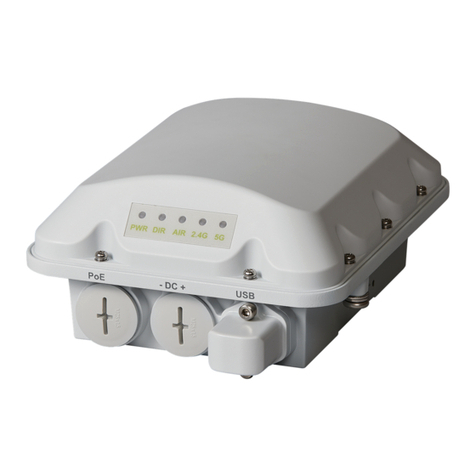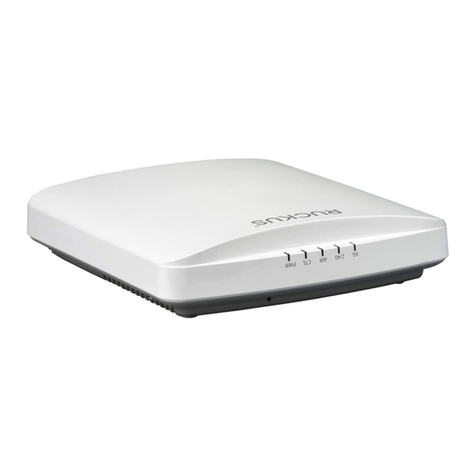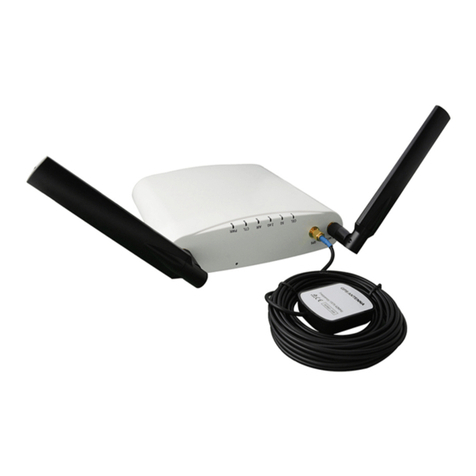
Ruckus Q710 LTE
Access Point
Quick Setup Guide
This Quick Setup Guide provides step-by-step instructions on
how to set up your Ruckus Q710 LTE Access Point (AP). After
completing the steps described in this guide, you will be able to
place Q710 at your site and provide LTE wireless network access
to users.
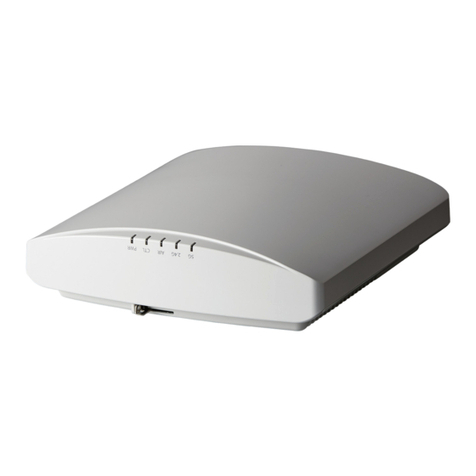
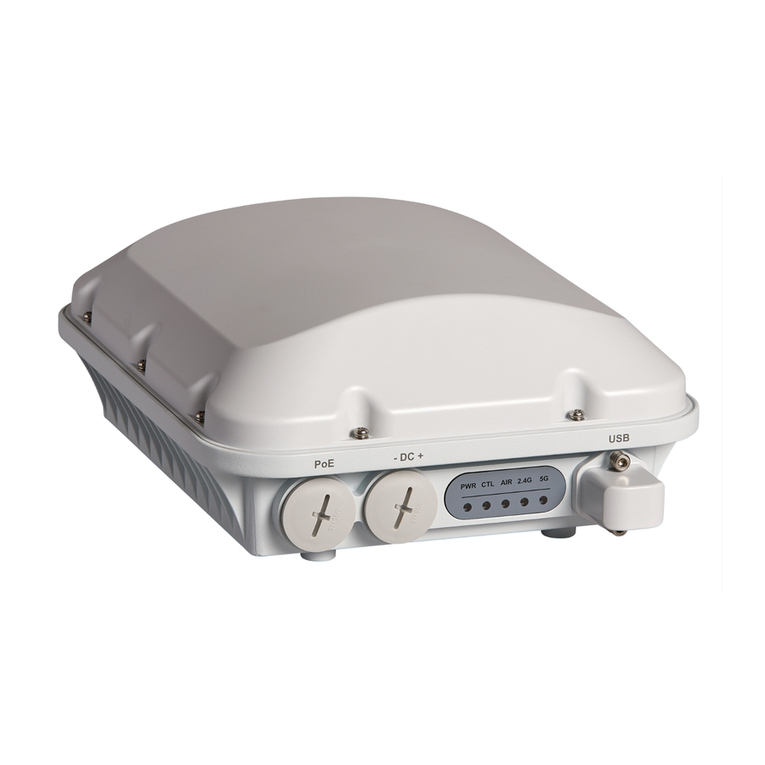
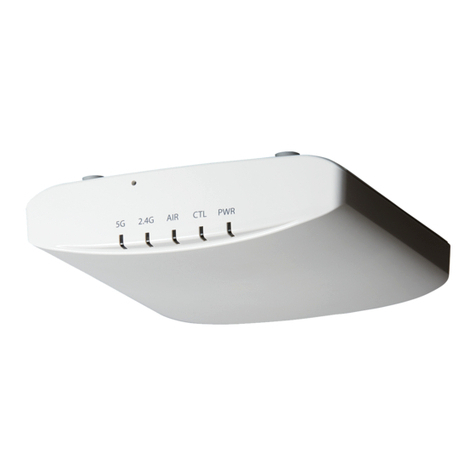
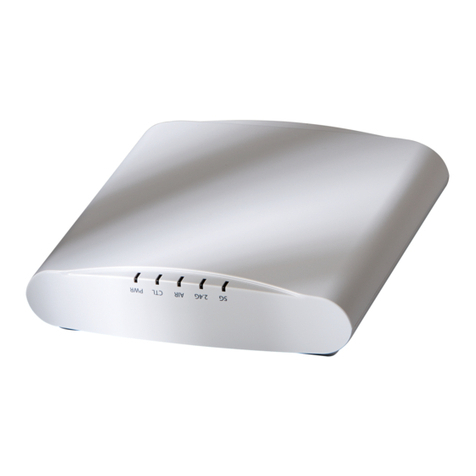
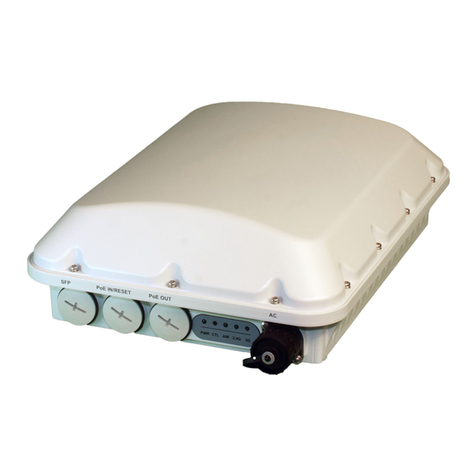
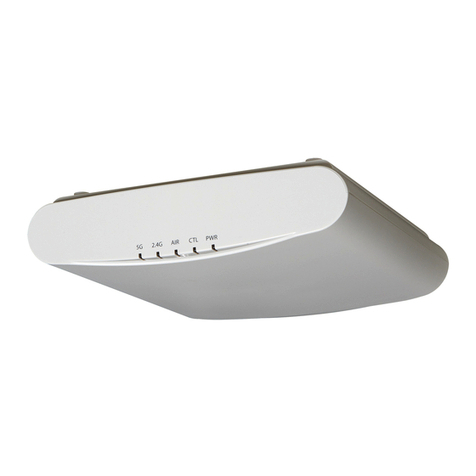
FIGURE 1 Ruckus Q710 LTE Access Point
Before You Begin
Before deploying Ruckus Wireless products, please check for the
latest information and release documentation at
http://support.ruckuswireless.com/documents
Software License and Limited Warranty are available at
http://support.ruckuswireless.com/warranty
Package Contents
Check the package contents as follows:
•Ruckus Q710 LTE Access Point (AP)
•Plastic bracket and 4 shoulder screws pre-installed on AP
•Unit removal pin
•4 Wall Mounting screws (Phillips #2)
•4 Wall Anchors
•US AC/DC Adapter
•Regulatory Flyer
•Warranty Information
•This Quick Setup Guide
Mounting Instructions
The Q710 Access Point (AP) can be mounted to a drop-ceiling T-
bar or at surface.
Mounting on a Drop-Ceiling T-Bar
1. Remove the bracket by inserting unit removal pin into the
hole in the bracket to release the locking hook, then slide the
bracket free from the shoulder screws.
2. Attach the bracket to T-bar using T-Bar clasps and slide the T-
bar clip to lock the bracket in place.
FIGURE 2 Slide T-bar clip to lock the bracket onto the T-
bar
3. Place the AP against the mounting bracket so that the
shoulder screws go into the mounting keyholes of the
bracket, and gently slide the AP until it locks.
FIGURE 3 Locking the AP to the bracket
4. To remove the AP from the bracket, insert the unit removal
pin (or similar object such as a straightened paper clip) into
the small hole on the side of the bracket to release the
locking hook, then slide the AP toward the LEDs to release
the AP from the bracket.
FIGURE 4 Release the locking hook
Mounting on a Flat Surface
The factory-supplied mounting screws and plastic wall anchors
allow you to attach the AP to a wall or ceiling.
1. Remove the bracket by inserting unit removal pin into the
hole in the bracket to release the locking hook, then slide the
bracket free from the shoulder screws.
2. Use the bracket to mark the locations for drill holes on the
mounting surface.
NOTE: Be sure to use the wall mount holes - not the AP
mounting keyholes - to mark the locations.
FIGURE 5 Wall mount holes
3. Use a 4.75 mm (3/16") drill bit to drill holes approximately 25
mm (1") deep into the mounting surface.
4. Insert the four wall mount anchors into the holes.
5. Attach the bracket to the mounting surface using the four
wall mounting screws.
6. Place the AP against the mounting bracket so that the
shoulder screws go into the mounting keyholes of the
bracket, and gently slide the AP until it locks.
Copyright © 2018 ARRIS Enterprises LLC. All rights reserved. Page 1 of 2
Published October 2018, Part Number 800-72027-001 Rev B
