manuals.online logo
Brands
  1. Home
  2. •
  3. Brands
  4. •
  5. Aseptico
  6. •
  7. Dental Equipment
  8. •
  9. Aseptico ADC-01C User manual

Aseptico ADC-01C User manual

DESCRIPTION: Versatility in tandem with portability make the Aseptico
ADC-01CS AseptiChair the perfect chair available to the professional for
positioning patients during a variety of healthcare activities - dentistry,
optometry, podiatry, etc. The chair is designed for comfort, safety, durability,
and portability. Please read the instructions provided below to receive the
best and longest service from your Aseptico equipment.
For further service contact:
P.O. Box 1548 • Woodinville, WA 98072-1548 U S A
www.aseptico.com • [email protected]
(425) 487-3157 • (800) 426-5913
SETTING UP THE CHAIR:
1. Remove the chair from its carrying case and set it on the floor, legs down,
in its folded position.
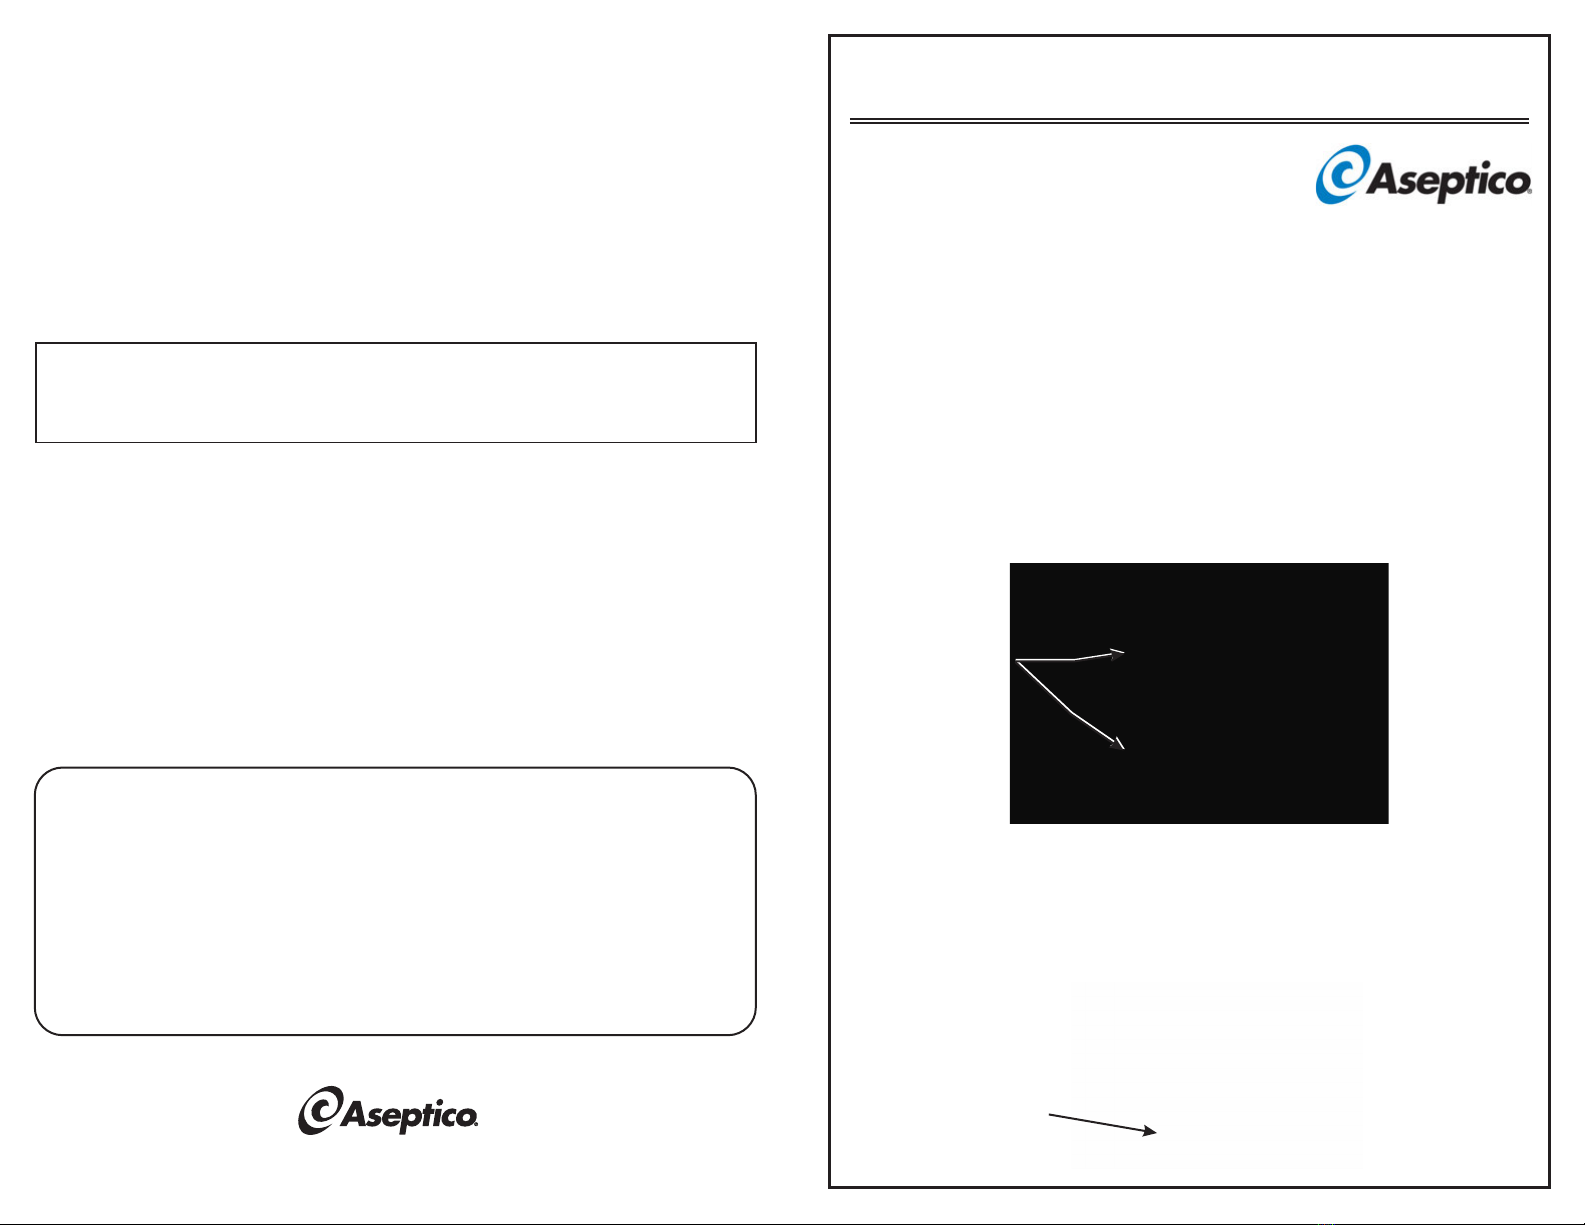
2. Rotate the chair up onto one side and remove the leg adjustment pins
from their storage pouch underneath the chair seat. (Fig. 1)
Fig.1
Fig.2
Warranty
Aseptico warrants its products against defects in material or workmanship for a period of two (2) years, from
date of original invoice. Some handpieces are warranted for one year under the same conditions. Other
handpieces and expendable components, such as air turbines and light bulbs, are covered by shorter
warranty periods, or have no warranty. Aseptico's sole obligation under product warranty is (at its sole
option and discretion) to repair or replace any defective component or product in part or whole. Aseptico
shall be the sole arbiter of such action.
In the event of alleged defect under warranty, the purchaser is to notify Aseptico's Customer Service
Department promptly. Customer Service will provide instructions, usually directing that the product be
returned for service. Shipment to Aseptico and the cost thereof is always the responsibility of the purchaser.
Accidental misuse, inappropriate installation, or failure to perform directed maintenance voids the warranty.
Aseptico does not assume, under this warranty, any risks or liabilities arising from the clinical use of its
products, whether or not such use involves coincidental utilization of products manufactured by others.
ADC-01CS ASEPTICHAIR
PORTABLE FIELD CHAIR
3. Standing in front of the chair, put your toe on one of the front chair legs
and lift up on the backrest and front seat portion. Raise chair seat to desired
height. Lock in place by inserting leg adjustment pins through chair leg tube
and into adjustment link on the right and left side of the chair. (Fig. 2)
LEG ADJUSTMENT
PINS
Insert Leg Adjustment Pin
COLLAPSING THE CHAIR:
1. Fold toe and then leg sections onto seat as it was originally.
2. Pull arm slings out of the holes in the chair frame.
3. Put your toe onto one of the front chair legs and lift up slightly on the seat,
then remove height adjustment pins. While supporting chair weight, let the chair
fold down toward the floor.
4. As the chair folds down, release the backrest adjustment lever until the chair
collapses completely. Rotate the chair up onto one side and insert the leg
adjustment pins into their storage pouch underneath the chair seat.
NEVER FORCE THE CHAIR INTO THE COLLAPSED POSITION. FORCING
THE CHAIR DOWN WITHOUT RELEASING THE BACKREST ADJUSTMENT
LEVER MAY BEND THE ADJUSTMENT ASSEMBLY AND WILL VOID THE
WARRANTY.
5. Fold the arm slings and headrest onto the chair and place folded chair into
carrying case.
CLEANING AND MAINTENANCE:
Although bleach, when diluted to <10% and wiped clean immediately could be
used, it is not recommended. The use of barrier covers and mild cleaning
solutions is recommended as the primary asepsis approach on chair and stool
upholstery instead of relying on chemicals. The use of barriers greatly extends
the life of chair and stool upholstery and can be replaced between patients.
PRINTED IN USA
PN 420473
Rev C
ECO 13281
12/2014
ADC-01CS • Portable Dental Chair
NSN: 6520-01-446-3783
QUICK REFERENCE
AseptiChair
4. Insert right and left arm sling pins into holes on the sides of the seat frame.
(Fig. 4)
5. Complete set-up by positioning backrest and placing headrest at the proper
height on the front side of backrest.
CHAIR ADJUSTMENTS:
1. Seat Height- The ADC-01CS chair seat height can be set at any of the five
preset settings. Without a patient in the chair, put your toe on one of the front
chair legs and lift up slightly on the chair seat. While lifting seat, remove the leg
adjustment pin from the right and left side. Align link with tube hole in any of the
five positions and lock in place by inserting chain and pin. (see Fig. 1)
2. Backrest- The backrest may be set in any position from upright to full supine.
To change the position of the backrest, simply lift the chrome friction lever on the
back side of the backrest, lower backrest, then release lever to lock. NEVER
LOWER THE BACKREST WHEN A PATIENT IS IN THE CHAIR WITHOUT
COMPLETELY SUPPORTING THEIR WEIGHT FIRST. To return the backrest to
an upright position, lift backrest to desired position. Backrest will automatically
lock in place. (Fig. 5)
3. Footrest- The footrest may be positioned in the normal horizontal operating
position, or allowed to hang down vertically so a patient can be seated in a sitting
position. To release footrest into the vertical position, first fold toe section inward,
then lift slightly on footrest section. While lifting, pull the black knobs on each
side of the chair frame to release and push footrest down into the vertical
positon. Lock in the vertical position by snapping holding strap around the chair
leg frame.
To reposition footrest in the horizontal position, unsnap holding strap from frame,
lift footrest to the horizontal position until it locks, then unfold toe section out to
horizontal. (Fig. 6)
Pull black knob to release
Snap around frame
Fig. 6
4. Headrest- The headrest slides freely on its mounting strap and can be
positioned at different heights for different size patients.
Insert pins into frame holes
3. When the chair has been raised and the height set, the foot and leg
portion should be folded forward, out horizontally. It will stop in the
horizontal positi on. ( Fig . 3 )
Fig. 3
Fig. 4
Lift lever to position.
Release to lock.
Fig. 5

Other Aseptico Dental Equipment manuals

Aseptico AEU-1000-70V User manual

Aseptico

Aseptico AEU-1000-70V User manual

Aseptico Transport III Troubleshooting guide

Aseptico

Aseptico Transport III Troubleshooting guide

Aseptico ADU-03 Manual

Aseptico

Aseptico ADU-03 Manual

Aseptico ADU-03ST Manual

Aseptico

Aseptico ADU-03ST Manual

Aseptico ADU-17A Manual

Aseptico

Aseptico ADU-17A Manual

Aseptico ADC-08 User manual

Aseptico

Aseptico ADC-08 User manual

Aseptico AEU-6000 User manual

Aseptico

Aseptico AEU-6000 User manual

Aseptico AEU-14CF Troubleshooting guide

Aseptico

Aseptico AEU-14CF Troubleshooting guide

Aseptico ADC-01P-RED AseptiChair User manual

Aseptico

Aseptico ADC-01P-RED AseptiChair User manual

Aseptico ADU-08SX Sealant Express Manual

Aseptico

Aseptico ADU-08SX Sealant Express Manual

Aseptico ADU-17X Express II Manual

Aseptico

Aseptico ADU-17X Express II Manual

Aseptico CompriCart ADU-20B Manual

Aseptico

Aseptico CompriCart ADU-20B Manual

Aseptico ADU-17A2 Express Air 2 Manual

Aseptico

Aseptico ADU-17A2 Express Air 2 Manual

Aseptico ADU-07A ECONO AIR SYSTEM Administrator Guide

Aseptico

Aseptico ADU-07A ECONO AIR SYSTEM Administrator Guide

Aseptico Command Air ADC-08CF User manual

Aseptico

Aseptico Command Air ADC-08CF User manual

Aseptico AEU-14CF User manual

Aseptico

Aseptico AEU-14CF User manual

Aseptico AEU-16C TORQUE PLUS+ Manual

Aseptico

Aseptico AEU-16C TORQUE PLUS+ Manual

Aseptico ADU-40CF Command Air Manual

Aseptico

Aseptico ADU-40CF Command Air Manual

Aseptico AEU-525 Transport III Manual

Aseptico

Aseptico AEU-525 Transport III Manual

Aseptico AEU-26OS Manual

Aseptico

Aseptico AEU-26OS Manual

Aseptico ADU-25 Manual

Aseptico

Aseptico ADU-25 Manual

Aseptico AEU-7000L-70V Manual

Aseptico

Aseptico AEU-7000L-70V Manual

Aseptico ALU-40MOM Manual

Aseptico

Aseptico ALU-40MOM Manual

Aseptico AEU-425FO Transport II Manual

Aseptico

Aseptico AEU-425FO Transport II Manual

Popular Dental Equipment manuals by other brands

Bien Air iOptima Instructions for use

Bien Air

Bien Air iOptima Instructions for use

Ivoclar Vivadent IvoBase Injector Short instructions

Ivoclar Vivadent

Ivoclar Vivadent IvoBase Injector Short instructions

Refine ADAE MaxSurgery III instruction manual

Refine

Refine ADAE MaxSurgery III instruction manual

Hu-Friedy SWERV3 user manual

Hu-Friedy

Hu-Friedy SWERV3 user manual

Dentatus Profin pdx instructions

Dentatus

Dentatus Profin pdx instructions

MIHM-VOGT HTS-2/M/Zirkon-120 operating manual

MIHM-VOGT

MIHM-VOGT HTS-2/M/Zirkon-120 operating manual

Vista Apex PinkWave user manual

Vista Apex

Vista Apex PinkWave user manual

Dentsply Sirona inLab MC X5 230 V operating instructions

Dentsply Sirona

Dentsply Sirona inLab MC X5 230 V operating instructions

Belmont BDS-2564 manual

Belmont

Belmont BDS-2564 manual

Dental Kiefer DENTA DAMPF 2000 n.G. manual

Dental Kiefer

Dental Kiefer DENTA DAMPF 2000 n.G. manual

FKG XP-endo Finisher Protocol

FKG

FKG XP-endo Finisher Protocol

SILMET ProVeneer Step by step manual guide

SILMET

SILMET ProVeneer Step by step manual guide

Dexcowin iRayD3 user manual

Dexcowin

Dexcowin iRayD3 user manual

B.A. International BA604E Operation manual

B.A. International

B.A. International BA604E Operation manual

DentalEZ Star Titan Low-Speed manual

DentalEZ

DentalEZ Star Titan Low-Speed manual

Morita Tri auto mini Operation instructions

Morita

Morita Tri auto mini Operation instructions

RONVIG DENTAL Calaject Instructions for use

RONVIG DENTAL

RONVIG DENTAL Calaject Instructions for use

KaVo SMARTmatic S10 Instructions for use

KaVo

KaVo SMARTmatic S10 Instructions for use

manuals.online logo
manuals.online logoBrands
  • About & Mission
  • Contact us
  • Privacy Policy
  • Terms and Conditions

Copyright 2025 Manuals.Online. All Rights Reserved.