Baldan ASDA User manual

Subsoiler Plow with Automatic Shank
ASDA


We thank you for the preference and congratulate your excellent choice in acquiring an
implement of outstanding quality, manufactured in accordance with the advanced te-
chnology of BALDAN IMPLEMENTOS AGRÍCOLAS S/A.
This manual will assist you, in proceeds necessaries, since when you bought until the
operational proceeds application, security and maintenance.
The BALDAN guarantees that deliver this implement to the dealer, working properly, and in perfect
conditions.
The dealers it’s under the responsibility to keep the protection and conservation while keep the implement in your stock, and
than, to assembly, tighten, lubrication and overhaul.
On time of the technical deliver, the dealer must to have conducted the user customer about the manutentation, safety, and
your obligations in a possible technical assistance, the obligation to see the warranty terms and read the instruction manual.
Any solicitation of warranty, please contact our Baldan technical service, by your Baldan dealer that you bought our implement.
Reaffirm the necessity to read carefully of warranty certificate and note all of items from this manual, therefore you will
increase the working life of your equipment.
INTRODUCTION

Subsoiler Plow with Automatic Shank
ASDA

INDEX
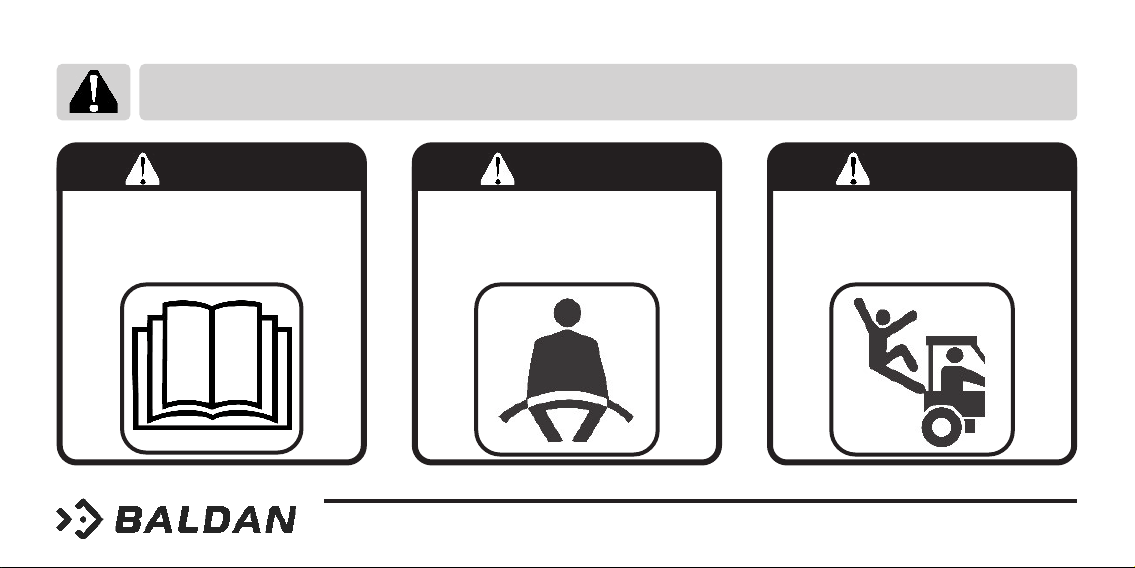
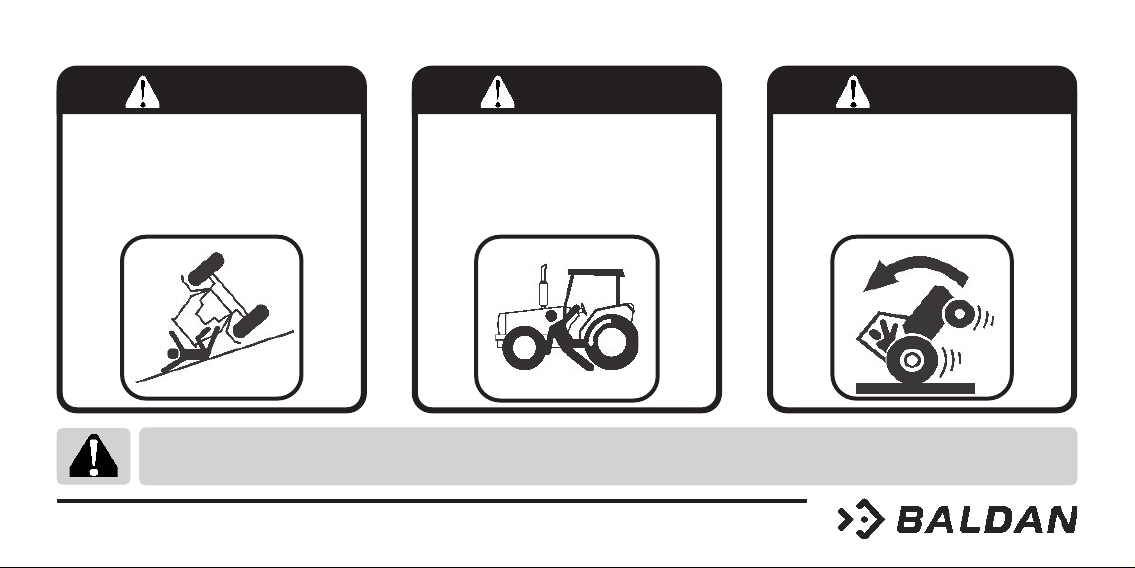
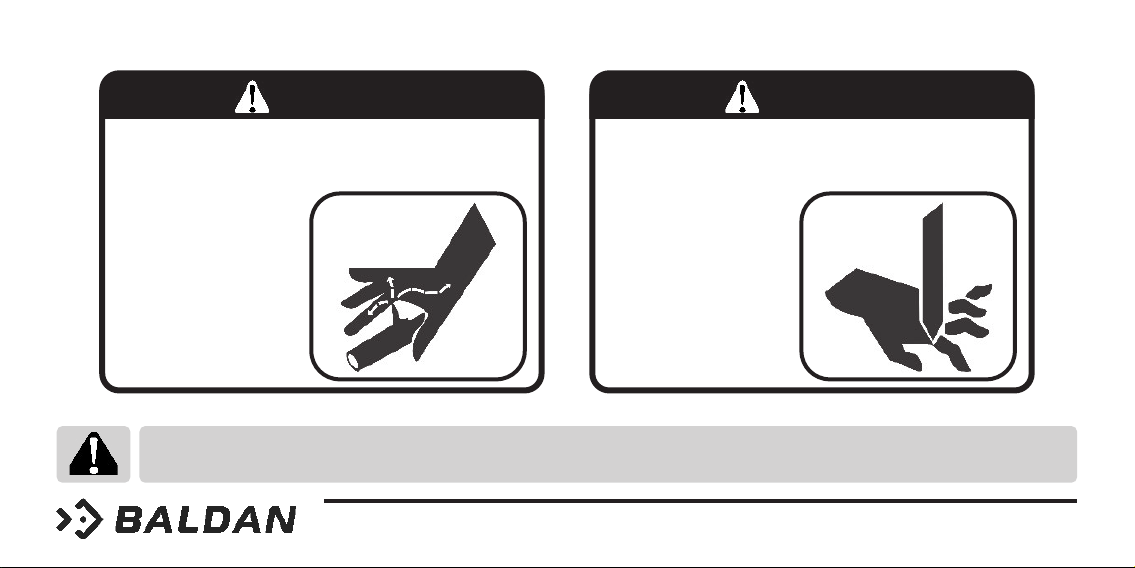
01. Safety rules.................................................................................................................................................................................................................................................................. 4
02. Components............................................................................................................................................................................................................................................................... 9 - 10
03. Technical specications ........................................................................................................................................................................................................................................... 11
04. Assembly ..................................................................................................................................................................................................................................................................... 12 - 16
05. Hitching to the tractor.............................................................................................................................................................................................................................................. 17
Hitching ASDACR / ASDADR .......................................................................................................................................................................................................................................................................... 17
Hitching ASDAH............................................................................................................................................................................................................................................................................................... 18
Centralization ASDAH...................................................................................................................................................................................................................................................................................... 19
Levelling of the subsoiler.................................................................................................................................................................................................................................................................................... 20
06. Adjustments and operations.................................................................................................................................................................................................................................. 21
Depth adjustments asda-cr and asda-dr.......................................................................................................................................................................................................................................................... 21
Depth adjustment.............................................................................................................................................................................................................................................................................................. 22
Adjustment of the automatic tyne release........................................................................................................................................................................................................................................................ 22
Cutter disc blade adjustments ........................................................................................................................................................................................................................................................................... 23
07. Operation .................................................................................................................................................................................................................................................................... 24
08. Preparing the subsoiler for transportation ........................................................................................................................................................................................................ 25
09. Maintenance............................................................................................................................................................................................................................................................... 26
Lubrication......................................................................................................................................................................................................................................................................................................... 26
Bearings adjustments........................................................................................................................................................................................................................................................................................ 29
10. Cleaning....................................................................................................................................................................................................................................................................... 30
Tire pressure....................................................................................................................................................................................................................................................................................................... 30
11. Identication .............................................................................................................................................................................................................................................................. 31
Note: .................................................................................................................................................................................................................................................................................................................. 32

Instruction Manual ASDA 4
01. SAFETY RULES
WARNING WARNING WARNING
THIS ALERT SYMBOL INDICATES IMPORTANT SAFETY NOTES. WHENEVER YOU FIND IT IN THIS MANUAL, READ THE MESSAGE WITH ATTENTION TO AVOID
ANY ACCIDENT.
• Read this instruction manual carefully to
know the recommended safety rules.
• Only start the tractor operations, when
are you properly accommodated and with
the seat belt fasted.
• Never carry people over the tractor or
equipment.

Instruction Manual
5 ASDA
01. SAFETY RULES
WARNING WARNING
• There are risks of serious injury by tipping
when working on slopes
• Never use excessive speed.
• Before any equipment maintenance,
make sure that is properly stopped
• Avoid getting hit
ALCOHOL AND DRUGS MAY GENERATE LOSS OF REFLEX AND CHANGING OF OPERATOR FISICAL CONDITIONS. SO DO NOT WORK WITH THIS EQUIPMENT,
IN USE OF THIS SUBSTANCE.
ALCOHOL AND DRUGS MAY GENERATE LOSS OF REFLEX AND CHANGING OF OPERATOR FISICAL CONDITIONS. SO DO NOT WORK WITH THIS EQUIPMENT,
IN USE OF THIS SUBSTANCE.
ALCOHOL AND DRUGS MAY GENERATE LOSS OF REFLEX AND CHANGING OF OPERATOR FISICAL CONDITIONS. SO DO NOT WORK WITH THIS EQUIPMENT,
IN USE OF THIS SUBSTANCE.
ALCOHOL AND DRUGS MAY GENERATE LOSS OF REFLEX AND CHANGING OF OPERATOR FISICAL CONDITIONS. SO DO NOT WORK WITH THIS EQUIPMENT,
IN USE OF THIS SUBSTANCE.
ALCOHOL AND DRUGS MAY GENERATE LOSS OF REFLEX AND CHANGING OF OPERATOR FISICAL CONDITIONS. SO DO NOT WORK WITH THIS EQUI-
PMENT, IN USE OF THIS SUBSTANCE.
WARNING
• Do not work with the tractor if the front
bee without enough weight to the rear
equipment. There is tendency to lift , add
weights at front or front wheels.

Instruction Manual ASDA 6
BEBIDAS ALCOHOLICAS O ALGUNOS MEDICAMENTOS PUEDEN GENERAR LA PERDIDA DE REFLEJOS Y ALTERAR LAS CONDICIONES FÍSICAS DEL OPERA
DOR. POR ESTO, NUNCA TRABAJE CON ESTE EQUIPO, CASO ESTEA USANDOS ESTAS SUBSTANCIAS.
WARNING WARNING
• The hydraulic system operate with a high pressure uid, existing
risk of serious injuries or death, search for damaged hose every day
and replace it.
• Before coupling or uncou-
ple the hoses relief the pres-
sure, using the tractor’s con-
trol when it is turned o.
• Keep always away from the machine’s active elements (discs),
they are sharp and can cause accidents.
• When carrying out any ser-
vice on the discs, use safety
gloves on his hands.
01. SAFETY RULES

Instruction Manual
7 ASDA
The incorrect handling of the tractor engine can result in serious or fatal accidents. Before using the read carefully the instructions in this ma-
nual. Be sure that the person responsible for the operation is instructed about the correct handling and safety and has read and understood the
instruction manual concerning this machine.
WARNING
01- When operating the implement do not allow people to stand close or on the implement.
02- During assembly or disassembly of the discs section use protective gloves.
03- When coupling or uncoupling the hydraulic hose relieve the hydraulic circuit pressure.
04- Check out periodically the hoses condition. Where there is oil emptying change it immediately because the oil works under high pressure and
may cause serious damage.
05- Do not use large or daggy clothes because they can get caught on the implement.
06- When you start the tractor engine, be correctly placed at the operator seat and be aware of the correct and safety handling of both tractor and
implement. Always place the gearshift crank at the neutral position, turn o the gear of the power command and place the hydraulic commands at
the neutral position.
07- Do not turn on the tractor in a closed place without appropriate ventilation because the fumes from the fuel are is bad for health.
08- While maneuvering the tractor to clamp the implement be sure that there is enough space and nobody is too close, maneuver always in slow
gear and be ready to brake in case of emergency.

Instruction Manual ASDA 8
09- Do not carry out adjustments with the implement working.
10- When working over hilly areas try to keep the necessary stability. In case of instability reduce the acceleration, turn the wheels to the inclined
side of the land and never lift the implement.
11- Always use the tractor at safe speeds, especially when working in irregular or inclined areas, make sure the tractor is always in gear.
12- When using the tractor on the road, keep the brake pedal connected.
13- Do not work with the front tractor light. If there is a tendency to lift up add more weight in the front of the tractor at the front wheels.
14- When leaving the tractor, place the gearshift at the neutral position and apply the park brake. Never let clamped implements be hitched to the
tractor with the hydraulic system at the lifted position.
15- Drugs and alcohol will aect an operator’s alertness and coordination. Do not operate any engine under these conditions.
16- Explain the operation, inspection and maintenance instructions to those users or operators who can not read.

Instruction Manual
9 ASDA
02. COMPONENTS
01 - Hitch Shackle
02 - Hitch beam
03 - Hitch beam adjuster
04 - Discs
05 - Hydraulic piston
06 - Roller xation support
07 - Roller oscilation bar
08 - Roller compression
09 - Roller bearing
10 - Rod with complete automatic disarming
11 - Wheel
12 - Wheel articulation support
13 - Central frame
14 - Hydraulic hoses
15 - Hydraulic hoses support
ASDA SUBSOILER PLOWWITH AUTOMATIC SHANK
Figure 1
5
10
12
4
3
2
14
13 15
1
9
11
8
76

Instruction Manual ASDA 10
ASDACR SUBSOILER PLOUGH, REMOTE CONTROL ASDAH MOUNTED SUBSOILER PLOUGH WITH
AUTOMATIC SHANK
Figure 3Figure 2

Instruction Manual
11 ASDA
03. TECHNICAL SPECIFICATIONS
Model Nr of
Tynes Tynes Spacing (mm) Nr. of Discs Disc Diameter (ø) Working Width
(mm) Depth (mm) Approx. Weight
(Kg) Req. Tractor Power
(HP)
ASDAH
5 375 - - 1875 450 1070 100 - 125
ASDAH
7 375 - - 2625 450 1480 140 - 175
ASDAH
9 375 - - 3375 450 1800 180 - 225
ASDACR
5 375 - - 1875 450 1420 100 - 125
ASDACR
7 375 - - 2625 450 1825 140 - 175
ASDACR
9 375 - - 3375 450 1240 180 - 225
ASDACR
11 375 - - 4125 450 2700 220 - 275
ASDACR
13 375 - - 4875 450 3000 260 - 325
ASDADR
5 375 5 18” 1875 450 1850 100 - 125
ASDADR
7 375 7 18” 2625 450 2500 140 - 175
ASDADR
9 375 9 18” 3375 450 2900 180 - 225
ASDADR
11 375 11 18” 4125 450 3760 220 - 275
ASDADR
13 375 13 18” 4875 450 4200 260 - 325
ASDAH - Mounted subsoiler plough
ASDACR - Subsoiler plough, remote control
ASDADR - Subsoiler plough, remote control, with discs and roller
BALDAN reservase el derecho de cambiar las características técnicas de este producto sin prévio aviso.
Las especicaciones técnicas són aproximadas y informadas en condiciones normales de trabajo.

Instruction Manual ASDA 12
04. ASSEMBLY
01 -Check if all the components are into the box.
02 -The safest and easier way to assemble the equipment is have woo-
den horses or similar supports available.
TYNE ASSEMBLY
03 -Notice the frame the marked spots where the tyne assembly will be
attached on.
04 -Introduce the tyne assembly (1) onto the bar (2) put the bolts (3) and
tighten with the washers and nuts (4).
Figure 4

Instruction Manual
13 ASDA
Figures 5
ASDA 11 Tynes ASDA 7 Tynes ASDA 13 Tynes
05 -The draws bellow show the right way to assembly and all available versions of subsoilers.
06 -Notice that all models have an odd number of tyne assemblies. Start mounting the center unit rst and work your way out laterally. Observing the
375 mm spacement.
ASDA 5 Tynes ASDA 9 Tynes

Instruction Manual ASDA 14
07 -Place the coupling header (1) on the frame hitch (2) using the lock
pins (3) washer and cotter pin (4), assemble the regulator (5) in the
header, xing it with the lock pin (6), washer and cotter pin (7) and in
the frame with the lock pin (8) washer and cotter pin (9).
08 -Insert the piston (1) on the frame (2) with the lock pin (3) washer and
cotter pin (4) and on the wheel support with the lock pin (5) washer
and cotter pin (6).
09 -Mount the complete wheel (7) on the axle and x with the nuts (8).
ASSEMBLING THE HITCH BEAM ASSEMBLING THE WHEEL
Figure 6 Figure 7

Instruction Manual
15 ASDA
ASSEMBLING THE HYDRAULIC SYSTEM ASSEMBLING THE CUTTING DISCS
10 -Couple the valve (1) to the support (2), connect the hoses (3) bet-
ween the valve and the left piston (4), the hoses (5) on the right
piston (6) and the hoses (7) for the remote control. (Note the con-
nection diagram next on gure 08). Do not reverse the hose con-
nections. Make sure the hoses ends do not touch the ground).
11 -Couple the complete cutting disc (1) to the frame (2) using the scre-
ws (3) braces (4) washer and nut (5).
12 -The cutting discs must be assembled in alignment with the rods.
Figure 8 Figure 9

Instruction Manual ASDA 16
Figure 10
ASSEMBLING THE CRUSHING ROLL
13 -Place the support (1) on the structure (2) with the plate (3), washer
and nut (4).
14 -Place the sway bar (5) between the support (1) and lock it with the
pin (6), washer and lock (7).
15 -Couple the crushing roll (8) to the sway bar (5)
with the screw (9), washer and nut (10).
16 -Then, place the spring (11) between the sway
bar (5) and the support (1) using the pins (12),
washers and locks (13).

Instruction Manual
17 ASDA
05. HITCHING TOTHE TRACTOR
01 -Before hith the subsoiler, make sure if the tractor is ready to opera-
tion:
02 -Make sure if the tractor has the front and wheel weights.
03 -Ballast the wheels according to the manufactures specica-
tions.
HITCHING ASDACR / ASDADR
04 -Adjust the height of the coupling header
through the regulator (1). Couple the sub-
soiler to the tractor drawbar using the pin (2).
05 -To connect the hydraulic hoses (3) to connect
the hydraulic hoses.
Always hook up implements to the tractor on a at surface / easy acess
and manouverability, use the reduced gears and low acceleration.
Before turning on/o the hidraulic hoses, stop the tractor engi-
ne and release the pressure by the tractor commands. Beware
for accidents with surround people when releasing the pressu-
re with the equipment movement.
Figure 11
WARNING

Instruction Manual ASDA 18
1
“A”
“D”
“C”
“B”
HITCHING ASDAH
06 -To hitch the mounted model pro-
ceed the usual way using the 3
point hitch arms, rst the bottom
left, then the adjustable bottom
right and at last the top link.
07 -Hitch the bottom left arm with the
pin (1) gure 12 into the “A” su-
pport of the subsoiler.
08 -Hitch the 3rd point of the trac-
tor into the “B” support of the
subsoiler.
09 -Finally, using the “D” height regu-
lator leveler, hitch the inferior right
arm into the “C” support accor-
ding to the gure.
Figure 12
Table of contents
Other Baldan Farm Equipment manuals

Baldan
Baldan PNA 3000 User manual

Baldan
Baldan CRI-A User manual

Baldan
Baldan CRI-E User manual

Baldan
Baldan GTCR User manual

Baldan
Baldan CRI User manual

Baldan
Baldan CRSG 32 User manual

Baldan
Baldan SPDE CXP User manual

Baldan
Baldan CRSG 32 User manual

Baldan
Baldan CRSG 12 User manual

Baldan
Baldan MOVERE User manual
Popular Farm Equipment manuals by other brands

AG SPRAY
AG SPRAY LA9000 Operation & maintenance manual

Krone
Krone MX 310 GL Original operating instructions

Farmet
Farmet SOFTER SF1050PRO quick start

BE
BE AgriEase BE-PHDLG Operation manual

GREAT PLAINS
GREAT PLAINS 3P1006NT Original instructions

ANTTI
ANTTI Agrosec Optivol M11 Installation and operating instructions