manuals.online logo
Brands
  1. Home
  2. •
  3. Brands
  4. •
  5. Bayco
  6. •
  7. Work Light
  8. •
  9. Bayco 675 User manual

Bayco 675 User manual

BAYCO • 640 South Sanden Blvd. • Wylie, TX 75098 • 1-800-233-2155 • www.baycoproducts.com
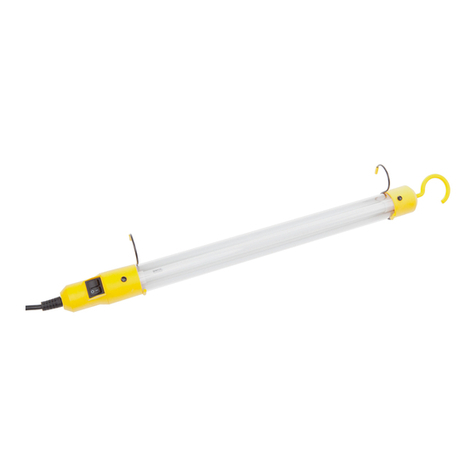
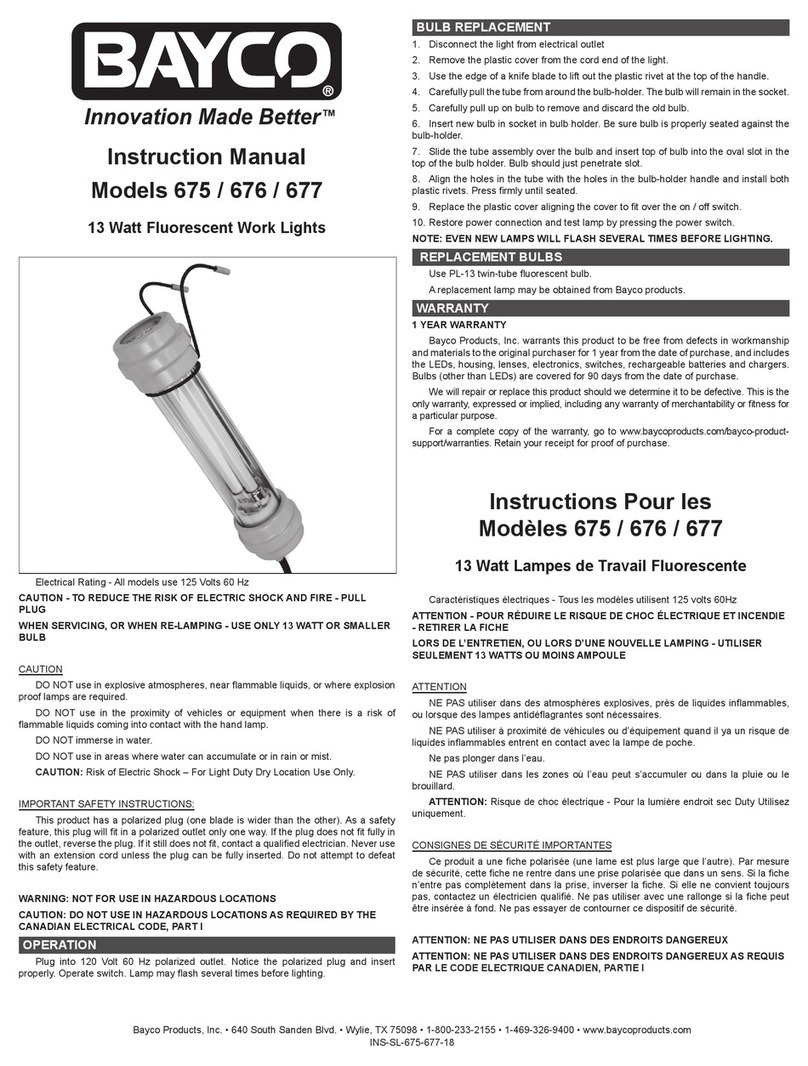
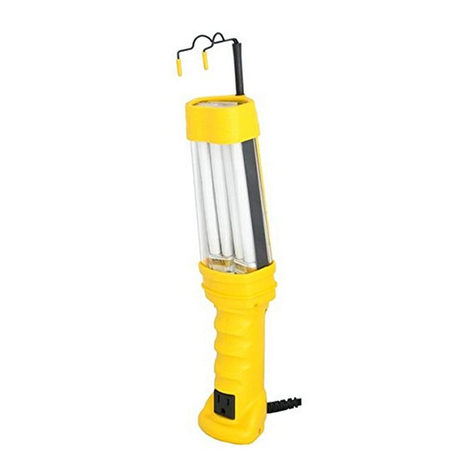
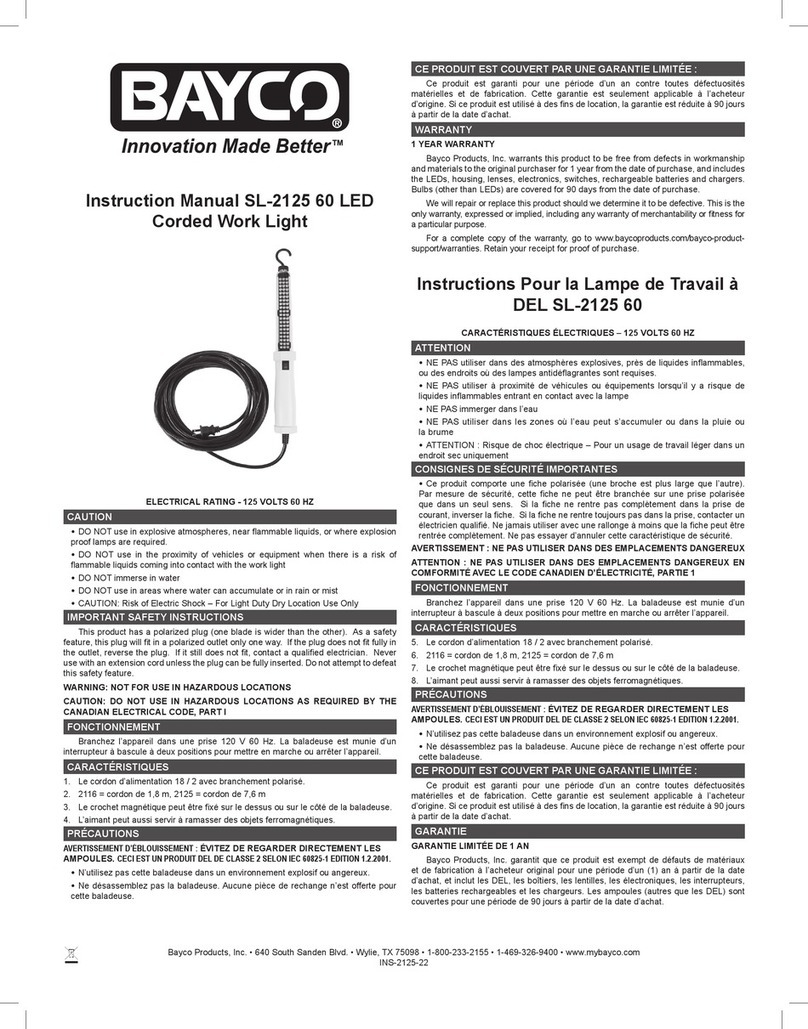
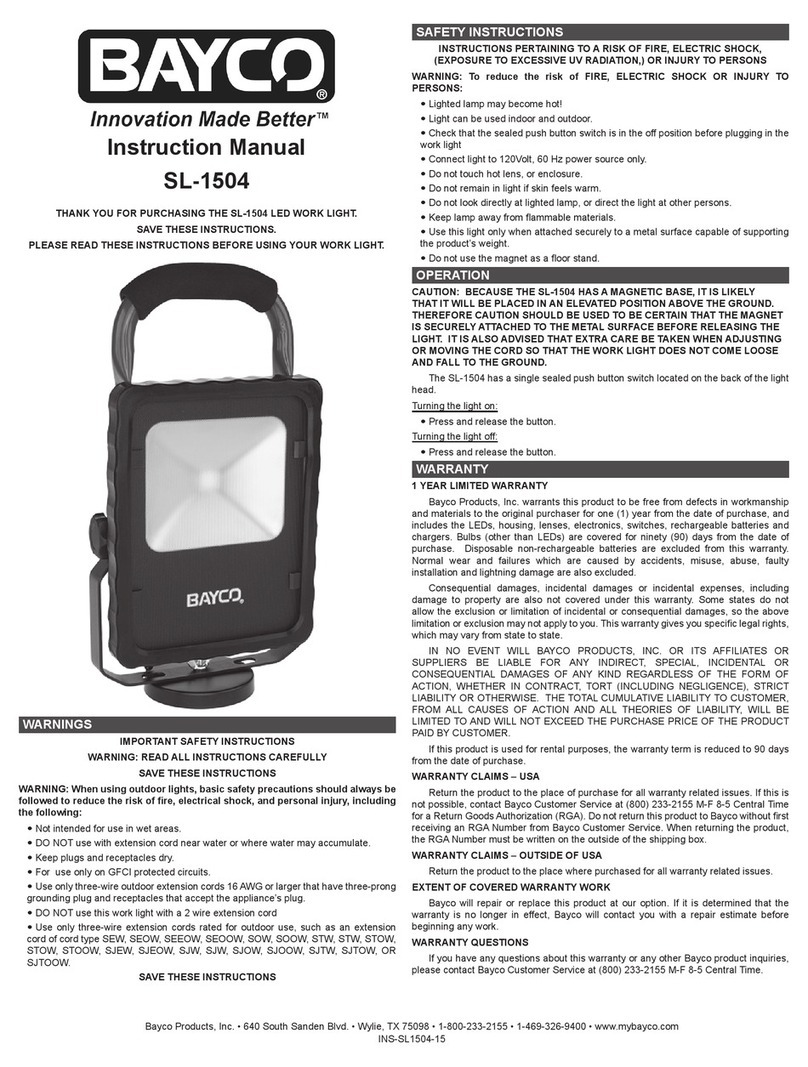
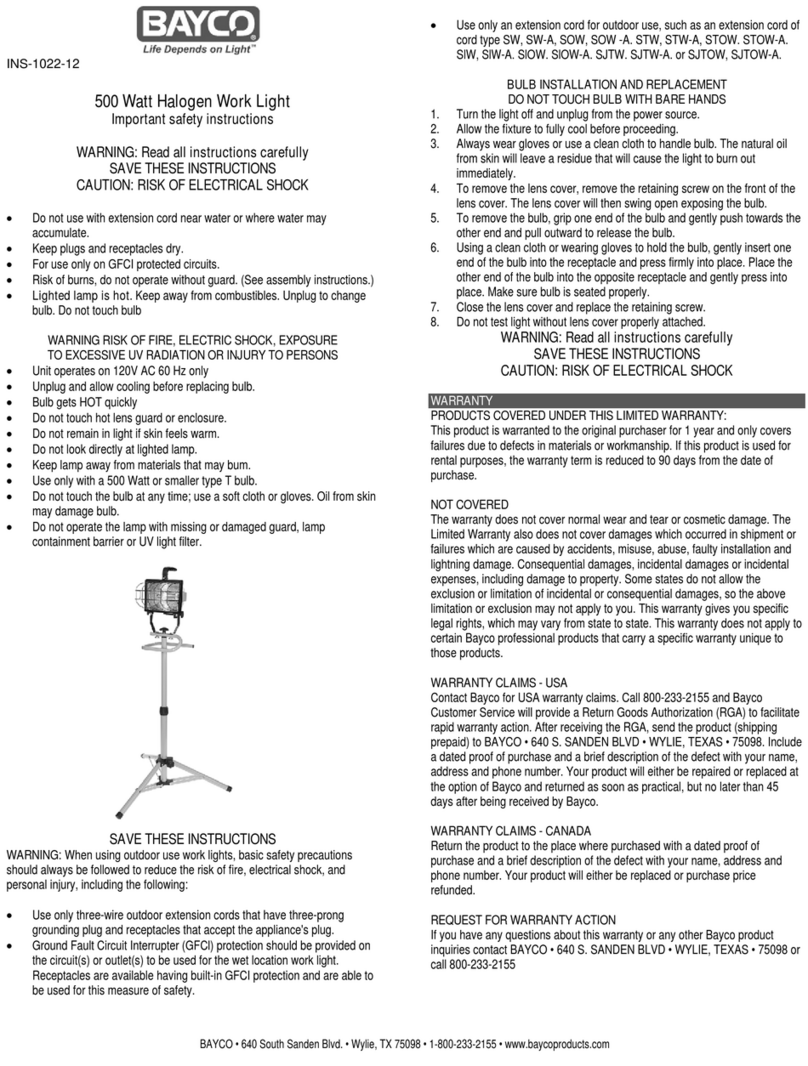
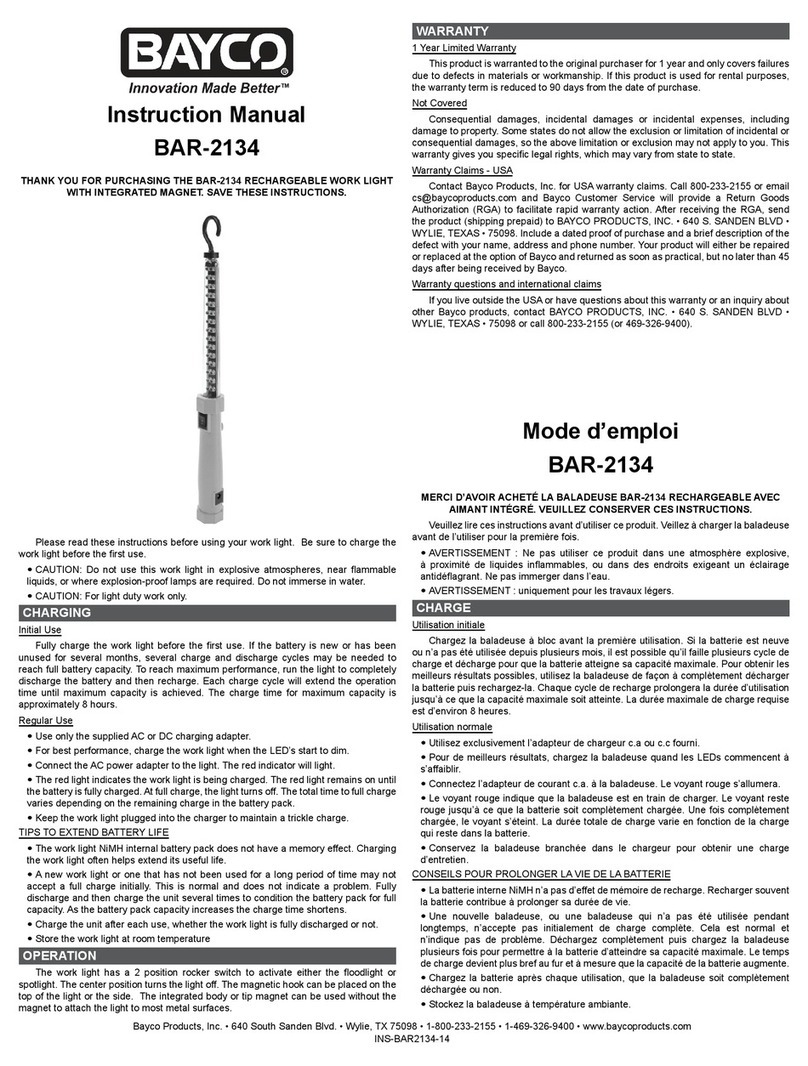
Instructions for Models 675 / 676 / 677
13 Watt Fluorescent Work Lights
INS-675-12
Electrical Rating - All models use 125 Volts 60 Hz
CAUTION - TO REDUCE THE RISK OF ELECTRIC SHOCK AND FIRE - PULL PLUG
WHEN SERVICING, OR WHEN RE-LAMPING - USE ONLY 13 WATT OR SMALLER
BULB
CAUTION
DO NOT use in explosive atmospheres, near flammable liquids, or where explosion proof
lamps are required.
DO NOT use in the proximity of vehicles or equipment when there is a risk of flammable
liquids coming into contact with the hand lamp
DO NOT immerse in water
DO NOT use in areas where water can accumulate or in rain or mist
CAUTION: Risk of Electric Shock – For Light Duty Dry Location Use Only
IMPORTANT SAFETY INSTRUCTIONS:
This product has a polarized plug (one blade is wider than the other). Asa safety feature,
this plug will fit in a polarized outlet only one way. If theplug does not fit fully in the outlet,
reverse the plug. If itstill does not fit, contact a qualified electrician. Never use with an
extension cord unless the plug can be fully inserted. Do not attempt to defeat this safety
feature.
WARNING: NOT FOR USE IN HAZARDOUS LOCATIONS
CAUTION: DO NOT USE IN HAZARDOUS LOCATIONS AS REQUIRED BY THE
CANADIAN ELECTRICAL CODE, PART I
OPERATION
Plug into 120 Volt 60 Hz polarized outlet. Notice the polarized plug and insert properly.
Operate switch. Lamp may flash several times before lighting.
BULB REPLACEMENT
1. Disconnect the light from electrical outlet
2. Remove the plastic cover from the cord end of the light.
3. Use the edge of a knife blade to lift out the plastic rivet at the top of the handle.
4. Carefully pull the tube from around the bulb-holder. The bulb will remain in the
socket.
5. Carefully pull up on bulb to remove and discard the old bulb.
6. Insert new bulb in socket in bulb holder. Be sure bulb is properly seated against the
bulb-holder.
7. Slide the tube assembly over the bulb and insert top of bulb into the oval slot in the
top of the bulb holder. Bulb should just penetrate slot.
8. Align the holes in the tube with the holes in the bulb-holder handle and install both
plastic rivets. Press firmly until seated.
9. Replace the plastic cover aligning the cover to fit over the on / off switch.
10. Restore power connection and test lamp by pressing the power switch.
NOTE: Even new lamps will flash several times before lighting.
REPLACEMENT BULBS
Use PL-13 twin-tube fluorescent bulb.
A replacement lamp may be obtained from Bayco products.
WARRANTY
PRODUCTS COVERED UNDER THIS LIMITED WARRANTY:
This product is warranted to the original purchaser for 1 year and only covers failures due
to defects in materials or workmanship. If this product is used for rental purposes, the
warranty term is reduced to 90 days from the date of purchase.
NOT COVERED
The warranty does not cover normal wear and tear or cosmetic damage. The Limited
Warranty also does not cover damages which occurred in shipment or failures which are
caused by accidents, misuse, abuse, faulty installation and lightning damage.
Consequential damages, incidental damages or incidental expenses, including damage
to property. Some states do not allow the exclusion or limitation of incidental or
consequential damages, so the above limitation or exclusion may notapply to you. This
warranty gives you specific legal rights, which may vary from state to state.
This warranty does not apply to certain Bayco professional products that carry a specific
warranty unique to those products.
WARRANTY CLAIMS - USA
Contact Bayco for USA warranty claims. Call 800-233-2155 and Bayco Customer
Service will provide a Return Goods Authorization (RGA) to facilitate rapid warranty
action. After receiving the RGA, send the product (shipping prepaid) to BAYCO • 640 S.
SANDEN BLVD • WYLIE, TEXAS • 75098. Include a dated proof of purchase and a brief
description of the defect with your name, address and phone number.Your product will
either be repaired or replaced at the option of Bayco and returned as soon as practical,
but no later than 45 days after being received by Bayco.
WARRANTY CLAIMS - CANADA
Return the product to the place where purchased with a dated proof of purchase and a
brief description of the defect with your name, address and phone number.Your product
will either be replaced or purchase price refunded.
REQUEST FOR WARRANTY ACTION
If you have any questions about this warranty or any other Bayco product inquiries
contact BAYCO • 640 S. SANDEN BLVD • WYLIE, TEXAS • 75098 or call 800-233-2155
Instructions Pour les Modèles 675 / 676 / 677
13 Watt Lampes de Travail Fluorescente
Caractéristiques électriques - Tous les modèles utilisent 125 volts 60Hz
ATTENTION - POUR RÉDUIRE LE RISQUE DE CHOC ÉLECTRIQUE ET INCENDIE -
RETIRER LA FICHE LORS DE L'ENTRETIEN, OU LORS D'UNE NOUVELLE
LAMPING - UTILISER SEULEMENT 13 WATTS OU MOINS AMPOULE
ATTENTION
NE PAS utiliser dans des atmosphères explosives, près de liquides inflammables, ou
lorsque des lampes antidéflagrantes sont nécessaires.
NE PAS utiliser à proximité de véhicules ou d'équipement quand il ya un risque de
liquides inflammables entrent en contact avec la lampe de poche
Ne pas plonger dans l'eau
NE PAS utiliser dans les zones où l'eau peut s'accumuler ou dans la pluie ou le brouillard
ATTENTION: Risque de choc électrique - Pour la lumière endroit sec Duty Utilisez
uniquement
CONSIGNES DE SÉCURITÉ IMPORTANTES
Ce produit a une fiche polarisée (une lame est plus large que l'autre). Par mesure de
sécurité, cette fiche ne rentre dans une prise polarisée que dans un sens. Si la fiche
n'entre pas complètement dans la prise, inverser la fiche. Si elle ne convient toujours
pas, contactez un électricien qualifié. Ne pas utiliser avec une rallonge si la fiche peut
être insérée à fond. Ne pas essayer de contourner ce dispositif de sécurité.
ATTENTION: NE PAS UTILISER DANS DES ENDROITS DANGEREUX
ATTENTION: NE PAS UTILISER DANS DES ENDROITS DANGEREUX AS REQUIS
PAR LE CODE ELECTRIQUE CANADIEN, PARTIE I
FONCTIONNEMENT
Branchez dans une prise polarisée de 120 V, 60 Hz. Insérez correctement la fiche
polarisée.
AMPOULE DE RECHANGE
1. Débrancher la lumière de la prise électrique
2. Retirez le couvercle en plastique de la fin du cordon de la lumière.
3. Utilisez le bord d'une lame de couteau pour soulever le rivet en plastique au sommet
de la poignée.
4. Retirez délicatement le tube à travers le bulbe titulaire. L'ampoule restera dans le
prise.
5. Tirez doucement sur l'ampoule pour enlever et jeter la vieille ampoule.
6. Insérez la nouvelle ampoule dans la prise en support de l'ampoule. Soyez sûr
ampoule est correctement placé contre le bulbe-titulaire.
7. Faites glisser le tube sur l'ampoule et insérez haut de l'ampoule dans la fente ovale
dans le haut de la douille de lampe. Ampoule devrait juste pénètrent sous.
BAYCO • 640 South Sanden Blvd. • Wylie, TX 75098 • 1-800-233-2155 • www.baycoproducts.com
8. Alignez les trous dans le tube avec les trous dans le manche bulbe titulaire et
installer les deux rivets en plastique. Appuyez fermement jusqu'à assis.
9. Remettez le couvercle en plastique alignant le couvercle pour s'adapter sur le bouton
marche / arrêt.
10. Rétablissez la connexion d'alimentation et lampe de test en appuyant sur
l'interrupteur d'alimentation.
REMARQUE: Même les ampoules neuves clignoteront à plusieurs reprises avant de
s'allumer.
AMPOULES DE RECHANGE
Utilisez une ampoule fluorescente à deux tubes PL-13.
Bayco offre des ampoules de rechange.
DIRECTIVES POUR
CE PRODUIT EST COUVERT PAR UNE GARANTIE LIMITÉE :
Ce produit est garanti pour une période d'un an contre toutes défectuosités matérielles et
de fabrication. Cette garantie est seulement applicable à l'acheteur d'origine. Si ce
produit est utilisé à des fins de location, la garantie est réduite à 90 jours à partir de la
date d'achat.
NON COUVERT
La garantie ne couvre pas l'usure normale et les dommages cosmétiques. La garantie ne
couvre pas les dommages survenus en cours d'expédition ou les défectuosités causées
par un accident, une utilisation abusive, une mauvaise installation ou la foudre.
Dommages indirects, consécutifs ou frais accessoires, y compris les dommages à la
propriété. Certains états ne permettentpas l'exclusion ou la limitation des dommages
indirects ou consécutifs, la limitation ou l'exclusion peut ne pas s'appliquer à vous.Cette
garantie vous donne des droits légaux précis qui peuvent varier d'un état à l'autre.
Cette garantie ne s'applique pas à certains produits Bayco pour professionnels qui
bénéficient d'une garantie unique.
RÉCLAMATIONS AU TITRE DE LA GARANTIE - États-Unis
Communiquez avec Bayco pour les réclamations au titre de la garantie aux États-Unis.
Appelez au 1 800 233-2155 pour obtenir un numéro d'autorisation de retour de
marchandises afin de faciliter le traitement de la réclamation. Une fois le numéro
d'autorisation reçu, expédiez le produit (port payé) à BAYCO • 640 S.SANDEN BLVD •
WYLIE, TEXAS • 75098. Incluez une brève description du problème ainsi que vos
coordonnées, en incluant le numéro de téléphone. Le produit sera remplacé ou réparé, à
la discrétion de Bayco, puis expédié dès que possible, sans toutefois dépasser la limite
de 45 jours après réception chez Bayco.
RÉCLAMATION AU TITRE DE LA GARANTIE – Canada
Retournez le produit ainsi qu'une preuve d'achat datée, une brève description du
problème et vos coordonnées, en incluant le numéro de téléphone, à l'emplacement où il
a été acheté. Le produit sera remplacé ou le prix d'achat sera remboursé.
RÉCLAMATION D'ACTION EN GARANTIE
Si vous avez des questions au sujet de cette garantie ou au sujet des produits Bayco,
communiquez avec nous à l'adresse BAYCO, 640 S. SANDEN BLVD, WYLIE (TEXAS),
75098 ou par téléphone au 1 800 233-2155
Instrucciones Para Los Modelos 675 / 676 / 677
13 Watt Luces Fluorescentes de Trabajo
Clasificación eléctrica - Todos los modelos usan 125 voltios 60 Hz
ADVERTENCIA - PARA REDUCIR EL RIESGO DE DESCARGAS ELÉCTRICAS Y
FUEGO - PULL ENCHUFE AL DAR SERVICIO O CUANDO CAMBIO DE LA LÁMPARA
- UTILICE SÓLO 13 VATIOS O MENOR BOMBILLA
PRECAUCIÓN
NO lo use en atmósferas explosivas, cerca de líquidos inflamables, o donde las
lámparas a prueba de explosión son obligatorios.
NO lo use en la proximidad de vehículos o equipos cuando hay un riesgo de líquidos
inflamables entren en contacto con la lámpara de mano
No lo sumerja en agua
NO lo use en áreas donde el agua se puede acumular o en la lluvia o la niebla
PRECAUCIÓN: Riesgo de descarga eléctrica - For Light lugar seco Deber uso exclusivo
INSTRUCCIONES DE SEGURIDAD
Este producto tiene un enchufe polarizado (una pata es más ancha que la otra).Como
medida de seguridad, este enchufe calzará en un tomacorriente polarizado de una sola
manera. Si el enchufe no encaja completamente en el tomacorriente, invierta el enchufe.
Si aún así no encaja, póngase en contacto con un electricista calificado. Nunca utilice
con un cable de extensión a menos que el enchufe pueda insertarse completamente. No
intente anular esta característica de seguridad.
ADVERTENCIA: NO PARA USO EN LUGARES PELIGROSOS
PRECAUCIÓN: NO UTILICE EN LUGARES PELIGROSOS QUE PRESCRIBE EL
CÓDIGO ELÉCTRICO CANADIENSE, PARTE I
FUNCIONAMIENTO
Conectar a 120 voltios 60 Hz polarizado. Aviso de la clavija polarizada e insertar
correctamente. Operar el interruptor. Lámpara puede parpadear varias veces antes de
encender.
BOMBILLA DE REPUESTO
1. Desconectar la luz de la toma de corriente eléctrica
2. Quite la cubierta de plástico del extremo del cordón de la luz.
3. Utilice el borde de la hoja de un cuchillo para levantar el plástico del remache en la
parte superior del mango.
4. Saque con cuidado el tubo de alrededor de la bombilla del titular. La bombilla se
mantendrá en el zócalo.
5. Con cuidado, tire hacia arriba de goma para retirar y desechar la lámpara vieja.
6. Inserte la nueva bombilla en el zócalo en el portalámparas. Asegúrese de bulbo está
bien asentada en contra de la bombilla del titular.
7. Deslice el conjunto del tubo sobre el bulbo y la inserción superior del bulbo en la
ranura oval en la parte superior del soporte de la bombilla. Bombilla sólo deben
penetrar en la ranura.
8. Alinear los agujeros en el tubo con los agujeros de la manija de bulbo titular e instale
remaches de plástico. Presione con firmeza hasta que se asiente.
9. Vuelva a colocar la cubierta de plástico alineación de la cubierta para caber en el
interruptor on / off.
10. Restaurar la conexión eléctrica y una lámpara de prueba pulsando el interruptor de
encendido
NNOTA: A pesar de las nuevas lámparas parpadea varias veces antes de encender.
BOMBILLAS DE REPUESTO
Use PL-13 de doble tubo tubo fluorescente.
Una lámpara de repuesto se pueden obtener a partir de productos Bayco.
POLÍTICA DE GARANTÍA
PRODUCTOS CUBIERTOS CONFORME A ESTA GARANTÍA LIMITADA
Estos productos son garantizados al comprador original por 1 año y únicamente cubren
fallas debido a defectos en materiales o habilidad. Si este producto es usado para
objetivo de alquiler, el término de garantía es reducido hasta 90 días de la fecha de la
compra.
NO CUBIERTO
La garantía no cubre el desgaste normal o el daño cosmético. La Garantía Limitada
tampoco cubre daños que ocurrieron durante el embarque o fallas causadas por
accidentes, mal uso, abuso, instalación defectuosa y daño de iluminación. Daños
consiguientes, daños secundarios o gastos incidentes, incluyendo daño a la propiedad.
Algunos estados no permiten la exclusión o la limitación de daños secundarios o
consiguientes, de tal manera que dicha limitación o la exclusión pueden no aplicar a
usted. Esta garantía le da derechos legales específicos, los cuales pueden variar de
estado a estado.
RECLAMACIONES DE GARANTÍA - EE. UU
Póngase en contacto con Bayco para reclamaciones de garantía. Llame al 800-233-
2155 y el Departamento de Servicio al Cliente de Bayco le proporcionará una
Autorización de Regreso de Mercancía (RGA) para facilitar la acción de garantía rápida.
Después de recibir la Autorización de Regreso de Mercancía (RGA), envíe el producto
(embarque prepagado) a BAYCO • 640 S. SANDEN BLVD • WYLIE, TEXAS • 75098.
Incluya una prueba de compra fechada y una breve descripción del defecto con su
nombre, dirección y número de teléfono. Su producto será ya sea reparado o
reemplazado a la opción de Bayco y será regresado tan pronto como sea práctico, pero
no después de 45 días de ser recibido por Bayco.
RECLAMACIONES DE GARANTÍA - CANADÁ
Devuelva el producto al lugar donde lo compró con una prueba de compra fechada y una
breve descripción del defecto con su nombre, dirección y número de teléfono. Su
producto será ya sea reemplazado o el precio de compra reembolsado.
SOLICITUD DE ACCIÓN DE GARANTÍA
Por favor dirija todas las solicitudes para acción en esta garantía o cualquier otra
pregunta del producto a: BAYCO • 640 S. SANDEN BLVD • WYLIE, TEXAS • 75098 •
llame al 800-233-2155
This manual suits for next models

2

Other Bayco Work Light manuals

Bayco Night Stick NSP-1202 User manual

Bayco

Bayco Night Stick NSP-1202 User manual

Bayco SL-1022 User manual

Bayco

Bayco SL-1022 User manual

Bayco 450 Series User manual

Bayco

Bayco 450 Series User manual

Bayco SL-1082 User manual

Bayco

Bayco SL-1082 User manual

Bayco 506-507-520-550 User manual

Bayco

Bayco 506-507-520-550 User manual

Bayco SL-866 User manual

Bayco

Bayco SL-866 User manual

Bayco HIPower SLR-2134 User manual

Bayco

Bayco HIPower SLR-2134 User manual

Bayco Innovation Made Better SL-2135 User manual
Bayco

Bayco Innovation Made Better SL-2135 User manual

Bayco 908 User manual

Bayco

Bayco 908 User manual

Bayco SL-1002 User manual

Bayco

Bayco SL-1002 User manual

Bayco NIGHTSTICK Dual-Light Xtreme Lumens... User manual

Bayco

Bayco NIGHTSTICK Dual-Light Xtreme Lumens... User manual

Bayco Night Stick NSR-2492 User manual

Bayco

Bayco Night Stick NSR-2492 User manual

Bayco 2134 User manual

Bayco

Bayco 2134 User manual

Bayco SL-1003 User manual

Bayco

Bayco SL-1003 User manual

Bayco SL-1512 User manual

Bayco

Bayco SL-1512 User manual

Bayco SL-1514 User manual

Bayco

Bayco SL-1514 User manual

Bayco NightStick XPR-5580G User manual

Bayco

Bayco NightStick XPR-5580G User manual

Bayco SL-866 User manual

Bayco

Bayco SL-866 User manual

Bayco SL-864 User manual

Bayco

Bayco SL-864 User manual

Bayco 2134 User manual

Bayco

Bayco 2134 User manual

Bayco 9000 User manual

Bayco

Bayco 9000 User manual

Bayco CT-964 User manual

Bayco

Bayco CT-964 User manual

Bayco Nightstick NSR 2166 Series User manual

Bayco

Bayco Nightstick NSR 2166 Series User manual

Bayco BAR-2372 User manual

Bayco

Bayco BAR-2372 User manual

Popular Work Light manuals by other brands

Seoul Semiconductor WICOP 2 Product data sheet

Seoul Semiconductor

Seoul Semiconductor WICOP 2 Product data sheet

Cooper Lighting PQS45 instruction manual

Cooper Lighting

Cooper Lighting PQS45 instruction manual

Command Light KNIGHT KL415A manual

Command Light

Command Light KNIGHT KL415A manual

Abus SHLM10010 quick guide

Abus

Abus SHLM10010 quick guide

TOOLCRAFT 2435118 operating instructions

TOOLCRAFT

TOOLCRAFT 2435118 operating instructions

Ryobi RLCL18-0 manual

Ryobi

Ryobi RLCL18-0 manual

Toparc COB 060883 Translation of the original instructions

Toparc

Toparc COB 060883 Translation of the original instructions

Halla Leira Installation instruction

Halla

Halla Leira Installation instruction

RAVEMEN TR200 user manual

RAVEMEN

RAVEMEN TR200 user manual

Brandson 304333 user manual

Brandson

Brandson 304333 user manual

ATD Tools ATD-500 instructions

ATD Tools

ATD Tools ATD-500 instructions

Deluce Lighting LEDSTRIPKIT/WH Fitting instructions

Deluce Lighting

Deluce Lighting LEDSTRIPKIT/WH Fitting instructions

Sammode EINSTEIN-D user guide

Sammode

Sammode EINSTEIN-D user guide

Wetelux 86 37 90 instruction manual

Wetelux

Wetelux 86 37 90 instruction manual

Pelican 9470 RALS user manual

Pelican

Pelican 9470 RALS user manual

Sealey CP20VWL quick start guide

Sealey

Sealey CP20VWL quick start guide

Ecco EW2530 Series Installation and operation instructions

Ecco

Ecco EW2530 Series Installation and operation instructions

kobi LED WL user manual

kobi

kobi LED WL user manual

manuals.online logo
manuals.online logoBrands
  • About & Mission
  • Contact us
  • Privacy Policy
  • Terms and Conditions

Copyright 2025 Manuals.Online. All Rights Reserved.