BCN3D BCN3DR User manual

R

2
RepRapBCN
User Manual
1. PRIOR INFORMATION
Specifications
FFF Technology
Compliance
Safety
Safety Warnings
2. SETTING UP YOUR BCN3DR
Tools and accessories
BCN3DR diagram
3. STARTUP PROCESS
Calibration
Loading filament
Working with your BCN3DR
4. LCD CONTROL
Home screen
Home menu
5. STL FILES
Obtaining STL files
Editing and repairing an STL file
Netfabb interfance
Repairment
Orientation and move home
G-CODE generation
Slic3r configuration
Slic3r first steps
Transfering our G-Code to the BCN3DR
6. PRINTING FROM USB AND SD CARDS
7. FILAMENTS
PLA
8. FIRMWARE
What is it and when to update it?
When it is necessary to update the firmware?
Downloading Arduino’s IDE
9. TROUBLESHOOTING
10. PRINT QUALITY DIAGNOSTICS
11. MAINTENANCE
12. TIPS AND TRICKS
13. TECHNICAL SUPPORT AND CUSTOMER SERVICE
14. GLOSARY
15. WARRANTY, REFUNDS AND REPLACEMENT POLICY
16. TERMS OF SERVICE
3
3
4
5
6
8
9
10
12
12
13
14
14
14
16
18
18
19
20
21
22
22
23
23
26
26
28
28
28
28
29
29
31
33
35
35
36
36
38
38
3
INDEX

32
RepRapBCN
User Manual
Extrusion Fused Filament Fabrication (FFF)
Ø370 mm x 560 mm
7 kg (without spool)
Diameter: 170mm
Height: 180mm
1
0,1-0,35mm (with standard 0,4mm nozzle)
0,2-0,5mm (with 0,6mm nozzle)
X Y and Z axis: 0,05mm
15-35ºC
260ºC
3mm
PLA
Arduino Mega 2560 + RAMPS 1.4
SD Card (autonomous operation)
USB Cable (controlled through Repetier Host)
Específico BCN3DR (basado en Marlin)
STL
Slic3r, Cura
AC 100–240 V, ~0.2-0.4 amps, 50–60 Hz
60W
3
1. PRIOR INFORMATION
Specifications
Print Technology:
Physical Dimensions:
Weight:
Printing Volume:
Number of extruders:
Layer height:
Positioning resolution:
Working temperature:
Max. extruder temperature:
Filament diameter:
Compatible materials:
Electronics:
Connectivity:
Firmware:
Compatible files:
Code converter software:
AC Input:
Power requirements:

4
RepRapBCN
User Manual
FFF Technology
BCN3DR is a 3D printer based on fused filament fabrication additive manufacturing technology, consisting in the
deposition of melted material layer by layer based on a previously divided digital model.
The head makes the necessary movements to deposit a layer of material, then a slight vertical movement to continue
with the next layer. The process is repeated until the full object is completed.
Through rotation, the extruder uses a
hobbed bolt to insert the right amount
of filament
4
The filament is lead to
the extruder through
the bowden
The heatblock fuses the filament
to a workable temperature
The printing surface
remains still
The material is distributed through
the model when necessary
The hot filament is extracted through
the extruder with a smaller diamater

54
RepRapBCN
User Manual
Compliance
Fundació Privada Centre Cim hereby states that BCN3DR complies with the essential requirements and other rele-
vant provisions of the following Directives:
Low Tension Directive 2006/95/CE
Directive on machinery 2006/42/CE
Directive RoHS2011/65/UE
5

6
RepRapBCN
User Manual
6
Safety
To avoid possible residual risks for the user , please read carefully the following safety measures.
REPRAPBCN IS EXEMPTED OF ANY LIABILITY IF THE USER DOES NOT FOLLOW THE FOLLOWING HANDLING
INSTRUCTIONS:
• Very important. Like with any other appliance, do not touch the terminals of the cables connected to
the main. The voltage is 230V and there is a risk of electrocution. Other cables from the machine working
at 12V and present no risk.
• This machine produces and emits radio frequencies during use. It is important to install and use
the equipment according to the instructions in this manual to avoid harmful interference to domestic
appliances such as television or radio. If the machine causes interference, increase the separation bet-
ween it and other appliances.
• Print materials are not innocous and may emit toxic fumes. Always print in open or vented spaces.
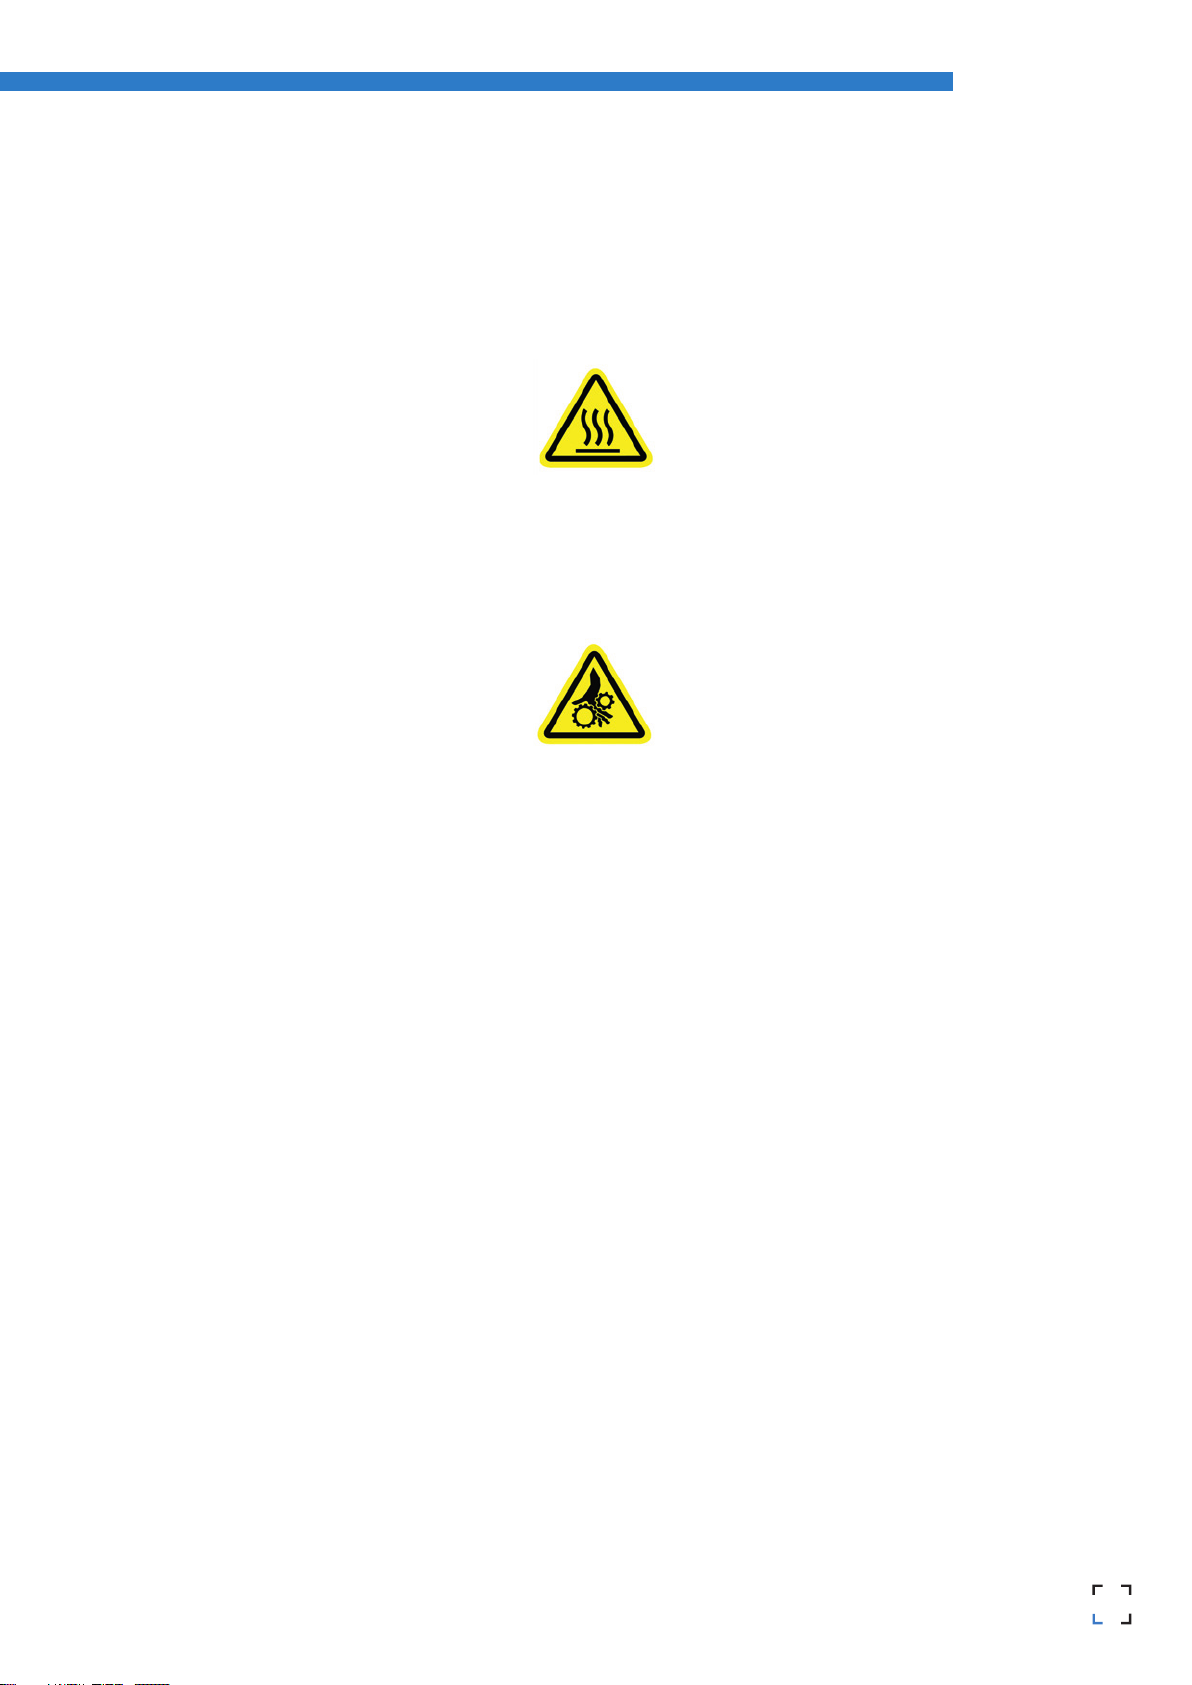
• Do not breathe closer to 25cm from the extruder head or heads when printing.
• Do not place any object or body part between the moving parts of the machine when
functioning.
• Do not touch its hot parts (hotbed and hotend) when the machine is turned on, or within 15
minutes of operation.
• Do not connect or disconnect any device and/or electrical connector when the machine is on.
• Oversee proper function of the machine during operation.
• In case of an emergency, stop the machine using the STOP button and unplug.

76
RepRapBCN
User Manual
Safety warnings
The following signs have been arranged on the printer to warn users about areas of potential risk arising from its use or
possible actions that are not recommended.
Hot Surface, allow it to cool down before handling.
Moving parts, danger of crushing, disconnect before handling
7

8
RepRapBCN
User Manual
2. SETTING UP YOUR BCN3DR
Unboxing
The BCN3DR kit is delivered inside a properly secured cardboard box.
• Printed parts
• Sheet metal panels
• Rods and bars
• NEMA 17 motors
• Arduino Mega , Ramps 1.4, LCD and Pololus drivers
• Wiring
• Fans
• Screws , bearings and belts
• Bowden tube and BCNozzle
• Glass printing surface
• SD card
• Power supply cable
• Power supplier
• 1Kg PLA spool
• Adhesive spray (3DLAC)
• Tools
8

98
RepRapBCN
User Manual
Tools and accessories
The BCN3DR comes with a kit with every tool necessary to build the printer from scratch included. It also includes a
fixing spray specially design for 3d printing.
Allen wrenches
set
Flat screwdriver Phillips screwdriver
9
Pliers

10
RepRapBCN
User Manual
BCN3DR diagram
1. LCD Screen
2. SD Card Slot
3. Hot end
4. Extruder rod guides
5. Lineal guides
6.
7.
9.
3.
10.
2.
11.
1.
4.
8.
5.
Left viewPerspective
10
6. Endstop
7. Stepper motors
8. Power supply
9. ON/OFF button
10. Spool holder
11. Extruder

1110
RepRapBCN
User Manual
Hot end
1. Heatsink
2. Heat break
3. Heatblock
4. Nozzle
5. Hotend fan
Extruder
6. Idler
7. Tightening screws
8. Bowden tube
9. Pneufit
Electronics
10. Drivers (Pololus)
11. Arduino + RAMPS
12. USB connector
1.
8.
9.
6.
10.
11.
12.
2.
7.
4.
3.
5.

12
RepRapBCN
User Manual
3. STARTUP PROCESS
Hotbed height calibration
For a proper use, the nozzle movement must be parallel to the Hotbed Surface.
To achieve that, there are three screws available to calibrate its orientation.
There is a risk of the nozzle hitting the hotbed glass so the first layer not sticking on its surface when the base is decalibra-
ted. The following steps must be followed:
1. Click on Autohome (Prepare > Autohome) so the printer axes move to their initial position.
2. Tighten the three M5 screws located on the printing surface to compress the springs holding the base in order to
lower it.
3. Untighten the same screws five turns so the nozzle does not collide with the glass in preparation for the next step.
4. Click on Prepare > Move Axis > 1 mm > Move Z to move the extruder platform to Z:+000.00 mm.
5. Move the nozzle closer to the X tightening screw following the glass surface. To do that, click on Prepare > Move
Axis > 1 mm > Move X and set it to X: -085.0mm.
6. Untighten once more the closest screw until the nozzle tip is 0.2mm from the glass. Use a folded paper to check
the distance, at 0.2mm it should slightly graze both the nozzle and the glass.
7. Move the nozzle close to the front tightening screw. To do that, click on Prepare > Move Axis > 1mm > Move X and set it
to X: +060.0mm and in menu Y set it to Y: -060.0mm.
8. Repeat the levelling process using a folded paper.
9. Move the nozzle close the rear tightening screw. Follow the same
procedure and use the values X: +045.0mm and Y: +060.0mm.
10. Repeat the levelling process using a folded paper.
11. To finish up, move the nozzle back to the first screw leveled using
the values X: -085.0mm and Y: +000.0mm.
12. Once again, level it using a folded paper.
x0
z
y

1312
RepRapBCN
User Manual
Loading filament
One of the more common operations in our BCN3DR will be, for several reasons, loading and unloading filament: a
change of color, a change of material, using a fresh spool, cleaning, maintenance...
• Unloading:
1. Heat the extruder selecting Preheat PLA in the menu.
2. Click on Prepare > Move Axis > 1 mm > Extruder and rotate the wheel slightly clockwise to extrude a few milli-
metres of material. This procedure will help prevent jams.
3. Click on Prepare > Move Axis > 1 mm > Extruder and rotate the wheel anticlockwise a 100mm moving the gear a
few steps back until the filament is free.
4. Untighten the two idler screws on the extruder.
5. Manually extract all the filament from the Bowden tube.
• Loading:
Once the thread is out, disconnect the Bowden tube from the hotend connector. The easiest way to do that is by
following these steps:
1. Tighten the Bowden tube to the end from below.
2. Manually open the latch taking care not to crush the tube.
3. Pull the tube out of the connector
4. Untighten the two idler screws on the extruder.
5. Select Preheat PLA in the menu and insert the filament along the whole tube until 20mm stick out of it.
6. With the help of some pliers, insert the plastic thread into the hotend until filament is extruded through the
nozzle. If necessary, push the filament from the extruder deeper inside the tube.
7. Once the nozzle is full of filament, grab the end sticking out of the extruder and pull it out while, at the same
time, inserting the tube into the connector.
8. Once the Bowden tube is firmly held by the connector, slightly tighten the idler screws by hand.
9. Once this is done, the filament is loaded and the machine ready to print.

14
RepRapBCN
User Manual
E 26/0o
SD
BCN3DR ready.
___ __ __
%
FR
140% Z000.0
:
4. LCD CONTROL
The BCN3DR can be operated from its LCD menu, a single button combining two movements:
• Turn to move through the menu.
• Click to select desired option.
Adjacently to the control button there is an emergency red button to stop the machine in case of malfunction. It
stops the printer but keeps the screen and fans on. Once pressed, the printer resets itself to resume use.
Home Screen
The main screen reports on the status of the printer at the time of the printing currently in progress.
1. Printing speed (Fr)
2. Printing height indicator (Z)
3. Percentage of printing program read (SD)
4. Status bar and time elapsed
5. Notifications
6. Target/Current temperature
1.
6.
3
5.
2.
4.

1514
RepRapBCN
User Manual
Printing Speed (Fr)
The center left value indicates printing speed. By default a 100% value is shown, meaning it is printing at the specified
value in the executed printing program.
This value is modifiable at any time, even when not printing, by just turning the control button. Thus, with a 150%
value it will print 1,5 times faster than stipulated in the printing program.
NOTE: Varying the printing speed modifies the motors speed proportionally and directly to the printing velocity, affecting only
axes X, Y, Z and the extruder but no the temperature, therefore, printing problems can appear when increasing or decreasing
speed to a large degree. It is not recommended to modify this value by more than 50%..
Printing height indicator (Z)
The center right value indicates the printing head height.
NOTE: This value might be incorrect when mesured just after switching the printer on, Z=0 actually being the point at
which the printer stopped last time it was used.
Percentage of printing program read (SD)
In the lower part of the screen the percentage of program read is shown. Notice that this value states the percentage
of Gcode lines performed, not the percentage of the object being printed.
Status bar and time elapsed
In the lower right corner, a status bar shows the same information as before.
Above it, time elapsed since printing process started is shown.
Notifications
Last line shows different messages noticing the processes being carried out by the machine.
Actual and target temperature
In the upper left corner four different temperatue values can be visualised, indicating target temperature (up), actual
temperatures mesured by the thermistors (down), hotend temperature (left) and hotbed temperature (right).

16
RepRapBCN
User Manual
Home menu
To enter the menu, click the wheel from the Home Screen.
Three options are found: Prepare, Control, Print from SD/No SD (according to whether the SD has been inserted into
the slot or not).
http://www.reprap-electronics.de/
Prepare menu
Prepare allows you to operate the machine without being actually printing . The following options are found:
• DisableSteppers: Turns the motors off, easing the manual movement of the hotbed and printing head.
• Autohome: Positions the printing head in its home position.
NOTE: Before selecting this option, make sure nothing obstructs the movement of all the axes. Likewise, it is necessary to
perform the calibration process before selecting this option.
• Preheat: Unfolds a list of several materials. Selecting one of them makes the printer preheat to the proper wor-
king temperature for said material.
• Cooldown: Turns off the power of the heating parts.
NOTE: The machine cools down naturally, so the hot parts could be burning for a while.
• Move Axis: It controls axes movement. Select the distance and the axis. To move the axis, turn the control button.
Rotate clockwise to move in the positive direction, anticlockwise for the negative one.
NOTE: Before clicking on this option make sure nothing is blocking movement along all the axes. E axis will not move if the
extruder is cooler than a 150ºC.
Info screen
Prepare
Control
No SD Card
Main
Disable steppers
Auto home
Preheat PLA

1716
RepRapBCN
User Manual
Control menu
Allows you to modify the printer parameters before and during the printing process. They are much more specific
parameters, requiring a much deeper knowledge of the internal operations of the machine.
Print from SD /No SD
Allows you to access the SD card and select a stored file to print. If the SD card is not inserted, a No SD message is
shown. In that case, the BCN3DR can be connected to a PC through a USB cable (see printing section).
Print from SD Print from USB
Main
Temperature
Motion
Restore failsafe

18
RepRapBCN
User Manual
Just for reference, the full menu diagram is shown below:
Working with your BCN3DR
The BCN3DR operation diagram from beginning to end is show below. As shown, two alternatives operating
paths are possible:
Prepare
Control
No Card
Main menu
Main
Disable steppers
AutoHome
Preheat PLA
Cooldown
Move Axis
Prepare
Fan Speed
Nozzle
Control
Nozzle
Autotemp
Min
Max
Fact
Fan Speed
PID-P
PID-I
PID-D
PID-C
Preheat PLA Settings
Temperature
Control
Vmax-Y
Vmax-Z
Vmax-E
Vtrav-min
Vmin
Amax-X
Amax-X
Amax-X
Amax-X
Aretract
Xsteps/nn
Ysteps/nn
Zsteps/nn
Esteps/nn
Motion
Main
Temperature
Control
Main
Card Menu
VXY-Jerk
Vmax-X
Move Axis
Bed
Move
Move
Move
X:
Y:
Z:
Extrude
Move 1 mm
Move 0,1 mm
Move Axis
Temperature
Preheat PLA Settings
PLA
Load memory
Store memory
Restore failsafe
CAD model .STL file SLIC3R utility
(G-code generator)
SD card
Controller
firmware
CAM (Computer Aided Manufacturing) toolchain
SENDER
(USB connection)

1918
RepRapBCN
User Manual
5. ‘.STL’ FILES
The backbone of BCN3DR printing are the 3D model files.
The most commonly file type found is the *.STL format. An STL file describes a raw unstructured triangulated surfa-
ce. The smaller the triangles are, the bigger the resolution and the detail of the 3D model.
Obtaining STL files
There are three different methods:
1) Own design: The users create their own objects with a Computer-aided design best suited for people with pre-
vious knowledge in modeling.
A wide range of available programs exist, some of them free (OpenSCAD, FreeCAD, Blender), while others requiere a
software license (SolidWorks, Rhinoceros, Inventor, etc.). In general terms, all of them allow the user to import/ex-
port STL files.
2) Download: Nowadays there are lots of online repositories where people share their own models with the rest of
the community. As an example, the following ones are mentioned:
• www.grabcad.com – Repository specialized in engineering, design and architecture models. Not always in STL
format but in the original format used by the creator.
• www.thingiverse.com – Repository marketed by MakerBot, contains a great deal of STL models and customiza-
tion tools.

20
RepRapBCN
User Manual
3) Digitalization: Paralel to the development of 3d printing, home scanning technology is evolving at high speed. In
this regard, it’s worth visting Autodesk’s own www.123dapp/catch. In there, free tools to obtain digital models from
pictures taken with a photographic camera are provided.
Other existing methods are: specialized softwares that combine the use of projectors and cameras or 3D scanners.
Editing and repairing a .STL file
As it has been mentioned before, a file in STL format is not always in the best condition. Some of the most common
errors are:
• Holes. The model must be unclosed, with no holes present.
• Faces orientation: An STL model is composed of flat faces. Their orientation must be the same and outwards. In other words,
it cannot be that some sides point in one direction and some in other, they all must be facing outwards. This usually happens
by accident when working with modeling software.
Existen varios software para editar y reparar archivos STL corruptos. RepRapBCN recomienda Netfabb que, en su versión
gratuita BASIC permite realizar las operaciones básicas de edición (escalar, rotar, cortar, combinar, etc.), reparación y medición.
http://www.netfabb.com/downloadcenter.php?basic=1
The essential information for editing STL files is detailed below. For more detailed information, it is advisable to visit
the official site.
Table of contents
Other BCN3D 3D Printer manuals

BCN3D
BCN3D sigma R19 User manual

BCN3D
BCN3D Epsilon Series User manual

BCN3D
BCN3D Sigmax User manual

BCN3D
BCN3D Sigma Series User manual

BCN3D
BCN3D Sigma R16 Parts list manual

BCN3D
BCN3D Sigma Series User manual

BCN3D
BCN3D Epsilon User manual

BCN3D
BCN3D Sigma User manual

BCN3D
BCN3D Epsilon Series User manual

BCN3D
BCN3D Epsilon Series User manual