manuals.online logo
Brands
  1. Home
  2. •
  3. Brands
  4. •
  5. BEST ACCESS SYSTEMS
  6. •
  7. Lock
  8. •
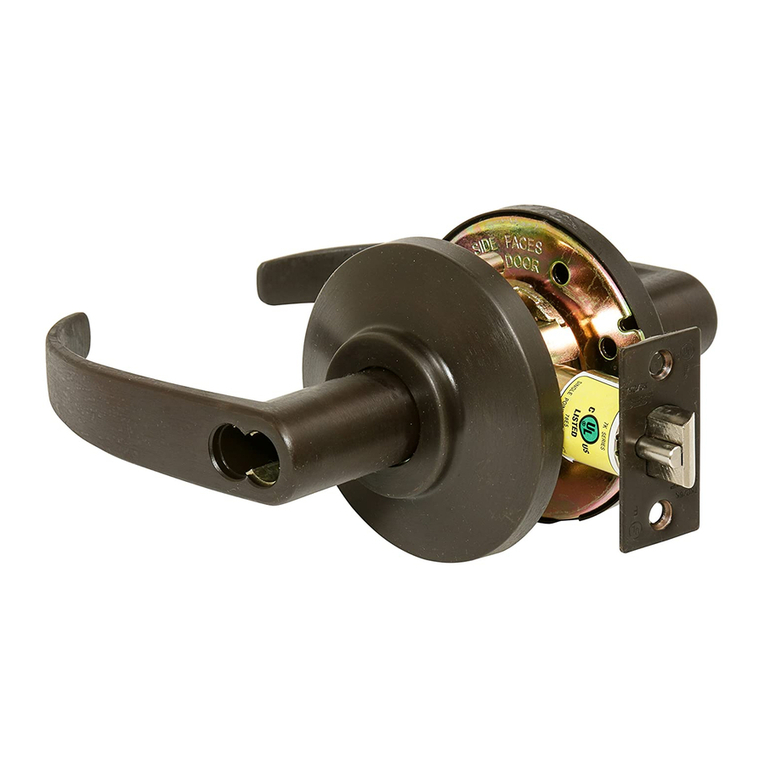
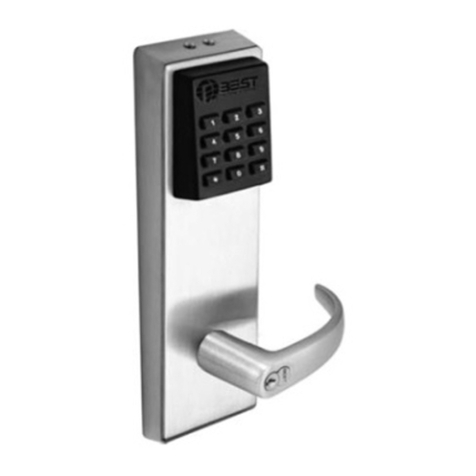
  9. BEST ACCESS SYSTEMS 75KC User manual

BEST ACCESS SYSTEMS 75KC User manual

BEST ACCESS SYSTEMS
Indianapolis, Indiana
For factory prepared doors only
Caution: If you use hollow metal doors, determine whether the
doors are reinforced enough to support the lock. If door rein-
forcement is not adequate, consult the door manufacturer for
information on proper reinforcement.
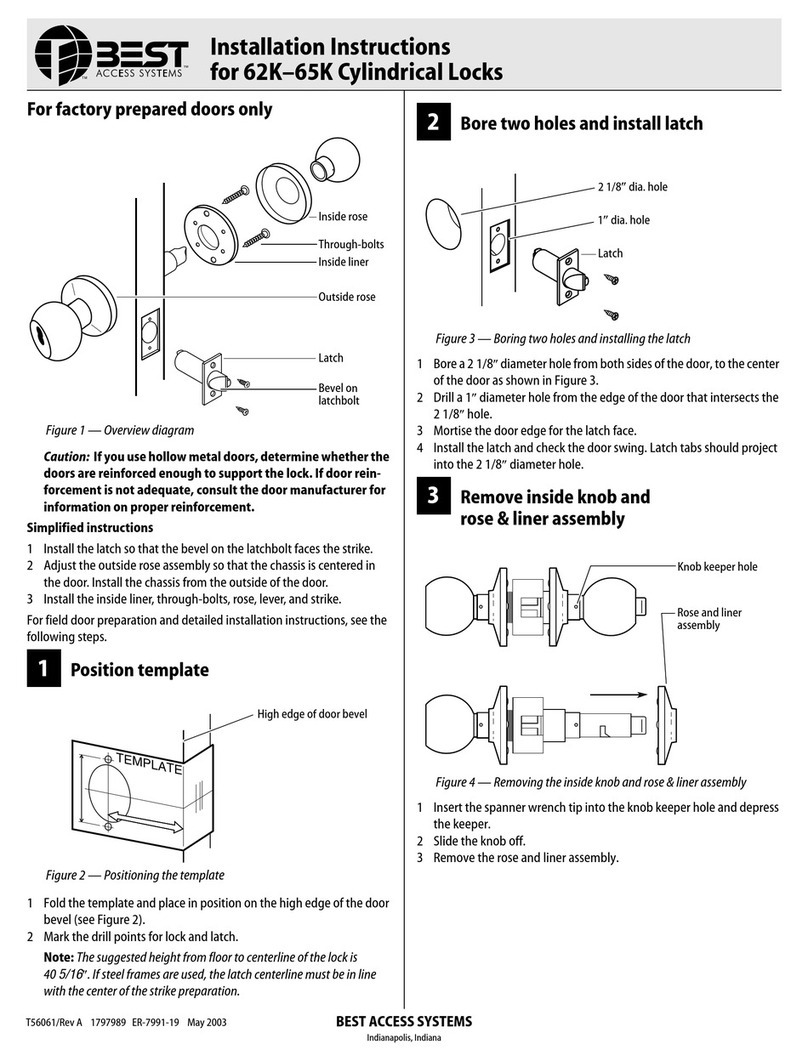
Simplified instructions
1 Install the latch so that the bevel on the latchbolt faces the strike.
2 Adjust the outside rose assembly so that the chassis is centered in
the door. Install the chassis from the outside of the door.
3 Install the inside liner, through-bolts, rose, lever and strike.
For field door preparation and detailed installation instructions, see the
following tasks.
1
Position template
1 Fold the template and place it in position on the high edge of the
door bevel. See Figure 2.
2 Mark the drill points.
Note: The suggested height from the floor to centerline of the lock is
40 5/16". If steel frames are used, the latch centerline must be in line
with the center of the strike preparation.
2
Bore two holes and install latch
1 Bore a 2 1/8" diameter hole from both sides of the door, to the center
of the door.
2 Drill a 1" diameter hole from the edge of the door that intersects the
21/8" hole.
3 Mortise the door edge for the latch face.
4 Install the latch through the 1” diameter hole. For drive-in latches,
use a rubber mallet. Latch tabs should project into the 2 1/8"
diameter hole. See figure 3 in task 3.
5 Check the door swing.
3
Install boring jig and drill two
5/16
”
diameter holes
1 Install the boring jig onto the door and engage with the latch tabs.
Make sure the front edge of the jig is parallel with the door edge. See
Figure 3.
2 Drill two 5/16" diameter holes halfway into the door.
3 Turn the boring jig over and repeat steps one and two from the
opposite side of the door.
Note: Replace the boring jig after ten door preparations.
4
Adjust lock to door thickness
1 Temporarily remove the latch.
Figure 1 — Overview of installing the lock
Figure 2 — Placing the template onto the door
Inside rose
Inside liner
Latch
Through-bolts
Outside
Lever
TEMPLATE
High edge of door bevel
Figure 3 — Installing the boring jig onto the door
Figure 4 — Adjusting the lock to match the door thickness
Door edge
5/16” diameter
Latch tabs
Boring jig
Door center
Retractor
Pull pin to rotate rose
—Continued
Installation Instructions
for 72KC–75KC Cylindrical Locks
T80622/Rev B 1827069 ER-7991-19 Sept 2004
BEST ACCESS SYSTEMS
Indianapolis, Indiana
2 Retract the rose locking pin and rotate the outside rose liner in or out
for the proper door thickness by lining up the “DOOR CENTER” mark
with the center of the latch hole.
3 Reinstall the latch.
Note 1: Make sure the locking pin locks into the rose liner.
Note 2: Locksets will fit 1 3/8" to 2" thick doors.
5
Engage retractor in latch
■
With the latch in place, install the chassis from the outside. Make
sure the latch tabs engage the chassis frame and the latch tailpiece
engages the retractor. See Figure 5.
6
Install liner, rose, and lever
1 Align the holes in the liner with the holes prepared in the door.
2 Install through-bolts through the liner and the door in the top and
bottom holes. See Figure 6.
3 Tighten the liner onto the door with the through-bolts.
4 Slide the rose over the sleeve, then press the rose onto the liner. The
rose should fit closely to the door surface.
5 With the lever pointing toward the hinges, push the lever on firmly
until seated.
7
Install strike plate
1 In alignment with the center of the latchbolt, mortise the door jamb
to fit the strike box and strike plate.
Caution: The deadlocking plunger of the latchbolt must not
enter the strike plate opening. The plunger deadlocks the
latchbolt and prevents forcing the latch when the door is
closed. A gap of more than 1/8” may reduce security and/or
cause improper operation of the latchbolt.
2 Insert the strike box and secure the strike with the screws provided.
See Figure 7.
8
Install core
1 For R function locks, insert a screwdriver into the figure-8 opening
and turn the locking mechanism counterclockwise as far as it will go.
For all other function locks, go to step 2.
2 Insert the throw member into the core (see Figure 8 — top).
3 Put the control key into the core and turn the key 15 degrees clock-
wise.
4 Put the core and throw member into the lever with the control key
(see Figure 8—bottom).
5 Turn the key 15 degrees counterclockwise and remove the key.
Caution: Since the control key is a high-security key, make sure
to keep it protected.
Figure 5 — Engaging the latch in the retractor
Figure 6 — Installing the inside liner, rose, and lever
Chassis frame
Latch tabs
Latch tailpiece
Retractor
Chassis
Liner
Through-
Rose
Sleeve
bolts
Lever
Figure 7 — Installing the strike box and strike plate
Figure 8 — Installing the core
Door jamb
Strike box
Strike plate
Throw member
Control key in core
Core
T80622/Rev B 1827096 ER-7991-19 Sept 2004
This manual suits for next models

1

Other BEST ACCESS SYSTEMS Lock manuals

BEST ACCESS SYSTEMS V Series User manual

BEST ACCESS SYSTEMS

BEST ACCESS SYSTEMS V Series User manual

BEST ACCESS SYSTEMS 8KW Series User manual

BEST ACCESS SYSTEMS

BEST ACCESS SYSTEMS 8KW Series User manual

BEST ACCESS SYSTEMS 72T User manual

BEST ACCESS SYSTEMS

BEST ACCESS SYSTEMS 72T User manual

BEST ACCESS SYSTEMS 45HQ User manual

BEST ACCESS SYSTEMS

BEST ACCESS SYSTEMS 45HQ User manual

BEST ACCESS SYSTEMS 9KQ User manual

BEST ACCESS SYSTEMS

BEST ACCESS SYSTEMS 9KQ User manual

BEST ACCESS SYSTEMS 82T User manual

BEST ACCESS SYSTEMS

BEST ACCESS SYSTEMS 82T User manual

BEST ACCESS SYSTEMS 7K User manual

BEST ACCESS SYSTEMS

BEST ACCESS SYSTEMS 7K User manual

BEST ACCESS SYSTEMS 1E Series User manual

BEST ACCESS SYSTEMS

BEST ACCESS SYSTEMS 1E Series User manual

BEST ACCESS SYSTEMS Keypad EZ Remote Unlock User manual

BEST ACCESS SYSTEMS

BEST ACCESS SYSTEMS Keypad EZ Remote Unlock User manual

BEST ACCESS SYSTEMS 62K User manual

BEST ACCESS SYSTEMS

BEST ACCESS SYSTEMS 62K User manual

BEST ACCESS SYSTEMS 6K Series User manual

BEST ACCESS SYSTEMS

BEST ACCESS SYSTEMS 6K Series User manual

BEST ACCESS SYSTEMS 6S User manual

BEST ACCESS SYSTEMS

BEST ACCESS SYSTEMS 6S User manual

Popular Lock manuals by other brands

Alarm Lock PM1200 Wiring instruction

Alarm Lock

Alarm Lock PM1200 Wiring instruction

Rejuvenation Rejuvenation quick start guide

Rejuvenation

Rejuvenation Rejuvenation quick start guide

ACSI HAGER 45CE instructions

ACSI

ACSI HAGER 45CE instructions

SDC LR100KWK-EM installation instructions

SDC

SDC LR100KWK-EM installation instructions

ViziT ML240-40 Operating	 instruction

ViziT

ViziT ML240-40 Operating instruction

Assa Abloy ELECTRIC LOCK manual

Assa Abloy

Assa Abloy ELECTRIC LOCK manual

Marvin CASEMASTER manual

Marvin

Marvin CASEMASTER manual

Vescent D2-135 Quick setup instructions

Vescent

Vescent D2-135 Quick setup instructions

Kwikset Kevo quick guide

Kwikset

Kwikset Kevo quick guide

Igloohome Padlock. user manual

Igloohome

Igloohome Padlock. user manual

Burg B-Smart-Lock Combipad RTC operating manual

Burg

Burg B-Smart-Lock Combipad RTC operating manual

ZKTeco TL400B user manual

ZKTeco

ZKTeco TL400B user manual

Paxton PaxLock Pro Installation and commissioning guide

Paxton

Paxton PaxLock Pro Installation and commissioning guide

Roger ADL-2 installation manual

Roger

Roger ADL-2 installation manual

Otto Bock 6A40 Instructions for use

Otto Bock

Otto Bock 6A40 Instructions for use

DoorBox Small 2015 Operation manuals

DoorBox

DoorBox Small 2015 Operation manuals

Vision ZM 1701 EU Operation manual

Vision

Vision ZM 1701 EU Operation manual

Corbin Russwin ASSA ABLOY Access800 installation instructions

Corbin Russwin

Corbin Russwin ASSA ABLOY Access800 installation instructions

manuals.online logo
manuals.online logoBrands
  • About & Mission
  • Contact us
  • Privacy Policy
  • Terms and Conditions

Copyright 2025 Manuals.Online. All Rights Reserved.