manuals.online logo
Brands
  1. Home
  2. •
  3. Brands
  4. •
  5. bover
  6. •
  7. Outdoor Light
  8. •
  9. bover New Atticus B/40 User manual

bover New Atticus B/40 User manual

New Atticus
B/40 - B/50
DATA / RENSEIGNEMENTS
Luminaire:
Atticus B/40 - B/50 Out - Bollard
Refs: 31014400XXU - 31015400XXU
Año: 2017
TESTS / TESTS
This product has been subjected to the electrical safety test for: continuity, insulation, dielectric
strength.
Ce produit a été soumis à des tests de sécurité électrique : continuité, isolation, rigidité diélectrique et prise de
terre.
CLEANING INSTRUCTIONS / INSTRUCTION POUR LE NETTOYAGE
Do not use alcohol or solvents, use a so cloth.
Ne pas utiliser d'alcool ou d'autres solvants, utilisez un chion doux.
CERTIFIED BY / CERTIFIÉ PAR
This product conforms to the standard UL Std 1598:2021 Ed.5+R:18Jun2021 and it is Certied to
CAN/ CSA C22.2#250.0:2021 Ed.5+U1
Ce produit est conforme à la norme UL Std 1598:2021 Ed.5+R:18Jun2021et il est certié conforme à la
norme CAN/CSA C22.2#250.0:2021 Ed.5+U1
TECHNICAL DATA / RENSEIGNEMENTS TECHNIQUES
Luminaire suitable for wet locations.
Power factor:>0.9
Input voltage: 120V 60Hz
Luminaire's Watts: 8.4 W
Luminaire adapté aux locaux humides..
Facteur de puissance:>0,9
Tension d'entrée : 120V 60Hz
Puissance des luminaires: 8.4 W
Due to LED manufacturing process characteristics, luminaires including this light source
may have a slight variation in the light tone.
En raison des caractéristiques du processus de fabrication des LED, les luminaires, notam-
ment cette source de lumière peut avoir une légère variation dans le ton de la lumière.
Luminaire:
Atticus B/40 - B/50 Out - Bollard
Refs: 31014400XXU - 31015400XXU
Annee: 2017
3
310 Atticus B/40_50 Out _ Rev0.0 - Read all the instructions-Save all the instructions
Lisez toutes les instructions - Conservez toutes les instructions
CAUTION / ATTENTION
THIS PRODUCT MUST BE INSTALLED IN ACCORDANCE WITH THE APPLICABLE
INSTALLA-
TION
CODE BY APERSON FAMILIAR WITH THE CONSTRUCTION AND OPERATION OF THE
PRODUCT AND THE HAZARDSINVOLVED.No loose strands or loose connections should be
present. Secure with U.L. certied wire connectors and electrical tape.
CE PRODUIT DOIT ÊTRE INSTALLÉ CONFORMÉMENT AU CODE D'INSTALLATION
APPLICA-
BLE PAR
UNE PERSONNE CONNAISSANT BIEN LA CONSTRUCTION ET LE FONCTIONNEMENT DU
PRODUIT
AINSI QUE LES DANGERS ASSOCIÉS.
Il ne doit pas y avoir de torons ou de
connexions lâches. Fixez- les avec des connecteurs
de ls et du ruban électrique certiés UL.
WARNING - SAFETY / AVERTISSEMENT - SÉCURITÉ
The electricity MUST be turned o at the MAINS FUSE BOX before installing this luminaire
and before performing the branch circuit inspection ; turning the power o using the light
switch is not sucient to prevent electrical shock.. This installation should not be made on a
radiant heat type ceiling.
The luminaire is not intended to support any external weight.”
L'électricité DOIT être coupée au niveau de la boîte à fusibles principale avant d'installer ce
luminaire et avant d'eectuer l'inspection du circuit de dérivation ; couper le courant à l'aide de
l'interrupteur d'éclairage n'est pas susant pour éviter les chocs électriques. Cette installation ne
doit pas être eectuée sur un plafond de type chaleur rayonnante. Le luminaire n'est pas destiné à
supporter un poids extérieur."
ELECTRICAL CONNECTION - SAFETY / RACCORDEMENT ÉLECTRIQUE - SÉCURITÉ
Attach grounding wire (green insulate or bare copper) from the supplier circuit to the
mounting bracket with the green ground attachment screw or wire provided provided.
Connect the grounding wire of the luminaries to the ground conductor of the supply circuit.
Attach all grounding conductors to the mounting bracket with the green ground wire attach-
ment screw.
Referring to the Wire Connection Chart, connect the black and white wires.
Fixez le l de terre (isolant vert ou cuivre nu) du circuit du fournisseur au support de montage à
l'aide de la vis de ou le l de mise à la terre verte fournie.
Raccordez le l de terre des luminaires
au conducteur de terre du circuit d'alimentation.
Fixez tous les conducteurs de mise à la terre au
support de montage à l'aide de la vis de xation du l de terre verte.
Reportez-vous au schéma de
branchement des ls pour brancher les ls noir et blanc.
310 Atticus B/40_50 Out _ Rev0.0
4
5
310 Atticus B/40_50 Out _ Rev0.0 - Read all the instructions-Save all the instructions
Lisez toutes les instructions - Conservez toutes les instructions
ASSEMBLY INSTRUCTIONS / INSTRUCTIONS DE MONTAGE
AIs mandatory that the outer plastic housing is properly installed. It must be
placed in a hole previously prepared to be able to drain 10 liters of water in 15
minutes. Never recess it into concrete.
Il est obligatoire que le boîtier extérieur en plastique soit correctement installé. Il
doit être placé dans un trou préalablement préparé pour pouvoir évacuer 10 litres
(2.65 gallons) d'eau en 15 minutes. Ne jamais l'encastrer dans du béton.
Ø125
Ø115
132
25 cm
10L
2.65 gallons
15 min
Ømin = 5mm
Ømax = 10 mm
5Nm
B The upper edge of the box must remain ush with the oor. The lower part
of the aluminum inner box has a junction box, designed to connect to the
mains and make the bypass to that unit. It is possible to connect several units
in one line using the two outlets.
Le bord supérieur de la boîte doit rester au même niveau que le sol. Le fond de la
boîte intérieure en aluminium comporte une boîte de jonction, conçue pour se
connecter au réseau et contourner cet appareil. Il est possible de connecter
plusieurs unités sur une ligne en utilisant les deux sorties.
6310 Atticus B/40_50 Out _ Rev0.0
FIXING THE ATTICUS / SÉCURISATION DE L'ATTICUS
CYou can remove the shade by unscrewing the top either to clean it and the
diuser, or to ease the installation. Prior to t the bollard into the housing
make sure that the power supply cord ts smoothy and won’t be damaged.
Remember you can link several units in a line; you can connect two cords to the
bottom enclosure.
Vous pouvez retirer l'abat-jour en dévissant la partie supérieure, soit pour le
nettoyer ainsi que le diuseur, soit pour faciliter l'installation. Avant d'installer la
borne dans le boîtier, assurez-vous que le cordon d'alimentation s'adapte bien et
ne sera pas endommagé.. N'oubliez pas que vous pouvez relier plusieurs unités en
ligne ; vous pouvez connecter deux cordons au boîtier inférieur.
Avda. Catalunya 173
Polígon Ind. Sud
08440 Cardedeu
Barcelona, Spain
T. +34 938 713 152
F. +34 938 462 089
info@bover.es
www.bover.es
1231 Collier Road,
Suite C
Atlanta, GA 30318
United States
T. +1 (404) 924 2342
info@boverusa.com
www.boverusa.com

This manual suits for next models

1

Other bover Outdoor Light manuals

bover Platet A/01 Out User manual

bover

bover Platet A/01 Out User manual

bover New Atticus M/39 User manual

bover

bover New Atticus M/39 User manual

bover Joana Bover MAXI P/04 User manual

bover

bover Joana Bover MAXI P/04 User manual

bover Atticus B/01 User manual

bover

bover Atticus B/01 User manual

bover Tria A/04 User manual

bover

bover Tria A/04 User manual

bover Cornet B/27 User manual

bover

bover Cornet B/27 User manual

bover Nut B/60 User manual

bover

bover Nut B/60 User manual

bover Nans R User manual

bover

bover Nans R User manual

bover Atticus P/114 User manual

bover

bover Atticus P/114 User manual

bover Cornet B/27 User manual

bover

bover Cornet B/27 User manual

bover GAROTA-P / 01 User manual

bover

bover GAROTA-P / 01 User manual

bover MAXI P/180 OUTDOOR User manual

bover

bover MAXI P/180 OUTDOOR User manual
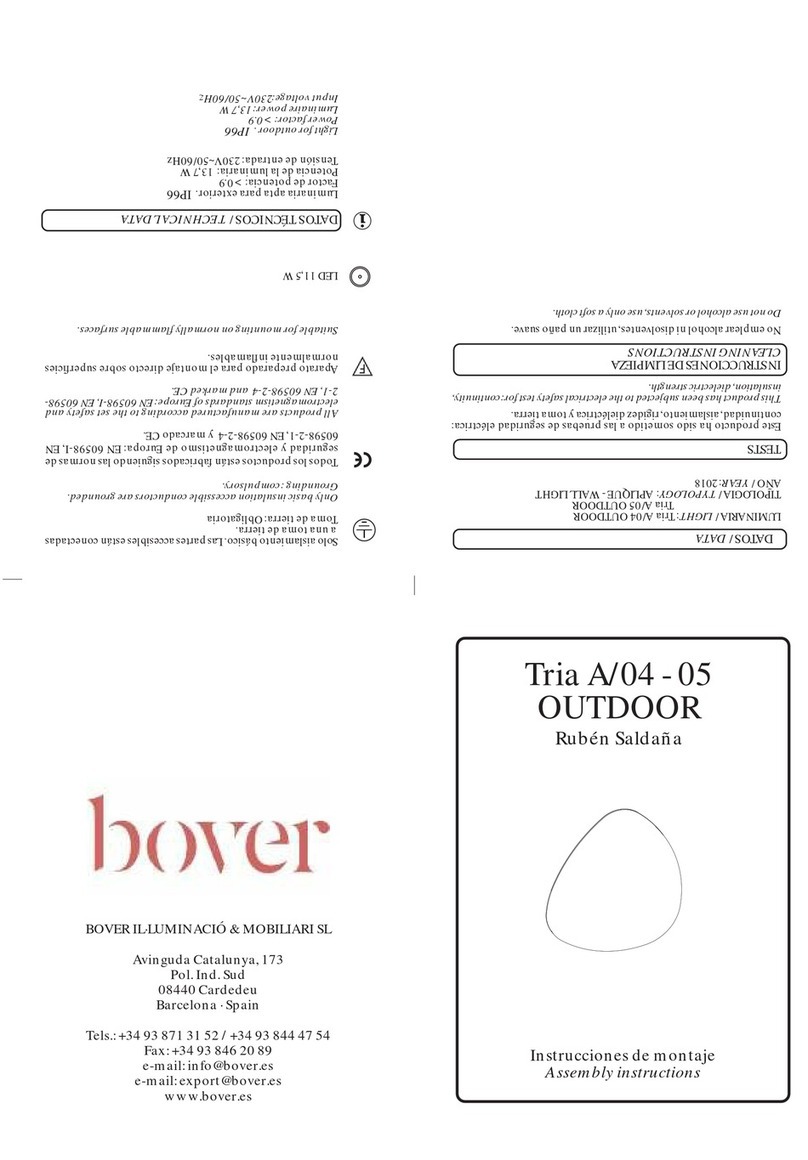
bover Joana Bover MAXI P/03 User manual
bover

bover Joana Bover MAXI P/03 User manual

bover FORA APLIQUE User manual

bover

bover FORA APLIQUE User manual

bover Atticus B/56 User manual

bover

bover Atticus B/56 User manual

bover Gonzalo Mila Moai B/35 User manual

bover

bover Gonzalo Mila Moai B/35 User manual

bover AMPHORA Series User manual

bover

bover AMPHORA Series User manual

bover Tanit M/29/R User manual

bover

bover Tanit M/29/R User manual

bover MAXI P/180 Outdoor User manual

bover

bover MAXI P/180 Outdoor User manual
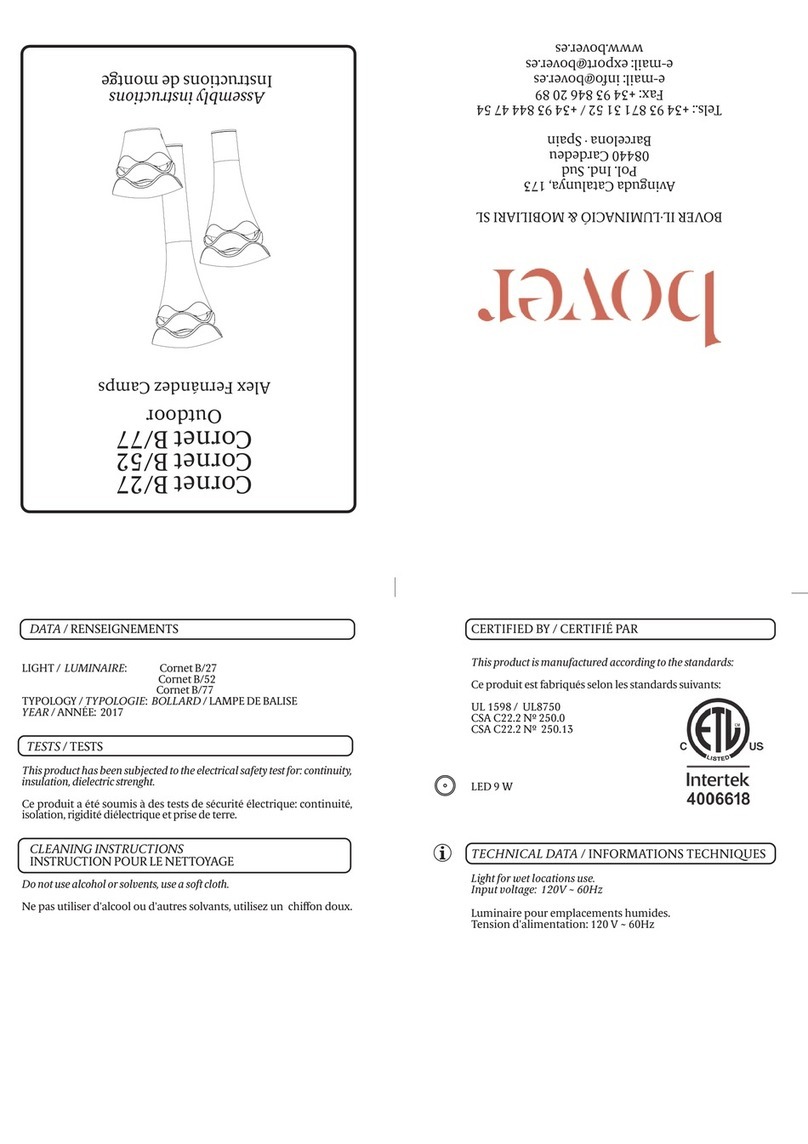
bover Garota Catenary User manual

bover

bover Garota Catenary User manual
Popular Outdoor Light manuals by other brands
MyLamp Edison Lamp user manual

MyLamp

MyLamp Edison Lamp user manual

Eurotops NIGHT LIGHT manual

Eurotops

Eurotops NIGHT LIGHT manual

LIGMAN VANCOUVER 37 installation manual

LIGMAN

LIGMAN VANCOUVER 37 installation manual

kobi SILVER quick start guide

kobi

kobi SILVER quick start guide

BEGA 88 977 Instructions for use

BEGA

BEGA 88 977 Instructions for use

stellar labs SW-523W user manual

stellar labs

stellar labs SW-523W user manual

BOSS ILLUMINATION HALO product manual

BOSS ILLUMINATION

BOSS ILLUMINATION HALO product manual

BEGA 84866 Instructions for use

BEGA

BEGA 84866 Instructions for use

Holtkoetter 6317 Assembly instructions

Holtkoetter

Holtkoetter 6317 Assembly instructions

MOOD BEN quick start guide

MOOD

MOOD BEN quick start guide

PacLights FWPR/2 Series installation guide

PacLights

PacLights FWPR/2 Series installation guide

BOSS ILLUMINATION MAGNA 2 product manual

BOSS ILLUMINATION

BOSS ILLUMINATION MAGNA 2 product manual

urban ambiance Paris UQL1375 installation instructions

urban ambiance

urban ambiance Paris UQL1375 installation instructions

Dewenwils HLFL07A instruction manual

Dewenwils

Dewenwils HLFL07A instruction manual

Fabbian BELUGA ALU manual

Fabbian

Fabbian BELUGA ALU manual

Lightwell LW-SY Spring Eye quick start guide

Lightwell

Lightwell LW-SY Spring Eye quick start guide

Nemo Studio WALKLINE Facade Mounting instructions

Nemo Studio

Nemo Studio WALKLINE Facade Mounting instructions

Schrack Technik NIKU LED Round Series Assembly instructions

Schrack Technik

Schrack Technik NIKU LED Round Series Assembly instructions

manuals.online logo
manuals.online logoBrands
  • About & Mission
  • Contact us
  • Privacy Policy
  • Terms and Conditions

Copyright 2025 Manuals.Online. All Rights Reserved.