manuals.online logo
Brands
  1. Home
  2. •
  3. Brands
  4. •
  5. bover
  6. •
  7. Outdoor Light
  8. •
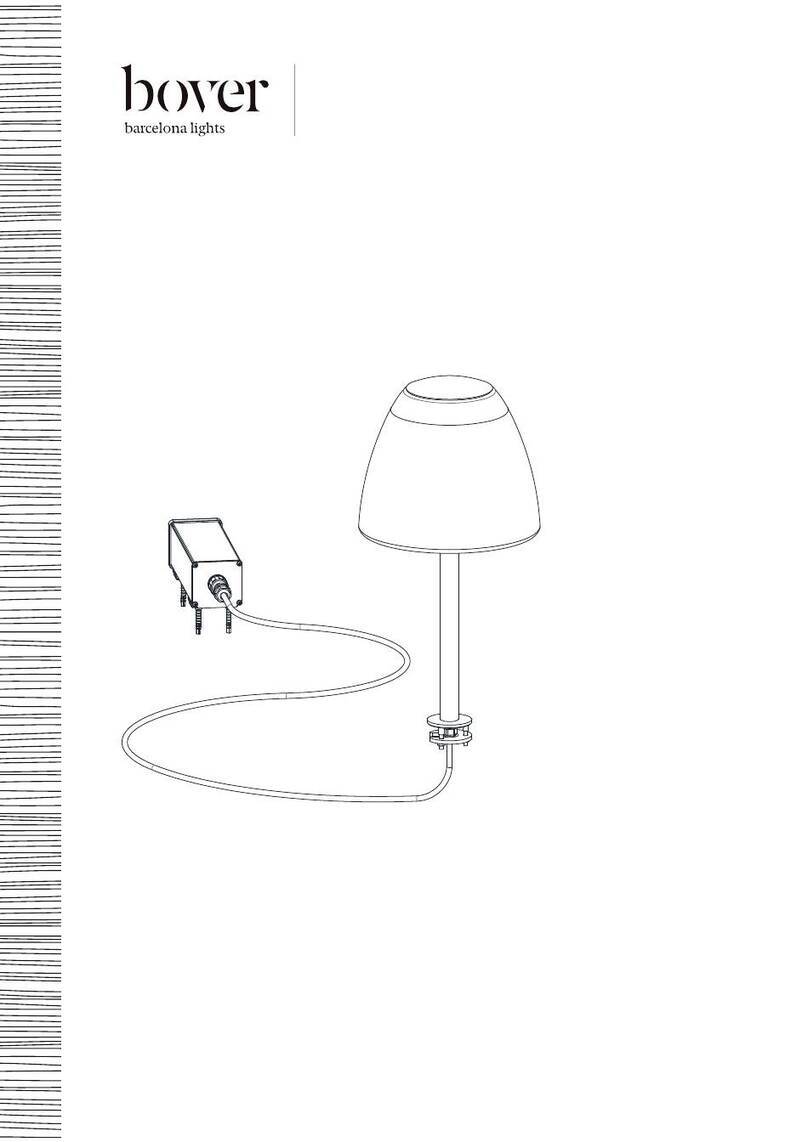
  9. bover Nut B/60 User manual

bover Nut B/60 User manual

ON
WIRE COLOUR
COULEUR DU FIL
CONNECTION TABLE
TABLEAU DE CONNEXION
Nut
B/60
B/90
B/90/2L
25 cm
10L
15 min
25 cm
10L
15 min
3
DATA / RENSEIGNEMENTS
Luminaire typology: Outdoor Bollard
B/60
B/90
B/90/2L
Año / Year: 2022
TESTS / TESTS
This product has been subjected to the electrical safety test for: continuity, insulation, dielectric
strength.
Ce produit a été soumis à des tests de sécurité électrique : continuité, isolation, rigidité diélectrique et prise de
terre.
CLEANING INSTRUCTIONS / INSTRUCTION POUR LE NETTOYAGE
Do not use alcohol or solvents, use a so cloth.
Ne pas utiliser d'alcool ou d'autres solvants, utilisez un chion doux.
CERTIFIED BY / CERTIFIÉ PAR
This product conforms to the standard UL Std 1598and it is
Certied to CAN/CSA C22.2#250.4
Ce produit est conforme à la norme UL 153 et
il est Certié CAN/CSA C22.2#250.4
TECHNICAL DATA / RENSEIGNEMENTS TECHNIQUES
Lights suitable for wet location.
Power factor:>0.9
Input voltage: 120V~ 60Hz
Luminaire's Power Comsumption:
B/60 6.3W
B/90 6.3W
B/90/2L 12.6W
NOTE / À NOTER
Due to LED manufacturing process characteristics, luminaires including this light source may
have a slight variation in the light tone.
En raison des caractéristiques du processus de fabrication des LED, les luminaires, notamment
cette source de lumière peut avoir une légère variation dans le ton de la lumière.
ON
Nut B/60 - B/90 - B/90/2L - Rev 0.0 - Read all the instructions-Save all the instructions
Lisez toutes les instructions - Conservez toutes les instructions
WIRE COLOUR
COULEUR DU FIL
CONNECTION TABLE
TABLEAU DE CONNEXION
Typologie des luminaires : Borne d'extérieur
B/60
B/90
B/90/2L
Año / Année : 2022
Lampes conviennent aux endroits humides.
Facteur de puissance:>0,9
Tension d'entrée : 120V~ 60Hz
Consommation d'énergie du luminaire :
B/60 6.3W
B/90 6.3W
B/90/2L 12.6W

25 cm
10L
15 min
25 cm
10L
15 min
4
ON
CAUTION / ATTENTION
THIS PRODUCT MUST BE INSTALLED IN ACCORDANCE WITH THE APPLICABLE
INSTALLATION
CODE BY APERSON FAMILIAR WITH THE CONSTRUCTION AND OPERATION OF THE
PRODUCT AND THE HAZARDS INVOLVED.
No loose strands or loose connections should be present.
Secure with U.L. certied wire connectors and electrical tape.
CE PRODUIT DOIT ÊTRE INSTALLÉ CONFORMÉMENT AU CODE D'INSTALLATION
APPLICABLE PAR
UNE PERSONNE CONNAISSANT BIEN LA CONSTRUCTION ET LE FONCTIONNEMENT DU
PRODUIT
AINSI QUE LES DANGERS ASSOCIÉS.
Il ne doit pas y avoir de torons ou de connexions lâches. Fixez- les avec des connecteurs
de ls et du ruban
électrique certiés UL.
WARNING - SAFETY / AVERTISSEMENT - SÉCURITÉ
The electricity MUST be turned o at the MAINS FUSE BOX before installing this luminaire; turning
the power o using the light switch is not sucient to prevent electrical shock.
This installation should not be made on a radiant heat type ceiling.
The luminaire is not intended to support any external weight.
L'électricité DOIT être coupée à la MAINS FUSE BOX avant d'installer ces luminaires; il ne sut pas de
couper l'alimentation électrique à l'aide de l'interrupteur d'éclairage
pour éviter tout choc électrique.
Cette installation ne doit pas être faite sur un plafond de type radiant.
Le luminaire n'est pas destiné à supporter un poids externe.
ELECTRICAL CONNECTION - SAFETY / RACCORDEMENT ÉLECTRIQUE - SÉCURITÉ
Attach grounding wire (green insulate or bare copper) from the supplier circuit to the mounting
bracket with the green ground attachment screw or wire provided provided.
Connect the grounding wire of the luminaries to the ground conductor of the supply circuit.
Attach all grounding conductors to the mounting bracket with the green ground wire attachment screw.
Referring to the Wire Connection Chart, connect the black and white wires.
Fixez le l de terre (isolant vert ou cuivre nu) du circuit du fournisseur au support de montage à l'aide
de la vis de ou le l de mise à la terre verte fournie.
Raccordez le l de terre des luminaires au conducteur de terre du circuit d'alimentation.
Fixez tous les conducteurs de mise à la terre au support de montage à l'aide de la vis de xation du l de terre verte.
Reportez-vous au schéma de branchement des ls pour brancher les ls noir et blanc.
WIRE COLOUR
COULEUR DU FIL
CONNECTION TABLE
TABLEAU DE CONNEXION
Nut B/60 - B/90 - B/90/2L - Rev 0.0
25 cm
10L
15 min
DIMENSIONS OF FIXING / DIMENSIONS DE LA MONTURE
The pole could also be secured by 4 screws on wood or other surfaces.
Le poste peut également être xé avec 4 vis dans du bois ou d'autres surfaces.
25 cm25 cm
10L
15 min15 min
5
ON
Nut B/60 - B/90 - B/90/2L - Rev 0.0 - Read all the instructions-Save all the instructions
Lisez toutes les instructions - Conservez toutes les instructions
ASSEMBLY INSTRUCTIONS / INSTRUCTIONS DE MONTAGE
OFF L BLACK NOIR
N
WHITE / GREY
BLANC
GREEN VERT
WIRE COLOURWIRE COLOUR
COULEUR DU FILCOULEUR DU FIL
CONNECTION TABLECONNECTION TABLE
TABLEAU DE CONNEXIONTABLEAU DE CONNEXION
A
A Cut o the power.
Coupez l'électricité.
B Prepare the foundation:
We suggest a 0.3x0.3m 0.4m deep hole, to be rst 0.28m lled with gravel just
to make an absorbent substrate, then position the foundation part (taking
into account the nal orientation of the light) and ll it with concrete to
secure it. Don’t recess it directly into the natural soil. The top edge should be
at the same level of the ground walking surface. The foundation should be
able to absorb 10l of water in 15minutes.
Préparez la fondation :
Nous suggérons un forage de 0,3x0,3m 0,4m de profondeur, à remplir d'abord
de 0,28m de gravier juste pour faire un substrat absorbant, puis positionner la
partie fondation (en tenant compte de l'orientation finale de la lumière) et la
remplir de béton pour la fixer. Ne l'encastrez pas directement dans le sol
naturel. Le bord supérieur doit être au même niveau que la surface de marche
du sol. La fondation doit être capable d'absorber 10l d'eau en 15 minutes.
25 cm25 cm
10L
15 min15 min
25 cm
10L
15 min
6
ON
ON
WIRE COLOUR
COULEUR DU FIL
CONNECTION TABLE
TABLEAU DE CONNEXION
Nut B/60 - B/90 - B/90/2L - Rev 0.0
C Connect to the net, following the connection table and respecting the local regula-
tions. One or two cords maybe outstand from the base depending on the number of
headlights.
Then secure the pole to the base with the 4 screws provided (1).
Se connecter au réseau, en suivant le tableau de connexion et en respectant les réglementa-
tions locales. Un ou deux cordons peuvent dépasser de la base en fonction du nombre de
phares. Fixez ensuite le poteau à la base avec les 4 vis fournies (1).
25 cm
10L
15 min
11
1
D Finally reconnect to mains.
Enn, rebranchez-le au secteur.
25 cm
10L
15 min
Avda. Catalunya 173
Polígon Ind. Sud
08440 Cardedeu
Barcelona, Spain
T. +34 938 713 152
F. +34 938 462 089
info@bover.es
www.bover.es
1231 Collier Road,
Suite C
Atlanta, GA 30318
United States
T. +1 (404) 924 2342
info@boverusa.com
www.boverusa.com
ON
WIRE COLOUR
COULEUR DU FIL
CONNECTION TABLE
TABLEAU DE CONNEXION
25 cm
10L
15 min
25 cm
10L
15 min

This manual suits for next models

2

Other bover Outdoor Light manuals

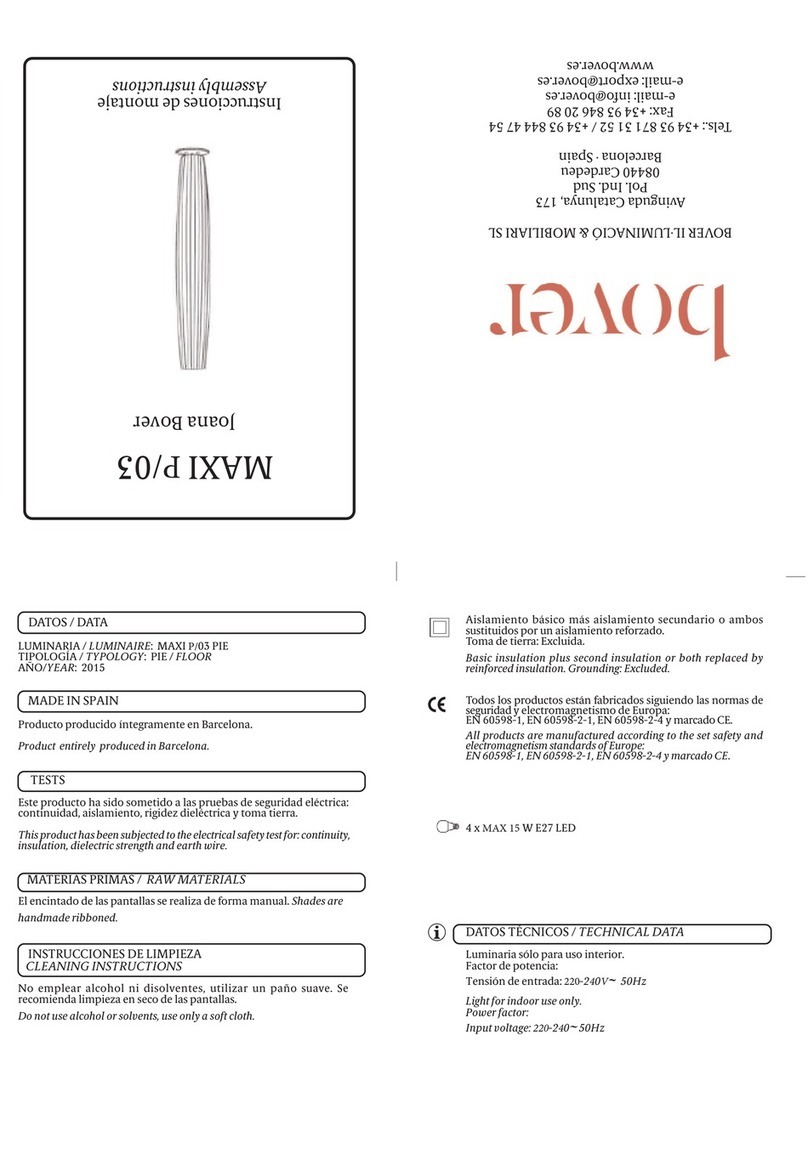
bover Joana Bover MAXI P/03 User manual

bover

bover Joana Bover MAXI P/03 User manual

bover New Atticus M/39 User manual

bover

bover New Atticus M/39 User manual

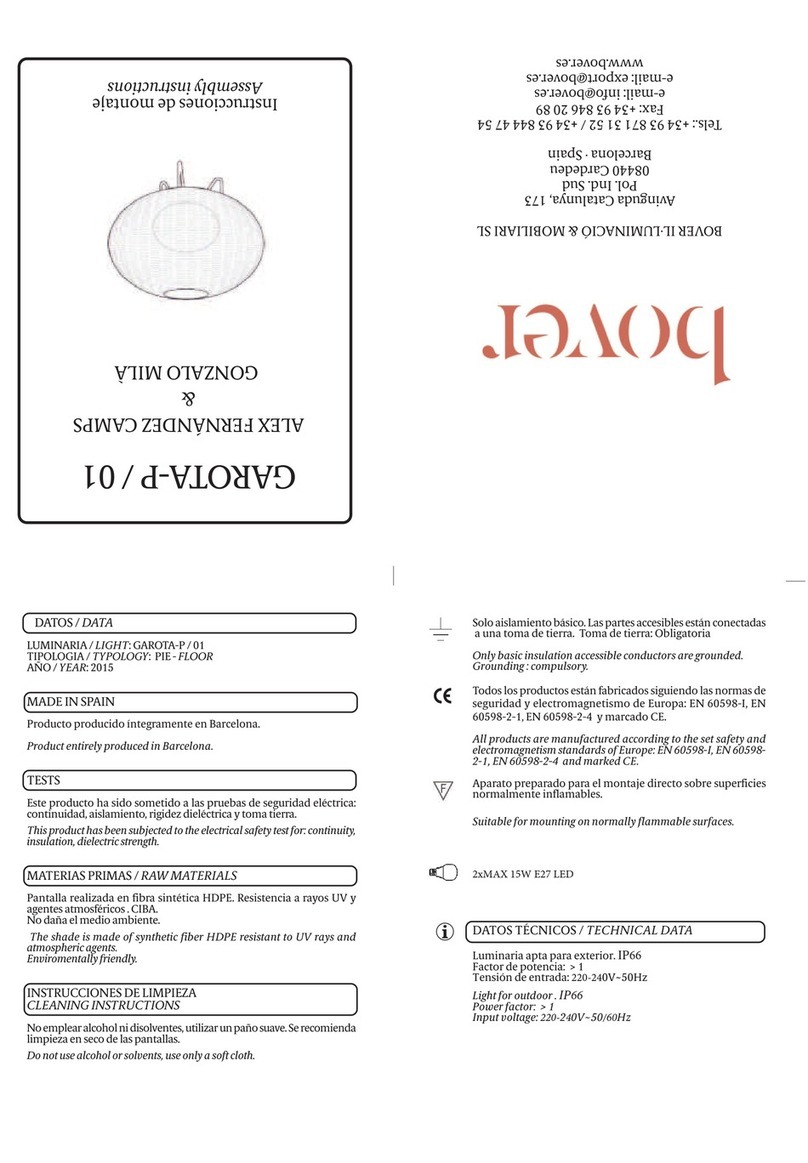
bover GAROTA-P / 01 User manual

bover

bover GAROTA-P / 01 User manual

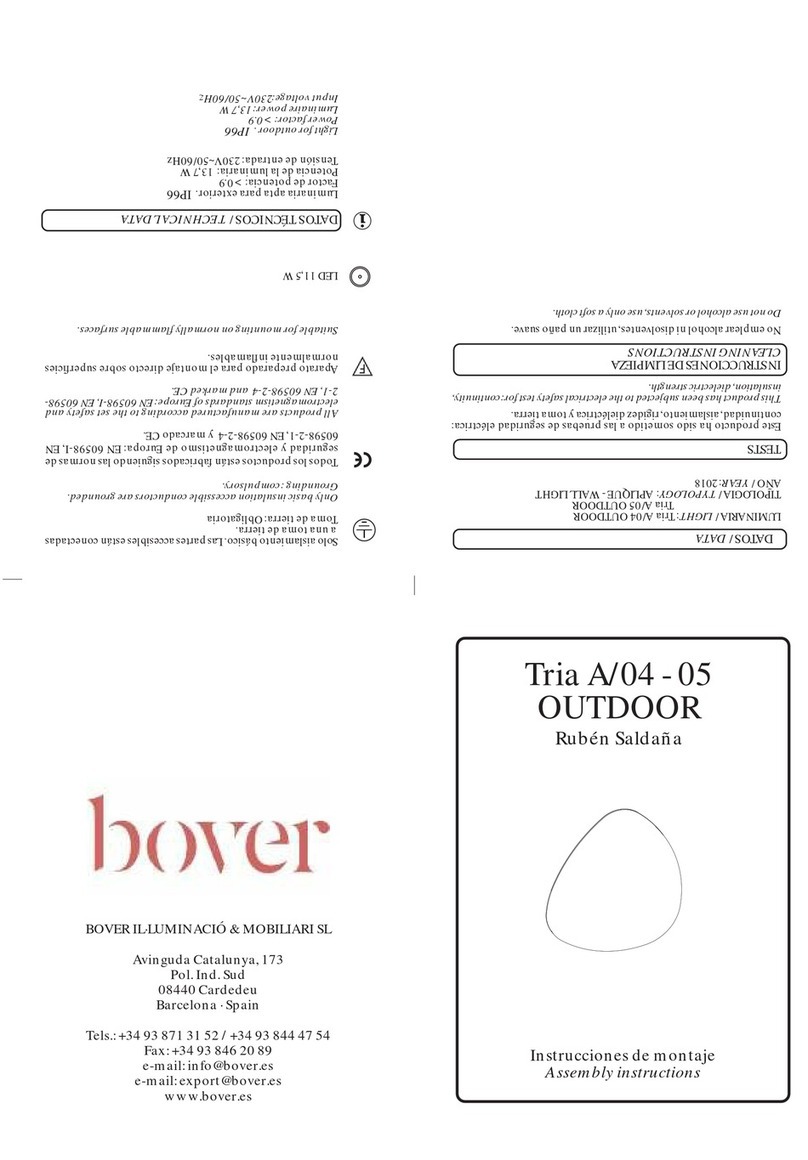
bover Tria A/04 User manual

bover

bover Tria A/04 User manual

bover Gonzalo Mila Moai B/35 User manual

bover

bover Gonzalo Mila Moai B/35 User manual

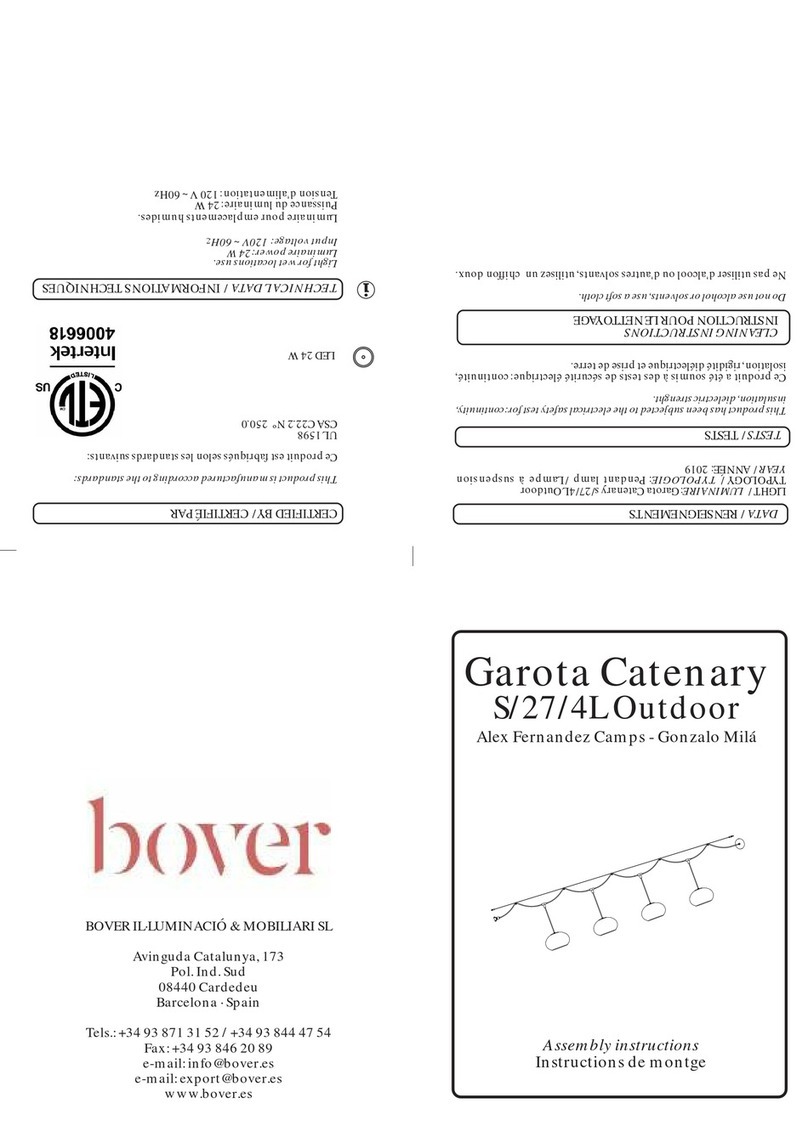
bover Garota Catenary User manual

bover

bover Garota Catenary User manual

bover Atticus B/56 User manual

bover

bover Atticus B/56 User manual

bover FORA APLIQUE User manual

bover

bover FORA APLIQUE User manual

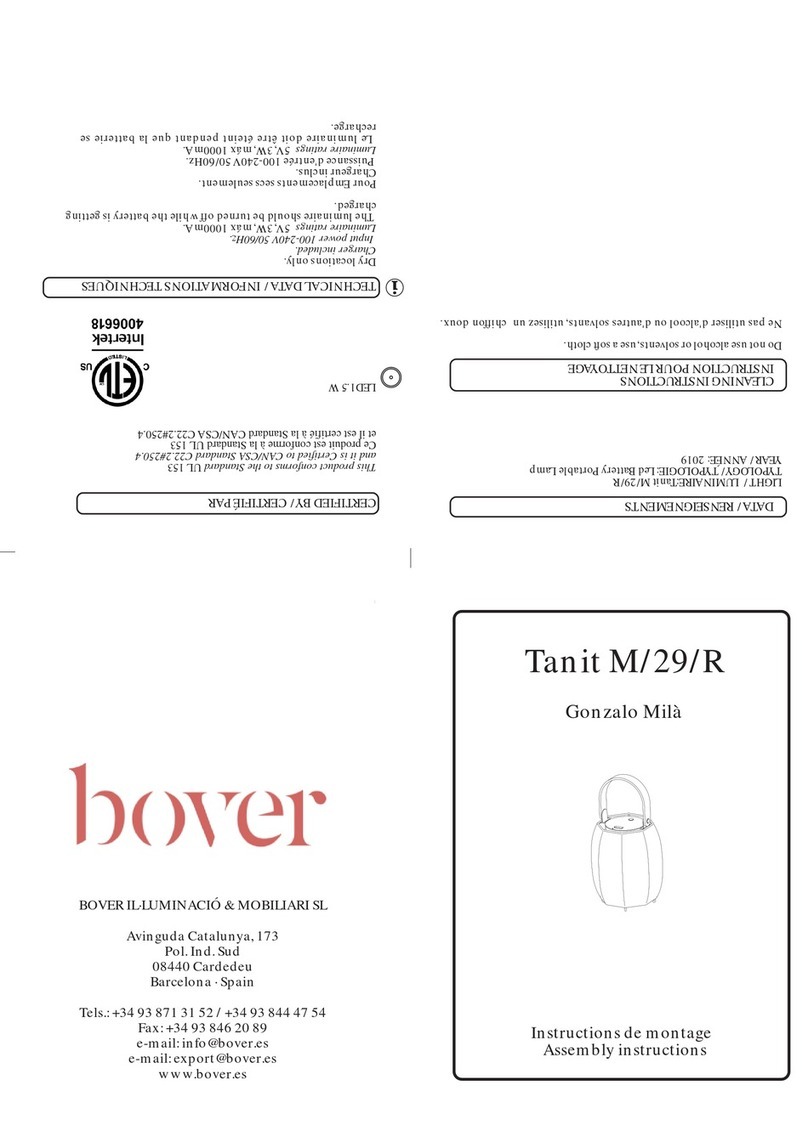
bover Tanit M/29/R User manual

bover

bover Tanit M/29/R User manual

bover MAXI P/180 OUTDOOR User manual

bover

bover MAXI P/180 OUTDOOR User manual

bover Nans R User manual

bover

bover Nans R User manual

bover Cornet B/27 User manual

bover

bover Cornet B/27 User manual

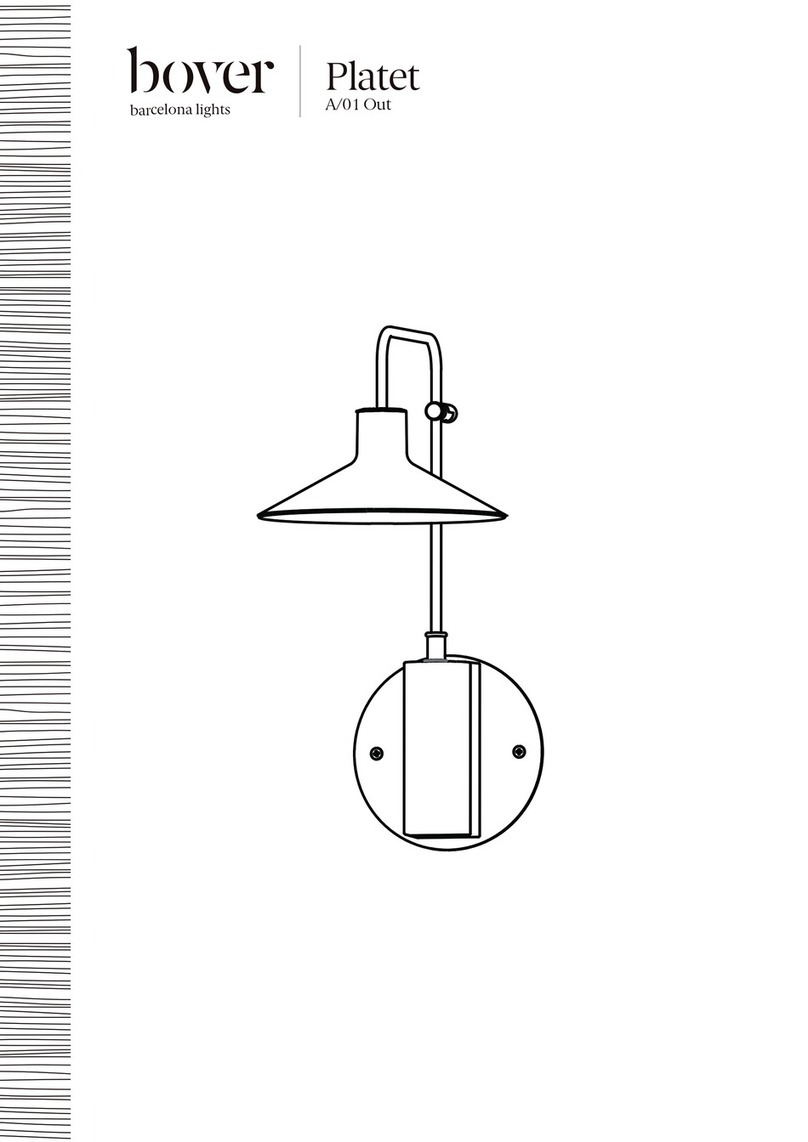
bover Platet A/01 Out User manual

bover

bover Platet A/01 Out User manual

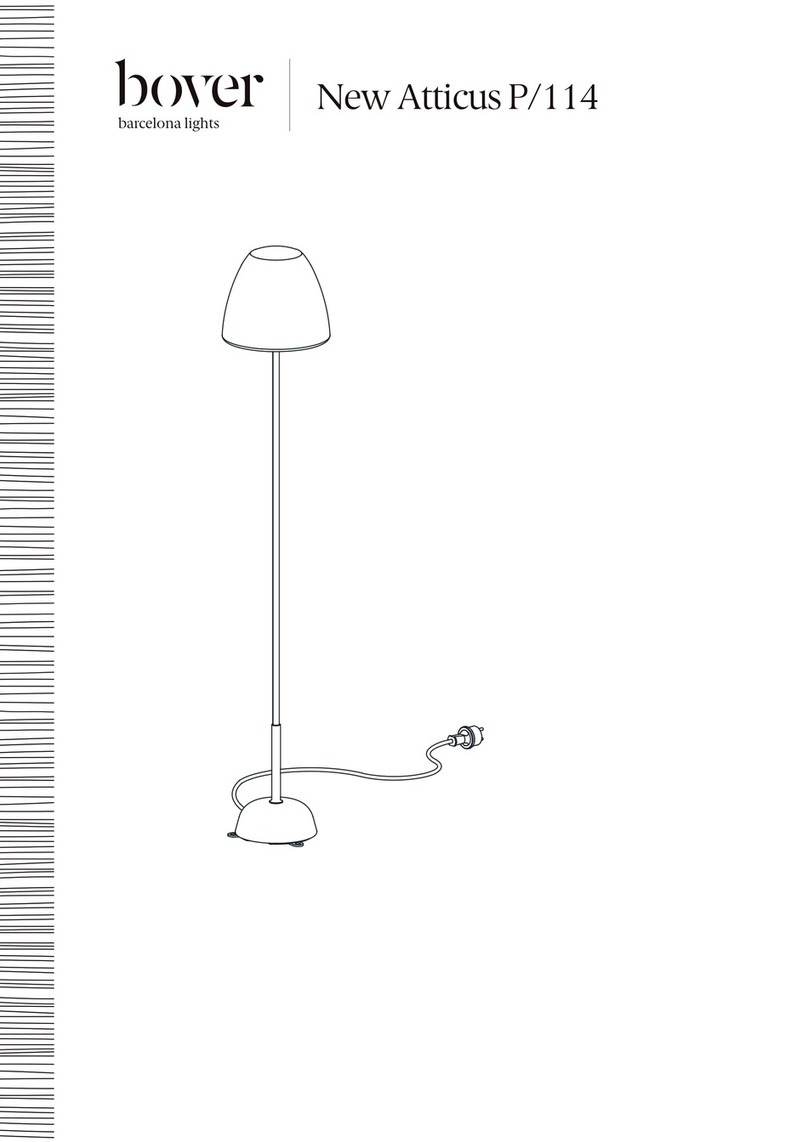
bover Atticus P/114 User manual

bover

bover Atticus P/114 User manual

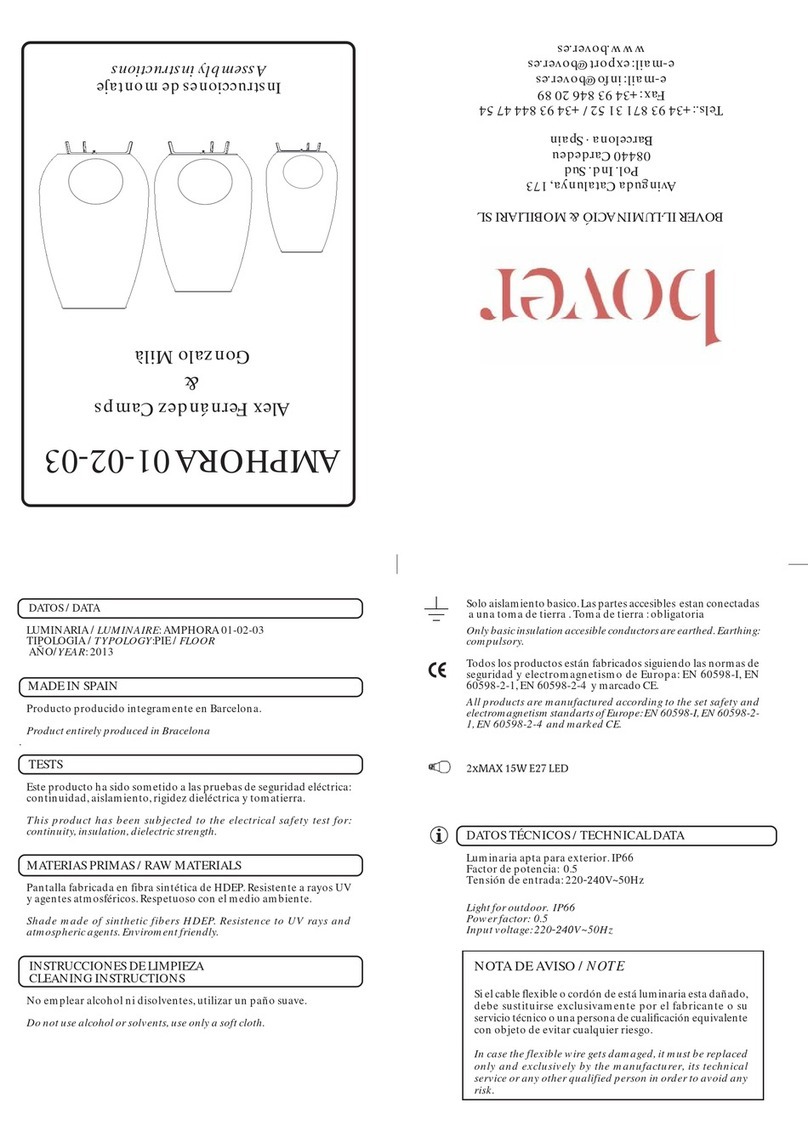
bover AMPHORA Series User manual

bover

bover AMPHORA Series User manual

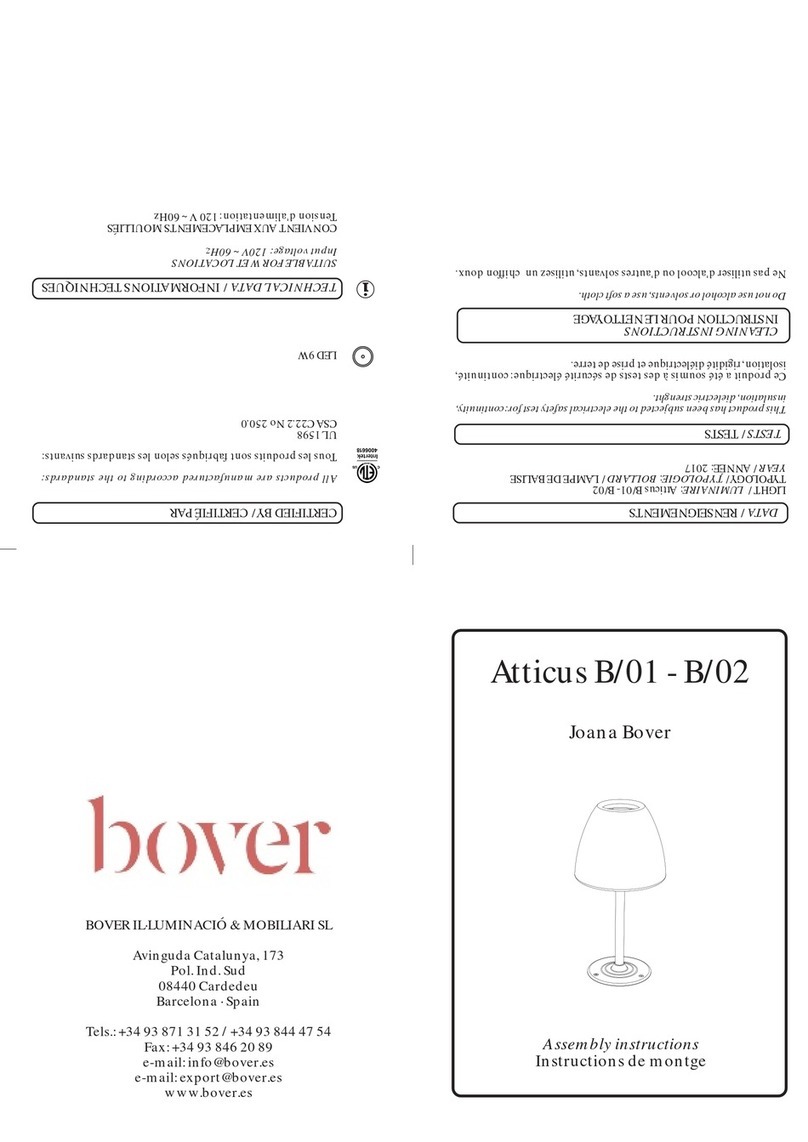
bover Atticus B/01 User manual

bover

bover Atticus B/01 User manual

bover MAXI P/180 Outdoor User manual

bover

bover MAXI P/180 Outdoor User manual

bover Joana Bover MAXI P/04 User manual

bover

bover Joana Bover MAXI P/04 User manual

bover Cornet B/27 User manual

bover

bover Cornet B/27 User manual

bover New Atticus B/40 User manual

bover

bover New Atticus B/40 User manual

Popular Outdoor Light manuals by other brands

Philips Ecomoods 169158716 brochure

Philips

Philips Ecomoods 169158716 brochure

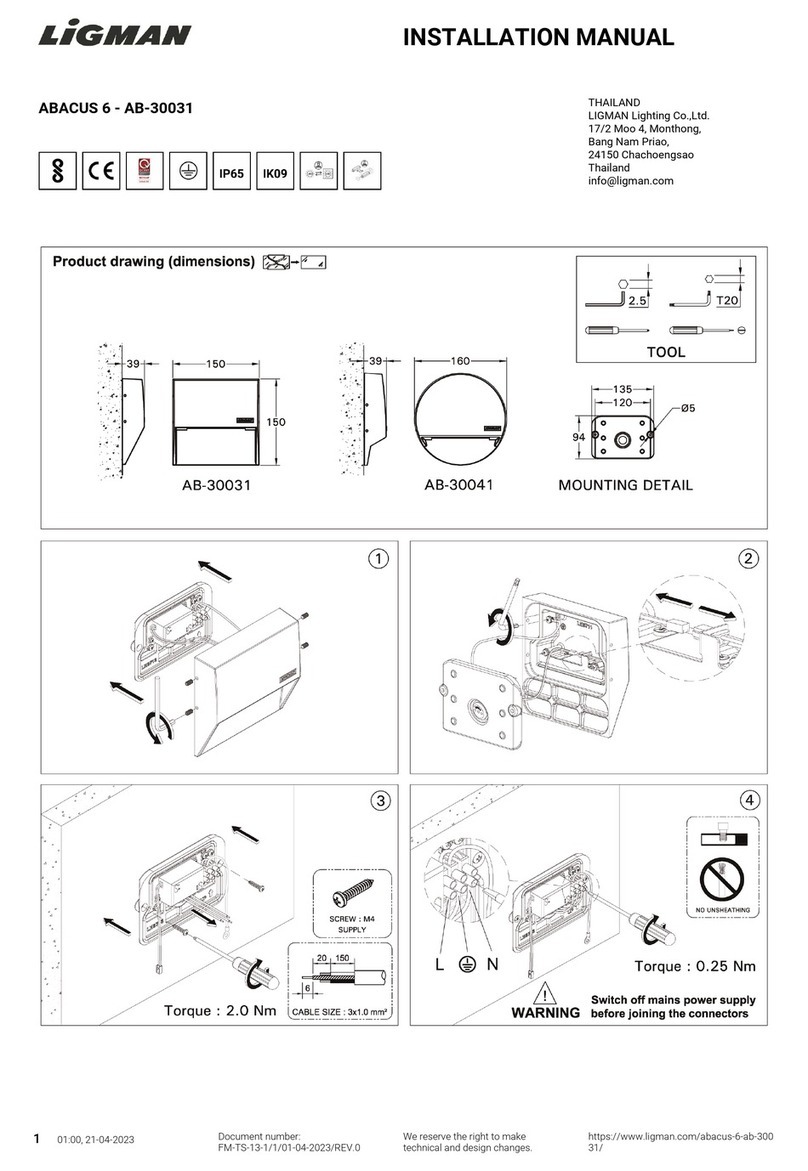
LIGMAN ABACUS 6 AB-30031 installation manual

LIGMAN

LIGMAN ABACUS 6 AB-30031 installation manual

Pro-Elec PEL00826 instructions

Pro-Elec

Pro-Elec PEL00826 instructions

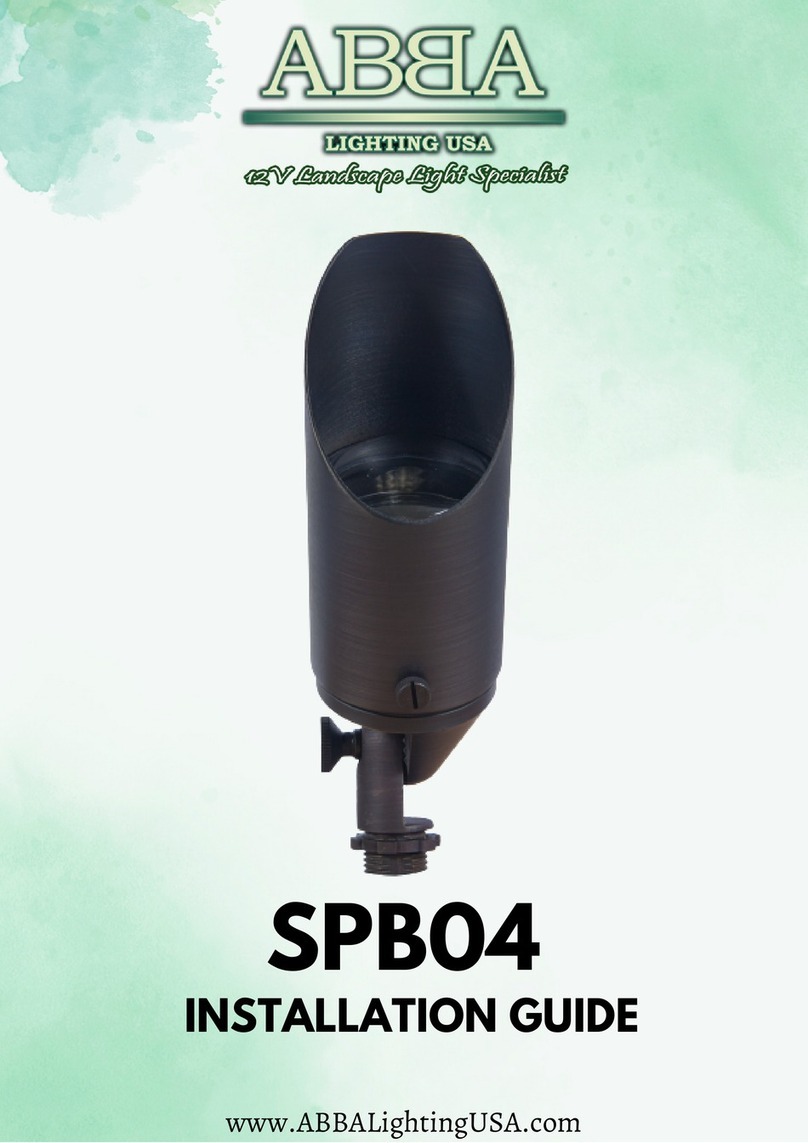
ABBA SPB04 installation guide

ABBA

ABBA SPB04 installation guide

Beurer TL 45 Perfect Day Instructions for use

Beurer

Beurer TL 45 Perfect Day Instructions for use

OttLite Hampton quick start guide

OttLite

OttLite Hampton quick start guide

leadsun AE3C user manual

leadsun

leadsun AE3C user manual

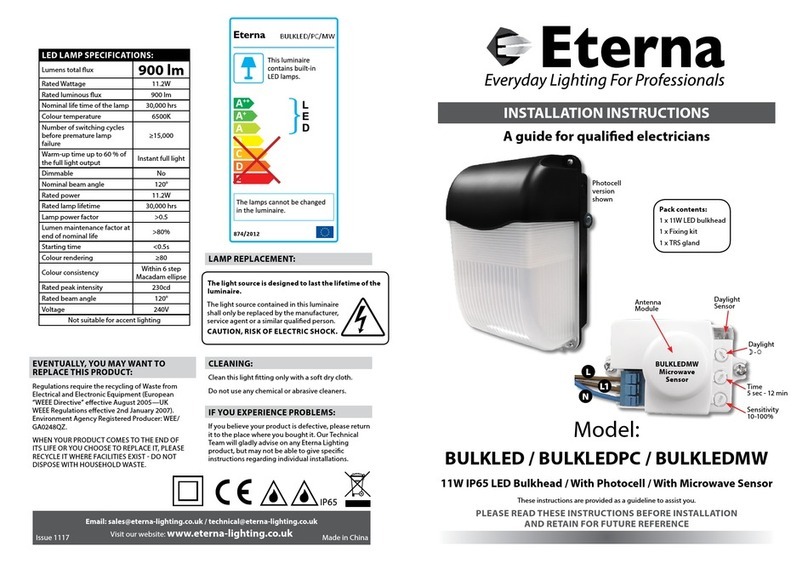
Eterna BULKLED installation instructions

Eterna

Eterna BULKLED installation instructions

8 seasons design No.1 30 RGB instructions

8 seasons design

8 seasons design No.1 30 RGB instructions

IKEA SOLVINDEN manual

IKEA

IKEA SOLVINDEN manual

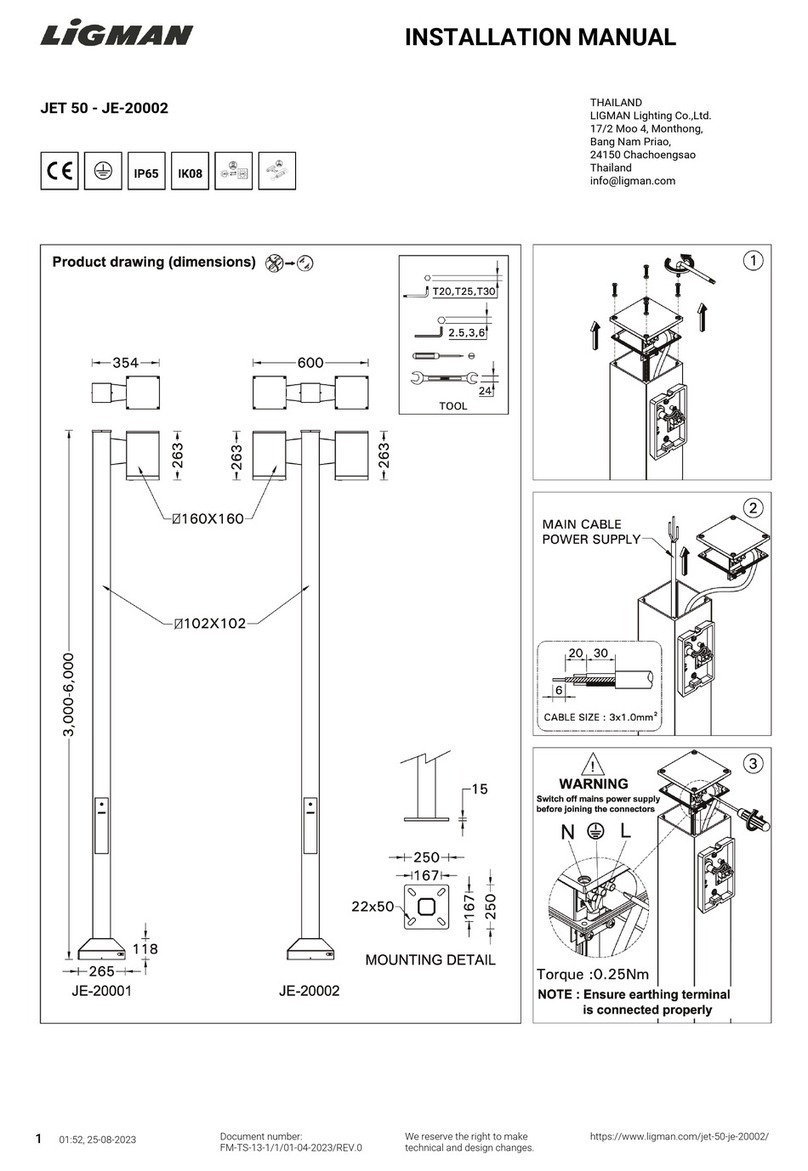
LIGMAN JET 50 installation manual

LIGMAN

LIGMAN JET 50 installation manual

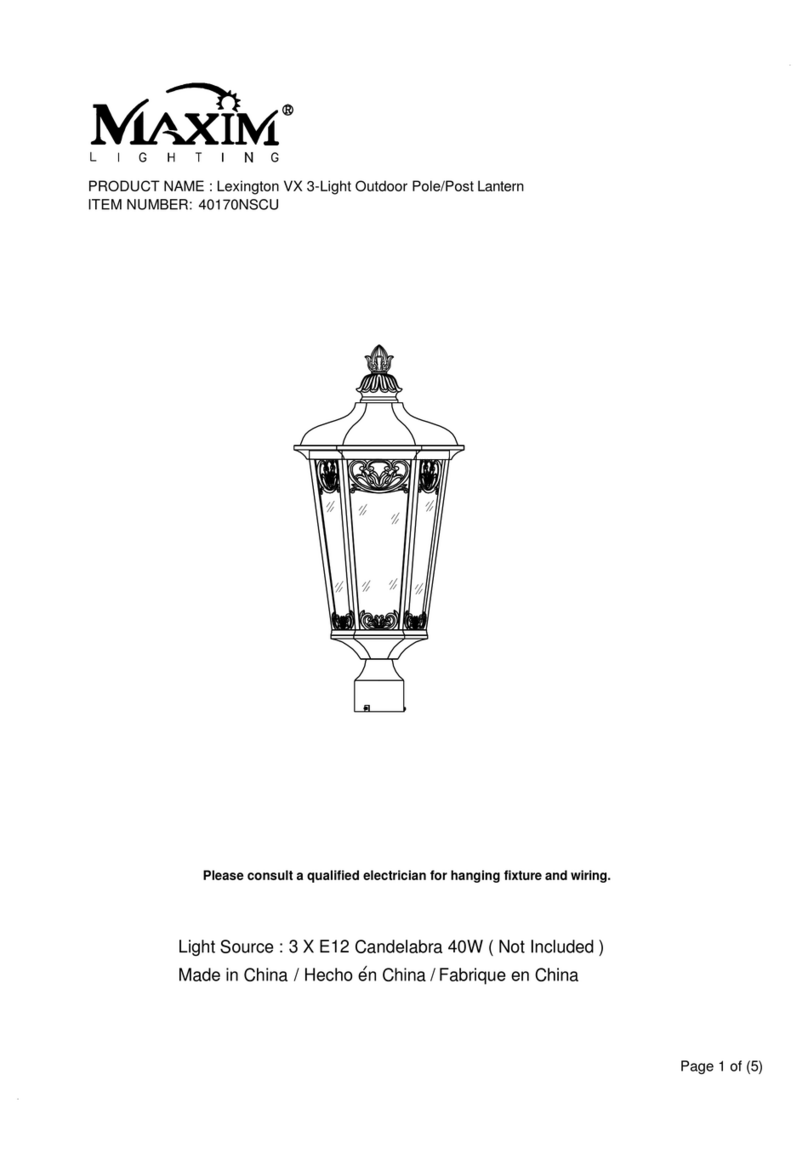
Maxim Lighting Lexington VX manual

Maxim Lighting

Maxim Lighting Lexington VX manual

A&L Furniture Lighthouse Assembly instructions

A&L Furniture

A&L Furniture Lighthouse Assembly instructions

FLOS CHRYSALIS Instruction for correct Installation and Use

FLOS

FLOS CHRYSALIS Instruction for correct Installation and Use

LANZINI TM instructions

LANZINI

LANZINI TM instructions

FLINQ FQC8273 instruction manual

FLINQ

FLINQ FQC8273 instruction manual

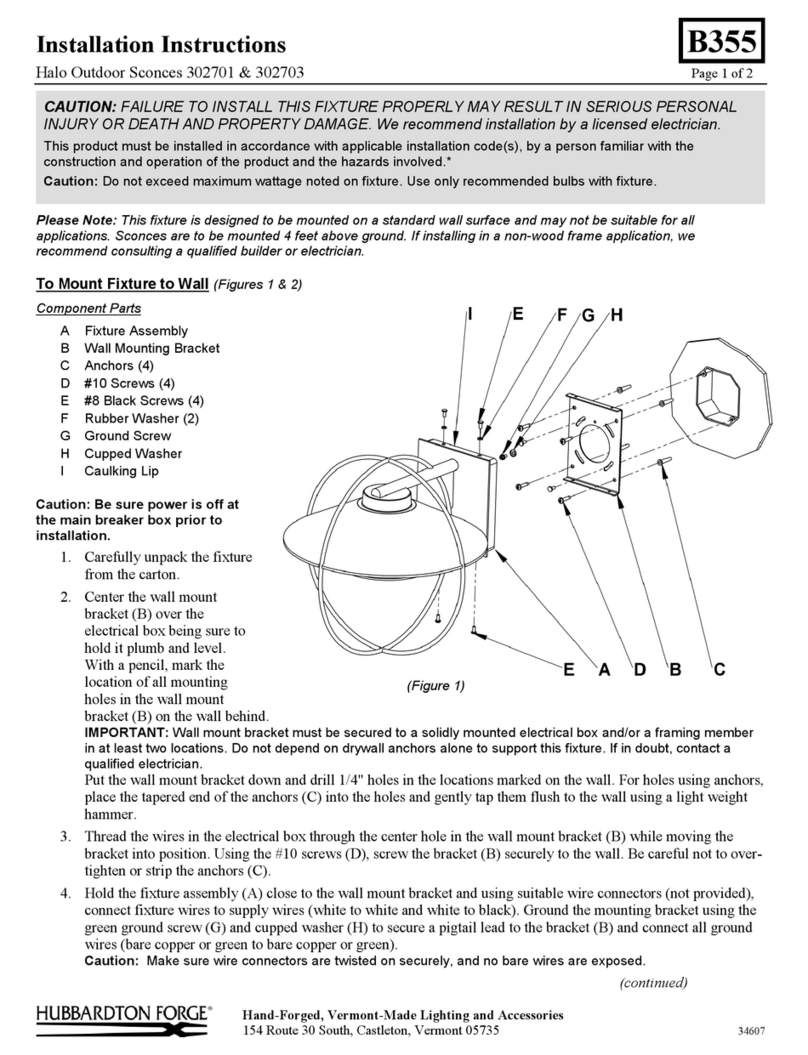
Hubbardton Forge Halo 302701 installation instructions

Hubbardton Forge

Hubbardton Forge Halo 302701 installation instructions

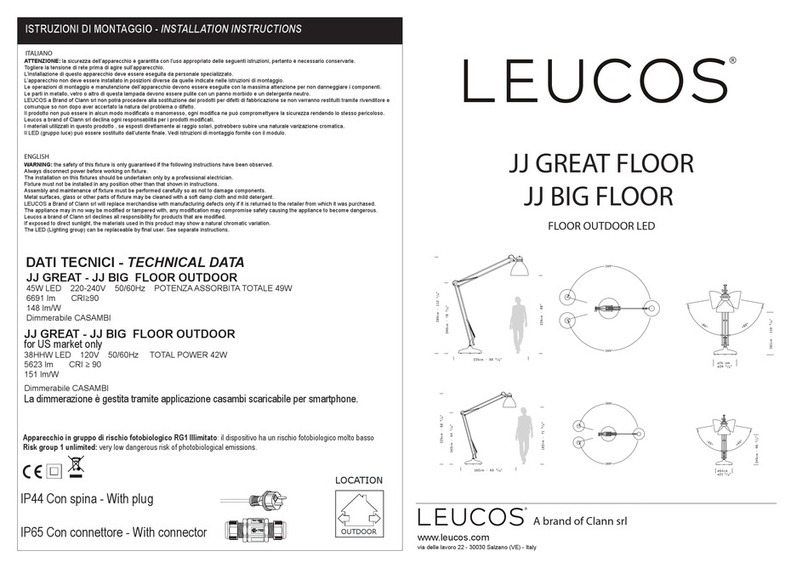
Clann LEUCOS JJ GREAT FLOOR quick start guide

Clann

Clann LEUCOS JJ GREAT FLOOR quick start guide

manuals.online logo
manuals.online logoBrands
  • About & Mission
  • Contact us
  • Privacy Policy
  • Terms and Conditions

Copyright 2025 Manuals.Online. All Rights Reserved.