manuals.online logo
Brands
  1. Home
  2. •
  3. Brands
  4. •
  5. bover
  6. •
  7. Outdoor Light
  8. •
  9. bover Platet A/01 Out User manual

bover Platet A/01 Out User manual

Platet
A/01 Out
WIRE COLOUR
COULEUR DU FIL
CONNECTION TABLE
TABLEAU DE CONNEXION
2
DATA / RENSEIGNEMENTS
Luminaire: Platet A/01 Out
Typology: Wall Lamp
Year: 2019
Luminaire: Platet A/01 Out
Typologie: Lampe murale
Année: 2019
TESTS / TESTS
This product has been subjected to the electrical safety test for: continuity, insulation, dielectric strength.
Ce produit a été soumis à des tests de sécurité électrique : continuité, isolation, rigidité diélectrique et prise de terre.
CLEANING INSTRUCTIONS / INSTRUCTION POUR LE NETTOYAGE
Do not use alcohol or solvents, use a so cloth.
Ne pas utiliser d'alcool ou d'autres solvants, utilisez un chion doux.
CERTIFIED BY / CERTIFIÉ PAR
This product conforms to the standard UL Std 1598:2018 Ed.4 and it is Certied to CAN/ CSA
C22.2#250.0:2018 Ed.4
Ce produit est conforme à la norme UL Std 1598:2018 Ed.4 et il est certié conforme à la norme
CAN/CSA C22.2#250.0:2018 Ed.4
TECHNICAL DATA / RENSEIGNEMENTS TECHNIQUES
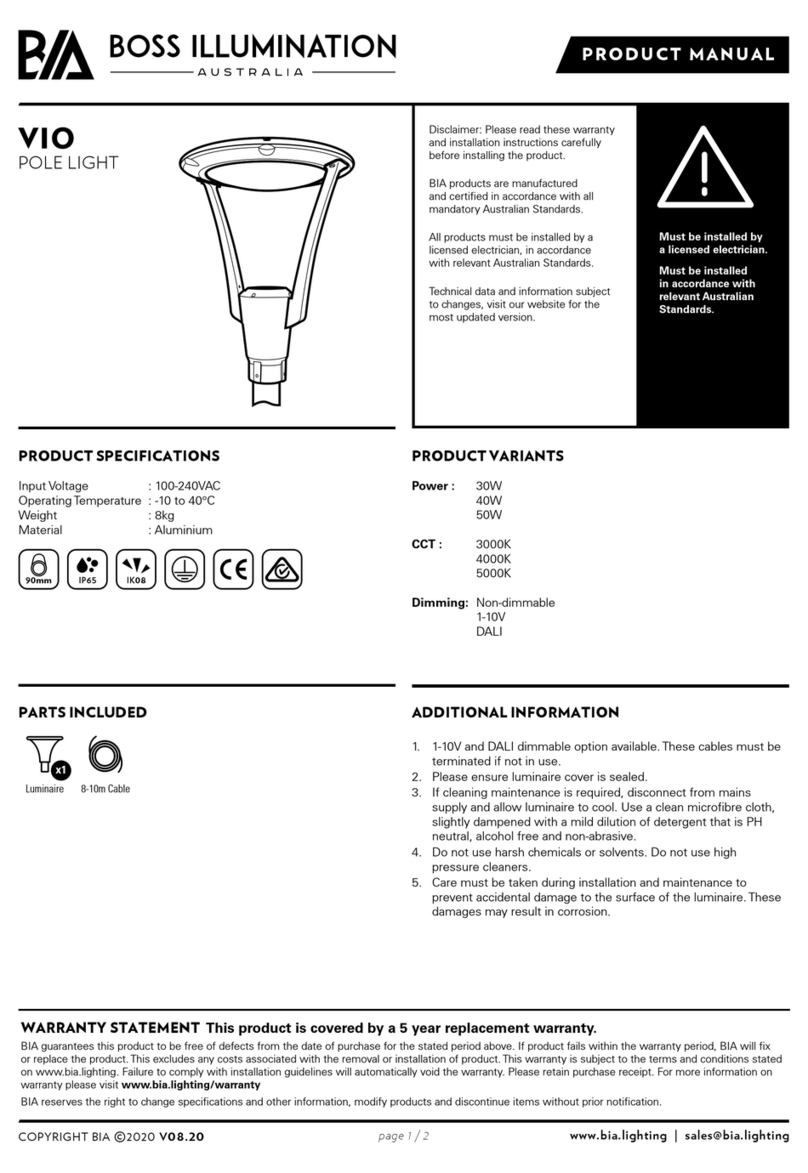
Light for indoor use only.
Power factor:>0.9
Input voltage: 120V~ 60Hz
Luminaire's Watts: 5W
Luminaire pour utilisation intérieure seulement.
Facteur de puissance:>0,9
Tension d'entrée : 120V~ 60Hz
Puissance des luminaires: 5W
Do not look directly at the light source.
Ne regardez pas directement la source de lumière.
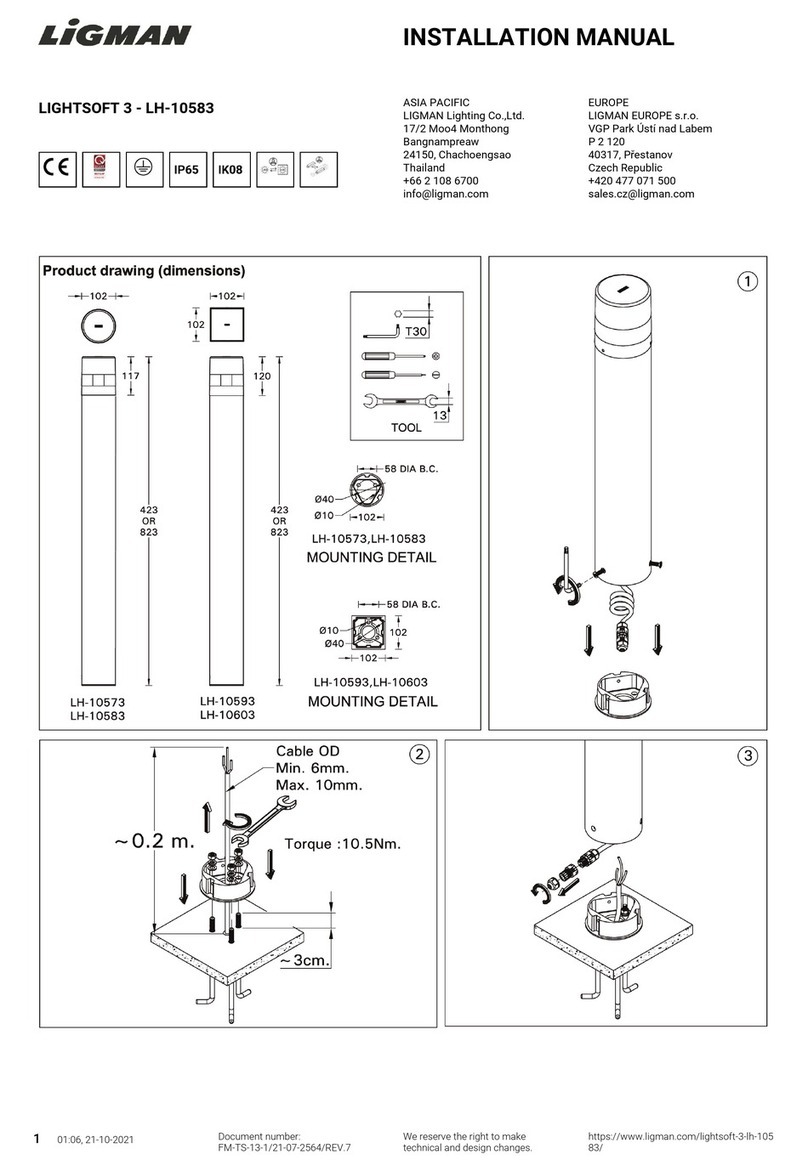
This luminaire is to be mounted or supported independently of an outlet box.
Ce luminaire doitêtre monté ou supporté indépendamment d'une boîte de sortie.
NOTA DE AVISO / NOTE
Due to LED manufacturing process characteristics, luminaires including this light source may
have a slight variation in the light tone.
En raison des caractéristiques du processus de fabrication des LED, les luminaires, notamment cette
source de lumière peut avoir une légère variation dans le ton de la lumière.
WIRE COLOUR
COULEUR DU FIL
CONNECTION TABLE
TABLEAU DE CONNEXION
3
DIMENSIONS OF FIXING / LES DIMENSIONS DE LA FIXATION
CAUTION / ATTENTION
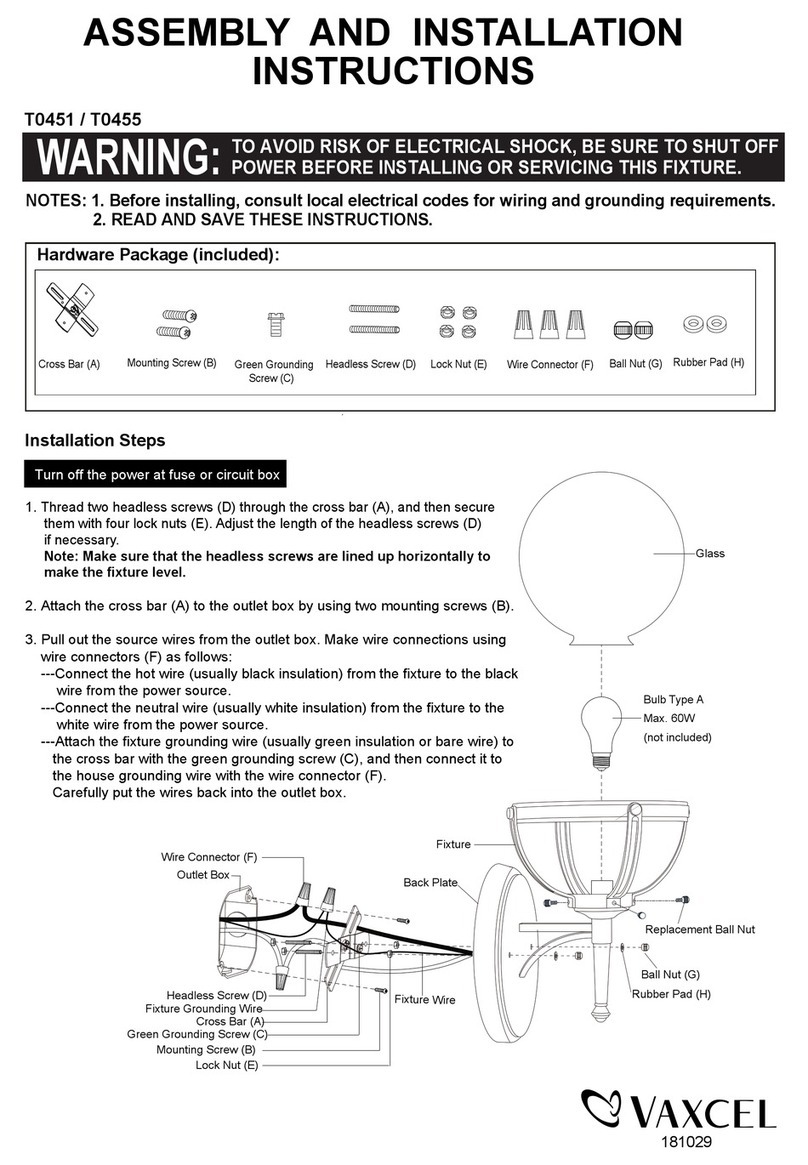
THIS PRODUCT MUST BE INSTALLED IN ACCORDANCE WITH THE APPLICABLE
INSTALLATION
CODE BY APERSON FAMILIAR WITH THE CONSTRUCTION AND OPERATION OF THE
PRODUCT AND THE HAZARDSINVOLVED.
No loose strands or loose connections should be present.
Secure with U.L. certified wire connectors and electrical tape.
CE PRODUIT DOIT ÊTRE INSTALLÉ CONFORMÉMENT AU CODE D'INSTALLATION
APPLICABLE PAR
UNE PERSONNE CONNAISSANT BIEN LA CONSTRUCTION ET LE FONCTIONNEMENT DU
PRODUIT
AINSI QUE LES DANGERS ASSOCIÉS.
Il ne doit pas y avoir de torons ou de connexions lâches. Fixez- les avec des connecteurs
de fils et du ruban
électrique certifiés UL.
WARNING - SAFETY / AVERTISSEMENT - SÉCURITÉ
The electricity MUST be turned off at the MAINS FUSE BOX before installing this luminaire;
turning the power off using the light switch is not sufficient to prevent electrical shock.
This Luminaire can be mounted directly to the building structure, independently of the electrical box.
This installation should not be made on a radiant heat type ceiling.
The luminaire is not intended to support any external weight.
L'électricité DOIT être coupée à la MAINS FUSE BOX avant d'installer ces luminaires; il ne suffit pas de
couper l'alimentation électrique à l'aide de l'interrupteur d'éclairage
pour éviter tout choc électrique.
Cette Luminarie peut être montée directement sur la structure du bâtiment, indépendamment
du coffret électrique.
Cette installation ne doit pas être faite sur un plafond de type radiant.
Le luminaire n'est pas destiné à supporter un poids externe.
ELECTRICAL CONNECTION - SAFETY / RACCORDEMENT ÉLECTRIQUE - SÉCURITÉ
Attach grounding wire (green insulate or bare copper) from the supplier circuit to the mounting
bracket with the green ground attachment screw or wire provided provided.
Connect the grounding wire of the luminaries to the ground conductor of the supply circuit.
Attach all grounding conductors to the mounting bracket with the green ground wire attachment
screw.
Referring to the Wire Connection Chart, connect the black and white wires.
Fixez le fil de terre (isolant vert ou cuivre nu) du circuit du fournisseur au support de montage à l'aide
de la vis de ou le fil de mise à la terre verte fournie.
Raccordez le fil de terre des luminaires au conducteur de terre du circuit d'alimentation.
Fixez tous les conducteurs de mise à la terre au support de montage à l'aide de la vis de fixation du fil de terre
verte.
Reportez-vous au schéma de branchement des fils pour brancher les fils noir et blanc.
WIRE COLOUR
COULEUR DU FIL
CONNECTION TABLE
TABLEAU DE CONNEXION
Overall Diameter
diamètre extérieur
secure to the wall
fixer au mur
Conduit
ConnecƟon
connexion
des conduits
4
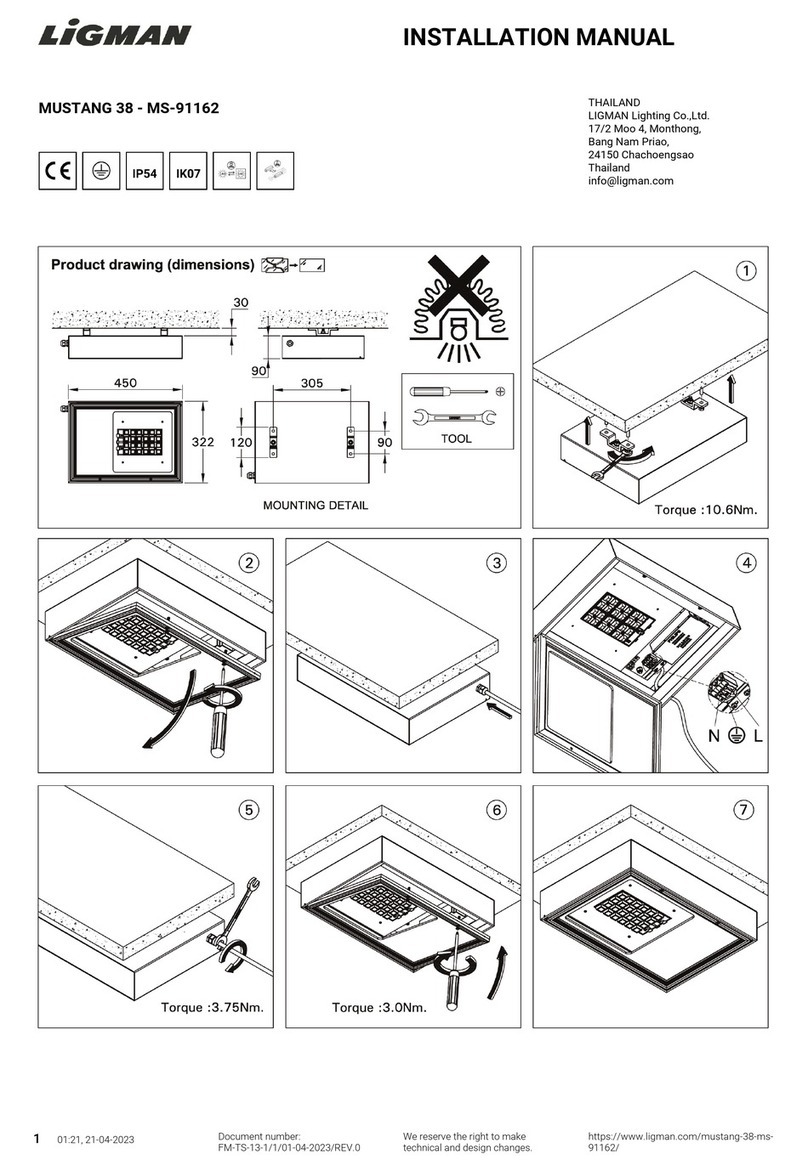
A Disconnect from mains. Prepare the wall lamp to be installed by taking
apart the 1 screw and by not completely unscrewing the 2 stud.
A Déconnectez-vous du secteur. Préparez l'applique à installer en la démontant
la 1 vis et en ne dévissant pas complètement le 2 goujon.
BTake apart the plate and it's bracket. Secure the wall plate to the wall.
Connect the cord supply to mains according to the connection chart.
Démontez la plaque et c'est le support. Fixez la plaque murale au mur.
Branchez le cordon d'alimentation au secteur conformément au tableau de
connexion.
ASSEMBLY INSTRUCTIONS / INSTRUCTIONS DE MONTAGE
OFF L BLACK NOIR
N
WHITE / GREY
BLANC
GREEN VERT
WIRE COLOURWIRE COLOUR
COULEUR DU FILCOULEUR DU FIL
CONNECTION TABLECONNECTION TABLE
TABLEAU DE CONNEXIONTABLEAU DE CONNEXION
A
1
2
A
1
2
B
L
5
WIRE COLOUR
COULEUR DU FIL
CONNECTION TABLE
TABLEAU DE CONNEXION
CHang the lamp from the top hook of the bracket, and then t the bottom
so that the canopy stays at on to the wall.
Finally secure the lamp by tightening the 2 stud with the allen key provided.
Accrochez la lampe au crochet supérieur du support, puis installez le
le fond pour que l'auvent reste à plat sur le mur.
Enn, xez la lampe en serrant les 2 goujons avec la clé allen
fournis.
C
ON
WIRE COLOUR
COULEUR DU FIL
CONNECTION TABLE
TABLEAU DE CONNEXION
6
DTo assembly the shade, unscrew the top ring, take apart the black rubber
o'ring, then pass throught the shade and insert again the o'ring in it's slot.
Finnaly screw again the ring to secure the shade.
Pour monter l'écran, retirez d'abord l'anneau supérieur et le joint torique, faites
passer l'écran à travers, insérez le joint torique et relez l'anneau pour xer l'écran.
D
E
Avda. Catalunya 173
Polígon Ind. Sud
08440 Cardedeu
Barcelona, Spain
T. +34 938 713 152
F. +34 938 462 089
info@bover.es
www.bover.es
1231 Collier Road,
Suite C
Atlanta, GA 30318
United States
T. +1 (404) 924 2342
info@boverusa.com
www.boverusa.com
WIRE COLOUR
COULEUR DU FIL
CONNECTION TABLE
TABLEAU DE CONNEXION

Other bover Outdoor Light manuals

bover Nut B/60 User manual

bover

bover Nut B/60 User manual

bover MAXI P/180 Outdoor User manual

bover

bover MAXI P/180 Outdoor User manual

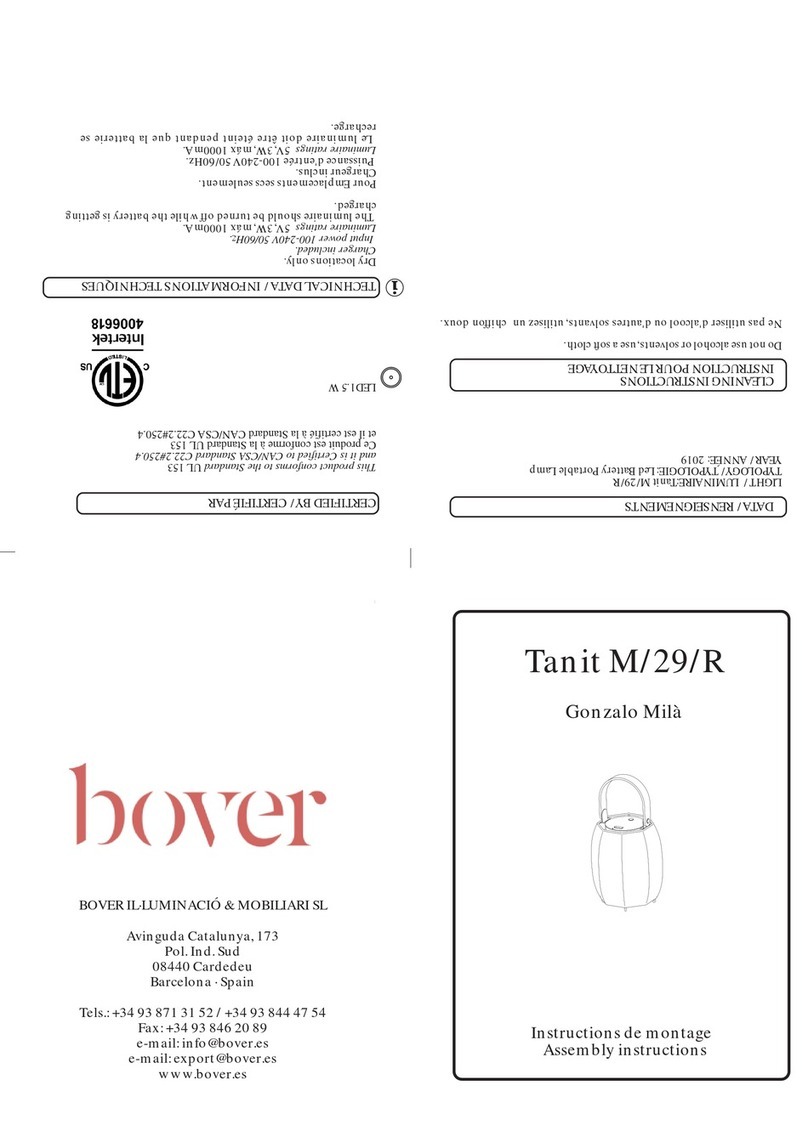
bover Tanit M/29/R User manual

bover

bover Tanit M/29/R User manual

bover MAXI P/180 OUTDOOR User manual

bover

bover MAXI P/180 OUTDOOR User manual

bover Tria A/04 User manual

bover

bover Tria A/04 User manual

bover New Atticus M/39 User manual

bover

bover New Atticus M/39 User manual

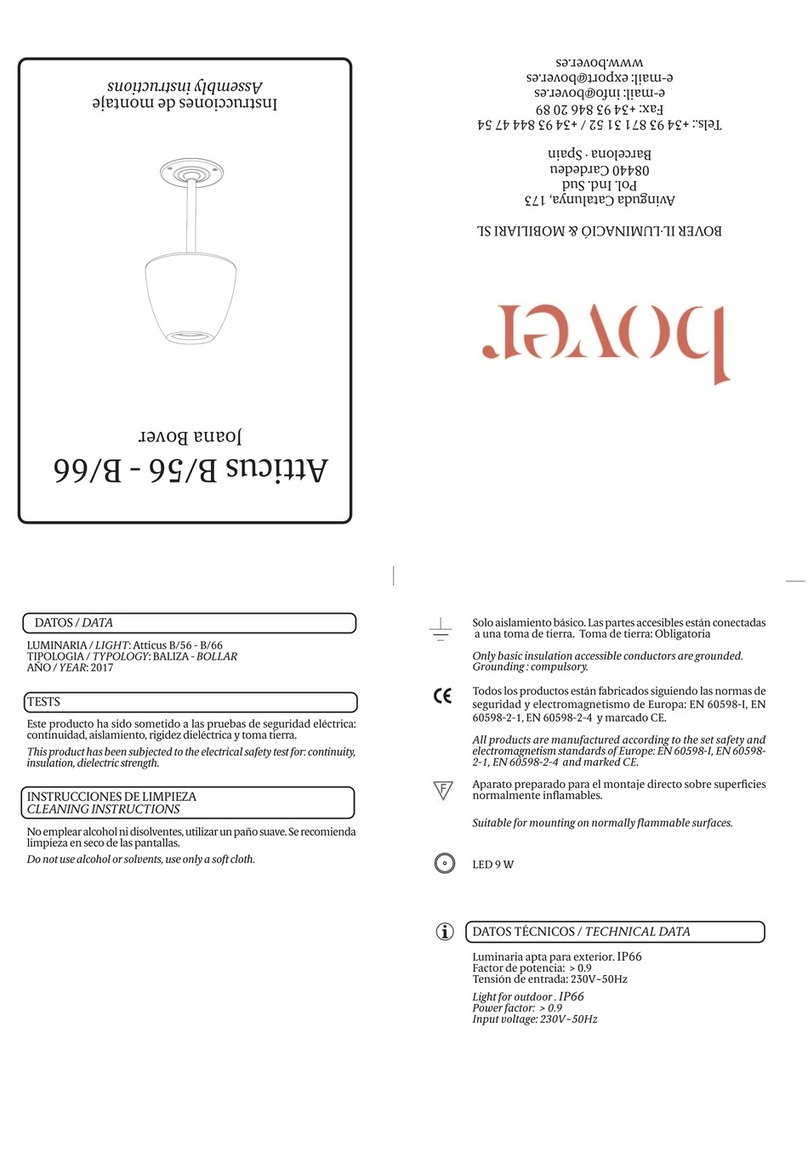
bover Atticus B/56 User manual

bover

bover Atticus B/56 User manual

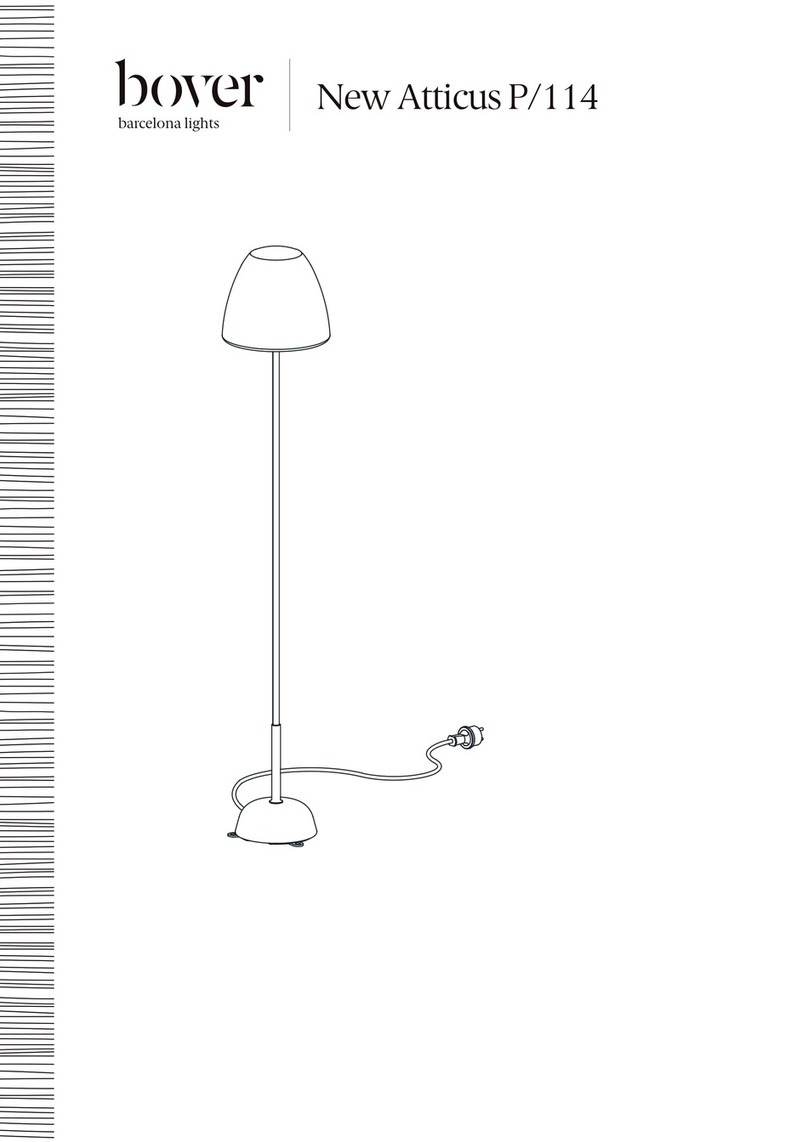
bover Atticus P/114 User manual

bover

bover Atticus P/114 User manual

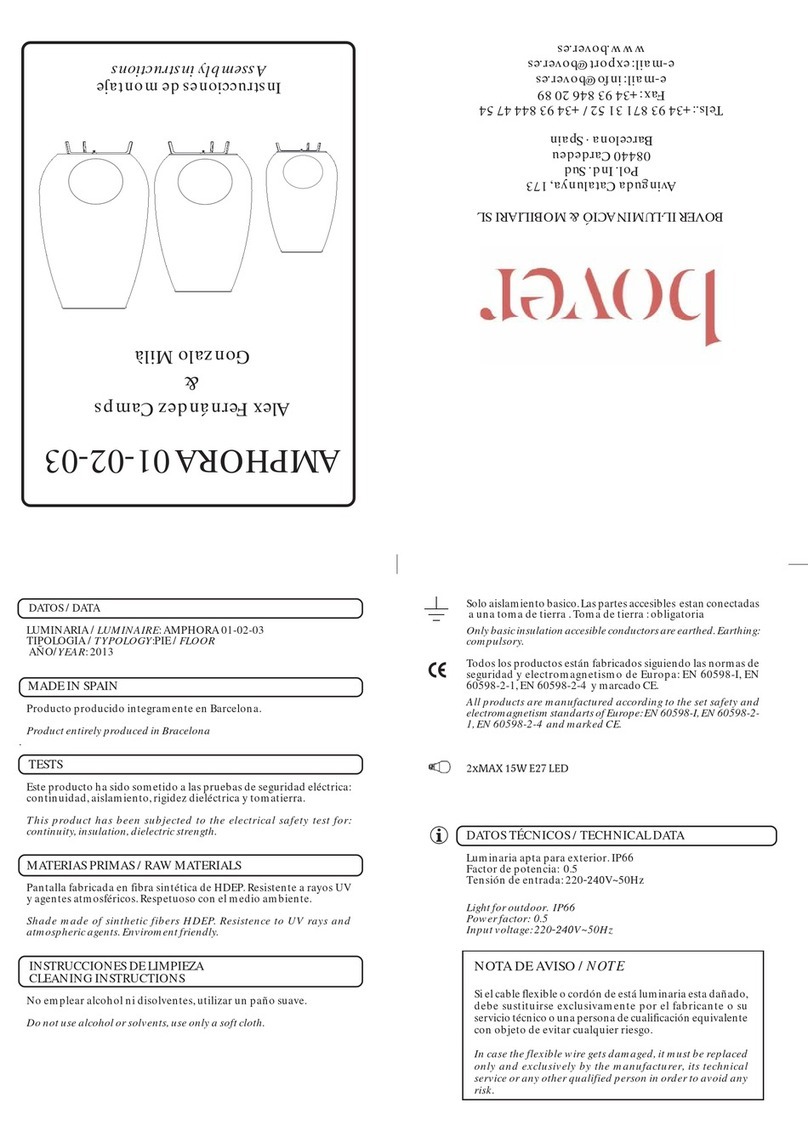
bover AMPHORA Series User manual

bover

bover AMPHORA Series User manual

bover GAROTA-P / 01 User manual

bover

bover GAROTA-P / 01 User manual

bover Cornet B/27 User manual

bover

bover Cornet B/27 User manual

bover Cornet B/27 User manual

bover

bover Cornet B/27 User manual

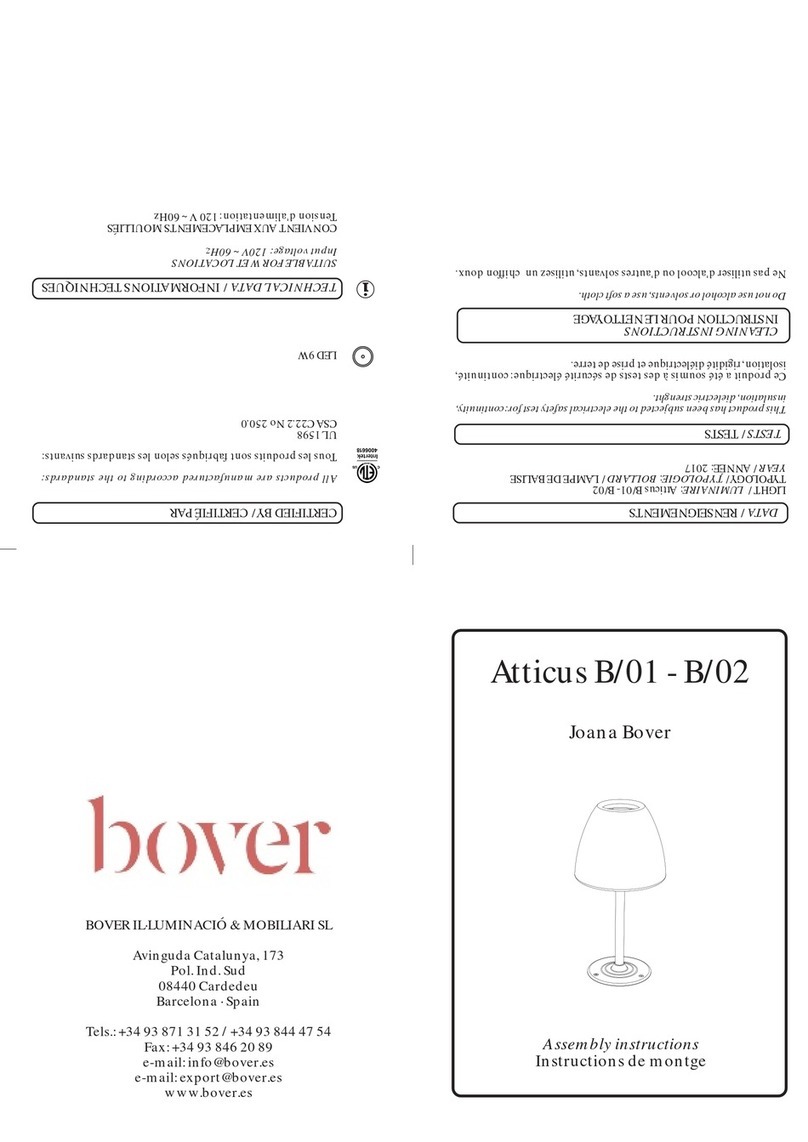
bover Atticus B/01 User manual

bover

bover Atticus B/01 User manual

bover Garota Catenary User manual

bover

bover Garota Catenary User manual

bover Joana Bover MAXI P/03 User manual

bover

bover Joana Bover MAXI P/03 User manual

bover New Atticus B/40 User manual

bover

bover New Atticus B/40 User manual

bover Joana Bover MAXI P/04 User manual

bover

bover Joana Bover MAXI P/04 User manual

bover FORA APLIQUE User manual

bover

bover FORA APLIQUE User manual

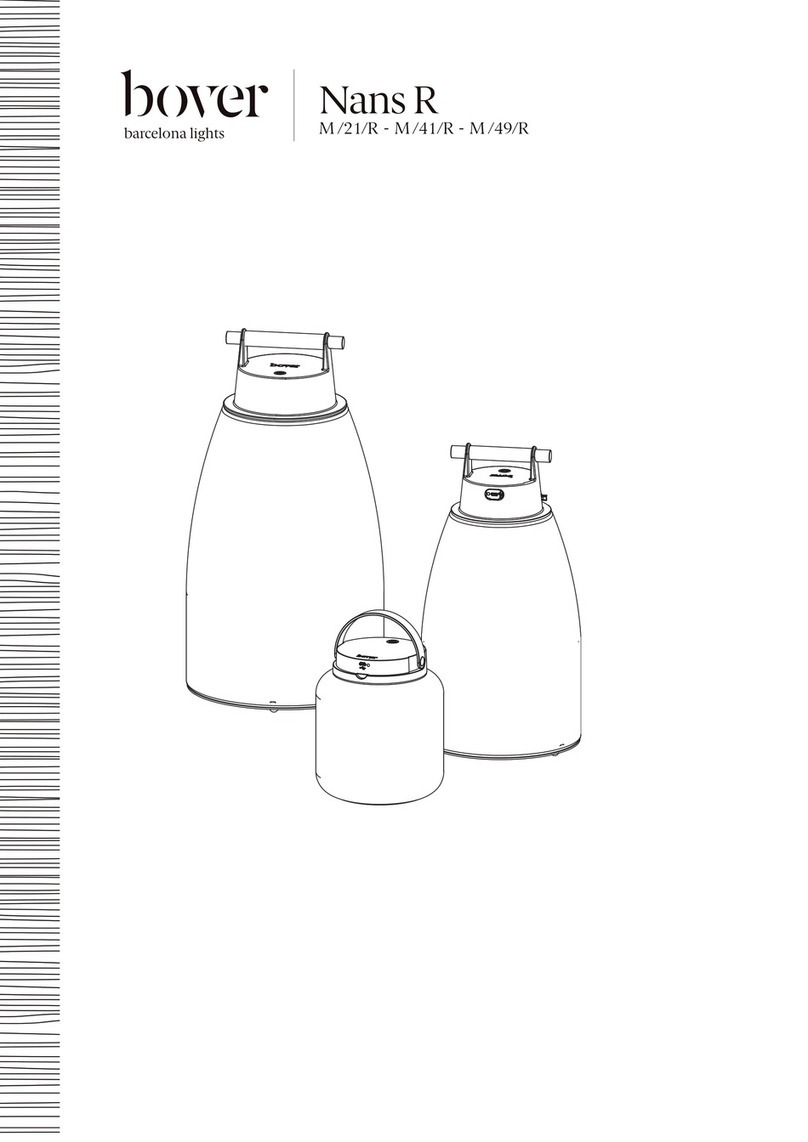
bover Nans R User manual

bover

bover Nans R User manual

bover Gonzalo Mila Moai B/35 User manual

bover

bover Gonzalo Mila Moai B/35 User manual

Popular Outdoor Light manuals by other brands

kobi Solar LED STREET 15W user manual

kobi

kobi Solar LED STREET 15W user manual

RH TALLADO TRAVERTINE Assembly/installation instructions

RH

RH TALLADO TRAVERTINE Assembly/installation instructions

Heitronic 35419 Installation and operating instructions

Heitronic

Heitronic 35419 Installation and operating instructions

JBL UVC bulb 5 W manual

JBL

JBL UVC bulb 5 W manual

PUK Hydrotech Medium Square LED 401006 Assembly and operating instructions

PUK

PUK Hydrotech Medium Square LED 401006 Assembly and operating instructions

thomann 463 239 Instructions for use

thomann

thomann 463 239 Instructions for use

STEINEL L 220 LED Information

STEINEL

STEINEL L 220 LED Information

Maxim Lighting Carriage House DC 40497WGOB installation instructions

Maxim Lighting

Maxim Lighting Carriage House DC 40497WGOB installation instructions

ARC Lighting Tiny Monster Concept Series quick start guide

ARC Lighting

ARC Lighting Tiny Monster Concept Series quick start guide

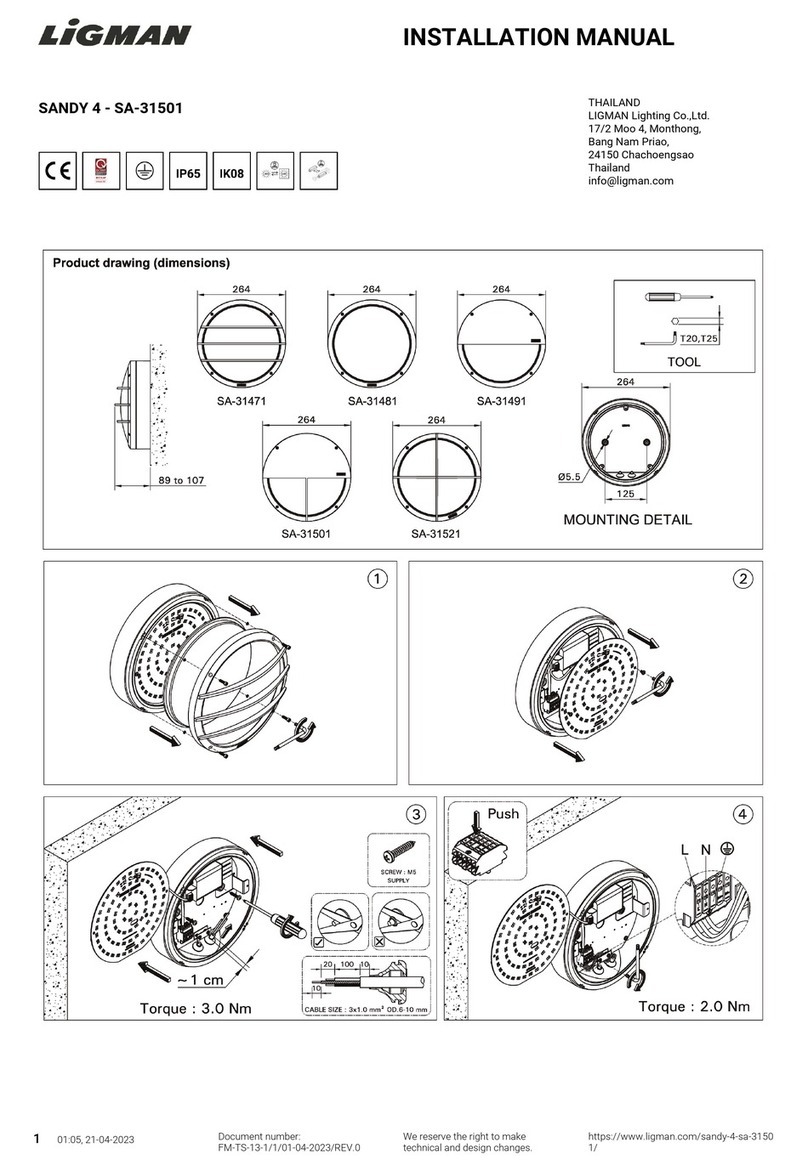
LIGMAN Kios Inground KI-60771 Installation and service manual

LIGMAN

LIGMAN Kios Inground KI-60771 Installation and service manual

Winsome house WH098 instruction manual

Winsome house

Winsome house WH098 instruction manual

IKEA TIDIG manual

IKEA

IKEA TIDIG manual

ABBA CD85 installation guide

ABBA

ABBA CD85 installation guide

Livoo TEA258 manual

Livoo

Livoo TEA258 manual

Anslut 019698 operating instructions

Anslut

Anslut 019698 operating instructions

Schwartinsky 15288 Assembly instruction

Schwartinsky

Schwartinsky 15288 Assembly instruction

Malatech ZEPHYR 60 GREY user manual

Malatech

Malatech ZEPHYR 60 GREY user manual

Lucci LEDlux TERRENCE LED 18F3-BLK installation instructions

Lucci LEDlux

Lucci LEDlux TERRENCE LED 18F3-BLK installation instructions

manuals.online logo
manuals.online logoBrands
  • About & Mission
  • Contact us
  • Privacy Policy
  • Terms and Conditions

Copyright 2025 Manuals.Online. All Rights Reserved.