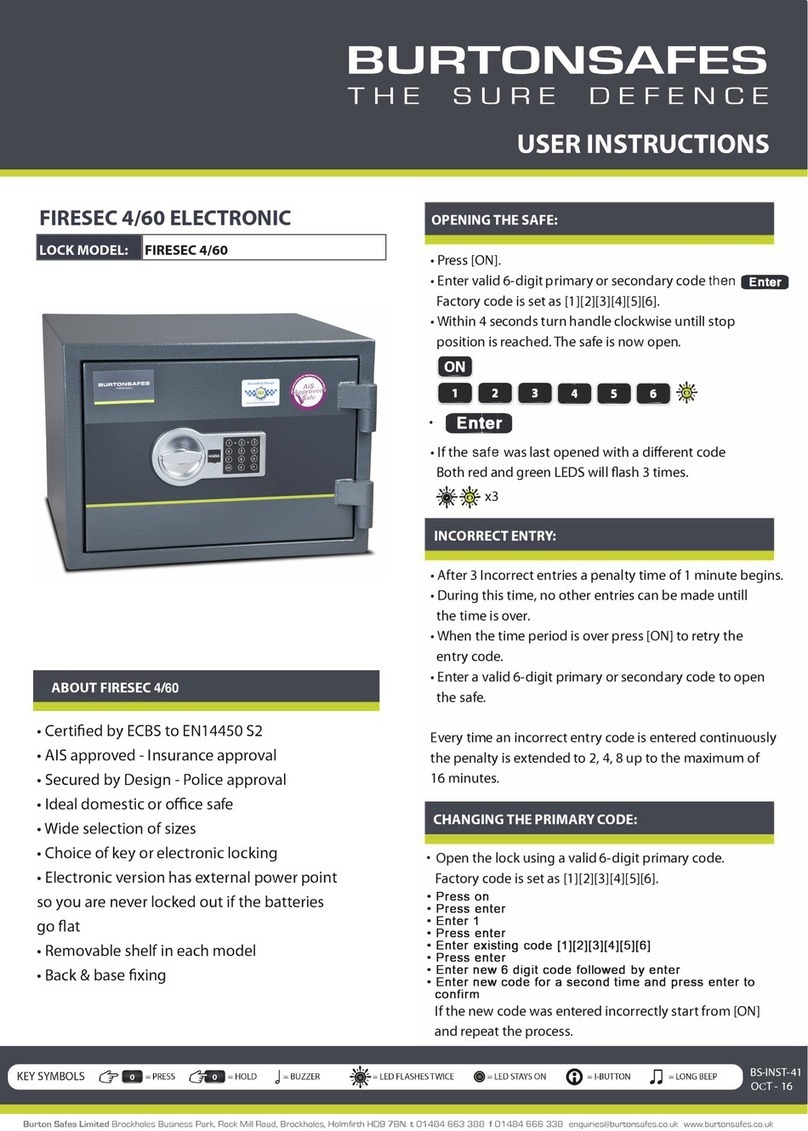
• Press the [ON] key
• Press the [ENTER] key
• Press key [2] followed by the [ENTER] key
• Enter the user number you want to set up, i.e. enter key [1] for user
number 1 or key [2] for user number 2 and so on
• Press the [ENTER] key
• Enter the 6-digit MASTER code followed by the [ENTER] key
• Enter a new 6-digit code for your chosen user code
• Press the [ENTER] key
• Re-enter the new 6-digit user code, then press the [ENTER] key to confirm
(Using the master code)(Using the master code)
(Using a user code)(Using a user code)
• Press the [ON] key
• Press the [ENTER] key
• Press key [0] followed by the [ENTER] key
• Enter the user number for the code you wish to delete, i.e. key [2]
• Press the [ENTER] key
• Enter the existing 6-digit MASTER code followed by the [ENTER] key
• Press the [ON] key
• Press the [ENTER] key
• Press key [0] followed by the [ENTER] key
• Enter the user number for the code you wish to delete, i.e. key [2]
• Press the [ENTER] key
• Enter the existing 6-digit MASTER code followed by the [ENTER] key
• Press the [ON] key
• Press the [ENTER] key
• Press key [3] followed by the [ENTER] key
• Enter the user number for the code you wish to change, i.e. key [2]
• Enter the existing 6-digit user code
• Press the [ENTER] key
• Enter a new 6-digit code followed by the [ENTER] key
• Re-enter the new 6-digit code, then press the [ENTER] key to confirm
• Press the [ON] key
• Press the [ENTER] key
• Press key [7] followed by the [ENTER] key
• Enter the 6-digit master code followed by the [ENTER] key
• Press the [ON] key
• Press the [ENTER] key
• Press key [7] followed by the [ENTER] key
• Enter the 6-digit master code followed by the [ENTER] key
• Press the [ON] key
• Press the [ENTER] key
• Press key [8] followed by the [ENTER] key
• Enter the 6-digit master code followed by the [ENTER] key
• Press the [ON] key
• Press the [ENTER] key
• Press key [8] followed by the [ENTER] key
• Enter the 6-digit master code followed by the [ENTER] key
Deleting a user codeDeleting a user code
Changing a user codeChanging a user code
Turning on the Dual Code functionTurning on the Dual Code function
Turning off the Dual Code functionTurning off the Dual Code function
• Press the [ON] key
• Press key [0] followed by the [ENTER] key
• Enter the 6-digit master code followed by the [ENTER] key
• Within 1 minute enter a user number i.e. press key [2], followed by the [ENTER] key
• Enter the 6-digit user code for that user followed by the [ENTER] key
• Within 4 seconds, turn the handle clockwise until the stop position is reached
• Open the safe door
A Time Delay is the time you have to wait in between the entry of your code and the opening of
your safe. An Open Window is the amount of time you have to open your safe after the time delay.
For example, if you wanted a 30 minute Time Delay and a 9 minute Open Window, this would
mean that once you have entered a valid 6-digit code, you have to wait 30 minutes before you can
open the safe door. After 30 minutes you will have 9 minutes to open the safe door. If you wait
longer than 9 minutes, you have to start the process again. In this lock you can program a Time
Delay from 1 - 99 minutes and an Open Window of 1 - 9 minutes.
Opening the safe with the Dual Code functionOpening the safe with the Dual Code function
Programming the Time DelayProgramming the Time Delay
• Press the [ON] key
• Enter a valid 6-digit code (the factory default is ‘123456’)
• Press the [ENTER] key
• Within 4 seconds, turn the handle clockwise until the stop position is reached
• Open the safe door
• Press the [ON] key
• Enter a valid 6-digit code (the factory default is ‘123456’)
• Press the [ENTER] key
• Within 4 seconds, turn the handle clockwise until the stop position is reached
• Open the safe door
• Ensure that the bolts are fully retracted
(if necessary rotate the handle clockwise to retract the bolts)
• Gently push the door shut. Always ensure that there are no objects or
people in the way of the closing door
• Turn the handle anti-clockwise until the stop position is reached
• Ensure that the bolts are fully retracted
(if necessary rotate the handle clockwise to retract the bolts)
• Gently push the door shut. Always ensure that there are no objects or
people in the way of the closing door
• Turn the handle anti-clockwise until the stop position is reached
• Open the lock using a valid 6-digit master code • Open the safe door
• Press the [ON] key
• Press the [ENTER] key
• Press key [1] followed by the [ENTER] key
• Enter the existing 6-digit master code (the factory default is ‘123456’)
• Press the [ENTER] key
• Enter a new 6-digit code followed by the [ENTER] key
• Re-enter the new 6-digit code, then press the [ENTER] key to confirm
There are 9 user codes under the user numbers 1-9. To set up a user code,
you need to input the user number first.
There are 9 user codes under the user numbers 1-9. To set up a user code,
you need to input the user number first.
How to open the safeHow to open the safe
• If an incorrect code has been entered, the red LED will flash
• After 3 incorrect entries, a penalty time of 1 minute will begin.
During this time no other code entries can be made
• When the penalty time is over press the [ON] key
• Enter a valid 6-digit code
• If an incorrect code has been entered, the red LED will flash
• After 3 incorrect entries, a penalty time of 1 minute will begin.
During this time no other code entries can be made
• When the penalty time is over press the [ON] key
• Enter a valid 6-digit code
NOTE: Everytime an incorrect entry code is entered continuously the penalty time is extended for 2, 4, 8,
up to the maximum of 16 minutes
NOTE: Everytime an incorrect entry code is entered continuously the penalty time is extended for 2, 4, 8,
up to the maximum of 16 minutes
Incorrect EntryIncorrect Entry
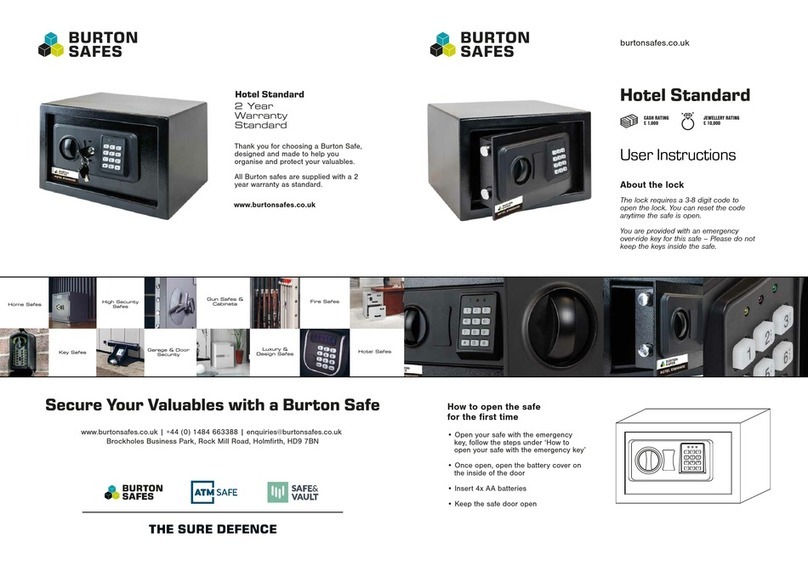
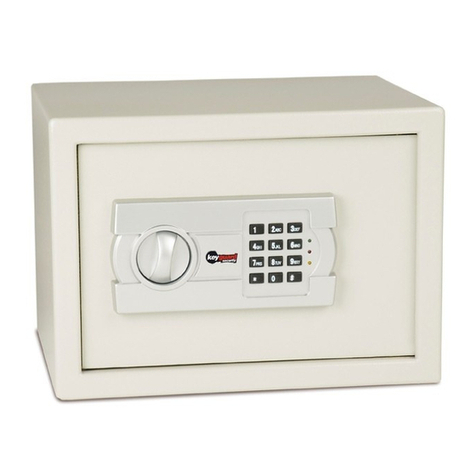
Thank you for purchasing a Burton SafeThank you for purchasing a Burton Safe
How to close the safeHow to close the safe
Changing the master codeChanging the master code
(Using the master code)(Using the master code)
Activating a user codeActivating a user code
