manuals.online logo
Brands
  1. Home
  2. •
  3. Brands
  4. •
  5. Canvas
  6. •
  7. Indoor Furnishing
  8. •
  9. Canvas Holliston CTCSC-3 User manual

Canvas Holliston CTCSC-3 User manual

This manual suits for next models

1

Other Canvas Indoor Furnishing manuals
Canvas 088-2286-0 User manual

Canvas

Canvas 088-2286-0 User manual

Canvas PERTH 168-0073-8 User manual

Canvas

Canvas PERTH 168-0073-8 User manual

Canvas Office Landscape Private Office Hutch Installation instructions

Canvas

Canvas Office Landscape Private Office Hutch Installation instructions

Canvas JAX ZD-2055-2PKR User manual

Canvas

Canvas JAX ZD-2055-2PKR User manual

Canvas JENSEN 088-1927-2 User manual

Canvas

Canvas JENSEN 088-1927-2 User manual

Canvas YORKVILLE 088-2231-0 User manual

Canvas

Canvas YORKVILLE 088-2231-0 User manual

Canvas SUMMERHILL YD-DSC2 User manual

Canvas

Canvas SUMMERHILL YD-DSC2 User manual

Canvas Renfrew 088-2040-4 User manual

Canvas

Canvas Renfrew 088-2040-4 User manual

Canvas Anderson Credenza User manual

Canvas

Canvas Anderson Credenza User manual

Canvas INVERMERE 168-0075-4 User manual

Canvas

Canvas INVERMERE 168-0075-4 User manual

Canvas MONTCLERC 168-0007-8 User manual

Canvas

Canvas MONTCLERC 168-0007-8 User manual

Canvas 088-2243-2 User manual

Canvas

Canvas 088-2243-2 User manual

Canvas EVELYN BUFFET 068-7593-6 User manual

Canvas

Canvas EVELYN BUFFET 068-7593-6 User manual

Canvas ANNEX KVS890H User manual

Canvas

Canvas ANNEX KVS890H User manual

Canvas CARBON 168-0068-2 User manual

Canvas

Canvas CARBON 168-0068-2 User manual

Canvas CV Camrose 088-2208 User manual

Canvas

Canvas CV Camrose 088-2208 User manual

Canvas MONTCLERC 168-0008-6 User manual

Canvas

Canvas MONTCLERC 168-0008-6 User manual

Canvas BARRINGTON 168-0112-6 User manual

Canvas

Canvas BARRINGTON 168-0112-6 User manual

Canvas CONTEMPO 088-1861-6 User manual

Canvas

Canvas CONTEMPO 088-1861-6 User manual

Canvas 168-0038-4 User manual

Canvas

Canvas 168-0038-4 User manual

Canvas 088-2289-4 User manual

Canvas

Canvas 088-2289-4 User manual

Canvas ROBSON 168-0048-0 User manual

Canvas

Canvas ROBSON 168-0048-0 User manual
Canvas CV Camrose 088-2208-8 User manual

Canvas

Canvas CV Camrose 088-2208-8 User manual

Canvas 088-2247-4 User manual

Canvas

Canvas 088-2247-4 User manual

Popular Indoor Furnishing manuals by other brands

Regency LWMS3015 Assembly instructions

Regency

Regency LWMS3015 Assembly instructions

Furniture of America CM7751C Assembly instructions

Furniture of America

Furniture of America CM7751C Assembly instructions

Safavieh Furniture Estella CNS5731 manual

Safavieh Furniture

Safavieh Furniture Estella CNS5731 manual

PLACES OF STYLE Ovalfuss Assembly instruction

PLACES OF STYLE

PLACES OF STYLE Ovalfuss Assembly instruction

Trasman 1138 Bo1 Assembly manual

Trasman

Trasman 1138 Bo1 Assembly manual

Costway JV10856 manual

Costway

Costway JV10856 manual

moss DESIGN Caisson Credenza Assembly instructions

moss DESIGN

moss DESIGN Caisson Credenza Assembly instructions

Aquaglide FULL DECK 15.0 owner's manual

Aquaglide

Aquaglide FULL DECK 15.0 owner's manual

AREBOS AR-HE-SW30 user manual

AREBOS

AREBOS AR-HE-SW30 user manual

Till-Hilft Fulda 87005.330 Assembly instructions

Till-Hilft

Till-Hilft Fulda 87005.330 Assembly instructions

Twoey Outside 2010 quick start guide

Twoey Outside

Twoey Outside 2010 quick start guide

Hettich Easys 200 operating instructions

Hettich

Hettich Easys 200 operating instructions

The bedboss RELAX 404 Series owner's manual

The bedboss

The bedboss RELAX 404 Series owner's manual

Oeseder Möbelindustrie Bern 991 720 Assembly instructions

Oeseder Möbelindustrie

Oeseder Möbelindustrie Bern 991 720 Assembly instructions

Costway HW68469 user manual

Costway

Costway HW68469 user manual

Next ALIX A27743 Assembly instructions

Next

Next ALIX A27743 Assembly instructions

BROSA Hans Assembly guide

BROSA

BROSA Hans Assembly guide

Prodigg MINIKA PBA015T-FUR installation manual

Prodigg

Prodigg MINIKA PBA015T-FUR installation manual

manuals.online logo
manuals.online logoBrands
  • About & Mission
  • Contact us
  • Privacy Policy
  • Terms and Conditions

Copyright 2025 Manuals.Online. All Rights Reserved.

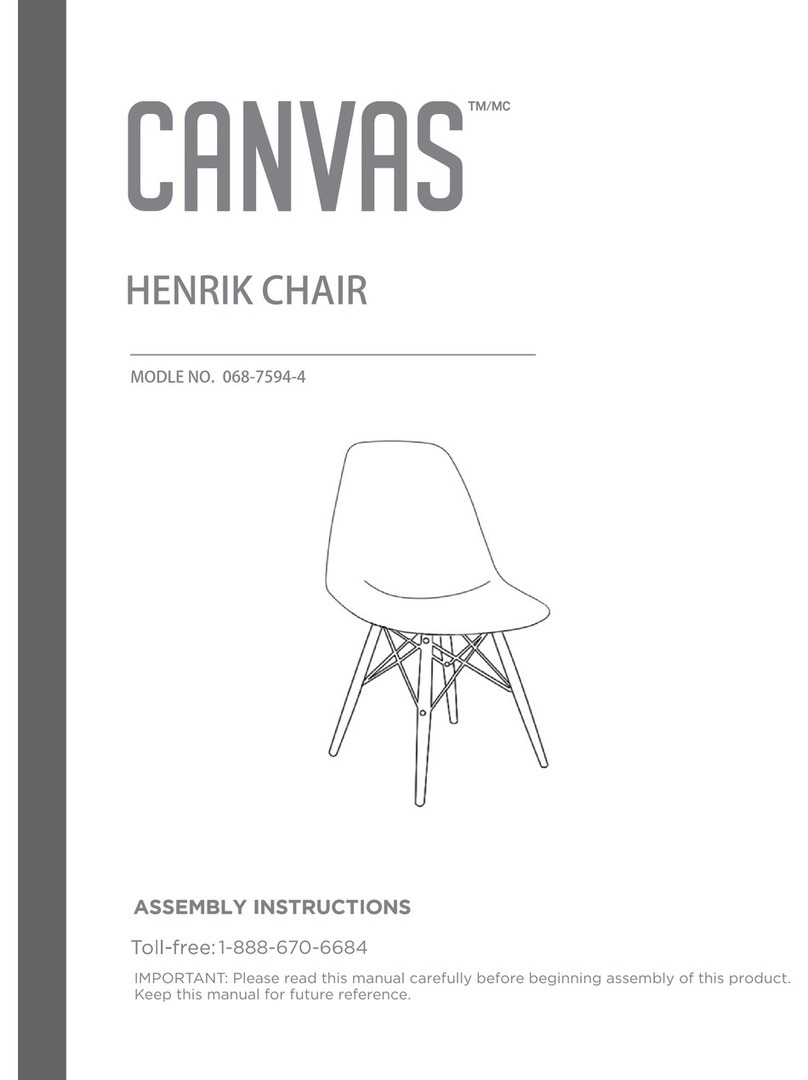
ASSEMBLY INSTRUCTIONS
HAVING TROUBLE?
TOLL-FREE:
1-888-670-6684
IMPORTANT: Please read this manual carefully
before beginning assembly of this product.
Keep this manual for future reference.
HOLLISTON ACCENT CHAIR
PRODUCT NO. 168-0145-8
We believe in the power of décor and its
ability to make up the fabric of your home.
That’s why CANVAS™ collections draw
inspiration from Canadians and the way
they live.
From on-trend furniture pieces to holiday
décor and all your outdoor living essentials,
CANVAS™ makes it easy to refresh your space
to reect your unique style and the way you
live every day.
We would love to hear from you and welcome
your thoughtful feedback. Visit our website
at canadiantire.ca to tell us about your
experience, and share your photos with us
using #myCANVASstyle.
Show us how you bring CANVAS™ products
to life. We can’t wait to see!
Parts List 4
Before You Begin Assembly 7
Step-by-step Guide 8
Technical Data 13
Troubleshooting 14
Caring for Your Item 14
Warranty 15
TABLE OF CONTENTS
TOOLS REQUIRED
• Please read and understand this entire manual before attempting to assemble, operate,
or install the product.
• Any assembly or maintenance of the product must be carried out by adults only.
• Some parts may contain sharp edges. Wear protective gloves if necessary.
• To prevent damage, place all parts on a level surface during assembly. Add a layer of
protective surface if needed.
• Do not allow your children to climb or jump on furniture due to possible accident,
injury or death. A child climbing on a piece of furniture can make it top-heavy and
cause the furniture to tip over.
• Keep children and pets away during assembly.
•   Repairing and replacing parts should be done by a qualied technician.
• Do not stand or step on this chair.
• Do not sit on the front edge of the chair.
• Do not seat more than one person at a time.
• Do not exceed the maximum load capacity of 136 kg (300 pounds).
• This unit is intended for use only within the maximum weight indicated. Use with loads
heavier than the maximum weight indicated may result in instability, causing possible
injury.
WARNING! TO REDUCE THE RISK OF SERIOUS INJURY,
READ THE FOLLOWING SAFETY INSTRUCTIONS BEFORE
ASSEMBLING AND USING THE PRODUCT.
2 People
NOTE:
Do not over drill/Be
aware of over-drilling
No. 2 Phillips Screwdriver Hammer
HOLLISTON ACCENT CHAIR4
PARTS LIST
ITEM DESCRIPTION THUMBNAIL QUANTITY
1Seat Cushion 1
2Backrest 1
3Left Side Frame 1
4Right Side Frame 1
5Front Stretcher 1
6Middle Stretcher 1
7Back Upper Stretcher 1
8Back Middle Stretcher 1
HOLLISTON ACCENT CHAIR 5
EXPLODED PARTS
3
7
8
4
1
2
5
6
HOLLISTON ACCENT CHAIR6
HARDWARE LIST
ITEM DESCRIPTION THUMBNAIL QUANTITY
EXTRA HARDWARE BAG
BBolt 1/4” x 38 mm 4
CLock Washer 4
DFlat Washer 4
EScrew M4x50mm 4
FTapping Bolt M6.5x65 mm 4
GBolt 5/16” x 40 mm 4
ABolt 1/4” x 63 mm 4
HHex Wrench 2
ITouch Up Pen 1
HOLLISTON ACCENT CHAIR 7
MAKE SURE ALL PARTS ARE PRESENT
Compare all pieces to the parts and hardware lists, and
make sure you have all tools required for assembly.
REMOVE PACKAGING MATERIALS
Place packing materials back in the box. Do not dispose of
packaging materials until assembly is complete.
READ EACH STEP CAREFULLY
Make sure you understand each step. If you have any questions,
contact CANVAS™ customer service at 1-888-660-6684 (toll-free).
?
BEFORE YOU BEGIN ASSEMBLY
ASSEMBLE IN A CLEARED AREA
Place all parts from the box on the oor in front of you on a clean, 
dry, level surface to protect the product as it is being built.
HOLLISTON ACCENT CHAIR8
STEP-BY-STEP GUIDE
STEP 1
NOTE:
Do not tighten bolts all the way until
you have assembled the chair. Once
assembly is complete, tighten each
bolt.
7X1 8X1
Align and attach the front stretcher (5) to the left side frame 3by inserting two 1/4”
x 63mm bolts A.
Secure the middle stretcher (6) to the left side frame 3by inserting two 1/4” x 38mm
bolts B.
Fasten the back stretchers (7 and 8) to the left side frame 3with two 65mm tapping
bolts F.
X1 5X1 6X1
3 A X2
The countersunk holes
are located at the bottom.
BX2
FX2 HX1
Front
7
5
A
8
6
3
B
F
F
A
HOLLISTON ACCENT CHAIR 9
STEP-BY-STEP GUIDE
STEP 2
Repeat the same procedure to attach the right side frame 4.
4X1 AX2
NOTE:
Do not tighten bolts all the way until
you have assembled the chair. Once
assembly is complete, tighten each
bolt.
BX2 FX2 HX1
7
5
A
8
6
4
B
F
F
HOLLISTON ACCENT CHAIR10
STEP-BY-STEP GUIDE
STEP 3
Pick up the seat cushion 1and pull back the bottom non-woven fabric. Align and
attach the seat cushion onto the backrest 2 by inserting four 5/16” x 40 mm bolts G
with the washers (C and D). Make sure the cushion faces up after assembly.
Replace the non-woven fabric onto the bottom side of the seat cushion 1by engaging
the velcro strips.
1X1 2X1 GX4 C D
X4 X4 HX1
NOTE:
Do not tighten the seat cushion bolts
all the way until all are aligned. Once
all bolts are partially inserted, tighten
each bolt.
3
1
2
G
C
D