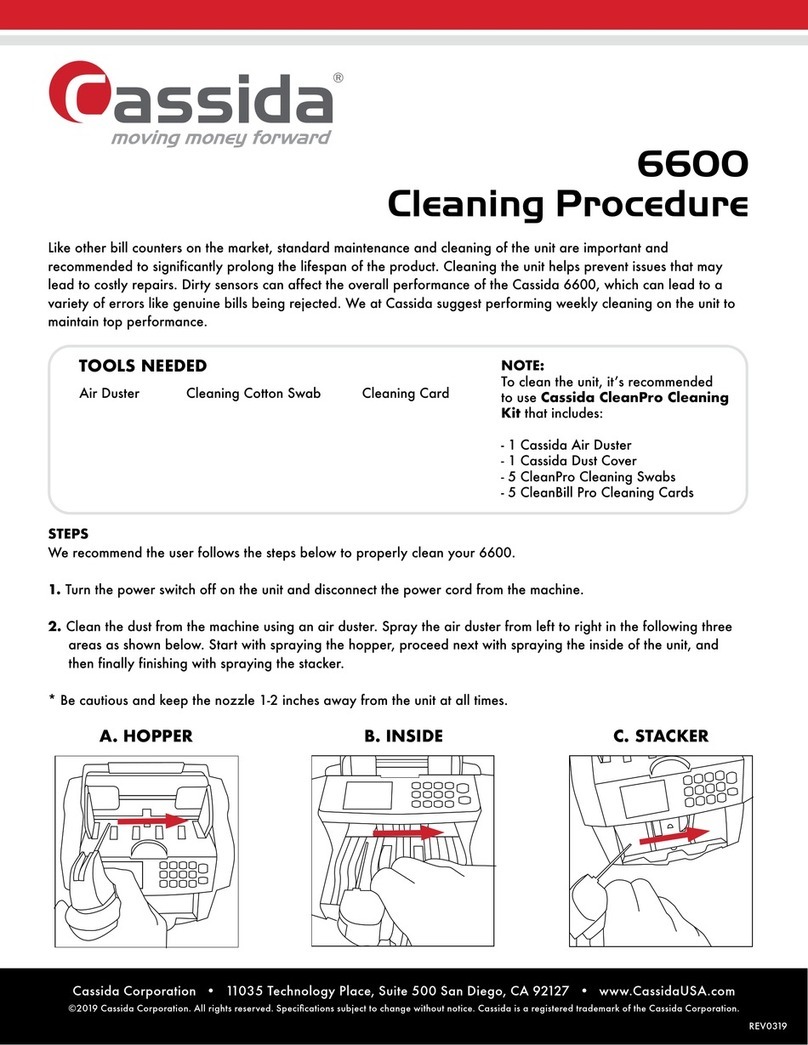
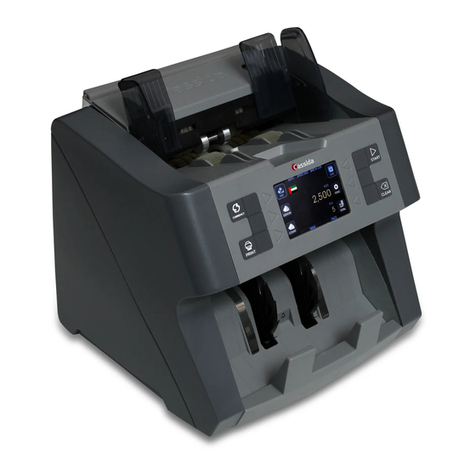
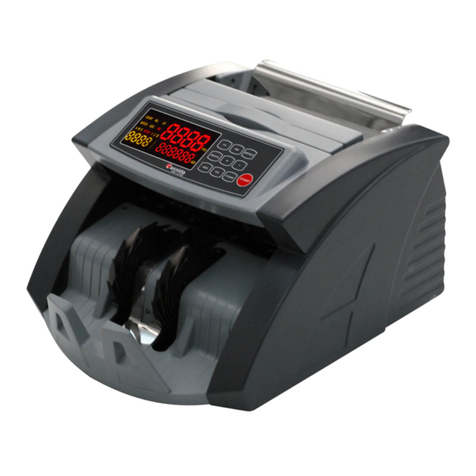
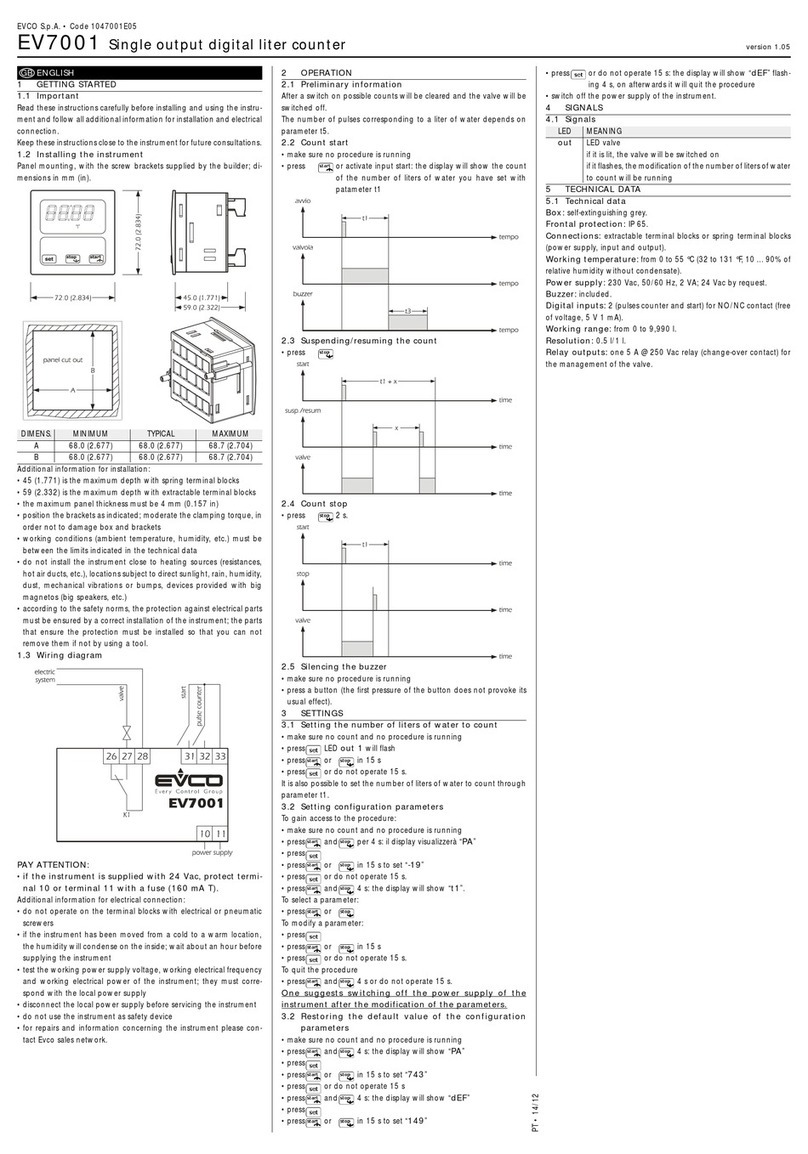
Cassida 5510 User manual

Cassida 5510 Reliable Bill Counter For Retail
USER MANUAL
Designed by Cassida Corporation, USA
Assembled in China
©Copyright 2017 Cassida Corporation. All rights reserved.
Specifications subject to change without notice. Cassida is a registered trademark of Cassida Corporation.
ver: 221216
USA

Cassida 5510 Bill Counter
This manual contains important information on safety measures
and operational features, please read it carefully before
operating your currency counter and keep it for future reference.

Cassida 5510 Bill Counter
1. Introduction
1.1. About the Cassida 5510
1.2. Box contents
1.3. Front and rear view
1.4. Control panel
1.5. Specifications
1.6. Important safety notes
2. Getting started
2.1. Powering up
2.2. Loading the hopper
2.3. Counting mode
2.4. Adding mode
2.5. Batching mode
3. Maintenance and Troubleshooting
3.1. Maintenance
3.2. Troubleshooting
4. Warranty and contact information
4.1 Warranty
4.2 Contacts
• Cassida 5510 Currency Counter
• Power cord
• User manual
• External display
• Unit box
1.1 About the Cassida 5510
Thank you for choosing the Cassida 5510 series currency counter. We hope you
enjoy using it with reliable detection performance and user freindly operation.
Cassida's 5510 series currency counters are sophisticated yet simple to operate
money processing machines.
Cassida 5510 series currency counter makes an invaluable aid in banks, retail stores,
groceries, car washes, gas stations, bars, nightclubs, restaurants, movie theaters and
any other cash intensive environment.
5
5
6
9
10
10
11
11
12
12
12
12
14
15
15
moving money forward
Table of contents INTRODUCTION
1.2 Box contents

Cassida 5510 Bill Counter
moving money forward
Rear view
3
4
2
1
1
2
4
53
1. Feeding gap adjustment screw
2. Power switch
3. External display connection port
4. Power outlet & fuse
5. Backsticker
1. Hopper
2. Retractable handle
3. Control panel
4. Stacker
1.3 Front and rear views
Front view

Cassida 5510 Bill Counter
1.4 Control panel
moving money forward
1. UV - Counterfeit detection activation key. When suspicious bill is detected display
will inform user about the error.
2. BATCH - Batch mode activation key. Once the Batch is activated the
corresponding indicator is on display. Default Batch number is set 100 pcs, to change
the Batch number user can use + and - keys on control panel
3. ADD Activates add mode. Once the ADD is activated the corresponding
indicator is on display.
4. Counting - activates simple counting mode (without detections). Once the Count is
activated the corresponding indicator is on display.
5. Clear - Clear counting results
6. Error - Once the counting error appears indicator on error is on display
Display
Sensors location
1
2
2
3
4
5
1. Hopper sensor
2. Stacker sensor
3. UV sensor
4. Counting sensor (left)
5. Counting sensor (right)
1 2
Display 1 - indicates number of counted notes
Display 2 - indicates Batch number

Cassida 5510 Bill Counter
1.5 Specifications
Counting speed
Detections
Hopper/stacker capacity
Display
Power consumption
Power source
Dimensions
Weight
1.6 Important safety notes
When using this product, basic safety precautions should always be taken, including
the following:
1.Do not use this product in areas where it may be exposed to water or any metal
parts.
2. Unplug this product from the wall outlet before cleaning. Use a damp cloth and
dont take it out with wet hands.
3. Put out the power cord taking it form the plug.
4. Only use the power cord supplied with the unit.
5. Carry out the unit only after powering it off.
6. If the unit was kept extended period of time in low temperatures, keep it in normal
temperature conditions at least 2 hour prior powering on.
In order to use the unit without technical support of engineers please follow below
rules:
moving money forward
1300 bills/min
UV, DD, SD (from 6 mm), HLF, CH
100/100 bills
LED, red (4 digits for number of
notes) and 3 (for batch number)
<80 Watts
220+/-10% V /50 Hz
295 õ 240 õ 175 mm
5 kgs
1. Make sure the device is installed on a flat surface.
2. This product is designed for indoor use in a ventilated environment. Keep the unit
away from direct sunlight and strong magnetic fields which could interfere with the
counterfeit detection sensor.
3. Do not operate the unit in areas with high dust humidity. High dust level may
prevent it proper operation.
2. GETTING STARTED
2.1 Powering up
Please make sure the hopper is empty and turn the power switch on. The unit will
conduct a self-check by spinning the counting wheels several times. The screen will
display "0" when the unit is ready.
2.2 Loading the hopper
Loading the hopper correctly is important in order to avoid jams and speed up the
operation of the counter.
Proper hopper loading is shown in the following diagrams.
Adjust the gap with feeding gap adjustment screw based on thickness and condition of
bills.

Cassida 5510 Bill Counter
moving money forward
After the machine is turned on, it defaults to counting mode.
To count bills, place them in the hopper (follow the procedure described in 2.2
Loading the hopper).
The machine will start counting automatically and will move the bills from the hopper
to the stacker as it counts them. The machine will stop counting when the hopper is
completely emptied and will emit a confirmation beep. The counted number of the
bills will be displayed.
2.3 Counting mode
To switch to adding mode, press the ADD button until the ADD indicator is on.
Place the bills in the hopper and start count.
The unit will continue counting after adding new batch, and the next counting result
will be added to previous.
2.4. Adding Mode
To switch to adding mode, press the BAT button until the BAT indicator is on. Default
butch number is 100 pcs of bills. To change the batch number press "+" or "-" on the
control panel.
2.5.Batching mode
3. MAINTENANCE AND TROUBLESHOOTING
3.1. Maintenance
ERRO R
ADD
BATC H
COUN TUV
ADD C OUN T
+BAT CH
UV
CLE AR
5510 U V
Taking regular care of your currency counter will allow you to
avoid 80% of the problems arising during operation.

Cassida 5510 Bill Counter
moving money forward
3.2 Troubleshooting
Error Code
Å01
Å02
Å03
Å04
E05
E10
Å11
ÅÅ1
ÅÅ4
ÅÅ5
Description
Left counting sensor has collected dust or
broken
Right counting sensor has collected dust or
broken
Encoding sensor error
Hopper sensor has collected dust or broken
Stacker sensor has collected dust or broken
1. The unit is under direct sun light
2. UV sensitivity is too high
Control papel cord is not connected well
Suspicious bill detected by UV
1) Half bill detected
2) Left/right counting sensor is broken
Double bill detected
Solution
1) Clean the left sensor from dust
2) Replace left counting sensor
1) Clean the left sensor with a soft bristle brush
2) Replace left counting sensor
Contact the service center
1) Clean the hopper sensor from dust
2) Replace the hopper sensor
1) Clean the stacker sensor from dust
2) Replace the stacker sensor
1) Put the unit away from direct sun light
2) Adjust UV sensitivity level
(Contact the service center).
Connect control panel cord properly
Remove suspictious bill, press Clear to erase
the error and press Clear again to continue
counting.
1) Remove suspictious bill, press Clear to erase
the error and press Cleear again to continue
counting.
2) Replace left/right counting sencors
Check gap adjustments using
adjustment screw
4.1 Warranty
4.WARRANTY AND CONTACT INFORMATION
Warranty is effective for a period of one year from the date of purchase. In most
cases, the malfunction of the machine can be resolved by cleaning the unit.
• Customer should allow Cassida the time and opportunity to test and diagnose the
machine to determine warranty and non-warranty claims.
• After receiving and unpacking the units, Customer shall keep the package and its
user manual. Warranties are canceled in the event the device is transported in a non-
original packaging or operation/maintenance conditions are not met.
• Company is not responsible for unit malfunction due to improper maintenance,
storage and transportation including mechanical damage.
• Manufacturer is entitled to introduce updated software, not described in the current
user manual.
Non-warranty service:
Cassida can perform maintenance and cleaning for an extra fee. For a non-warranty
repair or maintenance quotation, contact Cassida Technical Support.
Warranty service is not available in the following cases:
• Cleaning of the unit from dust and mud
• Absence of a warranty card or an incorrectly filed warranty card
• Operation or maintenance rules requirements set in the user manual are not met
• There is mechanical damage to the unit or the seal portions of the unit have been
opened or tampered with
• There are foreign objects or liquid inside of the unit.
Shipping:
The warranty does not cover shipping cost to or from Cassida's Technical Service Center.
Before shipping the unit to the Cassida’s Technical Service Center the warranty card
must be filled out with model full name and number, serial number, cause for service,
errors occurred.

Cassida 5510 Bill Counter
moving money forward
4.2 Contacts
Technical Support contact information:
e-mail: [email protected]
tel: 042 739 328
www.cassida.me, www.cassidausa.com
When contacting Cassida Technical Support, please have the following:
• Product model – Located on the back side of your currency counter
• Serial number – Located on the back side of your currency counter
• Nature of the problem – What happens, and when did it happen? Did the machine
display an error message?
• Steps already taken to resolve the problem, and the results.
Office # 101,
Biyat Complex (Landmarks: Emirates Billiard Centre)
Hor Al Anz East, Behind Al Mamzar Centre
Dubai - United Arab Emirates
PO box 454867

moving money forward
Table of contents
Other Cassida Cash Counter manuals

Cassida
Cassida C 200 User manual

Cassida
Cassida C550 User manual

Cassida
Cassida InstaCheck II User manual

Cassida
Cassida 5520 UV User manual

Cassida
Cassida TillTally User manual

Cassida
Cassida Xpecto LiTE User manual

Cassida
Cassida Xpecto User manual

Cassida
Cassida MSD-1000 Series User manual

Cassida
Cassida C-880 User manual

Cassida
Cassida Cube User manual
Popular Cash Counter manuals by other brands

DIEBOLD NIXDORF
DIEBOLD NIXDORF CS 5550 operating guide

MULTISPAN
MULTISPAN TWS - 1400F operating manual

EnOcean
EnOcean EASYFIT EPAC installation guide

Crouzet
Crouzet CTR24L-2512 operating instructions

DIEBOLD NIXDORF
DIEBOLD NIXDORF DN 250 Series Operator's manual

Measurement Computing
Measurement Computing USB-4301 user guide