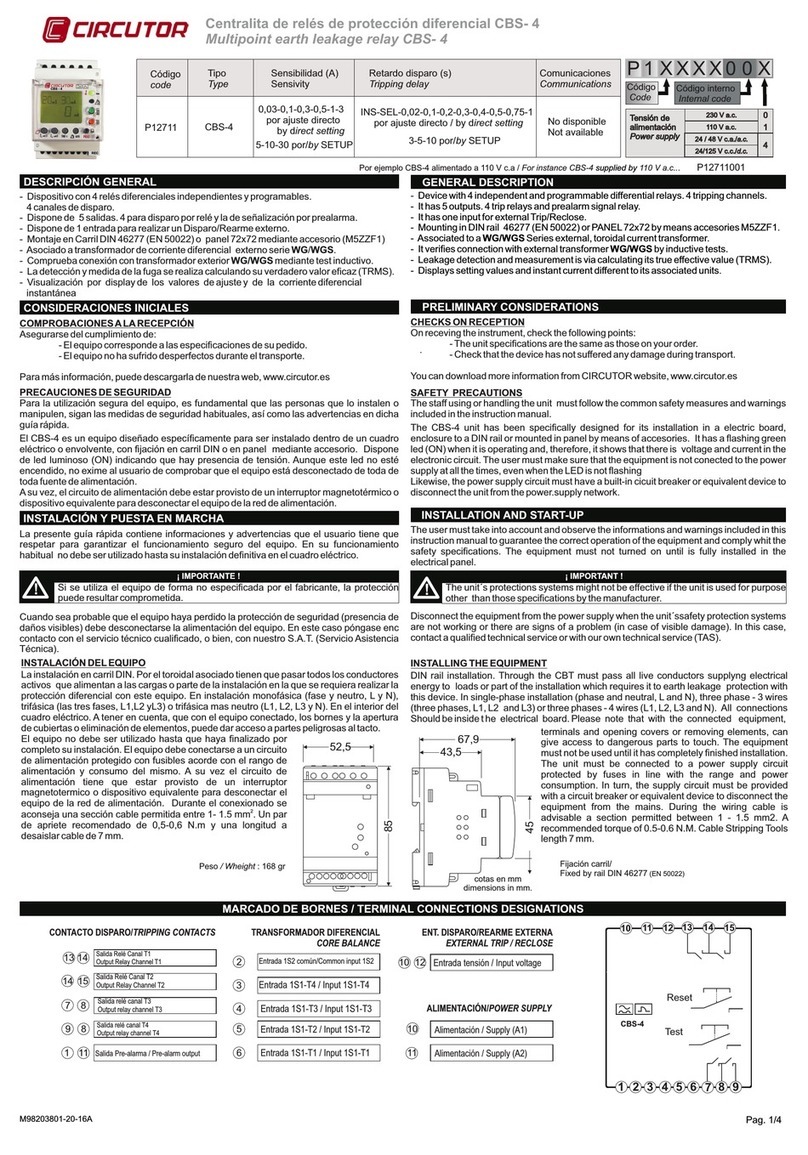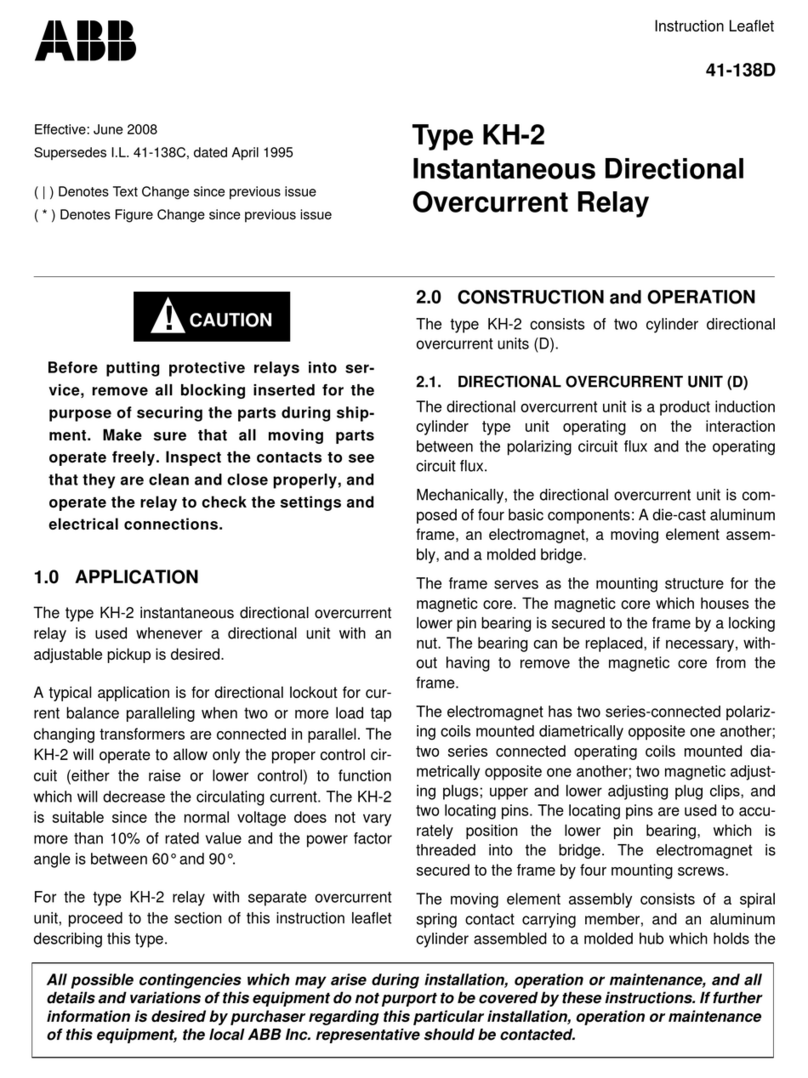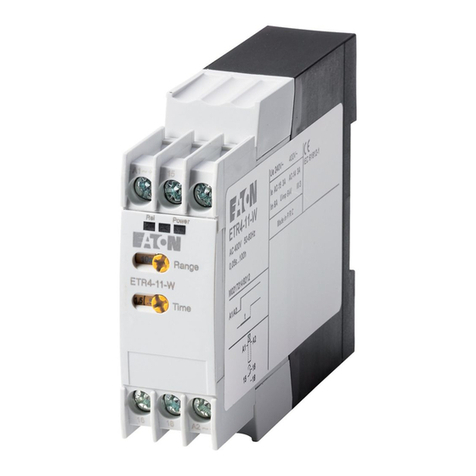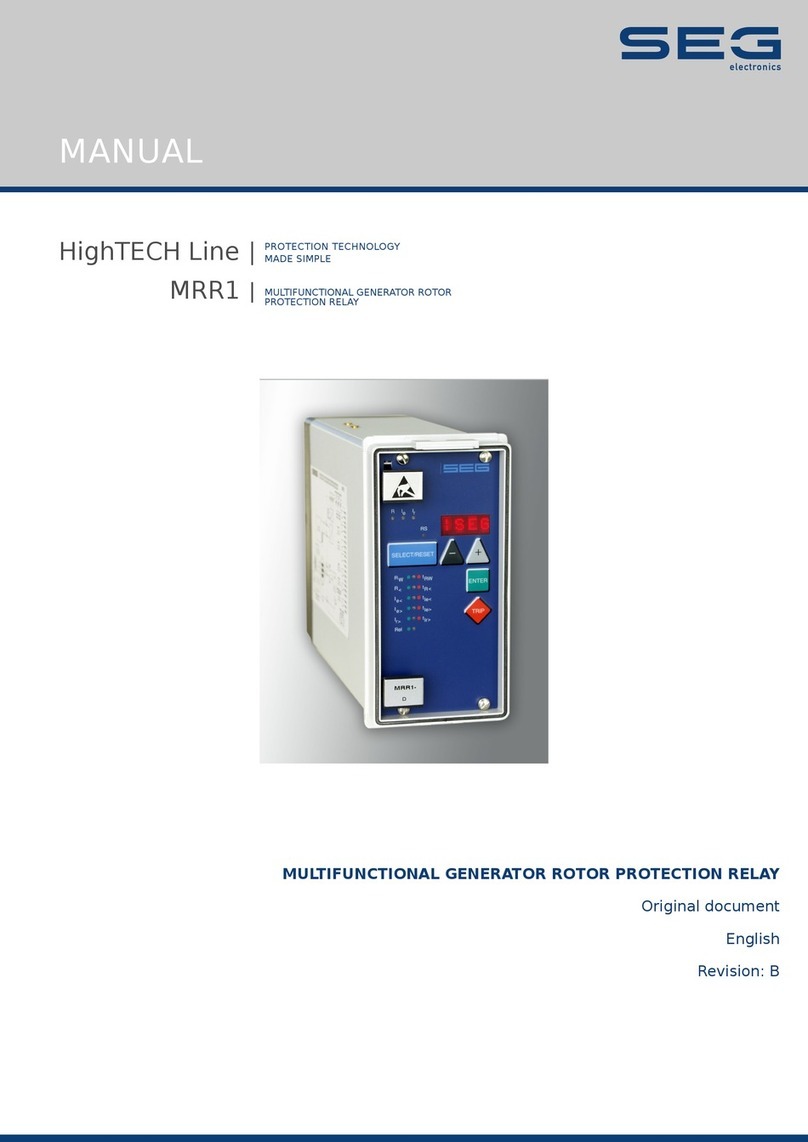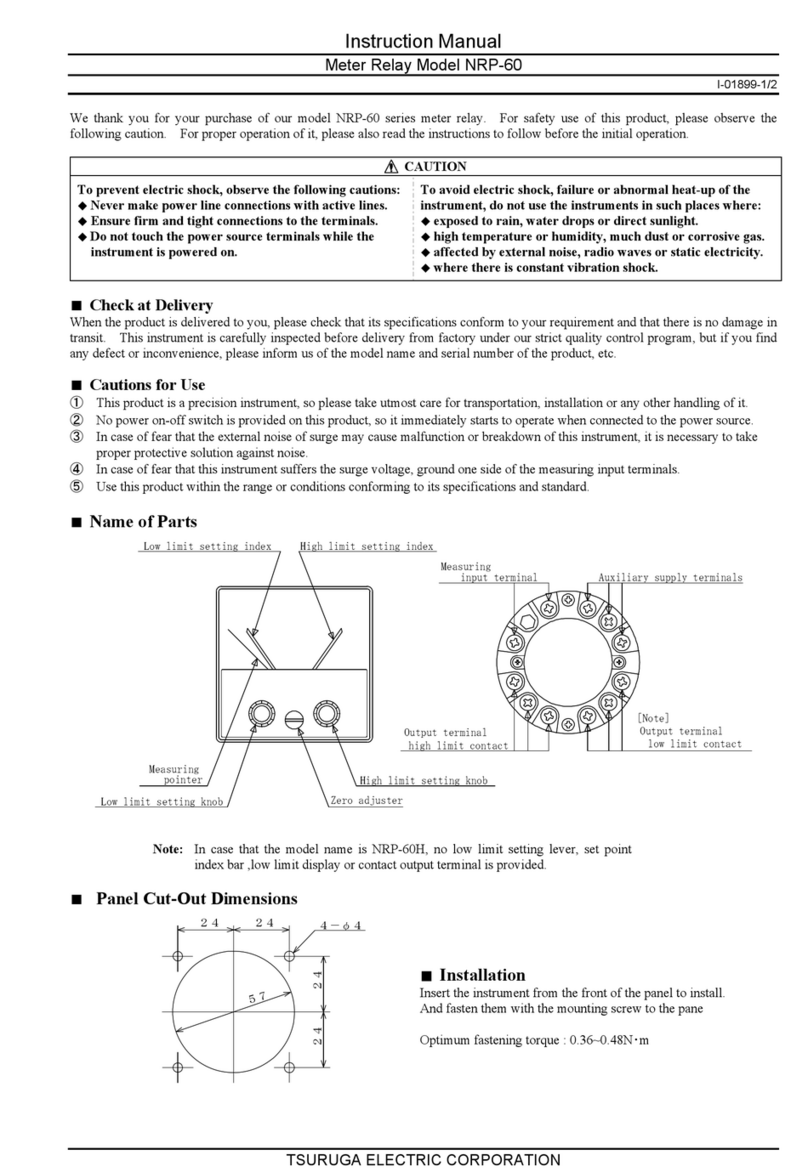
GENERAL DESCRIPTION
Código
code
Tipo
Type
Sensibilidad (A)
Sensivity
Retardo disparo (s)
Tripping delay
P24453 WRU-10 RAL 0,03-0,1-0,3-0,5-1-3 por ajuste directo/by direct setting
5-10-30 por/by SETUP
INS-SEL-0,02-0,1-0,2-0,3-0,4-0,5-0,75-1 por ajuste directo / by direct setting
3-5-10 por/by SETUP
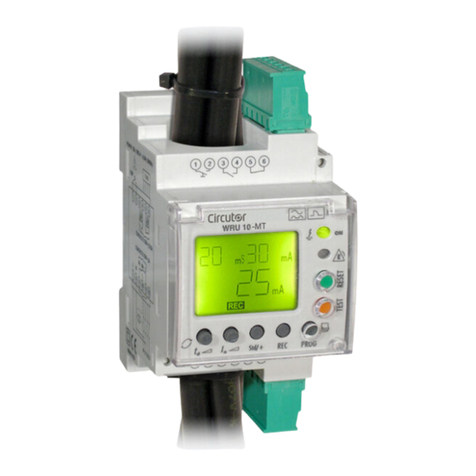
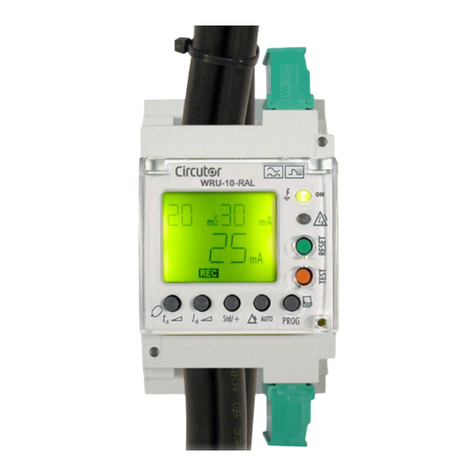
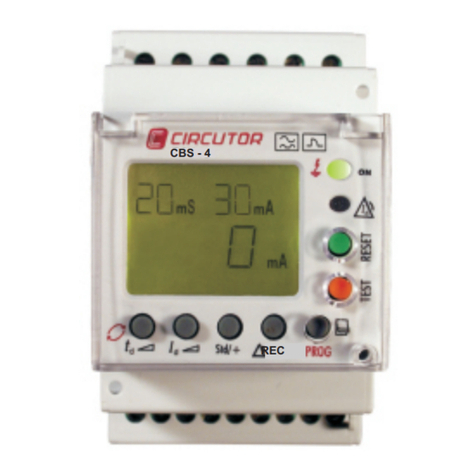
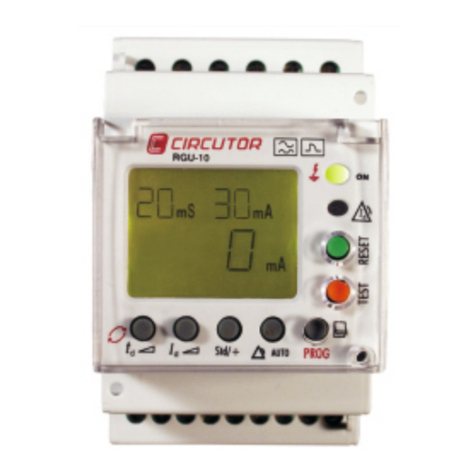
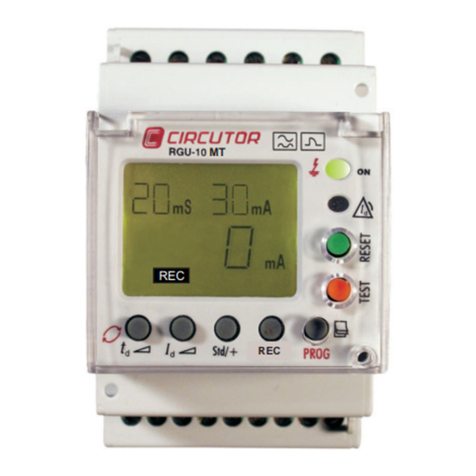
WRU-10 RAL Electronic Earth-leakage Protection Relay
Peso / Wheight : 168
REC
RAL
REC
R
REC
- DELAY SETTING
- SETUP ROTATION
- ENABLE/DISABLE
SELF-RECLOSING SYSTEM
- SENSIVITY SETTING
- outputs contacts SETTING.
(LOCKED SIGNAL)
REC
REC
REC
R
.
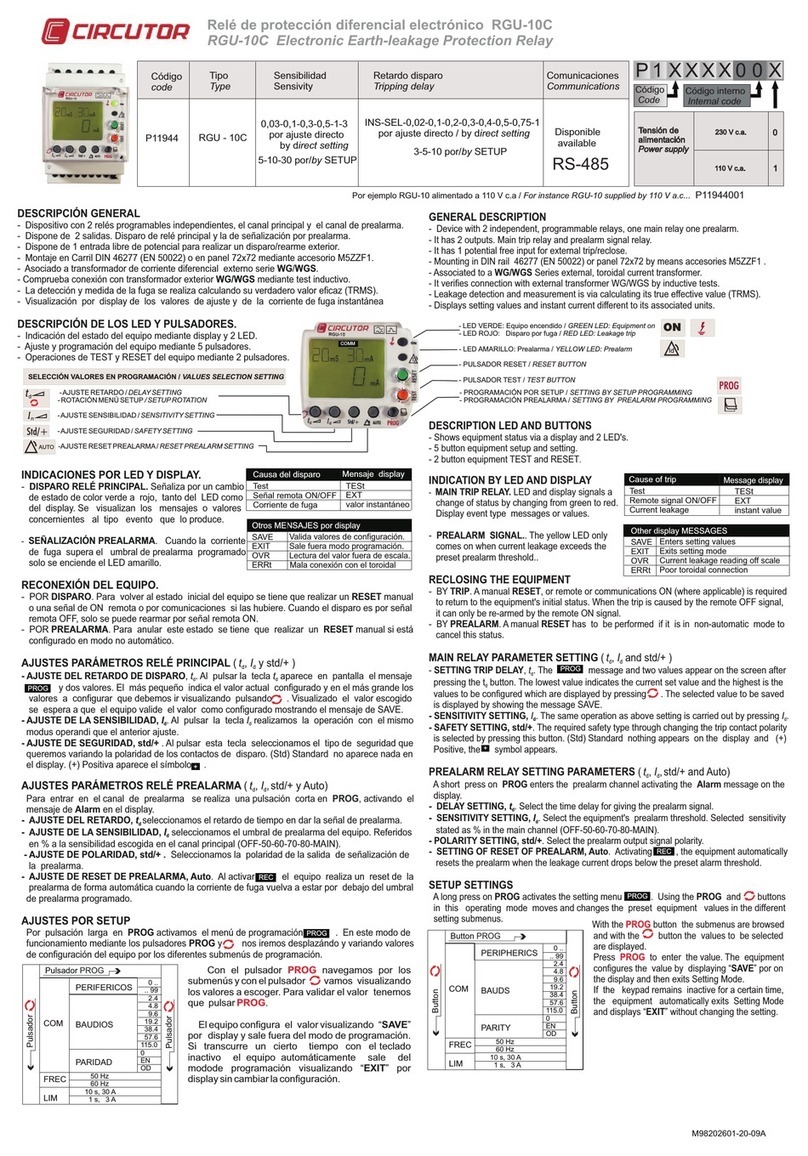
DESCRIPTION LED AND BUTTONS
Shows equipment status via a
display and 2 LED's. It has 5
button equipment setup and
setting and 2 button equipment to
do TEST and RESET.
- SETUP settings
- change PAGES
- GREEN led: ON
- RED led, tripped by fault.
- blinking led: pre-alarm
- Reclosures led:
fix, maximun reclosures
blinking, betwen reclosures
- RESET Button
- TEST Button
+
REC
PROG
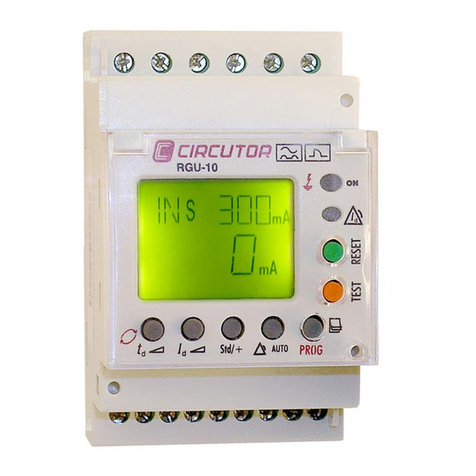
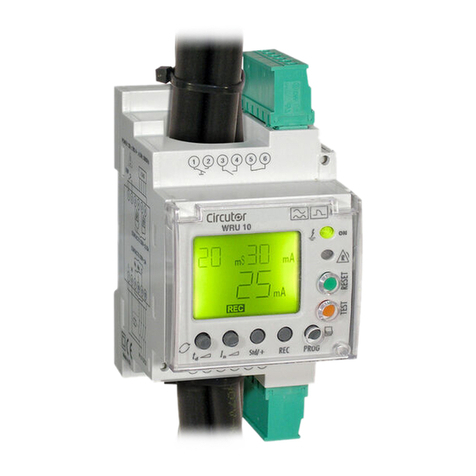
Super-inmunized Type A electronic relay. Built-in core balance
transformer, 28 mm.Device with self-reclosing system. Symbol on
display. It has programmables relays, 3 outputs. Main trip and 2 pre-alarm signals. It has 1
free voltage input for external ON / OFF. Mounting in DIN rail 46277 (En50022) or PANEL
72x72 by means of accesories M5ZFF1. Displays setting values and instantaneous earth
leakage current value (TRMS)
PRELIMINARY CONSIDERATIONS
CHECKS ON RECEPTION
On receving the instrument, check the following points:
- The unit’s specifications are the same as those on your order.
- Check that the device has not suffered any damage during transport.
You can download more information from CIRCUTOR website, www.circutor.es
SAFETY PRECAUTIONS
The staff using or handling the unit must follow the common safety measures and warnings included in the
instruction manual.
The WRU-10 unit has been specifically designed for its installation in a electric board, enclosure to a DIN
rail or mounted in panel by means of accesories. It has a flashing green led (ON) when it is operation and,
therefore, it shows that there is voltage and current in the electronic circuit. The user must make sure that
the equipment is not conected to the power supply at all the times, even when the LED is not flashing.
The user must take into account and observe the informations and warnings included in this instruction
manual to guarantee the correct operation of the equipment and comply whit the safety specifications. The
equipment must not turned on until is fully installed in the electrical panel.
Disconnect the equipment from the power supply when the unit´ssafety protection systems are not working
or there are signs of a problem (in case of visible damage). In this case, contact a qualified technical service
or with our own technical service (TAS).
INSTALLING THE EQUIPMENT
DIN rail installation. On the inside of the hole must pass all live conductors supplyng electrical energy to
loads or part of the installation which requires it to earth leakage protection with this device. In single-phase
installation (phase and neutral, L and N), three phase - 3 wires (three phases, L1, L2 and L3) or three
phases - 4 wires (L1, L2, L3 and N). Depending on the level of wiring insulation can be pass through the hole
2 2
of 28 mm (inner diameter) 4-wire 35 mm of section, although it advisable is 25 mm . All connections
INSTALLATION AND STAR-UP
¡ IMPORTANT !
!
The unit´s protections systems might not be effective if the unit is used for purpose other than
those specifications by the manufacturer.
should be inside the electrical board. Please note that with the connected equipment, terminals and
opening covers or removing elements, can give access to dangerous parts to touch. The equipment must
not be used until it has completely finished installation. The unit must be connected to a power supply circuit
protected by fuses in line with the range and power consumption. In turn, the supply circuit must be
provided with a circuit breaker or equivalent device to disconnect the equipment from the mains. During the
wiring cable is advisable a section permitted between 1 - 1.5 mm2. A recommended torque of 0.5-0.6 N.M.
Cable Stripping Tools length 7 mm.
Power supply Operating conditions Safety
Category III - 300 Vac (En61010)
Double - insulated electric shock protection
clas II- UL 1053 UL LISTED Certification -
IEC 60755 - IEC 60947-2 Annex M
Voltage 230 Va.c..
Frequency 50!60 Hz
Burden 4,5 VA
+/- 30% Temperature -20...70 C
Relative humidity 95%
Max. Altitude 2.000 m
Protection Ip20
CONNECTIONS BY MEANS OF PLUG-IN CONNECTORS
Rated current: 5 Ac.a.
Rated voltage: 250 Vc.a.
Rated Load: 1.250 V·A
Rated current: 0,25 Ac.a.
Rated voltage: 230 Vc.a.
Rated Load: 62,5 V·A
Free voltage, not isolated
Protected by varistor:
420 Vc.a. - 10 Ac.a.
TERMINAL DESCRIPCIÓN FEATURES
1 - 2 EXTERNAL INPUT TRIP / RECLOSE
3 PRE-ALARM OUTPUT RELAY, NO
4 PRE-ALARM OUTPUT RELAY COMMON
5 LOCKED OUTPUT RELAY, NC
6 LOCKED OUTPUT RELAY COMMON
7 SUPPLY 230 Va.c. (Phase or Neutral)
8 SUPPLY 230 Va.c. (Neutral or Phase)
9 TRIPPING OUTPUT RELAY, NC
10 TRIPPING OUTPUT RELAY, NA
11 TRIPPING OUTPUT RELAY COMMON
12 WITHOUT USE
Technical Assistance Service (T.A.S)
If you have any doubts about the running of the equipment or any faults, contact the service staff.
Tel: (+34) 93 745 29 00
Fax: (+34) 93 745 29 14
email: central@circutor.com
Vial Sant Jordi s/n
08232 Viladecavalls (Bacelona) SPAIN
RAL
Tripping cause
Mensage display
Test
Remote signal trip/reclose
Earth leakage fault
TESt
EXT
alueDIF / v
SAVE
EXIT
OVR
Enter setting values
Exits setting mode
Value reading off scale
Other mesages by display
- .
.
-
-
-
-
- BY
1. .
2. Manual reclose by pushing button RESET.
3.
( t, I and std/+ )
d d
- , t.
d
td
.
SAVE.
- , I. I.
dd
- SIGNALLING CONTACTS RELAY STATE, std/+ . Select the default position of the relay contacts
4-5-6 that indicates the situation of locked by reclosures of the device . In (Std) 4-6 NO / 4-5 NC
and (+) 4-5 NC / 4-6 NO and appears the symbol in display .
- SELF-RECLOSING SYSTEM, REC. In reclosure partial numbers by press REC button we
configure the self-reclosing sequence referred at the page which it’s showing us. By default is
configured nº1 by earth leakage protection.
INDICATION BY LED AND DISPLAY
MAIN TRIP RELAY LED and display signals a
change of status by changing from green to red.
Display event type messages or values
PREALARM SIGNAL. The LED green is blinking
betwen green and red.
BETWEN RECLOSURES. LED is blinking
LOCKED BY RECLOSURES. The yellow LED is
fixed. The equipment arrives al maximun number of reclosures established by the self-reclosing
sequence. Red display shows the cause.
No OF RECLOSURES. By short press on the display shows the number of reclosures by earth
leakage faults, partial and total number. The partial number are floating pages. In these pages
it can configure the self-reclosing sequence by press button.
RECLOSING THE EQUIPMENT.
TRIP LOCKED BY RECLOSURES
Automatic (earth leakage fault or manual). Is shown on display
External reclose sytem by remote or communications signal. When it forces a trip by remote
signal, only it can reclose by another remote signal. In the case 2 and 3 the partial counters
of reclosures returns to a zero.
MAIN RELAY PARAMETER SETTING
SETTING TRIP DELAY The message and two values appear on the screen after
pressing the button. The lowest value indicates the current set value and the highest is the
values to be configured which are displayed by pressing The selected value to be saved is
displayed by showing the message
SENSITIVITY SETTING The same operation as above setting is carried out by pressing
¡ IMPORTANT !
The relay only self-recloses after a trip by earth leakage current fault. The Test (red button) only verifies the relay trips
the protection. It recloses only by manual pressing RESET button.
0
1 6 8, 16, 30, 59, 115 y 224 s 15 minutes
2 30 20, 40 s y 5 min. to the end. 15 minutes
3 8 30 s, 1, 2, 3, 4, 5, 6 y 7 min 15 minutes
4 6 10, 20, 30, 60, 130 y 600 s 15 minutes
5 6 2, 4 y 8 min. to the end. 15 minutes
6 7 30 s, 1, 2, 3, 4, 8 y 16 min 30 minutes
7 10 1 min 30 minutes
8 10 90 s 30 minutes
9 8 2, 4 y 6 min. To the end. 15 minutes
10 10 3 min 30 minutes
11 7 2, 4, 8, 16, 32, 32 y 32 min 15 minutes
DISABLED
12 31 2, 4 y 6 min. to the end. 60 minutes
13 3 2, 4 y 8 min 15 minutes
14 ... ... ...
SREC No RECLOSURES TIME SEQUENCES RESET TIME
PROG
With the button the submenus are browsed
and with the button the values to be selected
are displayed
to enter the value. The equipment
configures the value by displaying on the
display and then exits Setting Mode If the keypad
remains inactive for a certain time, the equipment
automatically exits Setting Mode and displays
.
Press
“SAVE”
.
PROG
PROG
SETUP SETTINGS
FREC
LIM
ALAR
RSTC
Button PROG
50 Hz
60 Hz
10 s, 30 A
Id
td
SP
Pre-alarm current %
Delay pre-alarma seg.
Contact NO/NC
AU
Reconectable
1 s, 3 A
OFF
50
60
70
80
MAIN
0,02
0,1
0,2
0,3
0,4
0,75
1
3
NO
YES
AUTO
MANU
NO
YES
Button
- FREQ, (50) frecuency (Hz)
- LIM,(1s, 3A), range of values (Id / td)
- ALAR, pre-alarm.
. Id ( OFF), It’is not pre-alarm.
. Td ( 20 ms), time.
. SP (NO),contact states.
3-4 [NA/NC]
.AU (AutO), Relay reclaim the state.
- RSTC, (NO), Reset the partial reclosures.
Default values in SETUP
M98229001-03-14A


