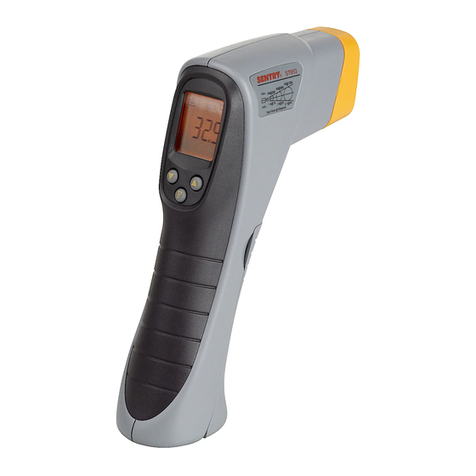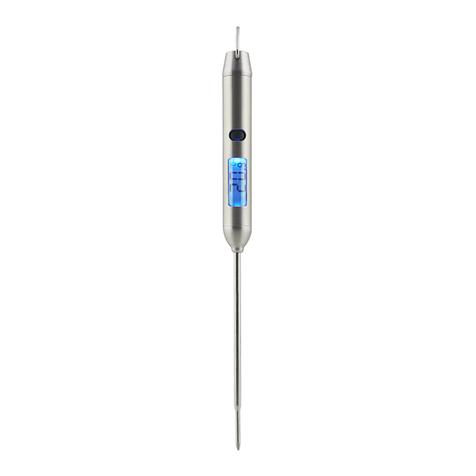
7. Descriptions
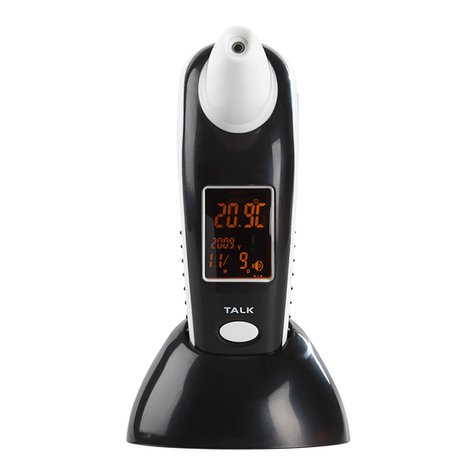
1. IR sensor
2. Laser pointer beam
3. LCD display
4. °F selector
5. °C selector
6. Activation of laser pointer
7. Display background light
8. Measuring button (trigger)
9. Battery cover
10. Handle
8. Display
1. Digital reading
2. Celsius display
3. Fahrenheit display
4. Indication for measuring
5. HOLD (memory for measured values)
6. Battery warning
7. Laser pointer activated
8. Emission capacity: 0.95
9. Use
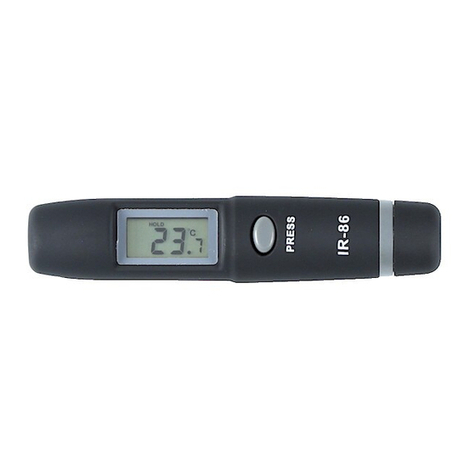
1. Hold the IR thermometer in its handle and point it at the surface to
be measured.
2. Press and hold the measuring button (8) to start the measuring. The
display lights up if the battery is good (change battery if the display
does not light up).
3. During measuring, SCAN will show in the upper left corner.
4. Hold the measuring button, press the laser button (6) (if you need
help to direct the instrument toward the measuring surface), laser
marking (7) will show when the laser pointer is activated, direct
the luminous red point one cm above the centre of the measuring
surface. Press the laser button (6) once more to shut the laser
pointer off.
5. Select °F display (4) or °C display (5), press the light button (7) to
use the background light on the display.
6. Let go of the measuring button to nish the measuring, HOLD is
shown.
7. The IR thermometer is automatically shut off 7 seconds after the
measuring is nished.
Note!
The instrument will automatically compensate for the surrounding tem-
perature even though it might take some time: If the temperatures differ
much it can take up to 30 minutes before the compensation is done.
If you measure much differing temperatures you should wait for a few mi-
nutes between measurements. (The IR sensor needs time to cool down)
10. Battery change
• When the battery is going bad
the icon for battery warning (6)
is shown.
• Open the battery cover (9),
(unfold the upper part) and
replace the battery with a new
9 V battery.
11. Helpful suggestions
Function
The IR thermometer measures the temperature on the surface. It mea-
sures the reecting energy that is collected in the sensor. The electronic
converts the measuring value to a temperature indication on the display.
The laser beam is only used to direct the measuring centre.
Measuring range
Always make sure that the measuring surface is larger then the measur-
ing surface of the instrument at actual measuring distance. The surface
to be measured should be twice a large as the instruments.
Distance and measuring range
Measuring surface increases with increased distance, see g. 1.
Find the hottest part
Search as usual, but move the IR thermometer slowly back and forth
over the whole measuring area and constantly read until you nd the
highest temperature.
Note!
1. Do not use the instrument to measure shiny, polished surfaces e.g.
stainless steel. See Emission capacity.
2. The IR thermometer can not measure through glass, it will then read
the temperature of the glass.
3. Steam, dust or smoke can give false readings.
12. Emission capacity
Most organic materials (ca 90 %) with a painted or oxidised surface
have an emission capacity of 0.95 (preset on the IR thermometer).
Shiny objects should be masked/painted black before measuring. Give
tape or paint time to reach the same temperature as the object. Mea-
sure the masked or painted surface.
Emission capacity
Material Thermal Emission Capacity
Asphalt 0,9 – 0,98
Concrete 0,94
Cement 0,96
Sand 0,90
Earth 0,92 – 0,96
Water 0,92 – 0,96
Ice 0,96 – 0,98
Snow 0,83
Glass 0,90 – 0,95
Ceramic 0,90 – 0,94
Marble 0,94
Mortar 0,89 – 0,91
Bricks 0,93 – 0,96
Fabric (black) 0,98
Skin 0,98
Leather 0,75 – 0,80
Coal (powder) 0,96
Varnish 0,80 – 0,95
Varnish (matt) 0,97
Rubber (black) 0,94
Plastic 0,85 – 0,95
Wood 0,90
Paper 0,70 – 0,94
Chrome oxide 0,81
Copper oxide 0,78
Iron oxide 0,78 – 0,82
Textile 0,90
3.
5.
6.
4.
7.
8.
9.
10.
2.
1.
1.
2.
3.
4.
6.
5. 7. 8.
6.
9.
10.
Disposal
Follow local ordinances when disposing of this product. If you are unsure
about how to dispose of this product contact your municipality.
