manuals.online logo
Brands
  1. Home
  2. •
  3. Brands
  4. •
  5. Clevertronics
  6. •
  7. Lantern
  8. •
  9. Clevertronics L10 LIFELIGHT PRO Manual

Clevertronics L10 LIFELIGHT PRO Manual

1942485
V1.1
10 June 2021
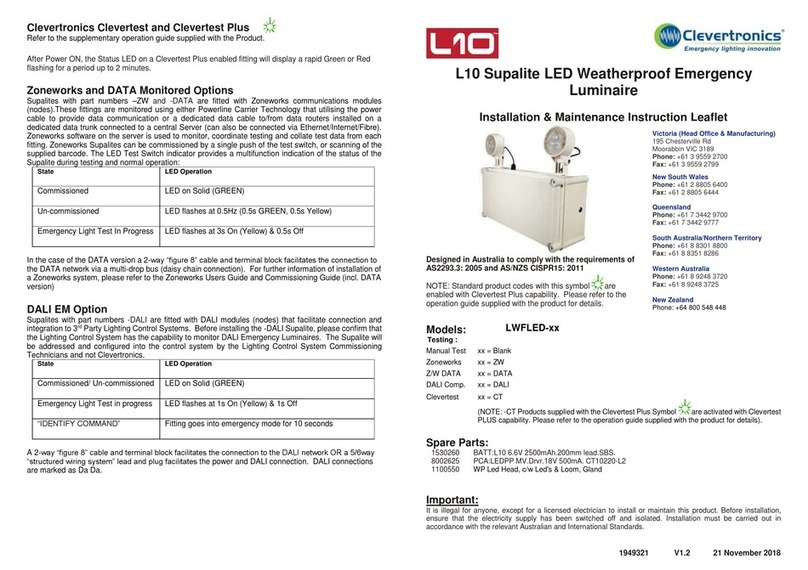
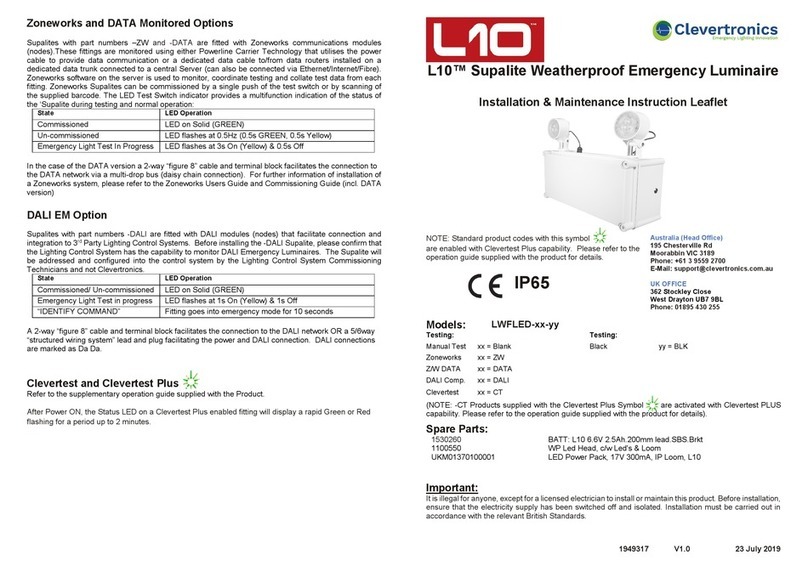
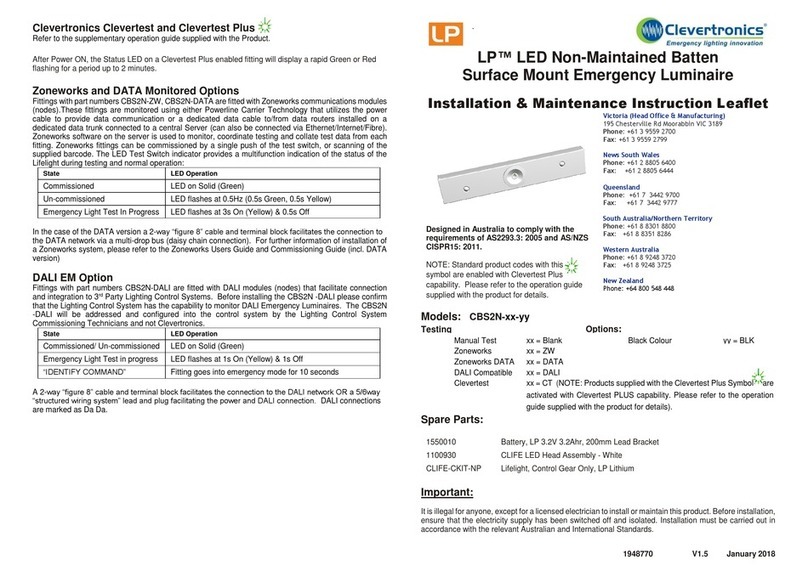
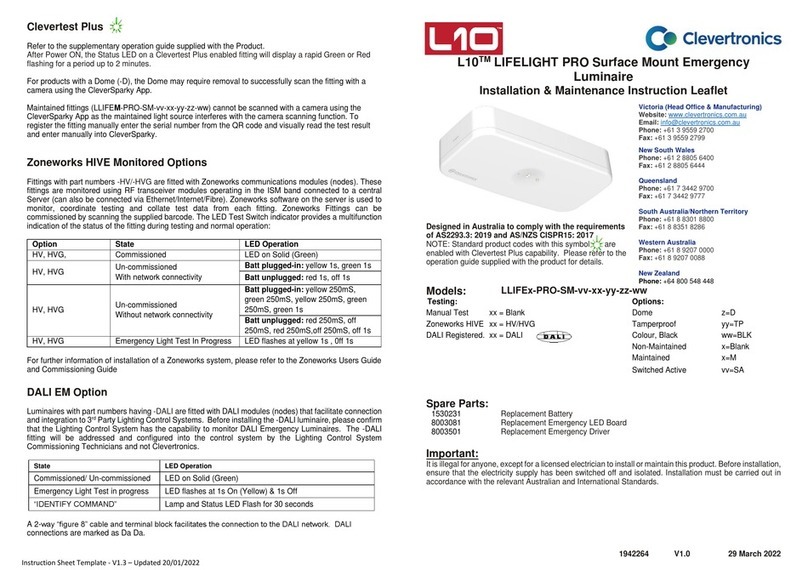
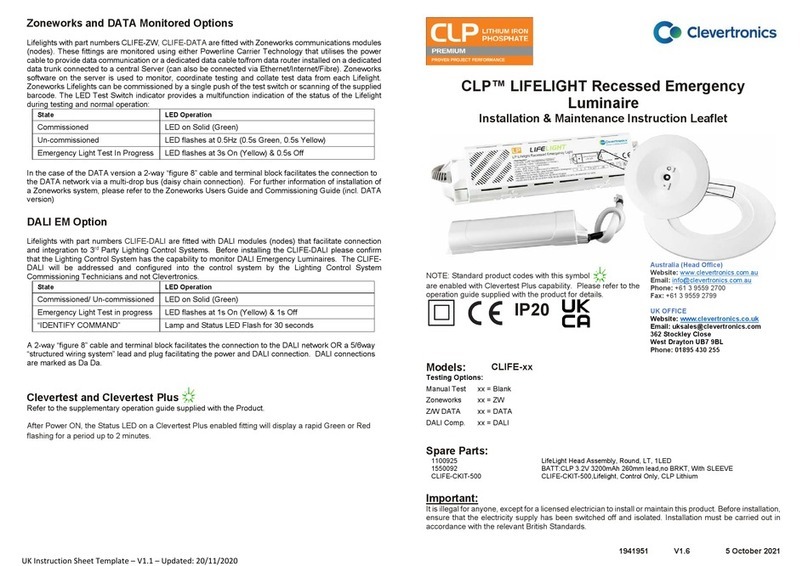
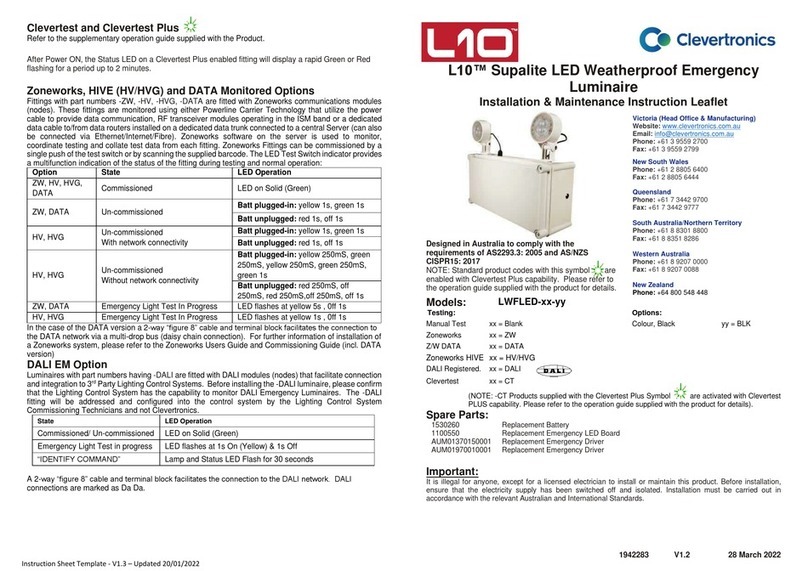
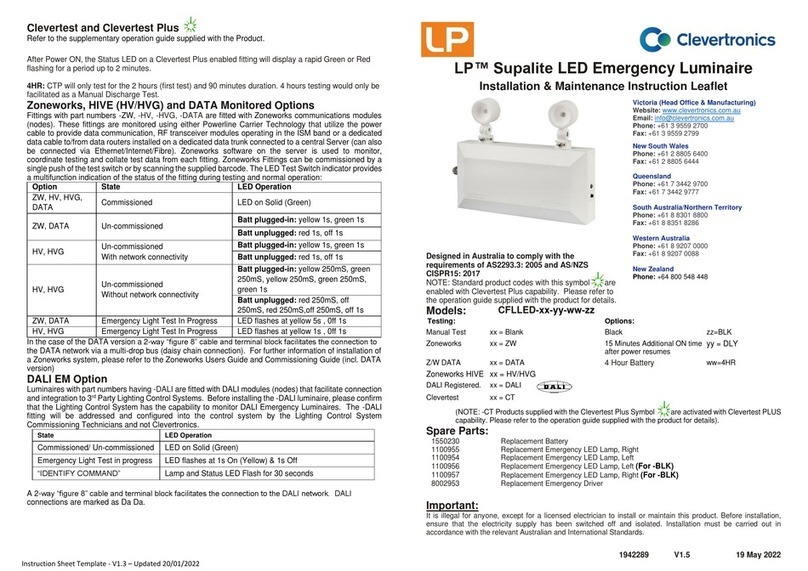
DALI EM Option
Luminaires with part numbers having -DALI are fitted with DALI modules (nodes) that facilitate connection
and integration to 3rd Party Lighting Control Systems. Before installing the -DALI luminaire, please confirm
that the Lighting Control System has the capability to monitor DALI Emergency Luminaires. The -DALI
fitting will be addressed and configured into the control system by the Lighting Control System
Commissioning Technicians and not Clevertronics.
State
LED Operation
Commissioned/ Un-commissioned
LED on Solid (Green)
Emergency Light Test in progress
LED flashes at 1s On (Yellow) & 1s Off
“IDENTIFY COMMAND”
Fitting goes into emergency mode for 10 seconds
A 2-way “figure 8” cable and terminal block facilitates the connection to the DALI network. DALI
connections are marked as Da Da.
To confirm operation of the fitting the Lighting Control System can only use the status query type
command. To “test” the sign this status query will need to be synchronised with the formal test of the
UPS from its battery source. The sign will report a fault if the LED lamp bar is not illuminated.
DO NOT run a Start Function Test or Start Duration Test command. If either of these is run, the
fitting will go into test mode and the fitting will switch off as it will be internally disconnected from main
power and there is no battery so the LED lamp won’t run – the unit will report a failed test. This
condition cannot be rectified, and the fitting will report this forever as it can never pass a test of this type.
UPS Wiring and Connecting arrangements
L10TM LIFELIGHT PRO Surface Mount Emergency
Luminaire
Installation & Maintenance Instruction Leaflet
Victoria (Head Office & Manufacturing)
Website: www.clevertronics.com.au
Email: info@clevertronics.com.au
Phone: +61 3 9559 2700
Fax: +61 3 9559 2799
New South Wales
Phone: +61 2 8805 6400
Fax: +61 2 8805 6444
Queensland
Phone: +61 7 3442 9700
Fax: +61 7 3442 9777
South Australia/Northern Territory
Phone: +61 8 8301 8800
Fax: +61 8 8351 8286
Western Australia
Phone: +61 8 9207 0000
Fax: +61 8 9207 0088
New Zealand
Phone: +64 800 548 448
Designed in Australia to comply with the requirements of
AS2293.3: 2005 and AS/NZS CISPR15: 2017
Models:
LLIFEx-PRO-SM-UPS-yy
Testing:
Options:
Manual Test
xx = Blank
yy = BLK
Colour, Black
DALI
xx = DALI
x = M
Maintained
Spare Parts:
8003081
PCA: LLPRO HEAD Alum #CT10640-D4 - GW CSHPM
8002924
PCA: xLIFEPro #CT10142-L9 2C250/550 CTP AU
Important:
It is illegal for anyone, exceptfor a licensed electrician to install or maintainthis product. Before installation,
ensure that the electricity supply has been switched off and isolated. Installation must be carried out in
accordance with the relevant Australian and International Standards.
1942485
V1.1
10 June 2021
Installation:
The LLIFEx-PRO-SM-UPS is a Surface Mount (SM) fitting that can be attached directly to any solid
surface (use appropriate fixings to suit the mounting surface). Please follow the steps below to install the
LLIFEx-PRO-SM-UPS:
•Remove the Lid from the Base by using a flat screwdriver to release the snap fits (see below)
•Cut/Drill out Cable Entry points (see image below)
•Drill out the required fixing holes on the Base (see image below)
•Mark holes on mounting surface (use drilled out holes on the Base as a template)
•Mount Base using appropriate fixings to ensure a secure installation (pre-drill holes if required)
•Insert Mains Cables through Cable Entry
•Terminate the Mains Cables into terminal block. Ensure Active, A & Neutral, N wires are connected
as per Terminal Block Label.
•Re-attach Lid Assembly, ensuring to align Mains Connector Pins into Terminal Block
•The luminaire should be positioned so that prolonged staring into the luminaire at a distance closer
than 350mm is not expected.
Note:
This luminaire (with reinforced insulation between control/LED terminal and AC supply) contains non-
user replaceable light source - to be replaced (if required, refer installation instructions) by Clevertronics
service personnel/agents or a registered electrician.
Networking:
When installing the product on a monitored network, (DALI) simply insert the relevant Smart Node PCA.
Dimensions:
Lid Removal:
Testing:
Once connected to the 240V mains supply, ensure the UPS unit has been allowed to charge. Conduct
the following tests:
•For the first test, the lamp must remain illuminated for at least 2 hours after disconnection from the
mains supply with the UPS running from the battery.
•Subsequent tests require the unit to illuminate for at least 90 minutes. The results of all tests are
required to be recorded in a service logbook, which is to be kept on-site at all times. If the unit fails
to remain illuminated for the requisite time, remedial action must be taken to repair the situation
and once completed, the unit must pass a subsequent test. For more specific information, please
refer to the current edition of the AS 2293.3 Standard.
Trouble Shooting:
Below are a list of common problems and their possible causes.
Fault: The Status LED indicator and main lamp is not illuminated.
Check: A.C. is connected and is turned on.
Test Switch for damage.
Fault: Lamp does not illuminate in emergency mode.
Check: A.C. is connected.
Lamp is correctly inserted.
UPS battery condition
Warranty:
For Product Warranty information and Terms and Conditions of Sales please refer to our website
http://clevertronics.com.au/terms-conditions-sale-australia-nz/

Other Clevertronics Lantern manuals

Clevertronics LP Supalite CFLLED Series Installation and operating instructions

Clevertronics

Clevertronics LP Supalite CFLLED Series Installation and operating instructions

Clevertronics L10 LWP2LIFE-PRO-WPPOD Series Installation and operating instructions

Clevertronics

Clevertronics L10 LWP2LIFE-PRO-WPPOD Series Installation and operating instructions

Clevertronics L10 LIFELIGHT PRO LLIFE-PRO-SMC Series Installation and operating instructions

Clevertronics

Clevertronics L10 LIFELIGHT PRO LLIFE-PRO-SMC Series Installation and operating instructions

Clevertronics LP Supalite CFLLED Series Installation and operating instructions

Clevertronics

Clevertronics LP Supalite CFLLED Series Installation and operating instructions

Clevertronics ARGO-1500-EM Series Installation and operating instructions

Clevertronics

Clevertronics ARGO-1500-EM Series Installation and operating instructions

Clevertronics Argonaut Square ARGOSQ Series Installation and operating instructions

Clevertronics

Clevertronics Argonaut Square ARGOSQ Series Installation and operating instructions

Clevertronics ARGO-600 EM Series Installation and operating instructions

Clevertronics

Clevertronics ARGO-600 EM Series Installation and operating instructions

Clevertronics LP CBS2N Series Technical specifications

Clevertronics

Clevertronics LP CBS2N Series Technical specifications

Clevertronics Argonaut PRO ARGOPRO-1200 Series Installation and operating instructions

Clevertronics

Clevertronics Argonaut PRO ARGOPRO-1200 Series Installation and operating instructions

Clevertronics L10 LIFELIGHT PRO LLIFE-PRO-SMC Series Installation and operating instructions

Clevertronics

Clevertronics L10 LIFELIGHT PRO LLIFE-PRO-SMC Series Installation and operating instructions

Clevertronics L10 LWFLED Maintenance and service guide

Clevertronics

Clevertronics L10 LWFLED Maintenance and service guide

Clevertronics Supalite L10 LWFLED Series Technical specifications
Clevertronics

Clevertronics Supalite L10 LWFLED Series Technical specifications

Clevertronics L10 LIFELIGHT PRO-SM Series User manual

Clevertronics

Clevertronics L10 LIFELIGHT PRO-SM Series User manual

Clevertronics CLP LIFELIGHT CLIFE Series Maintenance and service guide

Clevertronics

Clevertronics CLP LIFELIGHT CLIFE Series Maintenance and service guide

Clevertronics L10 Supalite LWFLED Series Instruction Manual

Clevertronics

Clevertronics L10 Supalite LWFLED Series Instruction Manual

Popular Lantern manuals by other brands

BEGA 84 268 Instructions for use

BEGA

BEGA 84 268 Instructions for use

BEGA 50 103 Instructions for use

BEGA

BEGA 50 103 Instructions for use

Conrad 110419 operating instructions

Conrad

Conrad 110419 operating instructions

BEGA 84 421 Instructions for use

BEGA

BEGA 84 421 Instructions for use

Hess PALERMO G220 1,5T Installation and operating instructions
Hess

Hess PALERMO G220 1,5T Installation and operating instructions

BEGA 3590 Instructions for use

BEGA

BEGA 3590 Instructions for use

Primus 2245 Instructions for use

Primus

Primus 2245 Instructions for use

Primetime MSL155 instruction manual

Primetime

Primetime MSL155 instruction manual

Smartwares GWS-001-DS instructions

Smartwares

Smartwares GWS-001-DS instructions

ergoline OPEN SUN 1050 ULTRA POWER operating instructions
ergoline

ergoline OPEN SUN 1050 ULTRA POWER operating instructions
LEGRAND Kenall MIGHTY MAC installation instructions

LEGRAND

LEGRAND Kenall MIGHTY MAC installation instructions

Occhio Mito Raggio operating instructions

Occhio

Occhio Mito Raggio operating instructions

SGS WL139MBK manual

SGS

SGS WL139MBK manual

Cooper Galleon installation instructions

Cooper

Cooper Galleon installation instructions

kenall SIMPLESEAL CDL6VL2 LED SERIES installation instructions

kenall

kenall SIMPLESEAL CDL6VL2 LED SERIES installation instructions

Gainsborough K331 Assembly instructions

Gainsborough

Gainsborough K331 Assembly instructions

AEG BFL18X instructions

AEG

AEG BFL18X instructions

Chalmit Sterling III Installation, operation and maintenance instructions

Chalmit

Chalmit Sterling III Installation, operation and maintenance instructions

manuals.online logo
manuals.online logoBrands
  • About & Mission
  • Contact us
  • Privacy Policy
  • Terms and Conditions

Copyright 2025 Manuals.Online. All Rights Reserved.