manuals.online logo
Brands
  1. Home
  2. •
  3. Brands
  4. •
  5. DeLOCK
  6. •
  7. Computer Hardware
  8. •
  9. DeLOCK 47037 User manual

DeLOCK 47037 User manual

Support Delock
If you have further questions, please contact our customer support
[email protected]
You can nd current product information on our homepage: www.delock.com
Final clause
Information and data contained in this manual are subject to change without notice
in advance. Errors and misprints excepted.
Copyright
No part of this user manual may be reproduced, or transmitted for any purpose,
regardless in which way or by any means, electronically or mechanically, without
explicit written approval of Delock.
Edition: 08/2023
Declaration of conformity
Products with a CE symbol fulll the EMC directive (2014/30/EU) and
RoHS directive (2011/65/EU+2015/863+2017/2102), which were released by the
EU-comission.
The declaration of conformity can be downloaded here:
https://www.delock.de/produkte/G_47037/merkmale.html
WEEE-notice
The WEEE (Waste Electrical and Electronic Equipment)-directive, which became
e󰀨ective as European law on February 13th 2003, resulted in an all out change
in the disposal of disused electro devices. The primarily purpose of this directive
is the avoidance of electrical waste (WEEE) and at the same time the support of
recycling and other forms of recycling in order to reduce waste. The WEEE-logo
on the device and the package indicates that the device should not be disposed
in the normal household garbage. You are responsible for taking the disused
electrical and electronical devices to a respective collecting point. A separated
collection and reasonable recycling of your electrical waste helps handling the
natural resources more economical. Furthermore recycling of electrical waste is
a contribution to keep the environment and thus also the health of men. Further
information about disposal of electrical and electronical waste, recycling and
the collection points are available in local organizations, waste management
enterprises, in specialized trade and the producer of the device.
EU Import: Tragant Handels- und Beteiligungs GmbH
Beeskowdamm 13/15, 14167 Berlin, Germany
Bedienungsanleitung
Manual del usuario
Instrukcja obsługi
Bruksanvisning
Használati utasítás
Εγχειρίδιο χρήστη
English
Deutsch
Sicherheitshinweise
• Produkt vor Feuchtigkeit schützen
• Vermeiden Sie antistatische Auadung beim Einbau der Karte
Einbau der M.2 SSD in den Einschub
1. Legen Sie die M.2 SSD in den Einschub und xieren Sie sie mit den
mitgelieferten Schrauben.
2. Ziehen Sie den Kühlkörper, durch Zusammendrücken der Plastikarretierung,
aus dem Einschub.
3. Falls sie eine SSD in der Länge 30, 42 oder 60 mm installieren möchten,
müssen sie das, auf der Unterseite des Einschubs bendliche, Wärmeleitpad
entsprechend kürzen.
4. Anschließend kann die Plastikhalterung für die M.2 SSD an der
entsprechenden Stelle im Einschub platziert werden.
5. Schieben Sie den Einschub in den Wechselrahmen und schließen Sie ihn.
Safety instructions
• Protect the product against moisture
• Avoid anti-static electricity when installing the card
Installation of the M.2 SSD into the inner tray
1. Put the M.2 SSD into the inner tray and x it with the included screws.
2. Pull the heat sink out of the slot by pressing the plastic lock.
3. If you want to install an SSD with a length of 30, 42 or 60 mm, you need to
shorten the thermal path located on the bottom of the inner tray accordingly.
4. Afterwards, put the plastic holder for the M.2 SSD in the appropriate place in
the slot.
5. Push the inner tray into the mobile rack and close it.
Hrvatski
ελληνικά
Οδηγίες ασφάλειας
• Προστατεύστε το προϊόν από την υγρασία
• Αποφύγετε αντιστατικό ηλεκτρισμό όταν εγκαθιστάτε την κάρτα
Εγκατάσταση του SSD M.2 στον εσωτερικό δίσκο
1. Βάλτε το M.2 SSD στον εσωτερικό δίσκο και στερεώστε τον με τις βίδες που
περιλαμβάνονται.
2. Τραβήξτε τον αποδέκτη θερμότητας από την υποδοχή πιέζοντας το πλαστικό
κλείδωμα.
3. Εάν επιθυμείτε να εγκαταστήσετε ένα SSD με μήκος 30, 42 ή 60 χιλ.,
χρειάζεται να μικρύνετε το θερμικό σημείο που βρίσκεται στο κάτω μέρος του
εσωτερικού δίσκου αντίστοιχα.
4. Έπειτα, τοποθετήστε τον πλαστικό συγκρατητή για το M.2 SSD στην
κατάλληλη θέση στην υποδοχή.
5. Σπρώξτε τον εσωτερικό δίσκο στο κινητό ράφι και κλείστε το.
Sigurnosne upute
• Zaštitite proizvod od vlage
• Izbjegavajte antistatički elektricitet prilikom umetanja kartice
Ugradnja SSD od M.2 u unutarnju ladicu
1. Stavite tvrdi M.2 SSD u unutarnju ladicu i pričvrstite ga priloženim vijcima.
2. Izvucite hladnjak iz utora pritiskom na plastičnu bravu.
3. Ako želite ugraditi SSD s duljinom od 30, 42 ili 60 mm, potrebno je skratiti
toplinski put koji se nalazi na dnu unutarnje ladice u skladu s tim.
4. Nakon toga stavite plastični držač za M.2 SSD na odgovarajuće mjesto u
utoru.
5. Pritisnite unutarnju ladicu u mobilni okvir i zatvorite ju.
Product-No: 47037
User manual no: 47037-a
www.delock.com
User manual
Mode d’emploi
Uživatelská příručka
Manuale utente
Manual de utilizare
Korisnički priručnik
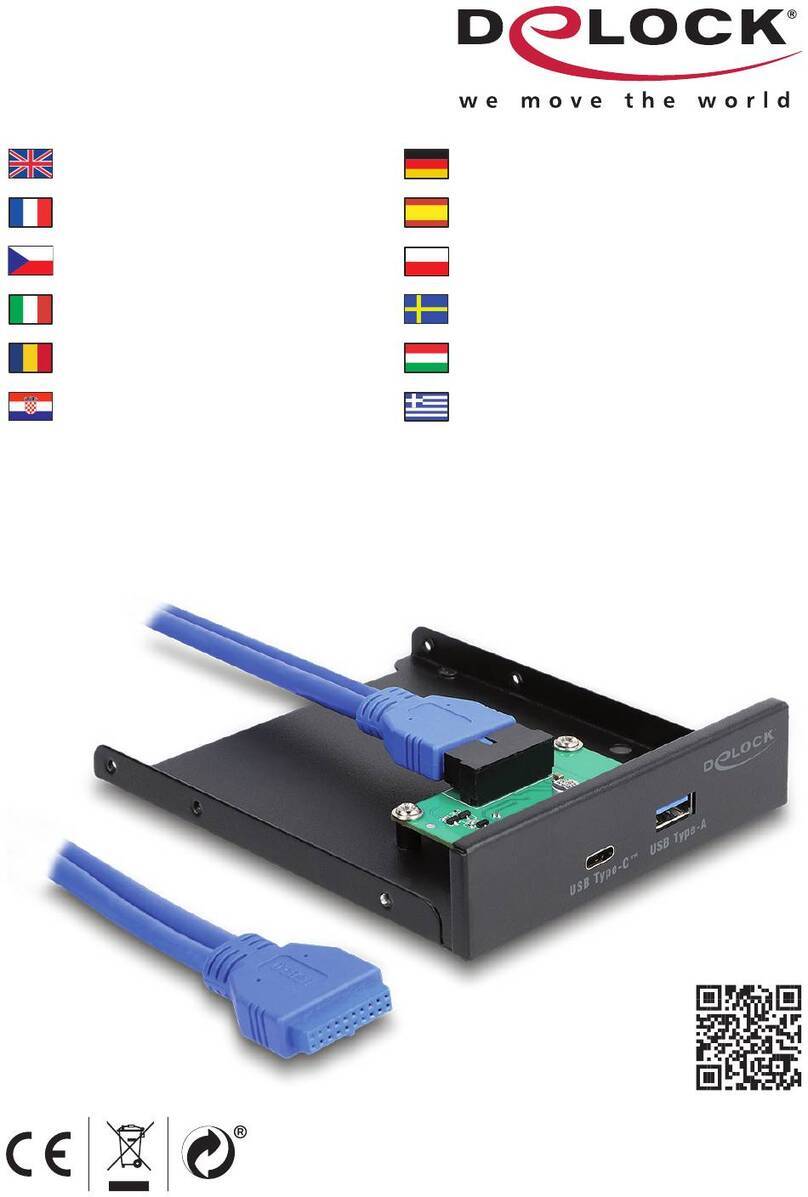
Mobile Rack Inner Tray
1 x M.2 NMVe SSD
Français
Español
Polsku
Italiano
České
Svenska
Română
Magyar
Instrukcje bezpieczeństwa
• Produkt należy zabezpieczyć przed wilgocią
• Podczas instalacji karty należy się zabezpieczyć przed elektrycznością statyczną
Instalacja SSD M.2 na tacy wewnętrznej
1. Umieść M.2 SSD na tacy wewnętrznej i przymocuj go za pomocą dołączonych
śrubek.
2. Wyciągnij radiator z gniazda, naciskając plastikową blokadę.
3. Jeśli chcesz zainstalować dysk SSD o długości 30, 42 lub 60 mm,
musisz odpowiednio skrócić ścieżkę termiczną znajdującą się na spodzie
wewnętrznej tacy.
4. Następnie umieść plastikowy uchwyt na dysk SSD M.2 w odpowiednim
miejscu w gnieździe.
5. Wsuń tacę wewnętrzną do przenośnego stelaża i zamknij go.
Bezpečnostní pokyny
• Chraňte produkt před vlhkostí
• Při instalaci karty se vyvarujte působení antistatické elektřiny
Instalace M.2 SSD do vnitřního šuplíku
1. Vložte M.2 SSD do vnitřního šuplíku a připevněte ho dodanými šroubky.
2. Stiskem plastového zámku vytáhněte tepelnou jímku ze slotu.
3. Jestliže chcete nainstalovat SSD délky 30, 42 nebo 60 mm, musíte podle toho
zkrátit termální cestu nacházející se na spodní straně vnitřního pásu.
4. Poté dejte plastový držák M.2 SSD do příslušné polohy ve slotu.
5. Zasuňte vnitřní šuplík zpět do výměnného rámečku a zavřete jej.
Instrucciones de seguridad
• Proteja el producto contra el polvo
• Evite la electricidad estática cuando instale la tarjeta
Instalación de la unidad de SSD de M.2 en la bandeja interna
1. Introduzca la unidad de M.2 SSD en la bandeja interna y fíjela con los
tornillos incluidos.
2. Extraiga el disipador de calor de la ranura presionando el cierre de plástico.
3. Si desea instalar una unidad SSD con una longitud de 30, 42 o 60 mm,
deberá acortar en consecuencia la ruta térmica situada en la parte inferior de
la bandeja interior.
4. A continuación, coloque el soporte de plástico para la unidad SSD M.2 en el
lugar adecuado de la ranura.
5. Empuje la bandeja hacia el bastidor móvil y ciérrela.
Instructions de sécurité
• Protéger le produit contre l’humidité
• Éviter l’électricité statique lors de l’installation de la carte
Installation du SSD M.2 dans le plateau interne
1. Mettez le M.2 SSD dur dans le plateau interne et xez-le avec les vis
incluses.
2. Sortir le dissipateur thermique de la prise en appuyant sur le verrou en
plastique.
3. Si vous voulez installer un SSD d’une longueur de 30, 42 ou 60 mm, vous
devez raccourcir en conséquence le trajet thermique situé en bas du plateau
interne.
4. Ensuite, mettre le support en plastique pour le SSD M.2 en place dans la
prise.
5. Poussez le plateau interne
dans le rack mobile et
fermez-le.
Biztonsági óvintézkedések
• Óvja a terméket a nedvességtől.
• Kerülje az elektrosztatikus kisüléseket a kártya telepítése közben.
A M.2-os SSD telepítése a belső tálcába
1. Tegye a M.2 SSD a belső tálcába, és rögzítse a tartozékként kapott
csavarokkal.
2. A műanyag zűr lenyomásával húzza ki a hűtőbordát a tartójából.
3. Amennyiben egy 30, 42 vagy 60 mm hosszú SSD-t akar installálni,
csökkentenie kell a belső vájat alján lévő hőpárnát annak megfelelően.
4. Ezután tegye az M.2 SSD műanyag tartóját a nyílás megfelelő helyére.
5. Tolja be a belső tálcát a mobil rackbe, és zárja be.
Instrucţiuni de siguranţă
• Protejaţi produsul împotriva umidităţii
• Evitaţi electricitatea antistatică atunci când instalaţi cardul
Instalarea unităţii SSD de M.2 în tava interioară
1. Introduceţi M.2 SSD în tava interioară şi xaţi-l cu şuruburile incluse.
2. Scoateți radiatorul din slot apăsând încuietoarea din plastic.
3. Dacă doriți să instalați un SSD cu o lungime de 30, 42 sau 60 mm, trebuie
să scurtați în consecință calea termică situată pe partea inferioară a tăvii
interioare.
4. După aceea, puneți suportul din plastic pentru SSD-ul M.2 în locul
corespunzător din slot.
5. Împingeţi tava interioară în rackul mobil şi închideţi-o.
Säkerhetsinstruktioner
• Skydda produkten mot fukt
• Undvik antistatisk elektricitet när du installerar kortet
Montering av M.2 SSD i det inre facket
1. Placera M.2 SSD i det inre facket och skruva fast den med de medföljande
skruvarna.
2. Dra ut kylänsen från spåret genom att pressa på plastlåset.
3. Om du vill installera en SSD-enhet som är 30, 42 eller 60 mm lång måste du
korta den termiska vägen som är placerad på undersidan av innerbrickan på
motsvarande sätt.
4. Efteråt ska plasthållaren placeras för M.2 SSD-enheten på rätt plats i spåret.
5. Tryck in det inre facket i mobilstället och stäng igen det.
Istruzioni per la sicurezza
• Proteggere il prodotto dall'umidità
• Evitare l'elettricità antistatica durante l'installazione della scheda
Installazione del SSD da M.2 nello scomparto interno
1. Inserire il M.2 SSD nello scomparto interno e ssarlo con le viti in dotazione.
2. Estrarre il dissipatore di calore dallo slot premendo il blocco di plastica.
3. Se si desidera installare un'unità SSD con una lunghezza di 30, 42 o 60 mm,
è necessario accorciare quanto necessario il circuito termico situato sul fondo
del vassoio interno.
4. In seguito, inserire il supporto in plastica per l'unità SSD M.2 nella posizione
appropriata nello slot.
5. Spingere lo scomparto interno nel rack mobile e chiuderlo.
Cet appareil
se recycle
Points de collecte sur www.quefairedemesdechets.fr
Other DeLOCK Computer Hardware manuals

DeLOCK 90481 User manual

DeLOCK

DeLOCK 90481 User manual

DeLOCK 62866 User manual

DeLOCK

DeLOCK 62866 User manual

DeLOCK 62853 User manual

DeLOCK

DeLOCK 62853 User manual

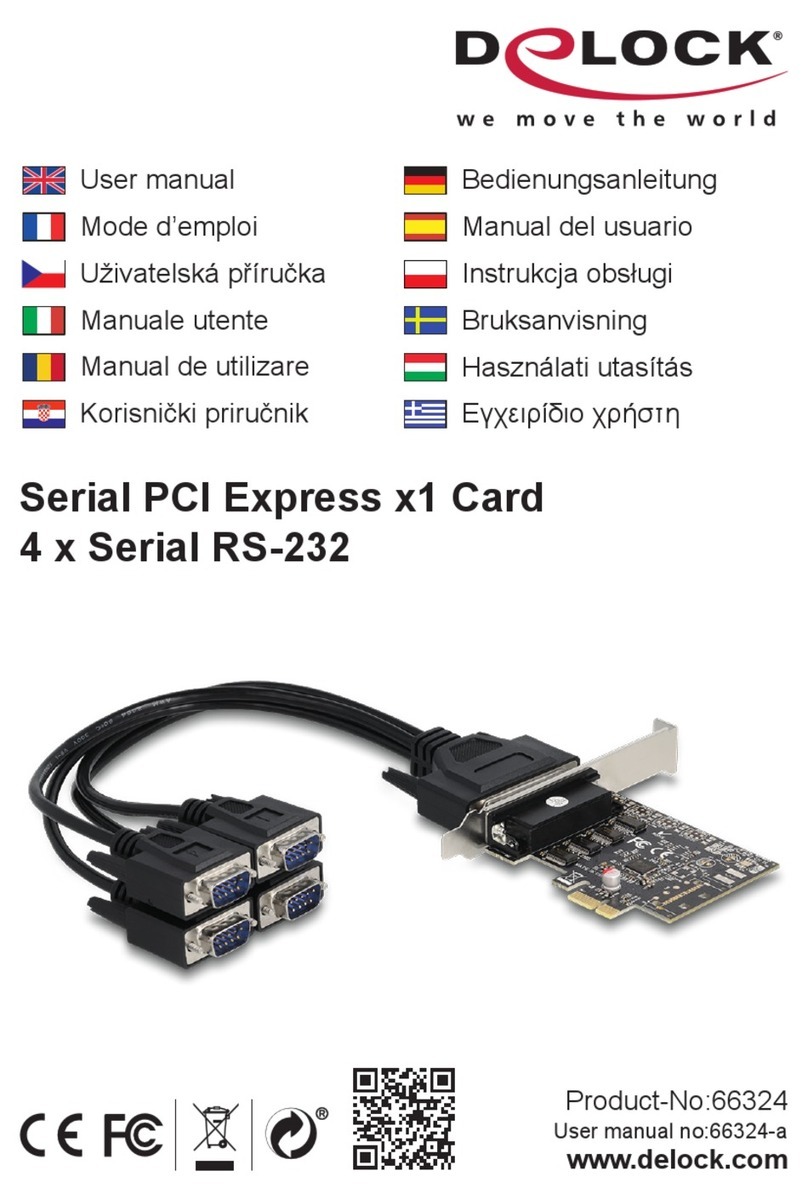
DeLOCK 66324 User manual

DeLOCK

DeLOCK 66324 User manual

DeLOCK 90006 User manual

DeLOCK

DeLOCK 90006 User manual

DeLOCK SuperSpeed 89008 User manual

DeLOCK

DeLOCK SuperSpeed 89008 User manual

DeLOCK 88216 User manual

DeLOCK

DeLOCK 88216 User manual

DeLOCK 90406 User manual

DeLOCK

DeLOCK 90406 User manual

DeLOCK 90097 User manual

DeLOCK

DeLOCK 90097 User manual

DeLOCK 61386 User manual

DeLOCK

DeLOCK 61386 User manual

DeLOCK 64057 User manual

DeLOCK

DeLOCK 64057 User manual

DeLOCK 88029 User manual

DeLOCK

DeLOCK 88029 User manual

DeLOCK 91748 User manual

DeLOCK

DeLOCK 91748 User manual

DeLOCK 89377 User manual

DeLOCK

DeLOCK 89377 User manual

DeLOCK 88021 User manual

DeLOCK

DeLOCK 88021 User manual

DeLOCK 61114 User manual

DeLOCK

DeLOCK 61114 User manual

DeLOCK 63962 User manual

DeLOCK

DeLOCK 63962 User manual

DeLOCK 66215 User manual

DeLOCK

DeLOCK 66215 User manual

DeLOCK 89836 User manual

DeLOCK

DeLOCK 89836 User manual

DeLOCK 62670 User manual

DeLOCK

DeLOCK 62670 User manual

DeLOCK 61052 User manual

DeLOCK

DeLOCK 61052 User manual

DeLOCK 47189 User manual

DeLOCK

DeLOCK 47189 User manual

DeLOCK 90096 User manual

DeLOCK

DeLOCK 90096 User manual

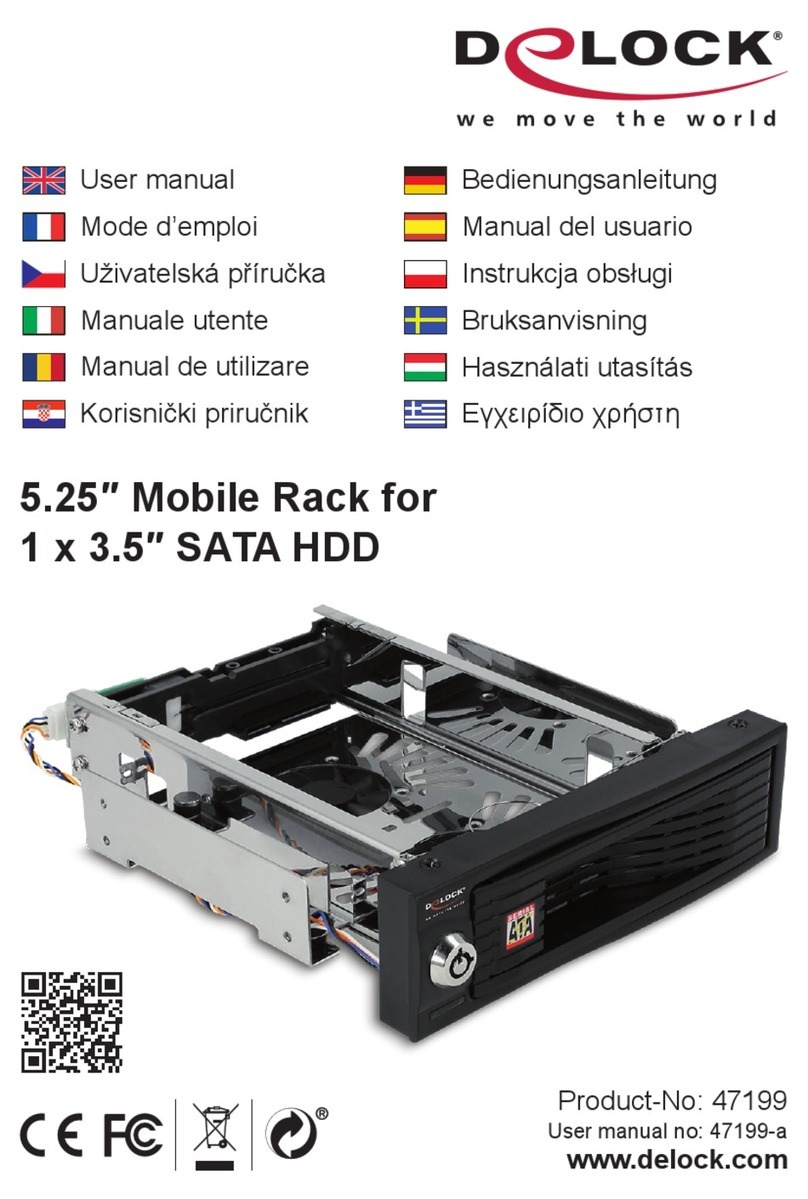
DeLOCK 47199 User manual

DeLOCK

DeLOCK 47199 User manual

Popular Computer Hardware manuals by other brands

Mitsubishi Electric SW0DNC-MNETH-B user manual

Mitsubishi Electric

Mitsubishi Electric SW0DNC-MNETH-B user manual

Transmeta Crusoe TM5500 System design guide

Transmeta

Transmeta Crusoe TM5500 System design guide

Joy-it StromPi 3 manual

Joy-it

Joy-it StromPi 3 manual

Alinx AX301 user manual

Alinx

Alinx AX301 user manual

Peavey AddVerb user guide

Peavey

Peavey AddVerb user guide

Dantel 46062-02 Installation & operation manual

Dantel

Dantel 46062-02 Installation & operation manual

Phytec L-1014e.A4 phyBOARD-Mira quick start guide

Phytec

Phytec L-1014e.A4 phyBOARD-Mira quick start guide

Delta Tau 24E2A user manual

Delta Tau

Delta Tau 24E2A user manual

Phytec phyCORE-PXA270 Quick start instructions

Phytec

Phytec phyCORE-PXA270 Quick start instructions

Carotron EP2020-000 instruction manual

Carotron

Carotron EP2020-000 instruction manual

Savant SKL-1000 Deployment guide

Savant

Savant SKL-1000 Deployment guide

BTSX BIT-MSE-U1-312 manual

BTSX

BTSX BIT-MSE-U1-312 manual

Kingston Technology 486/Now! installation guide

Kingston Technology

Kingston Technology 486/Now! installation guide

E-peas AEM20940 quick start guide

E-peas

E-peas AEM20940 quick start guide

CyClone 600-2708 PCI Express user manual

CyClone

CyClone 600-2708 PCI Express user manual

Emerson MultiFlex CUB-II Installation and operation manual

Emerson

Emerson MultiFlex CUB-II Installation and operation manual

ekwb EK-FB ASUS ROG ZE Monoblock installation manual

ekwb

ekwb EK-FB ASUS ROG ZE Monoblock installation manual

Renesas Converter Board R0E530650CFK10 user manual

Renesas

Renesas Converter Board R0E530650CFK10 user manual

manuals.online logo
manuals.online logoBrands
  • About & Mission
  • Contact us
  • Privacy Policy
  • Terms and Conditions

Copyright 2025 Manuals.Online. All Rights Reserved.