manuals.online logo
Brands
  1. Home
  2. •
  3. Brands
  4. •
  5. EAST COAST
  6. •
  7. Indoor Furnishing
  8. •
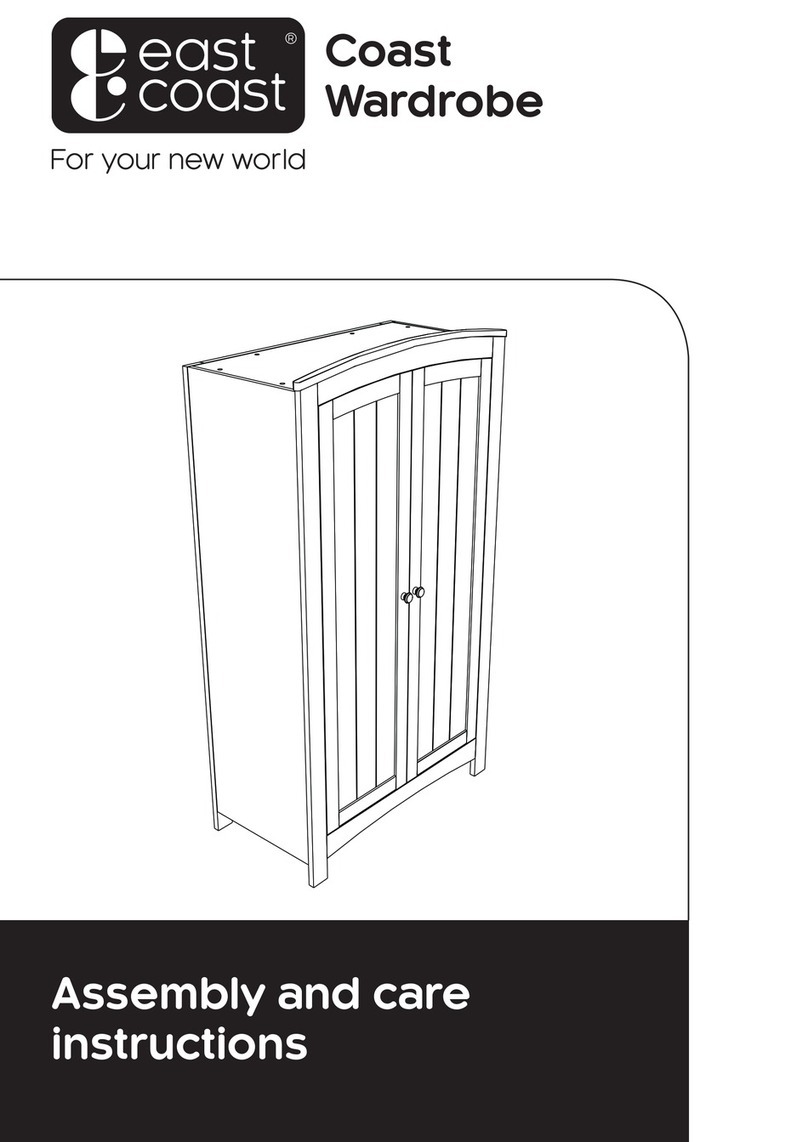
  9. EAST COAST Coast Dresser User guide

EAST COAST Coast Dresser User guide

Assembly and care
instructions
Coast
Dresser
IMPORTANT
RETAIN FOR FUTURE REFERENCE:
READ CAREFULLY
Thank you for purchasing an East Coast product. It’s been carefully designed and constructed to oer
quality, safety and reliability for you and your baby.
If you have a query about this product or require replacement parts, please contact 01692 408802.
Your child’s safety is your responsibility. Keep children clear during assembly as the fittings pack contains
small parts which may present a choking hazard. Please read the instructions and warnings carefully
before use.
Lay out the parts on a soft level surface and compare to the parts checklist. Don’t throw away any
packaging until you’re sure that you have all the parts.
You will need the following tools to complete assembly:
Flat-headed screwdriver and Cross-point screwdriver
Hardware
1
Hexagon Key x 1
A x 20 B x 20 C x 8 D x 24
E x 8 (25mm) F x 6 (38mm) G x 4 (25mm) H x 8 (45mm)
I x 24 J x 32 K x 6
Dresser Parts
2
Dresser top
Rear right
leg
Rear left
leg
Rear top
crossbar
Rear bottom
crossbar
Dresser
base
Left changer
panel
Front bottom
crossbar
Front top
crossbar
Rear changer
panel
Back drawer
panel (3)
Front feet
Right drawer
panel (3)
Right changer
panel Front changer
panel
Left drawer
panel (3)
Side panel
(L & R)
Back
panel
joining
strip
Back
panel
(L & R)
Front drawer
panel (3)
Drawer base
panel (3)
Assembly 1
Assembly 2
3
J x 6
J x 6
NOTE:
Do not tighten bolts fully until assembly is
complete.
H x 2
C x 2
B x 2
Repeat for
left panel
Dresser
base
Front
and rear
crossbars
Front top
crossbar
Right side
panel
Front
bottom
crossbar
Assembly 3
Assembly 4
4
A x 2
A x 2
H x 2
C x 2
Front top
crossbar
Front top
crossbar
Dresser
base
Front
bottom
crossbar
Front
bottom
crossbar
Right side
panel
Left side panel
Back
panel
joining
strip
Assembly 5
Assembly 6
5
H x 2
C x 2
H x 2
C x 2
NOTE:
Ensure cutouts on the Back panel(s) are in
the middle of the top.
Rear
right leg
Rear left
leg
Rear
right leg
Back
panel
Rear top
crossbar
Rear
bottom
crossbar
Assembly 7
Assembly 8
6
B x 3
B x 3
J x 4
NOTE:
You will need to flip the Rear assembly over
to carry out this step.
NOTE:
Repeat cam nut process for Left side panel.
Rear left
leg
Left side
panel
Rear
assembly
A x 3
Assembly 9
Assembly 10
7
J x 4
B x 2
Front
feet
Front
feet
Left side
panel
A x 1
G x 2
NOTE:
Repeat cam nut process for Left side panel.
Assembly 11
Assembly 12
8
J x 4 J x 4
B x 6
Dresser
top
Assembly 13
Assembly 14
9
A x 4
A x 2
NOTE:
Repeat cam nut process for Left side panel.
NOTE:
Do not fully tighten fittings until the next step
is complete.
G x 2
B x 2
J x 2
E x 4
J x 2
Dresser
top
Left side
panel
Left changer
panel
Right changer
panel Front changer
panel
Rear changer
panel
Assembly 15
Assembly 16
10
NOTE:
Ensure slot in part D are visible.
Repeat for remaining drawers.
D x 4
I x 2
I x 2
E x 3
E x 1
Left drawer
panel
Right drawer
panel
Front drawer
panel
11
Assembly 17
Assembly 18
Drawer base
panel
Left drawer
panel
Left drawer
panel
Back drawer
panel
Right drawer
panel
Right drawer
panel
Front drawer
panel
Front drawer
panel
NOTE:
Repeat for remaining drawers.
NOTE:
Ensure slot in part D are visible.
Repeat for remaining drawers.
D x 4
I x 2
I x 2
12
Assembly 19
NOTE:
Repeat for remaining drawers.
K x 2
F x 2
Screw (Short) Screw (Long)Washer x 2
Plastic wall plug
(For brick and masonary wall use
only).
Fabric strap
The furniture is supplied with a fixing kit which will secure it and help to guard against accidental tipping.
WARNING : Installation only to be carried out by a competent person.
Check the suitability of the wall before fitting.
WARNING!
IN ORDER TO PREVENT OVERTURNING, THIS PRODUCT MUST BE USED WITH THE WALL ATTACHMENT
DEVICE PROVIDED.
Serious or fatal crushing injuries can occur from furniture tipping over. To help prevent topple over,
please observe the following:
1. Use the wall attachment device provided.
2. Never allow children to climb or hang on drawers, doors or shelves.
3. Place heaviest items in the lower drawers or shelves.
4. Unless specifically designed to accommodate, do not set TV’s or other heavy objects on top of this
product.
5. Never open more than one drawer at a time.
An attachment device is provided with your product; however, you will need to source suitable fixings
for your wall type. If in doubt, please consult a qualified tradesperson.
Always ensure the wall to be drilled is free from hidden electrical wires, water and gas pipes.
1. Remove top drawer, then place the dresser against the wall where it is to be fitted and mark the wall
through the slot in the top of the Back panel.
2. Move the dresser away and using the long screw, washer and the appropriate wall fixing attach the
fabric strap to the marked position.
3. Replace the dresser and thread the fabric strap through the slot in the top of the Back panel.
4. Attach the fabric strap to the upper rear crossbar using the short screw and the washer.
Before use, ensure that the strap is securely fixed to both the wall and the dresser.
1. 2. 3. 4.
Furniture stability
Assembly 20
13
For customer care or enquiries:
Call: 01692 408802
Email: nursery@east-coast.co.uk
East Coast Nursery Ltd. Robertson House, North Walsham,
Norfolk, NR28 0BX
eastcoastnursery.co.uk
8579
05_17
Care and maintenance
In use
All assembly fittings should be tightened properly and should be checked regularly and re-tightened
as necessary. Take care when moving the furniture, as careless handling may cause damage.
Cleaning is simple; just wipe over with a damp cloth, and avoid using strong detergents or abrasives.
An occasional light application of a wax polish will help maintain the finish.
Warning: Do not leave your child unattended.
Ensure that all fittings are tightened properly. Loose screws could allow a child to trap a part of their
body or clothing, posing a strangulation risk.
Be aware of the risks of open fires and other such sources of strong heat, such as electric bar fires, gas
fires, etc. in the near vicinity of the dresser.
Suitable for use with a flat changing mat up to 75 x 46 cm which does not compromise the eective
height of the changer barriers.
The changing area is suitable for use up to 12 months old or 11kg in weight.
Do not use the dresser if any of the parts are broken, torn or missing.
Any additional or replacement parts can only be obtained from the manufacturer or the distributor.

Other EAST COAST Indoor Furnishing manuals
EAST COAST Dorset Dresser User guide

EAST COAST

EAST COAST Dorset Dresser User guide

EAST COAST Fontana FNTS721 User guide

EAST COAST

EAST COAST Fontana FNTS721 User guide

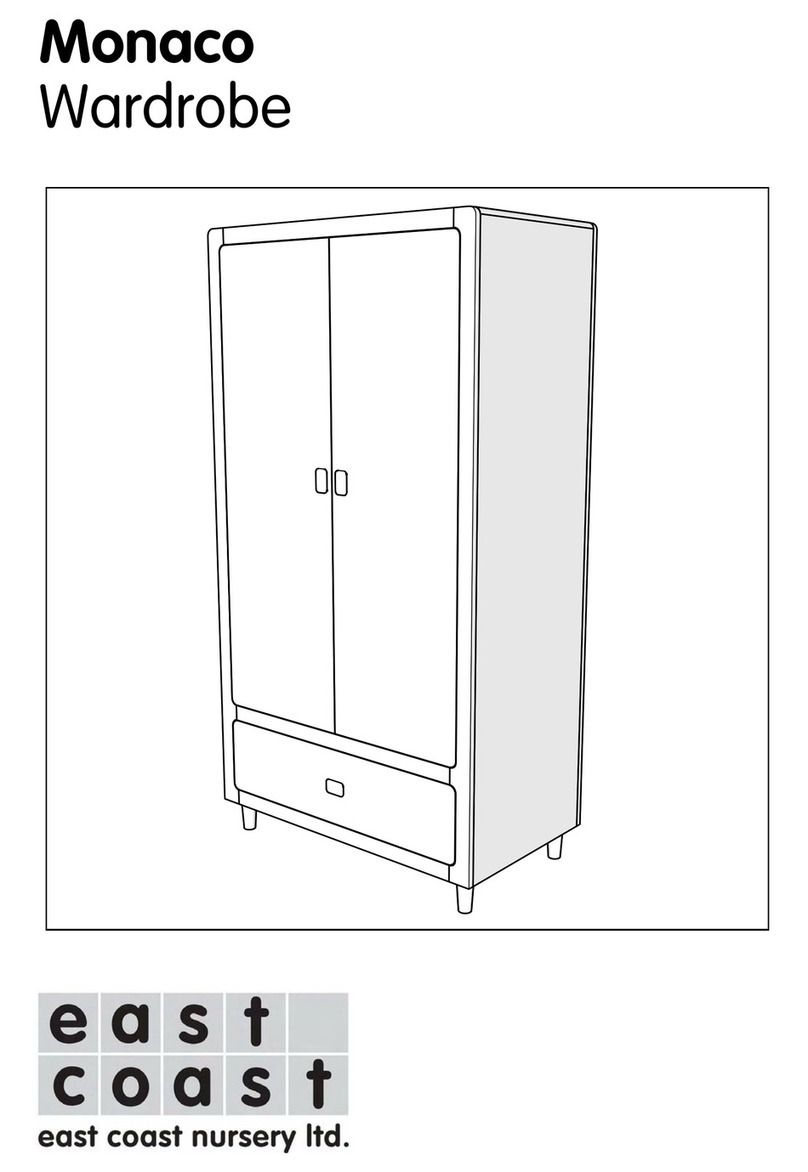
EAST COAST Monaco Wardrobe User manual

EAST COAST

EAST COAST Monaco Wardrobe User manual

EAST COAST Acre User guide

EAST COAST

EAST COAST Acre User guide

EAST COAST LANGHAM User manual

EAST COAST

EAST COAST LANGHAM User manual

EAST COAST Kensington Sleigh Dresser User manual

EAST COAST

EAST COAST Kensington Sleigh Dresser User manual

EAST COAST Cuba User manual

EAST COAST

EAST COAST Cuba User manual

EAST COAST Panama Dresser User guide

EAST COAST

EAST COAST Panama Dresser User guide

EAST COAST Toulouse Single Bed User guide

EAST COAST

EAST COAST Toulouse Single Bed User guide

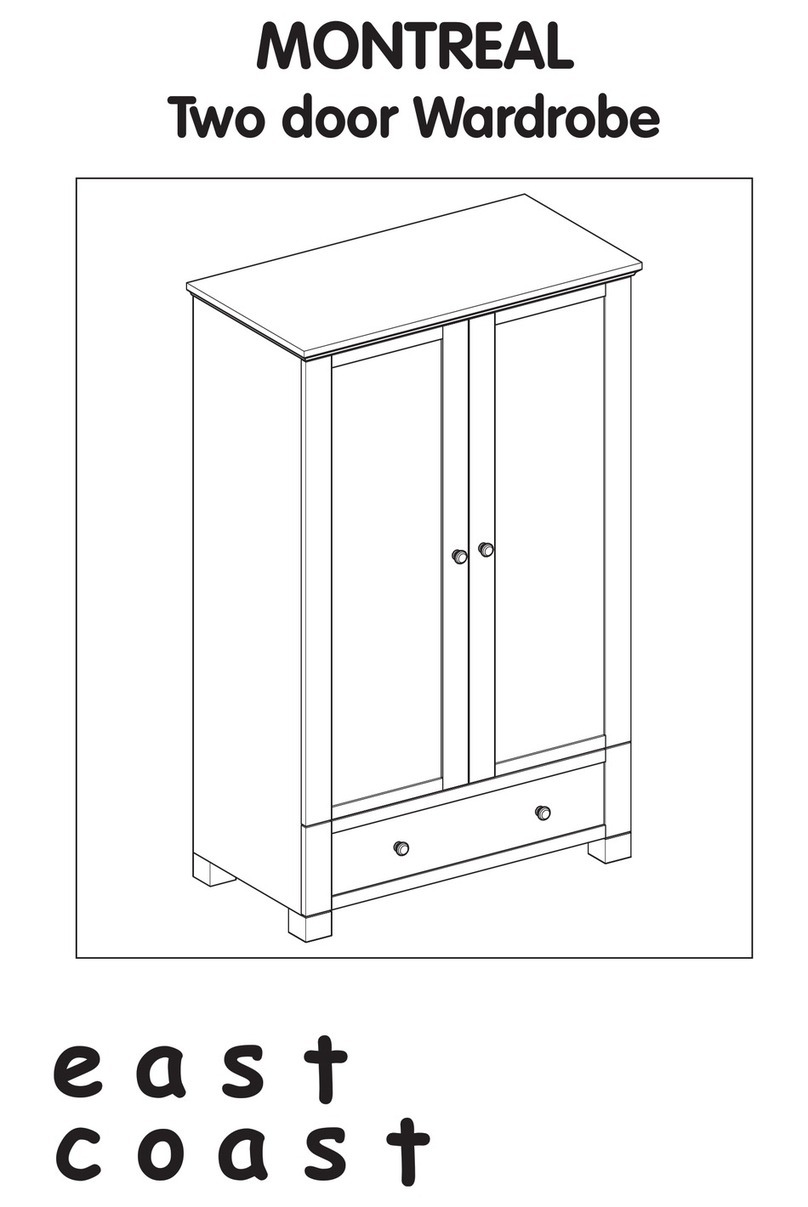
EAST COAST Montreal Wardrobe User guide

EAST COAST

EAST COAST Montreal Wardrobe User guide

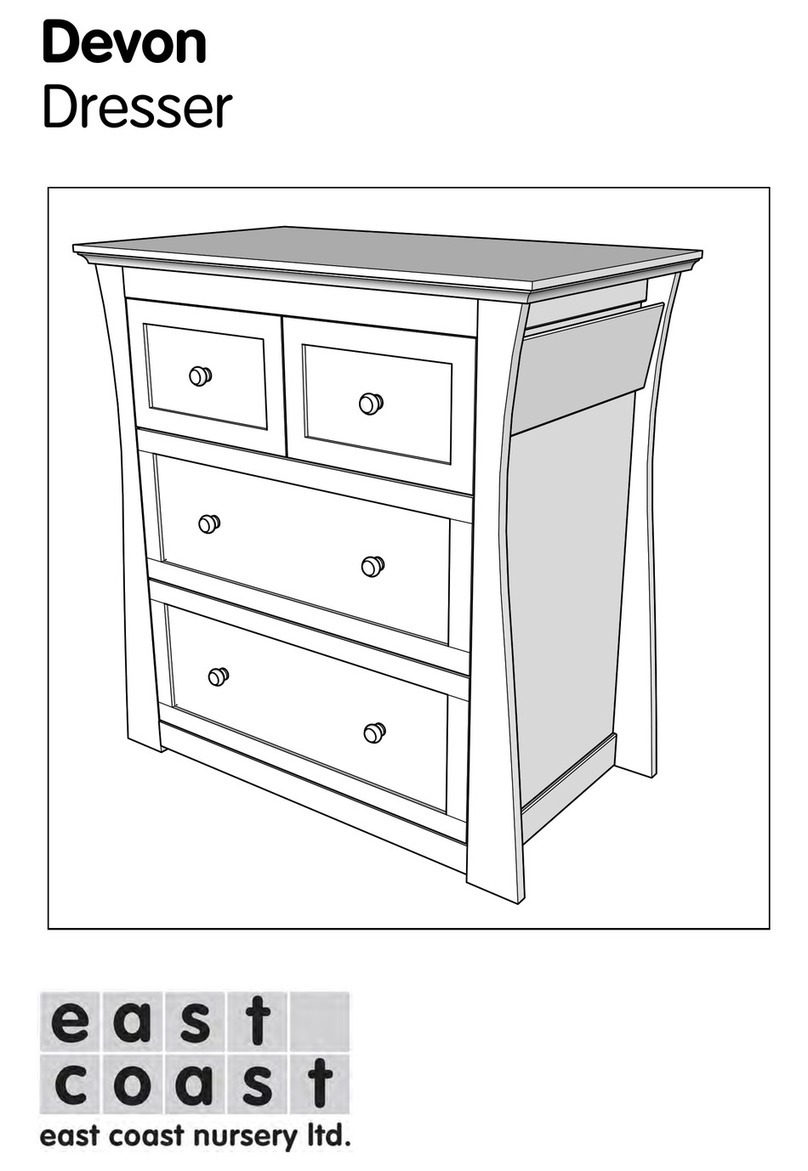
EAST COAST Devon Dresser User manual

EAST COAST

EAST COAST Devon Dresser User manual

EAST COAST Urban User guide

EAST COAST

EAST COAST Urban User guide

EAST COAST Clara User guide

EAST COAST

EAST COAST Clara User guide

EAST COAST Nebraska Wardrobe User guide

EAST COAST

EAST COAST Nebraska Wardrobe User guide

EAST COAST Montreal User guide

EAST COAST

EAST COAST Montreal User guide

EAST COAST KATIE User manual

EAST COAST

EAST COAST KATIE User manual

EAST COAST Dorset Wardrobe User guide

EAST COAST

EAST COAST Dorset Wardrobe User guide

EAST COAST Hudson User manual

EAST COAST

EAST COAST Hudson User manual

EAST COAST Denver User manual

EAST COAST

EAST COAST Denver User manual

EAST COAST Caribbean Side User manual

EAST COAST

EAST COAST Caribbean Side User manual

EAST COAST Toulouse Dresser White User guide

EAST COAST

EAST COAST Toulouse Dresser White User guide

EAST COAST Alby User guide

EAST COAST

EAST COAST Alby User guide

EAST COAST Monaco Manual

EAST COAST

EAST COAST Monaco Manual

EAST COAST CLARA DRESSER User manual

EAST COAST

EAST COAST CLARA DRESSER User manual

Popular Indoor Furnishing manuals by other brands

FourStar 11226136A Assembly instructions

FourStar

FourStar 11226136A Assembly instructions

Naterial DUO WICKER 3276007298734 Assemby - Use - Maintenance Manual

Naterial

Naterial DUO WICKER 3276007298734 Assemby - Use - Maintenance Manual

Ballard Designs Grove MQ125 Assembly instructions

Ballard Designs

Ballard Designs Grove MQ125 Assembly instructions

Allen + Roth EFC11-SS09 manual

Allen + Roth

Allen + Roth EFC11-SS09 manual

Customatic FEATHER LITE owner's manual

Customatic

Customatic FEATHER LITE owner's manual

3branch KURVE Assembly instructions

3branch

3branch KURVE Assembly instructions

Triarch 31753 Assembly instructions

Triarch

Triarch 31753 Assembly instructions

Gautier D06-ARTIGO NOYER Assembly instructions

Gautier

Gautier D06-ARTIGO NOYER Assembly instructions

Kinfine HOMEPOP K6410 Assembly instructions

Kinfine

Kinfine HOMEPOP K6410 Assembly instructions

Alvin "Standard" Chair DC888 Assembly instructions

Alvin

Alvin "Standard" Chair DC888 Assembly instructions

Amart Furniture PHOEBE 57673 Assembly instruction

Amart Furniture

Amart Furniture PHOEBE 57673 Assembly instruction

Posture Depot SOHO Assembly and use instructions

Posture Depot

Posture Depot SOHO Assembly and use instructions

GrainWood Loft CLF0703 Assembly instructions

GrainWood

GrainWood Loft CLF0703 Assembly instructions

Argos 338/7005 Assembly instructions

Argos

Argos 338/7005 Assembly instructions

Happy Babies HAPPY RN17 Assembly instructions

Happy Babies

Happy Babies HAPPY RN17 Assembly instructions

Clou match me CL/08.02.002.01 installation instructions

Clou

Clou match me CL/08.02.002.01 installation instructions

Grizzly G0630 Parts Breakdown

Grizzly

Grizzly G0630 Parts Breakdown

Costway HW66651-12-22 user manual

Costway

Costway HW66651-12-22 user manual

manuals.online logo
manuals.online logoBrands
  • About & Mission
  • Contact us
  • Privacy Policy
  • Terms and Conditions

Copyright 2025 Manuals.Online. All Rights Reserved.