manuals.online logo
Brands
  1. Home
  2. •
  3. Brands
  4. •
  5. Enabling Devices
  6. •
  7. Toy
  8. •
  9. Enabling Devices Plasma Star with Mounting Arm User manual

Enabling Devices Plasma Star with Mounting Arm User manual

This manual suits for next models

3

Other Enabling Devices Toy manuals

Enabling Devices Whirly Wheel 3094 User manual

Enabling Devices

Enabling Devices Whirly Wheel 3094 User manual

Enabling Devices 4122 User manual

Enabling Devices

Enabling Devices 4122 User manual

Enabling Devices 2257 User manual

Enabling Devices

Enabling Devices 2257 User manual

Enabling Devices Mini-Shooting Stars User manual

Enabling Devices

Enabling Devices Mini-Shooting Stars User manual

Enabling Devices 1439 User manual

Enabling Devices

Enabling Devices 1439 User manual

Enabling Devices Senso Dot Vibrating Switch User manual

Enabling Devices

Enabling Devices Senso Dot Vibrating Switch User manual

Enabling Devices 2241 User manual

Enabling Devices

Enabling Devices 2241 User manual

Enabling Devices Bump n Bubble Robot User manual

Enabling Devices

Enabling Devices Bump n Bubble Robot User manual

Enabling Devices Nature's Fire User manual

Enabling Devices

Enabling Devices Nature's Fire User manual

Enabling Devices Spinning Light Show User manual

Enabling Devices

Enabling Devices Spinning Light Show User manual

Enabling Devices 768 User manual

Enabling Devices

Enabling Devices 768 User manual

Enabling Devices 2045 User manual

Enabling Devices

Enabling Devices 2045 User manual

Enabling Devices 3934 User manual

Enabling Devices

Enabling Devices 3934 User manual

Enabling Devices 3610 User manual

Enabling Devices

Enabling Devices 3610 User manual

Enabling Devices Musical Snail User manual

Enabling Devices

Enabling Devices Musical Snail User manual

Enabling Devices Tickle Tube User manual

Enabling Devices

Enabling Devices Tickle Tube User manual

Enabling Devices 1203 User manual

Enabling Devices

Enabling Devices 1203 User manual

Enabling Devices Tic Tac Toe User manual

Enabling Devices

Enabling Devices Tic Tac Toe User manual

Enabling Devices 2001 User manual

Enabling Devices

Enabling Devices 2001 User manual

Enabling Devices Spaghetti & Meatballs 4552 User manual

Enabling Devices

Enabling Devices Spaghetti & Meatballs 4552 User manual

Enabling Devices Meowsic 1662 User manual

Enabling Devices

Enabling Devices Meowsic 1662 User manual

Enabling Devices Seal User manual

Enabling Devices

Enabling Devices Seal User manual

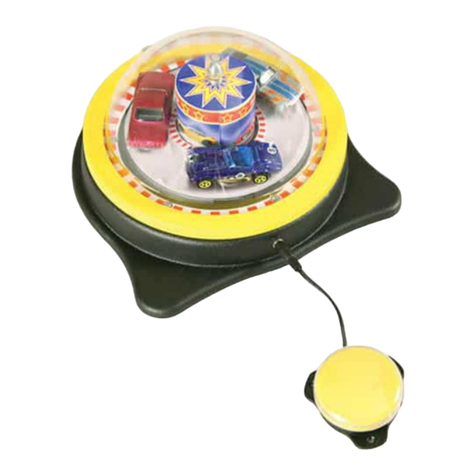
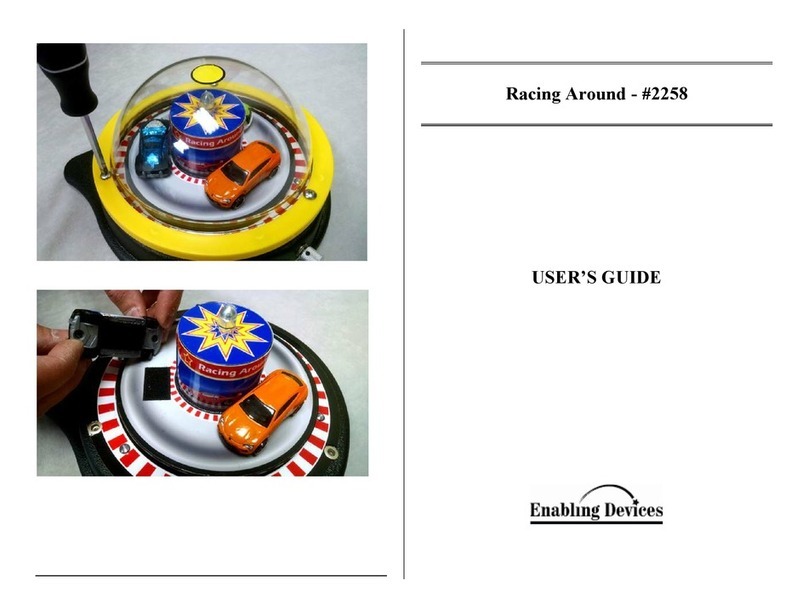
Enabling Devices Racing Around User manual

Enabling Devices

Enabling Devices Racing Around User manual

Enabling Devices 8030 User manual

Enabling Devices

Enabling Devices 8030 User manual

Popular Toy manuals by other brands

FUTABA GY470 instruction manual

FUTABA

FUTABA GY470 instruction manual

LEGO 41116 manual

LEGO

LEGO 41116 manual

Fisher-Price ColorMe Flowerz Bouquet Maker P9692 instruction sheet

Fisher-Price

Fisher-Price ColorMe Flowerz Bouquet Maker P9692 instruction sheet

Little Tikes LITTLE HANDIWORKER 0920 Assembly instructions

Little Tikes

Little Tikes LITTLE HANDIWORKER 0920 Assembly instructions

Eduard EF-2000 Two-seater exterior Assembly instructions

Eduard

Eduard EF-2000 Two-seater exterior Assembly instructions

USA Trains EXTENDED VISION CABOOSE instructions

USA Trains

USA Trains EXTENDED VISION CABOOSE instructions

Modellbau Laffont Z1601 Assembly instructions

Modellbau Laffont

Modellbau Laffont Z1601 Assembly instructions

NOCH 12905 instruction manual

NOCH

NOCH 12905 instruction manual

Eduard Ki-61-Id quick start guide

Eduard

Eduard Ki-61-Id quick start guide

Viessmann Vollmer 45616 Mounting instruction

Viessmann

Viessmann Vollmer 45616 Mounting instruction

Vollmer 42004 Mounting instruction

Vollmer

Vollmer 42004 Mounting instruction

Phoenix Model CLASSIC-EP instruction manual

Phoenix Model

Phoenix Model CLASSIC-EP instruction manual

H-KING Sopwith Camel British WW1 Fighter instruction manual

H-KING

H-KING Sopwith Camel British WW1 Fighter instruction manual

MODSTER Predator 4x4 Crawler user manual

MODSTER

MODSTER Predator 4x4 Crawler user manual

DHK Hobby 8136 User instruction manual

DHK Hobby

DHK Hobby 8136 User instruction manual

THUNDER TIGER Raptor 50 V2 kit manual

THUNDER TIGER

THUNDER TIGER Raptor 50 V2 kit manual

Timberkits Skateboarder instructions

Timberkits

Timberkits Skateboarder instructions

Hangar 9 Funtana 125 Assembly manual

Hangar 9

Hangar 9 Funtana 125 Assembly manual

manuals.online logo
manuals.online logoBrands
  • About & Mission
  • Contact us
  • Privacy Policy
  • Terms and Conditions

Copyright 2025 Manuals.Online. All Rights Reserved.

9. Activating your switch will make the Plasma Star display an amazing Plasma
Light show for as long as the switch is activated. Once the switch is released the
Plasma Light will stop The Pocket Plasma will also work without the use of a
switch, by setting the ON/SOUND RESPONSE/OFF switch to SOUND
RESPONSE. In this setting any nearby sound, voice, vocalization or music will
activate the Plasma Light.
10. When you are finished using the Plasma Star turn the ON/SOUND
RESPONSE/OFF switch to OFF, this will help conserve battery power. Leaving it
ON or set to SOUND RESPONSE will drain the batteries out completely in a
short amount of time.
Troubleshooting:
Problem: The Plasma Star does not work when my switch is activated.
Action #1: Make sure that you press all connections firmly together. Any gaps may
interrupt electrical connection. The ON/SOUND RESPONSE/OFF switch needs to
be set to SOUND RESPONSE.
Action #2: Make sure batteries are fresh.
Action #3: Try a different switch with the Plasma Star to rule it out as the source of
the problem.
Problem: The Plasma Star works intermittently.
Action: Replace batteries in the Plasma Star.
Care of Unit:
The Plasma Star can be wiped clean with any mild household multi-purpose, non-
abrasive cleaner and disinfectant. We recommend Simple Green, which is a non toxic
biodegradable all-purpose cleaner.
Do not submerge the unit in any fluids, as it will damage the contents and the
electrical components.
Do not use abrasive cleaners, as they will scratch the surface of the unit.
For Technical Support:
Call our Technical Service Department
Monday through Friday, 9 a.m. to 5 p.m. (EST)
1-800-TEC-TOYS or 1-800-832-8697
[email protected]
Plasma Star with Mounting Arm - #7512 &
Mountable Plasma Star- #7512M
USER’S GUIDE
50 Broadway
Hawthorne, NY 10532
Tel. 914.747.3070 / Fax 914.747.3480
Toll Free 800.832.8697
www.enablingdevices.com
Our Most Popular Toys Now Available On Mounts!
For the child who needs special visual placement, we’ve selected four of our most
popular adapted toys and created a system that allows you to easily mount them on a
wheelchair, tabletop, bedrail or tray. Purchase any of the four mountable toys with or
without the mounting arm or purchase all four toys with one mount. Size: 6"H x 8 D".
Requires 2 AA Batteries. Mounting arm is adjustable up to 24".
1. The Mountable Plasma Star requires 2 AAA batteries. Use alkaline batteries only
(e.g. Duracell or Energizer brand). Do not use rechargeable batteries or any other
type of batteries because they supply lower voltage and the unit will not perform
properly. Never mix old and new batteries together or different brands or types
together.
2. To install the batteries in the Plasma Star, turn the unit over using a Philips Head
screwdriver unscrew the two battery cover screws, then lift the cover off. Install 2
AAA batteries following proper (+) & (-) battery placement. Replace battery
cover and screws. Turn the Plasma Star’s ON/SOUND RESPONSE/OFF switch
located on the top of the Plasma Star’s disk to either ON or SOUND RESPONSE.
3. Clamping Options: Our mounting clamp is designed for mounting to tubular
(wheelchair, bedrail, walker, etc.) or flat surfaces such as a table top or desk. For
flat surface mounting use the included wedge insert shoe stored in front of the
locking knob on the clamp (see Fig.1) Loosen locking knob slightly to remove
wedge, tighten knob once wedge has been removed.
Fig.1
4. At this point we recommend you place your mounting arm without the Plasma
Star and do a rough setup, you can fine tune your adjustments after you have
placed the Plasma Star on the arm. Do not force or try adjusting the arm without
first loosening the set knobs for that portion of the arm. Each section of the arm
has a set knob. Once you have the arm in the desired position you can tighten the
knobs to lock the arm in place.
5. Once the arm is in position you can now place your Plasma Star on the arm. First
back off the set knob on the Plasma Star until it is flush with the inside of the
opening. This is necessary to allow the holder to be pushed all the way down on
the mounting arm post. The post at the end of the arm also has a flat spot, which
needs to be lined up with the set screw on the Plasma Star’s base. Once this is
done you can tighten the set knob to lock the holder to the arm. Please Note:
Make sure to back the set screw enough to allow the holder to be pushed all the
way down on the post of the arm, failure to do so will cause the Plasma Star to fall
off the mounting arm and a fall could cause damage to your Plasma Star. (See Fig.
2).
6. Activate this toy by connecting any capability switch to the unit via the 1/8" jack,
located on the side of the unit. If you need to use a ¼ " to 1/8" adapter for your
switch, it must be a mono adapter, not stereo.
7. Plug your external capability switches into the female 1/8" jack on the Plasma
Star. If your switch has a ¼" male plug, then you can use one of our #1170 ¼" to
1/8" adapters to make your switch compatible with this toy. Make sure that all
connections are tight, there should be no gaps.
8. Activating your switch will make the Plasma Star display an amazing Plasma
Light show for as long as the switch is activated. Once the switch is released the
Plasma Light will stop The Pocket Plasma will also work without the use of a
switch, by setting the ON/SOUND RESPONSE/OFF switch to SOUND
RESPONSE. In this setting any nearby sound, voice, vocalization or music will
activate the Plasma Light.
Fig. 2
Rev 6/21/11
Tighten Set
Knob