manuals.online logo
Brands
  1. Home
  2. •
  3. Brands
  4. •
  5. Enabling Devices
  6. •
  7. Toy
  8. •
  9. Enabling Devices 2257 User manual

Enabling Devices 2257 User manual

Other Enabling Devices Toy manuals

Enabling Devices Visually Impaired Activity Center User manual

Enabling Devices

Enabling Devices Visually Impaired Activity Center User manual

Enabling Devices JBX-151 User manual

Enabling Devices

Enabling Devices JBX-151 User manual

Enabling Devices Pony Pal 916 User manual

Enabling Devices

Enabling Devices Pony Pal 916 User manual

Enabling Devices Funtastic User manual

Enabling Devices

Enabling Devices Funtastic User manual

Enabling Devices 7805 User manual

Enabling Devices

Enabling Devices 7805 User manual

Enabling Devices Fa La La Llama User manual

Enabling Devices

Enabling Devices Fa La La Llama User manual

Enabling Devices Visual Speech Trainer User manual

Enabling Devices

Enabling Devices Visual Speech Trainer User manual

Enabling Devices Mini Tropical Fish Aquarium 3271 User manual

Enabling Devices

Enabling Devices Mini Tropical Fish Aquarium 3271 User manual

Enabling Devices 9230 User manual

Enabling Devices

Enabling Devices 9230 User manual

Enabling Devices St. Bernard Puppy User manual

Enabling Devices

Enabling Devices St. Bernard Puppy User manual

Enabling Devices Cyclone User manual

Enabling Devices

Enabling Devices Cyclone User manual

Enabling Devices Press & Glow Spinner User manual

Enabling Devices

Enabling Devices Press & Glow Spinner User manual

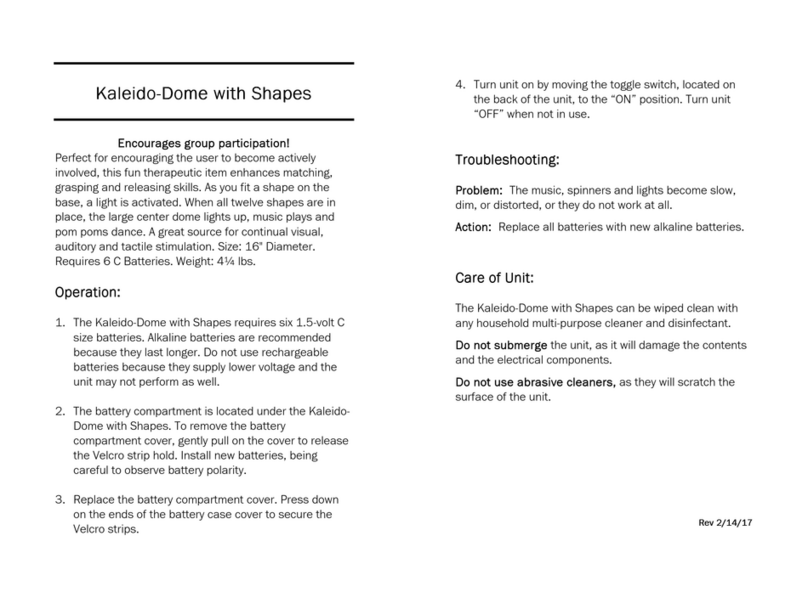
Enabling Devices Kaleido-Dome with Shapes User manual

Enabling Devices

Enabling Devices Kaleido-Dome with Shapes User manual

Enabling Devices 2251 User manual

Enabling Devices

Enabling Devices 2251 User manual

Enabling Devices 9339 User manual

Enabling Devices

Enabling Devices 9339 User manual

Enabling Devices 3092 User manual

Enabling Devices

Enabling Devices 3092 User manual

Enabling Devices Cheap Talk 8 Six Level User manual

Enabling Devices

Enabling Devices Cheap Talk 8 Six Level User manual

Enabling Devices Nature's Fire User manual

Enabling Devices

Enabling Devices Nature's Fire User manual

Enabling Devices ShihTzu Puppy User manual

Enabling Devices

Enabling Devices ShihTzu Puppy User manual

Enabling Devices 1363 User manual

Enabling Devices

Enabling Devices 1363 User manual

Enabling Devices Plasma Star with Mounting Arm User manual

Enabling Devices

Enabling Devices Plasma Star with Mounting Arm User manual

Enabling Devices Drop-in-a-Bucket User manual

Enabling Devices

Enabling Devices Drop-in-a-Bucket User manual

Enabling Devices 4551 User manual

Enabling Devices

Enabling Devices 4551 User manual

Enabling Devices Band Jam User manual

Enabling Devices

Enabling Devices Band Jam User manual

Popular Toy manuals by other brands

FUTABA GY470 instruction manual

FUTABA

FUTABA GY470 instruction manual

LEGO 41116 manual

LEGO

LEGO 41116 manual

Fisher-Price ColorMe Flowerz Bouquet Maker P9692 instruction sheet

Fisher-Price

Fisher-Price ColorMe Flowerz Bouquet Maker P9692 instruction sheet

Little Tikes LITTLE HANDIWORKER 0920 Assembly instructions

Little Tikes

Little Tikes LITTLE HANDIWORKER 0920 Assembly instructions

Eduard EF-2000 Two-seater exterior Assembly instructions

Eduard

Eduard EF-2000 Two-seater exterior Assembly instructions

USA Trains EXTENDED VISION CABOOSE instructions

USA Trains

USA Trains EXTENDED VISION CABOOSE instructions

Modellbau Laffont Z1601 Assembly instructions

Modellbau Laffont

Modellbau Laffont Z1601 Assembly instructions

NOCH 12905 instruction manual

NOCH

NOCH 12905 instruction manual

Eduard Ki-61-Id quick start guide

Eduard

Eduard Ki-61-Id quick start guide

Viessmann Vollmer 45616 Mounting instruction

Viessmann

Viessmann Vollmer 45616 Mounting instruction

Vollmer 42004 Mounting instruction

Vollmer

Vollmer 42004 Mounting instruction

Phoenix Model CLASSIC-EP instruction manual

Phoenix Model

Phoenix Model CLASSIC-EP instruction manual

H-KING Sopwith Camel British WW1 Fighter instruction manual

H-KING

H-KING Sopwith Camel British WW1 Fighter instruction manual

MODSTER Predator 4x4 Crawler user manual

MODSTER

MODSTER Predator 4x4 Crawler user manual

DHK Hobby 8136 User instruction manual

DHK Hobby

DHK Hobby 8136 User instruction manual

THUNDER TIGER Raptor 50 V2 kit manual

THUNDER TIGER

THUNDER TIGER Raptor 50 V2 kit manual

Timberkits Skateboarder instructions

Timberkits

Timberkits Skateboarder instructions

Hangar 9 Funtana 125 Assembly manual

Hangar 9

Hangar 9 Funtana 125 Assembly manual

manuals.online logo
manuals.online logoBrands
  • About & Mission
  • Contact us
  • Privacy Policy
  • Terms and Conditions

Copyright 2025 Manuals.Online. All Rights Reserved.

For Technical Support:
Call our Technical Service Department
Monday through Friday, 9 a.m. to 5 p.m. (EST)
-800-832-8697
customer_support@enablingdevices.com
Giggle & Bubble Elmo #2257
USER’S GU DE
50 Broadway
Hawthorne, NY 0532
Tel. 9 4.747.3070 / Fax 9 4.747.3480
Toll Free 800.832.8697
www.enablingdevices.com
Blow tons of bubbles while Elmo sings, talks, counts and giggles.
Just press his nose or activate your adaptive switch and hear 5
different phrases while bubbles continuously blow out of his
mouth. Great for teaching cause and effect and tracking. Size:
7"L x 7"W x 0"H Weight: ½ lbs. Battery: 3 AA Works with or
without a capability switch (Not Included).
Operation:
. Giggle & Bubble Elmo requires 3 AA batteries (Not included)
to operate. Use alkaline batteries only (e.g. Duracell or
Energizer brand). Do not use rechargeable batteries or any
other type of batteries because they supply lower voltage and
the unit will not perform properly. Never mix old and new
batteries together or different brands or types together.
2. The battery compartment is located on the back of Giggle &
Bubble Elmo. Carefully turn the Elmo over to reveal the
battery compartment cover. Using a Phillips head screwdriver
unscrew the cover screws and install 3 AA batteries, paying
close attention to proper (+) and (-) battery polarity.
3. Replace the battery compartment cover and secure with the
screws. Connect to any external capability switch (not
included) via the jack located on the side of Elmo. Giggle &
Bubble Elmo is equipped with a /8″ jack for use with external
capability switches with a /8″ plug. Make sure you have your
switch plugged in all the way. There should be no gaps.
4. The Bubble solution container screws into the bottom of Elmo.
Follow the original manufactures instructions for installing. Do
not discard the original bubble container as you will refill it with
bubble solution when it runs out and re-use it.
4. Giggle & Bubble Elmo can be used with or without an external
switch. The ON/OFF switch is Elmo’s nose. When using an
external capability switch, the ON/OFF switch needs to be set
in the OFF position. Actuate your external capability switch
and the bubbles will start to flow! Once you release your
switch the bubbles will stop.
5. When finished playing with Giggle & Bubble Elmo turn him
OFF to prevent battery drain.
Troubleshooting:
Problem: Giggle & Bubble Elmo does not function correctly.
Action #1: Check that all the batteries are installed, following
proper (+) & (-) polarity. Also check that all batteries are fresh.
Action #2: Replace the batteries paying close attention to proper
(+) and (-) battery polarity.
Action # 3: Make sure you have enough Bubble solution in the
bubble solution bottle.
Action #4: Make sure that your switch is plugged into the jack all
the way. There should be NO gaps.
Action #5: Try your switch with another switch operated
toy/device in an effort to rule out your switch as the source of the
problems.
Care of Unit:
If you will not be using Giggle & Bubble Elmo for an extended
amount of time, we recommend removing the batteries.
Giggle & Bubble Elmo can be wiped clean with any household
multi-purpose cleaner and disinfectant. We recommend Simple
Green, which is a non toxic biodegradable all-purpose cleaner.
Do not submerge the unit, as it will damage the contents and the
electrical components.
Do not use abrasive cleaners, as they will scratch the surface
of the unit.
Rev 5/2/19