manuals.online logo
Brands
  1. Home
  2. •
  3. Brands
  4. •
  5. ENFORCER
  6. •
  7. Security System
  8. •
  9. ENFORCER SD-7157-SSTQ User manual

ENFORCER SD-7157-SSTQ User manual

®
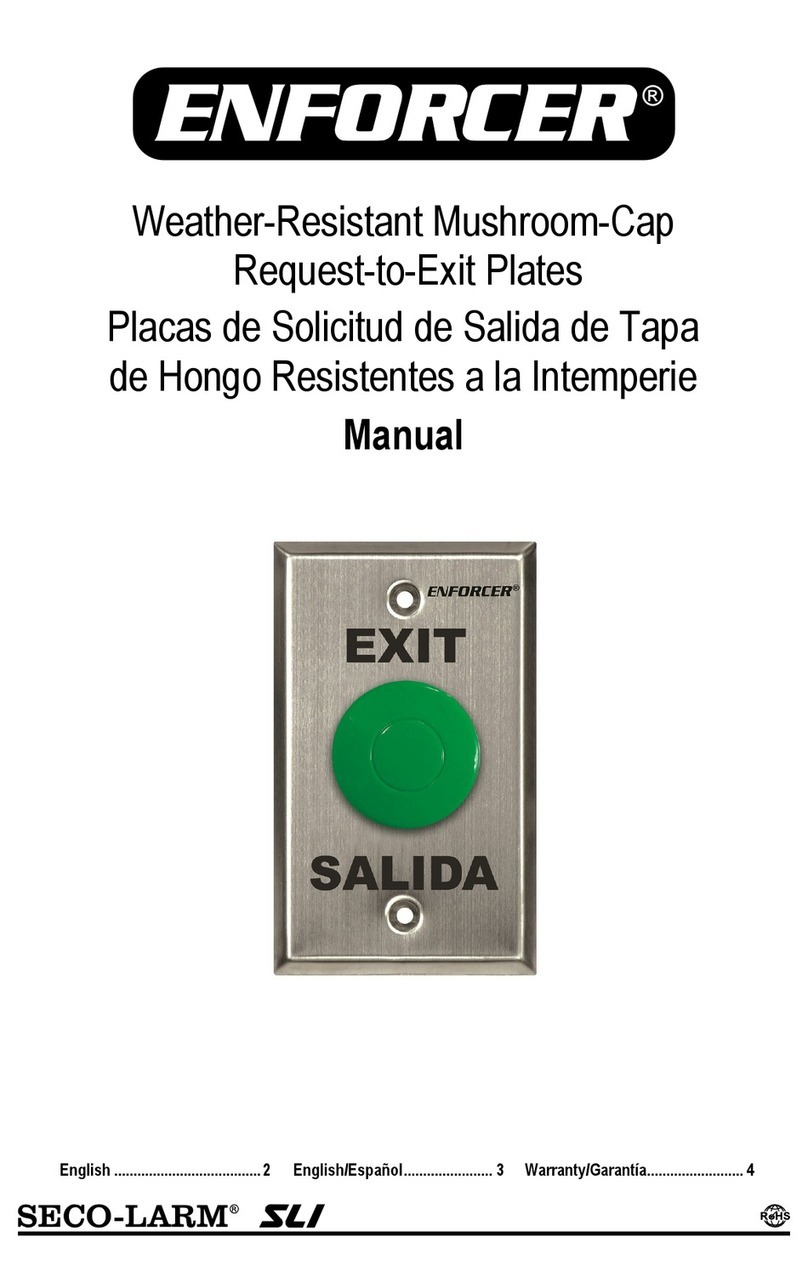
Dual-Color Vandal-Resistant RTE
Plates with Buzzer and Timer
Manual
Features:
•Reminder function, LED flashes and
buzzer sounds
for last seconds of timed output
•"EXIT" and "SALIDA" silk-screened on plate*
•Vandal-resistant, ø13/16" (ø30mm) dual-color,
illuminated pushbutton
•LED colors: Red on standby, green on activation
•12~2 VDC Operation
•3 Operating modes: Timed (0.5-60 s), toggle,
and momentary
•Pushbutton can still operate as a momentary
mechanical switch when power is lost
•Buzzer volume: 80dB max., adjustable
SD-7157-SSTQ Brushed stainless slimline faceplate with English and Spanish
SD-7257-SSTQ Brushed stainless single-gang faceplate with English and Spanish
SD-7357-SSTQ Brushed stainless European faceplate with English*
SD
-
7257
-
SSTQ
*European faceplate version is English only
SD
-
73
57
-
SSTQ
SD
-
71
57
-
SSTQ
ENFORCER Dual-Color Vandal-Resistant RTE Plates with Buzzer and Timer
2SECO-LARM U.S.A., Inc.
The ENFORCER
Dual
-
Color
Vandal
-
Resistant
Request
-
to
-
Exit
Plate
s
with Buzzer and T
imer
use
a stainless steel vandal resistant button, are illuminated by a circular perimeter LED, and include
built-in adjustable buzzer and timer. For indoor use only.
1x
RTE
button
with faceplate
2x
Mounting screws
1x
6
-
Pin wafer connector
1x
Manual
Model SD-7157-SSTQ SD-7257-SSTQ SD-7357-SSTQ
Faceplate Slimline Single-gang European plate
Button Vandal-resistant with dual-color circular perimeter LED
LED
Color
Standby Red
Active Green
Operating voltage 12~2 VDC
Current
draw
Standby 15mA@12VDC
Active 50mA@12VDC max. (buzzer ON)
Contact rating 2A@2 VAC
Electrical configuration NO/NC
Buzzer volume 80dB@3ft max., adjustable: off / low / med. / high (default)
Connector type 6-Pin wafer
Relay
output
trimpot
Full left Momentary (default)
Middle Timer setting, 0.5~60 s, adjustable
Full right Toggle
Reminder
jumper
ON LED will flash and buzzer will sound seconds before output stops (default)
OFF Green LED and buzzer will sound during activation
Operating temperature 32°~167° F (0°~75° C)
Operating humidity 85% RH max.
Dimensions 11/2"x 1/2"x17/16"
(38x11 x36 mm)
23/"x 1/2"x17/16"
(70x11 x36 mm)
33/8"x33/8"x17/16"
(86x86x36 mm)
Weight 2. -oz (68g) 3. -oz (98g) 3.3-oz (93g)
Specifications:
Introduction:
Parts List:
1
/
2
"
(11 mm)
ø1
3
/
16
"
(ø30mm)
1"
(25mm)
Single-gang plate Slimline plate
1
1
/
2
"
(38mm)
2
3
/
"
(70mm)
EXIT
SALIDA
EXIT
SALIDA
Switch body
Rubber
washer
1
7
/
16
"
(36mm)
verview:
Back of switch
Relay
output
trimpot
Buzzer
Volume
DIP
switches
6
-
Pin wafer
connector
Reminder
jumper
VR
SW
JP
SD
-
7357
-
SSTQ
European plate model is similar except for faceplate dimensions
ENFORCER Dual-Color Vandal-Resistant RTE Plates with Buzzer and Timer
SECO-LARM U.S.A., Inc. 3
Red
wire: +12~2 VDC
Black
wire: Ground (
-
)
Green
wire: N.O.
Green wire: N.O.
Blue wire: N.C.
Blue wire: N.C.
Basic Installation
:
Adjusting the Relay utput Time
:
Wiring Diagram:
The relay output time can be adjusted from momentary
(default)
, to 0.5~60 s, to toggle.
1.
Turn the trimpot all the way counterclockwise for momentary.
2.
Turn the trimpot left or right to adjust the output time from 0.5~60s, as shown below.
3.
Turn the trimpot all the way clockwise for toggle.
N TE: Do not force the adjustment trimpot to turn. Only minimal force is needed.
1 2
ON
1.
Buzzer off:
•DIP switch 1 OFF
•DIP switch 2 OFF
2. Low:
•DIP switch 1 OFF
•DIP switch 2 ON
3. Medium:
•DIP switch 1 ON
•DIP switch 2 OFF
. High (default):
•DIP switch 1 ON
•
DIP switch
2 ON
1 2
ON
1 2
ON
1 2
ON
Adjusting the Buzzer Volume
:
Jumper Settings
:
1.
ON
(default)
:
•Four seconds before the
output stops, the buzzer
will sound and the LED
will flash 6 times
N TE:
Relay output time must be
greater than seconds.
2. OFF:
•The green LED will light
and buzzer will sound
during activation
Relay
output
trimpot
VR
SW
JP
0.5s
60
s
Toggle
1.
Run
wires through the wall to the back box.
2. Connect the wires from the back box to the
switch plate according to the wiring
diagram, right.
3. Screw the plate into the back box with the
included screws, taking care not to crimp
the wires.
WARNING: Do not connect any device that will
exceed 2A@2 VAC
WARNING:
Incorrect mounting which leads to exposure to rain or moisture inside the enclosure could cause
a dangerous electric shock, damage the device, and void the warranty.
ENFORCER Dual-Color Vandal-Resistant RTE Plates with Buzzer and Timer
4SECO-LARM U.S.A., Inc.
Sample Installation
:
SECO-LARM
®
U.S.A., Inc.
168 2 Millikan Avenue, Irvine, CA 92606
Website:
www.seco
-
larm.com
Phone: (9 9) 261
-
2999 | (800) 662
-
0800
Email:
sales@seco
-
larm.com
®
PITSW1
Order Part#
763
-
188
%
MI_SD
-
7x57
-
SSTQ_191022.docx
N TICE
:
The SECO
-
LARM policy is one of continual development and improvement. For that reason,
SECO
-
LARM
reserves the right to change specifications without notice. SECO-LARM is also not responsible for misprints. All t
rademarks
are the property of SECO-LARM U.S.A., Inc. or their respective owners. Copyright © 2019 SECO-LARM U.S.A.,
Inc. All
rights reserved.
WARRANTY:
This SECO
-
LARM product is warranted against defects in material and workmanship while
used in normal
service for one (1) year from the date of sale to the original customer. SECO-
LARM’s obligation is limited to the repair or
replacement of any defective part if the unit is returned, transportation prepaid, to SECO-LARM.
This Warranty is void if
damage is caused by or attributed to acts of God, physical or electrical misuse or abuse, neglect, repair or alteration,
improper or abnormal usage, or faulty installation, or if for any other reason SECO-
LARM determines that such equipment
is not operating properly as a result of causes other than defects in material and workmanship.
The sole obligation of
SECO-LARM and the purchaser’s exclusive remedy, shall be limited to the replacement or repair only, at SECO-LARM
’s
option. In no event shall SECO-
LARM be liable for any special, collateral, incidental, or consequential personal or property
damage of any kind to the purchaser or anyone else.
Basic Installation with Fail
-
Safe Electromagnetic Lock and Keypad
RTE Plate
terminals
(+)
(
-
)
Digital Keypad
(
–
)
(+)
12/2 VDC
Access
Control
Power Supply
NC
COM
NO
EGRESS
(+)
(–)
Blue
Blue
Green
Green
Black
Red
N.C.
N.O.
(
-) GND
(+) DC
BL
BL
GN
GN
BK
RD
SECO-
LARM Series
Electromagnetic Lock
VR
SW
JP
WARNING:
Users and installers of this product are responsible for ensuring that the installation and configuration of this
product complies with all national, state, and local laws and codes related to locking and egress devices. SECO-LARM wi
ll
not be held responsible for the use of this product in violation of any current laws or codes.

This manual suits for next models

2

Other ENFORCER Security System manuals
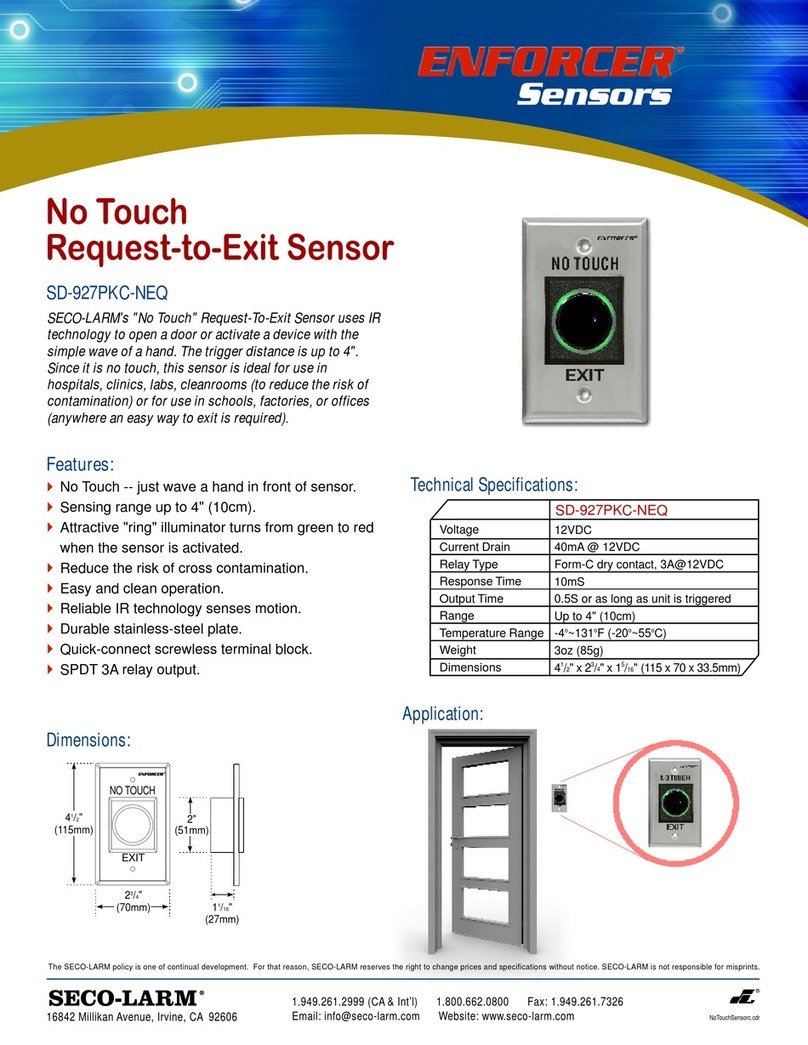
ENFORCER SD-7113-GSP User manual

ENFORCER

ENFORCER SD-7113-GSP User manual

ENFORCER Enforcer SD-927PKC-NEQ User manual
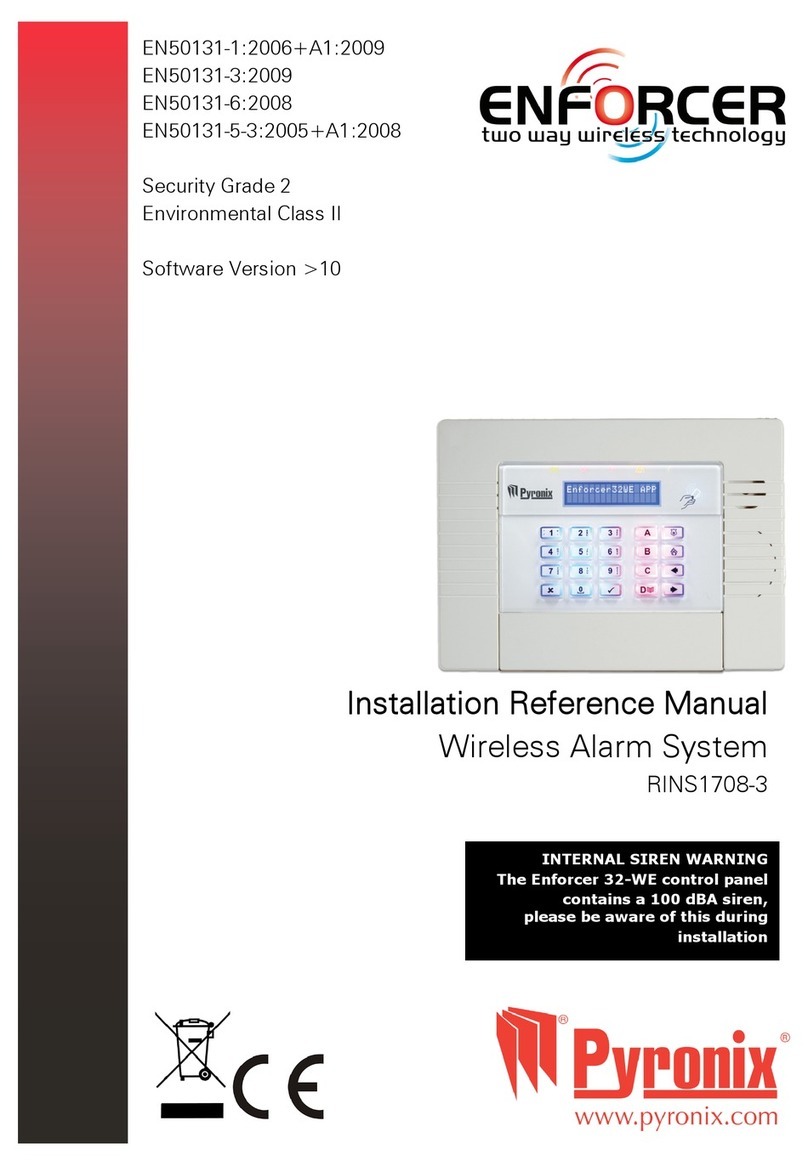
ENFORCER

ENFORCER Enforcer SD-927PKC-NEQ User manual

ENFORCER SD-7201GC-PEQ User manual

ENFORCER

ENFORCER SD-7201GC-PEQ User manual

ENFORCER E-931CS22RFCQ User manual

ENFORCER

ENFORCER E-931CS22RFCQ User manual

ENFORCER E-931CS22RRC User manual

ENFORCER

ENFORCER E-931CS22RRC User manual

ENFORCER E-931CS22RFCQ User manual

ENFORCER

ENFORCER E-931CS22RFCQ User manual

ENFORCER E-921CPQ User manual

ENFORCER

ENFORCER E-921CPQ User manual

ENFORCER SECO0LARM SLI RM-R100-TBQ User manual

ENFORCER

ENFORCER SECO0LARM SLI RM-R100-TBQ User manual

ENFORCER E-921APQ User manual

ENFORCER

ENFORCER E-921APQ User manual

ENFORCER E-931CS22RFCQ User manual

ENFORCER

ENFORCER E-931CS22RFCQ User manual

ENFORCER Enforcer 32-WE User manual

ENFORCER

ENFORCER Enforcer 32-WE User manual

ENFORCER Enforcer Access SD-71002-V0 User manual

ENFORCER

ENFORCER Enforcer Access SD-71002-V0 User manual

ENFORCER RINS1708-3 Installation and operating manual
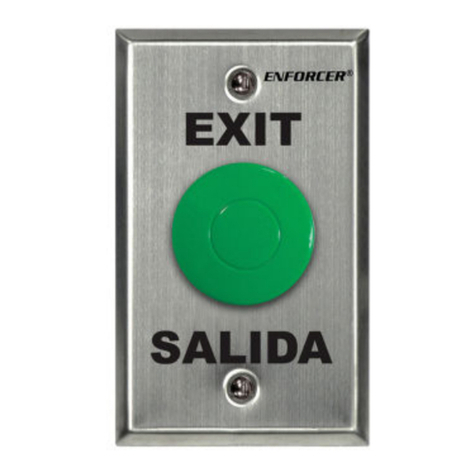
ENFORCER

ENFORCER RINS1708-3 Installation and operating manual

Popular Security System manuals by other brands

Digital Monitoring Products XR150 user guide

Digital Monitoring Products

Digital Monitoring Products XR150 user guide

ERA Invincible instruction manual

ERA

ERA Invincible instruction manual

Konlen KL-H50 user manual

Konlen

Konlen KL-H50 user manual

MAKS PRO manual

MAKS

MAKS PRO manual

Radionics 6112 user guide

Radionics

Radionics 6112 user guide

Hornet 553T installation guide

Hornet

Hornet 553T installation guide

MEDAES Medipoint 125 Operating and maintenance instructions

MEDAES

MEDAES Medipoint 125 Operating and maintenance instructions

Whelen Engineering Company WS2100 Series installation guide

Whelen Engineering Company

Whelen Engineering Company WS2100 Series installation guide

Philips VSS2902 user manual

Philips

Philips VSS2902 user manual

Smanos X500 user manual

Smanos

Smanos X500 user manual

GE Interlogix 60-792-01-95R User instructions

GE Interlogix

GE Interlogix 60-792-01-95R User instructions

DIGITIZE System 3000 Conversion manual

DIGITIZE

DIGITIZE System 3000 Conversion manual

ADEMCO VISTA-20PS user guide

ADEMCO

ADEMCO VISTA-20PS user guide

Pima hunter-pro user manual

Pima

Pima hunter-pro user manual

iSecus G600 user guide

iSecus

iSecus G600 user guide

Swann SWIFI-ISIREN quick start guide

Swann

Swann SWIFI-ISIREN quick start guide

Garnet PC-900G Installer manual

Garnet

Garnet PC-900G Installer manual

AVS Electronics VECTOR Plus installation manual

AVS Electronics

AVS Electronics VECTOR Plus installation manual

manuals.online logo
manuals.online logoBrands
  • About & Mission
  • Contact us
  • Privacy Policy
  • Terms and Conditions

Copyright 2025 Manuals.Online. All Rights Reserved.